


Ensure the unit is placed on a flat, stable surface. This will prevent any accidental tipping or movement during operation. I recall an instance where I had a mishap with an uneven surface, which resulted in spilled fuel and a messy cleanup. A stable foundation is key to a smooth experience.
Next, check the oil level. Many people overlook this crucial step. I once jumped right into using a machine without verifying the oil, only to face engine troubles halfway through my cleaning project. Always make it a habit to inspect the oil before powering up. If it’s low, top it up with the recommended type.
Fill the fuel tank with fresh gasoline, ensuring not to overfill. I find using a funnel helps avoid spills, which can be both dangerous and a nuisance. After filling, securely close the tank cap to prevent any leaks. I had an unfortunate incident where I didn’t tighten the cap completely, leading to fuel loss and an unpleasant clean-up.
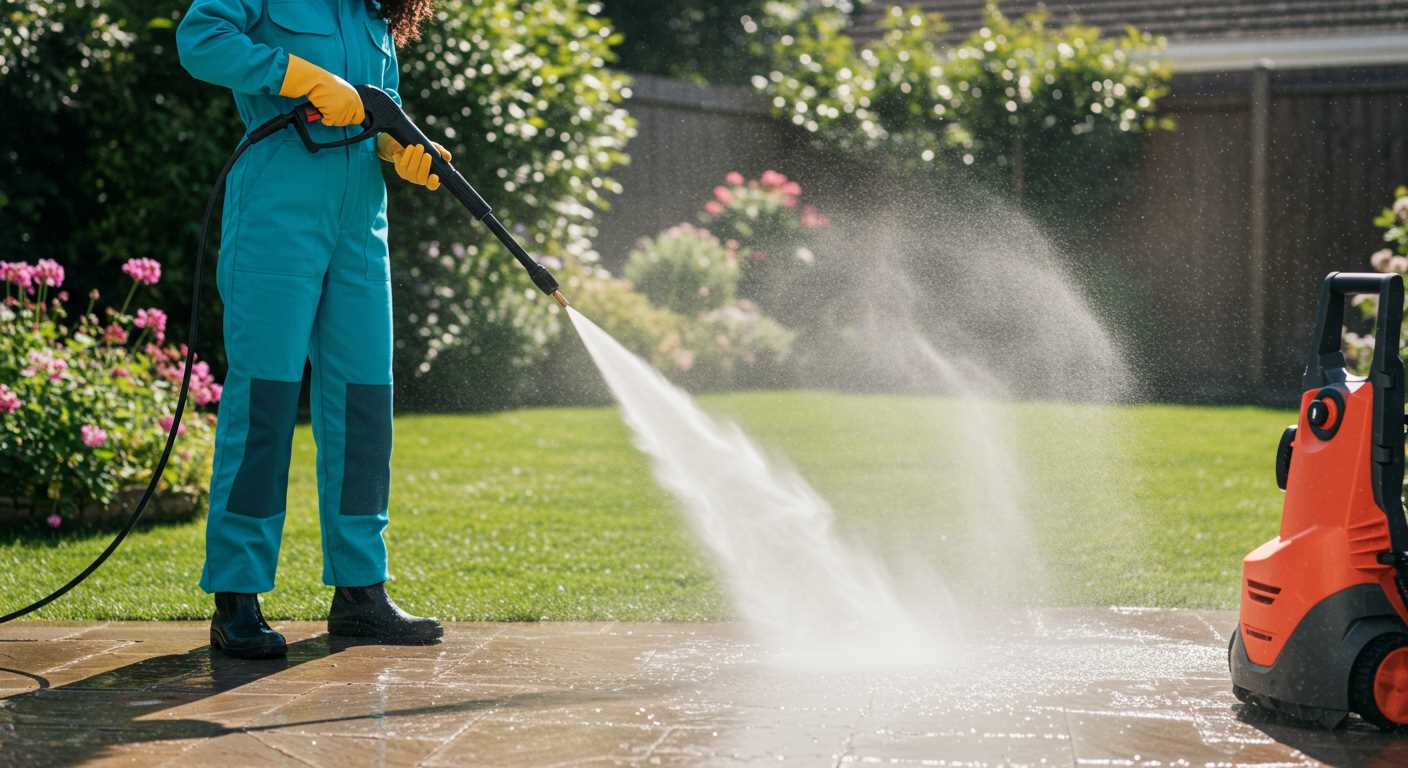
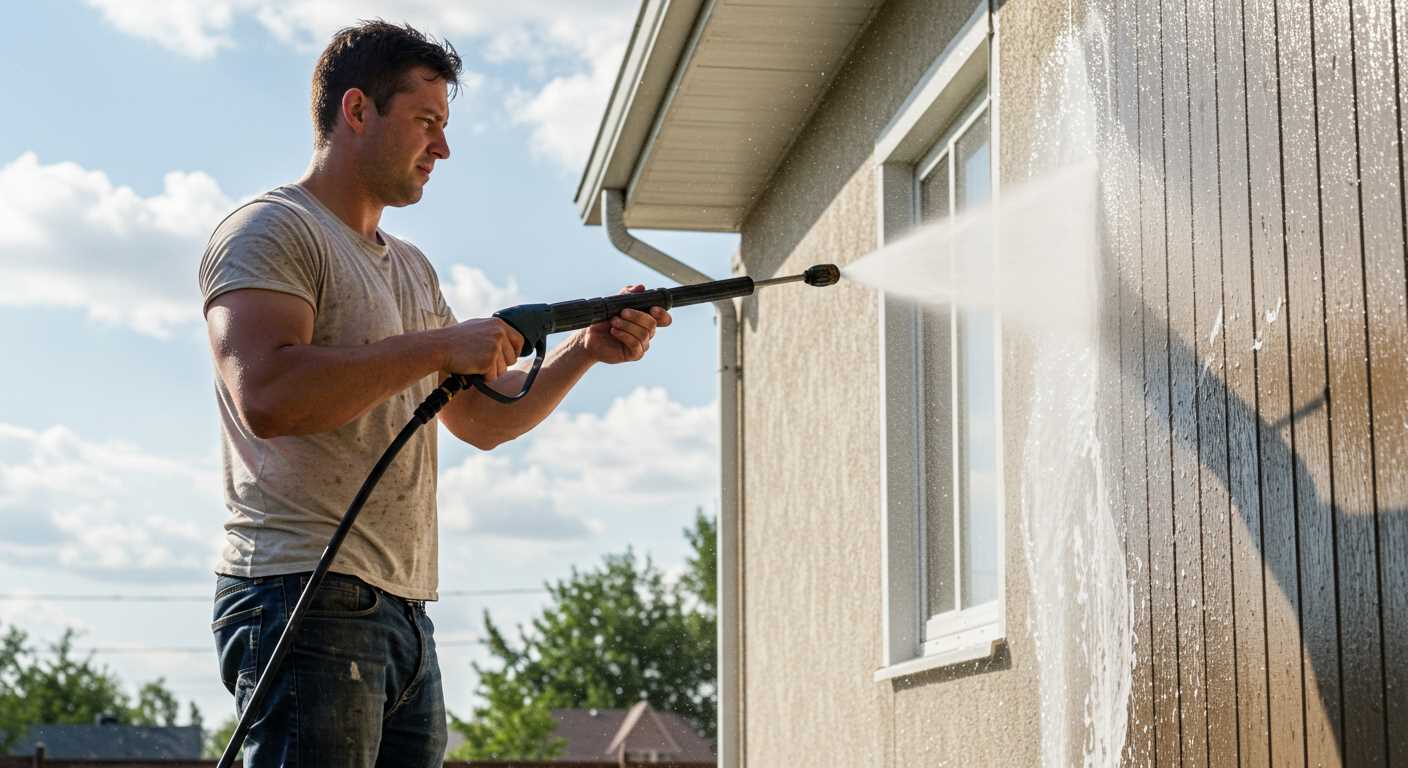
Connect the appropriate nozzle to the wand, tailoring the pressure to your cleaning task. I often swap nozzles depending on the surface I’m tackling. For example, a wider spray pattern is ideal for gentle cleaning of vehicles, while a more concentrated stream is perfect for stubborn grime on patios.
Before starting the engine, engage the trigger on the wand to release any residual pressure. I learned this the hard way when I was greeted with a surprise spray that sent me stumbling back. Once the pressure is released, you can proceed to start the engine smoothly.
Finally, once the unit is running, remember to adjust the throttle for optimal performance. I’ve found that maintaining a steady pace not only improves efficiency but also prolongs the life of the machine. Enjoy your cleaning task and take pride in the results you achieve!
How to Operate a Karcher Gas-Powered Cleaning Machine
Ensure the machine is on a flat, stable surface. This prevents any accidental tipping during operation. Once positioned, check the fuel level. If needed, fill the tank with the appropriate type of petrol, avoiding overfilling.
Next, connect the high-pressure hose securely to the unit and the spray gun. This connection needs to be firm to prevent leaks while in use. Attach the desired nozzle based on the cleaning task; a wider spray is generally suitable for larger areas, while a narrower one provides more pressure for stubborn stains.
Before firing up the engine, locate the choke lever. If the engine is cold, set it to the closed position. For a warm engine, leave it open. Pull the engine starter cord with a smooth, firm motion. You might need to repeat this a couple of times, but don’t pull too hard to avoid damage.
Once the engine roars to life, allow it to warm up for a minute. While it’s warming, check for any leaks around the hose and connections. If everything looks good, you can switch the choke back to the open position if it was closed initially.
To operate, squeeze the trigger on the spray gun to release the water. Adjust the nozzle as necessary for different surfaces. Always keep the spray gun pointed away from yourself and others to ensure safety. If you need to stop, release the trigger. The engine will continue running, but the water flow will cease.
After finishing, turn off the engine and disconnect the water supply. Release any remaining pressure by squeezing the trigger before detaching the hose. This step prevents any accidental squirting of water. Store the machine in a dry place, and clean the nozzles to maintain performance for future use.
Choosing the Right Fuel for Your Pressure Equipment
Use fresh, high-quality fuel for optimal performance. I recommend sticking to unleaded petrol with an octane rating of at least 87. Using lower-grade fuel can lead to engine knocking and decreased efficiency.
Always avoid mixing oil with petrol unless your machine specifically requires it. Some older models may need a two-stroke mix, but most modern engines run on straight petrol. Check your manual to be sure.
Consider using fuel stabiliser if you plan to store your machine for an extended period. This helps prevent the fuel from going stale, which can cause starting problems later. I’ve seen too many units fail to start after a long winter because the fuel had degraded.
- Check the fuel level before each use; a low tank can lead to air entering the fuel line.
- Inspect the fuel filter regularly. A clogged filter can restrict flow and lead to performance issues.
- Keep the fuel tank clean. Contaminants can affect combustion and damage the engine over time.
In my experience, always fill up with fuel from reputable stations. Cheap, low-quality fuel can contain impurities that harm your engine. I once made the mistake of using a discount fuel from a roadside station, and it led to costly repairs.
Lastly, avoid overfilling the tank. Leave some space for the fuel to expand. I’ve seen engines sputter and stall due to overflowing fuel. A little caution can save you a lot of hassle.
Checking Oil Levels Before Starting
Always check the oil level before you attempt to fire up your machine. This simple step can prevent costly damage and ensure smooth operation. Locate the oil dipstick, usually situated on the side of the engine. Remove it, wipe it clean with a cloth, and reinsert it to gauge the level. The oil should ideally be within the marked range on the dipstick.
In my experience, running the engine with insufficient oil can lead to overheating and severe engine wear. You want the oil to be clean, so if it appears dark and dirty, consider changing it. Use the manufacturer’s recommended oil type to maintain optimal performance; this detail can significantly affect the longevity of your unit.
Don’t forget to check for any leaks around the oil seal or drain plug. A small puddle of oil can indicate a problem that needs addressing before you get started. If everything looks good, you’re ready to move on to the next steps of preparation.
Connecting the Water Supply Properly
Ensure that you have a reliable water source before proceeding. A standard garden hose will typically suffice, but check for any leaks or damages beforehand. I remember once trying to operate a unit only to find that the hose was partially kinked, which severely affected the flow. It’s crucial to have a clear and unobstructed path for the water.
Attach the hose securely to the inlet on the machine. This connection should be tight enough to prevent leaks, but not so tight that it damages the threads. I often use a wrench to ensure a snug fit, but I’m careful not to overtighten it. A good rule of thumb is to hand-tighten first and then give it a slight turn with a wrench.
Turn on the water supply before powering up the machine. This step is often overlooked, but it’s important to fill the system with water to avoid damaging the pump. I’ve witnessed situations where individuals skipped this and ended up facing costly repairs. If you hear a gurgling noise, that’s a sign the pump is struggling–shut it down immediately.
Check for any leaks after the connection. If water is dripping from the joints, it indicates a poor seal. In my experience, using Teflon tape on the threads can help create a better seal if you encounter persistent leaks. Always ensure the hose is not twisted or kinked during this process, as it can restrict water flow and impact performance.
Lastly, make sure the water temperature is appropriate. Hot water can damage the components, so stick to cold or lukewarm water. I learned this the hard way during a job where I used warm water, thinking it would enhance cleaning. Instead, I ended up with a malfunctioning pump. Stick to the manufacturer’s guidelines for optimal results.
Understanding the Safety Features of Your Model
Before operating your equipment, familiarise yourself with its built-in safety mechanisms. These features not only protect you but also enhance the longevity of the machine.
- Safety Lock System: Most models come equipped with a trigger lock. This prevents accidental activation, particularly important if children or pets are nearby.
- Pressure Relief Valve: In case of pressure build-up, this valve releases excess pressure, reducing the risk of hose or gun failure. Always check that it is functioning correctly before use.
- Automatic Shutdown: Some units automatically shut off when not in use. This feature conserves energy and can help avoid overheating.
- Low Oil Shutdown: This prevents engine damage by stopping operation if oil levels drop too low. Regularly check oil levels to ensure this feature can perform adequately.
- Water Temperature Regulation: If your model features hot water capability, it may include a thermostat to prevent overheating. Be sure to monitor the temperature to avoid burns.
During my years in the cleaning equipment industry, I’ve seen the value of these features firsthand. I recall a demonstration where the pressure relief valve saved a technician from a potentially dangerous situation. The machine built up pressure unexpectedly, but the valve activated, preventing any harm. Always remember, these safety features are not just for show; they are there to protect you and your machine.
Before each use, take a moment to inspect these features. A quick check can prevent accidents and ensure a smooth operation. Your safety and the durability of your equipment depend on it.
Priming the Engine for First Use
Before turning the key, ensure the engine is properly primed. Locate the primer bulb, usually situated near the fuel tank. Depress the bulb several times–typically 5 to 8–to draw fuel into the carburettor. You want to see the fuel move toward the engine, which indicates it’s ready to ignite.
Fuel System Check
After priming, inspect the fuel system for leaks. Any signs of fuel accumulation around the connections or the tank should be addressed immediately. Tighten any loose fittings and clean up any spills to prevent hazards. A clean environment helps maintain the longevity of your equipment.
Choke Adjustment
Adjust the choke lever to the closed position for cold starts. This enriches the fuel mixture, making ignition easier. Once the engine fires up, you can gradually move the choke to the open position as the engine warms up. This step ensures optimal performance and efficiency.
For more tips on maintaining your equipment, check out this how to clean stainless steel the ultimate guide.
Starting the Engine: Step-by-Step Instructions
Ensure the choke lever is in the closed position. This is crucial for a successful ignition on a cold engine. I’ve learned that taking this step can save you time and frustration.
Next, grip the recoil starter handle firmly. Pull the cord steadily until you feel resistance, then give it a quick, sharp pull. In my experience, a smooth motion here makes all the difference. If it doesn’t fire up on the first attempt, give it a moment and try again, keeping the choke in the same position.
Once the engine roars to life, immediately move the choke lever to the open position. This transition is vital for the engine to run smoothly and avoid stalling. I’ve seen many people forget this step, leading to unnecessary troubleshooting.
Allow the engine to idle for a few minutes. This warming period helps lubricate the internal components and prepares the machine for operation. During this time, check for any unusual sounds or vibrations; these can indicate potential issues.
Before you begin working, it’s wise to check the pressure settings. Ensure the pressure gauge is set to your desired level for the task at hand. I’ve often found that starting with a lower pressure and gradually increasing it works best for sensitive surfaces.
| Step | Action | Notes |
|---|---|---|
| 1 | Set the choke to closed | Key for cold starts |
| 2 | Pull the recoil starter | Sharp, steady pulls work best |
| 3 | Switch choke to open | Prevents stalling |
| 4 | Allow engine to idle | Check for unusual sounds |
| 5 | Adjust pressure settings | Start low, then increase |
Once everything is set, you’re ready to tackle your cleaning tasks. This routine has proven effective every time I’ve used it, ensuring a reliable operation every outing.
Adjusting the Nozzle for Different Cleaning Tasks
To effectively tackle various cleaning challenges, adjusting the nozzle is key. Each type of nozzle delivers a specific spray pattern and pressure, making it suitable for different surfaces and dirt levels. For instance, a zero-degree nozzle produces a concentrated stream, ideal for tough stains on concrete or brick. However, this high-pressure jet can damage softer surfaces, so use it judiciously.
Wide Spray for Delicate Surfaces
For more delicate surfaces like wood decking or painted walls, switch to a 25-degree nozzle. This wider spray disperses the water pressure, reducing the risk of damage while still providing adequate cleaning power. You’ll find it useful when cleaning outdoor furniture or vehicles; it removes grime without stripping finishes.
Adjusting for Specific Tasks
For stubborn dirt, consider mixing in a detergent. Use a detergent nozzle, typically marked with a specific colour, to apply soap effectively. This nozzle adds cleaning solutions directly to the spray, enhancing the cleaning process. Once the surface is treated, switch back to a wider nozzle to rinse away the soap. Understanding the different nozzles and their applications allows you to optimise your cleaning routine. For deeper insights, check out this article on how does a pressure washer work.
FAQ:
What are the first steps to take when starting a Karcher gas pressure washer?
To start a Karcher gas pressure washer, first ensure you have all necessary components ready, including fresh fuel and oil. Check the oil level in the engine and fill it if needed. Next, connect your garden hose to the pressure washer and turn on the water supply. Make sure the nozzle is attached securely. Finally, follow the manufacturer’s instructions for priming the engine, which usually involves setting the choke and pulling the starter cord until the engine starts.
How do I ensure my Karcher pressure washer is safe to use before starting?
Safety is key when operating a pressure washer. Begin by inspecting the machine for any visible damage or leaks. Check the fuel line and ensure there are no cracks. Make sure the power cord (if applicable) is in good condition. Wear safety goggles and gloves to protect yourself from debris and high-pressure water. Always operate the washer on a flat, stable surface to prevent tipping. Additionally, read the user manual for any specific safety recommendations related to your model.
Can I use my Karcher gas pressure washer without water, and what happens if I do?
No, you cannot use a Karcher gas pressure washer without water. The machine is designed to pump water at high pressure, and running it without water can cause significant damage to the pump. This could lead to overheating and a possible breakdown. Always ensure that the water supply is turned on and flowing before starting the pressure washer to avoid any issues.
What should I do if my Karcher pressure washer won’t start after following all the steps?
If your Karcher pressure washer won’t start, first check that there is fuel in the tank and that the engine oil is at the correct level. Make sure the water supply is on and that there are no clogs in the hose or nozzle. If everything seems correct, check the spark plug for any signs of wear or damage and replace it if necessary. Consult the user manual for troubleshooting tips specific to your model. If the issue persists, it may be best to contact a professional for assistance.

.jpg)


