


Fill the fuel tank with fresh gasoline, ensuring it’s at least 87 octane. Old fuel can cause starting issues. I’ve seen many models struggle due to stale petrol, so it’s best to use what’s fresh.
Check the oil level before proceeding. The dipstick will give you a clear indication. If it’s low, top it up with the recommended type. I once neglected this step, and it resulted in unnecessary wear on the components. Trust me, a little oil can go a long way in prolonging the life of the machine.
Engage the choke if your model requires it, especially if it’s cold outside. This simple action can make a difference in how smoothly it fires up. I’ve often used this trick during chilly mornings, and it’s saved me from frustration.
Make sure the water supply is connected and turned on. A steady flow of water is crucial for the system to function correctly. I recall a time when I overlooked this detail and ended up with a sputtering start. It’s a common mistake but easily avoidable.
Now, grip the starter cord and give it a firm pull. A smooth, brisk motion works best. On my first attempt, I yanked too hard and ended up with a sore arm. It’s all about finding that balance. If it doesn’t ignite immediately, give it a moment, then try again.
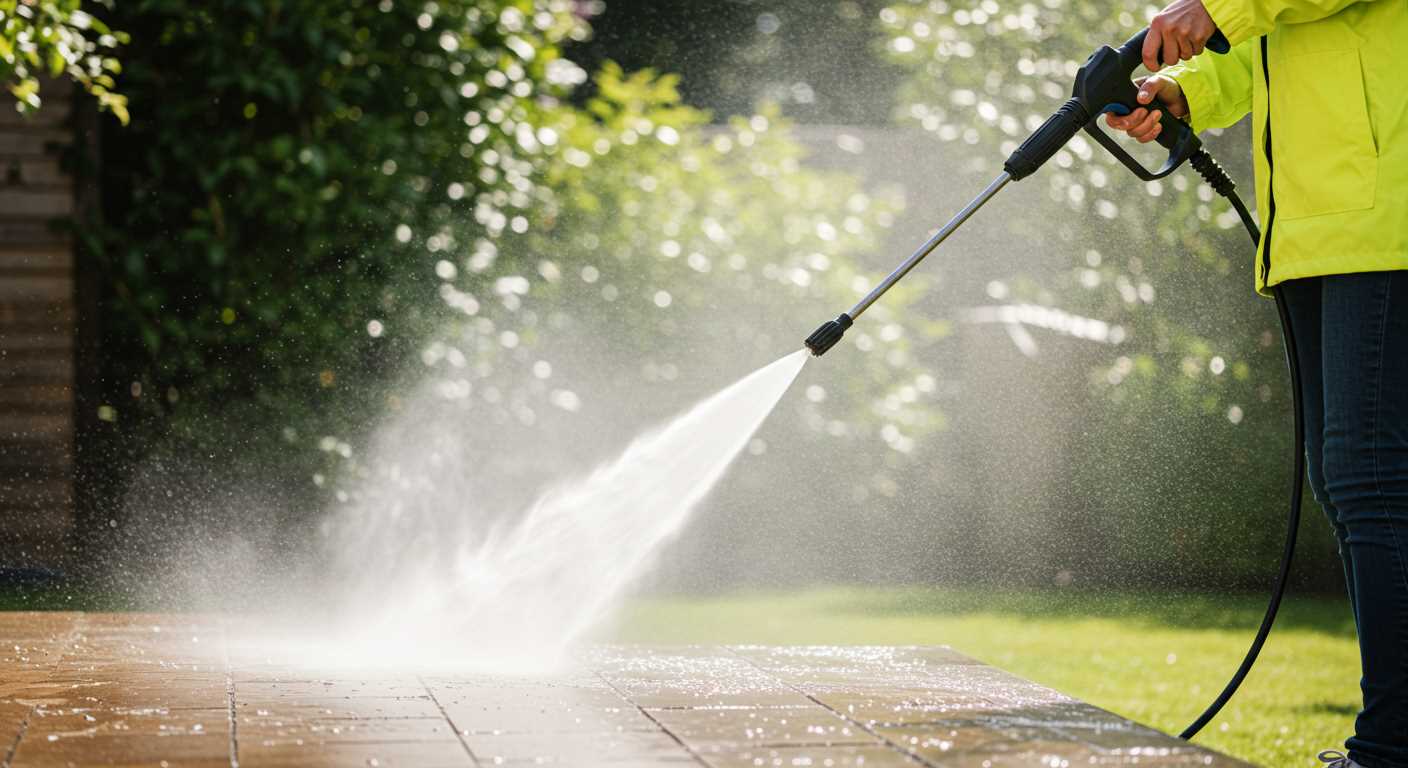
Starting Your High-Pressure Cleaning Machine
Ensure your unit is on a flat surface and the fuel tank is filled with fresh gasoline. I’ve found that stale fuel can lead to frustrating issues, so always check the age of the fuel before use.
Check the Settings
Make sure the throttle is set to the “run” position. I once had a friend who struggled to get his model going simply because the throttle was mistakenly left in the “choke” position. It’s a small detail, but it makes a big difference.
Engaging the Mechanism
With your foot on the base, pull the recoil starter cord firmly and smoothly. If it doesn’t initiate after a couple of pulls, check the oil level. Low oil can trigger an automatic shut-off. I remember a time when I was in a rush, and neglected this step; it cost me an hour of troubleshooting!
Once it roars to life, allow it to idle for a minute before engaging the nozzle. This warm-up period helps the internal components settle into operation. Regular maintenance is key; clean the air filter regularly to ensure optimal performance. A clogged filter can hinder starting and overall function.
Following these steps can make the process of getting your cleaning machine ready much smoother. Trust me, a little attention to detail goes a long way in avoiding headaches down the line.
Check Fuel and Oil Levels Before Starting
Ensure fuel and oil levels meet the manufacturer’s specifications before attempting to operate the machine. This simple check can prevent potential damage and ensure smooth operation.
Fuel Check
- Use fresh fuel; old gasoline can cause issues.
- Check the fuel gauge or remove the cap to visually inspect the tank.
- Fill with the recommended octane level; usually, this is 87 or higher.
Oil Inspection
- Locate the dipstick, typically near the engine.
- Remove and wipe the dipstick, then reinsert it to check the oil level.
- If low, fill with the correct oil type as specified in the manual.
Regular maintenance, including checking fuel and oil, extends the lifespan of the machine. If you encounter any issues post-inspection, consider referring to pressure washer repair and troubleshooting solutions to common problems for guidance.
Inspect the Spark Plug for Proper Functionality
Before attempting ignition, check the spark plug for signs of wear or damage. Remove the spark plug using a spark plug socket. Inspect the electrode for carbon build-up or corrosion. A clean, intact electrode is crucial for a strong spark. If you notice significant deposits, clean it with a wire brush or replace it if it’s heavily worn.
Ensure the gap between the electrodes is set correctly, typically around 0.028 to 0.030 inches for most models. A misaligned gap can cause poor performance or failure to ignite. Use a feeler gauge for precise measurements. If the gap is out of spec, adjust it gently with a spark plug gap tool.
Check the spark plug’s insulator for cracks or chips. Any structural damage can lead to misfires or complete failure to start. If it looks questionable, replacing it is the best course of action. Always refer to your equipment’s manual for specific recommendations regarding spark plug type and specifications.
After ensuring the spark plug is in good condition, reattach it securely to avoid any loose connections that could hinder ignition. This simple step can save you time and frustration during the starting process.
Ensure the Choke is in the Correct Position
Before attempting to engage the motor, verify that the choke is set appropriately. This component regulates airflow into the combustion chamber, which is crucial for starting a cold unit.
- For a cold machine, the choke should be in the “closed” position. This restricts airflow, enriching the fuel mixture for easier ignition.
- If the unit has been running recently, place the choke in the “open” position. This allows more air into the mixture, preventing flooding and ensuring a smooth operation.
I’ve seen many users overlook this simple step, leading to frustration when their machines refuse to fire up. One time, a colleague of mine struggled for nearly an hour because he didn’t adjust the choke after a brief shutdown. Once he corrected it, the engine roared to life without any further issues.
Always refer to the manufacturer’s manual for specific choke settings, as different models may have unique requirements. Regularly check the choke’s mechanism for wear and tear; a faulty choke can lead to inconsistent performance.
Prime the Engine if Required
If your unit requires priming, locate the primer bulb, typically found near the fuel tank. Gently press this bulb several times, usually around five to ten, until you see fuel fill the bulb. This step ensures that the carburettor gets enough fuel to start smoothly. In my experience, neglecting this can lead to frustrating attempts to fire up the machine.
After priming, listen for any unusual sounds while you try to ignite the motor. If you hear a sputter or struggle, it could indicate that more priming is necessary. In one instance, a colleague of mine spent nearly an hour troubleshooting a stubborn model, only to realise it simply needed a few more pushes on the primer bulb.
Always check the owner’s manual for specific guidance on priming, as not all machines require the same approach. You might come across different recommendations, but consistent priming usually leads to a successful ignition. Remember, a well-prepared unit saves time and enhances your cleaning experience.
For those with pets, remember to consider their safety around cleaning equipment. If you’re concerned about safety measures, you might find it useful to read about can an electric fence harm a dog.
Connect the Water Supply Before Starting
Always ensure that the water supply is connected properly before you engage the motor. I recall a time when I was in a rush and overlooked this step. The result was a frustrating delay as I had to troubleshoot what I thought was a mechanical issue. This simple connection can save you time and headaches.
Steps to Connect the Water Supply
1. Locate the water inlet on your machine, generally found at the back or side.
2. Use a garden hose that is free of kinks and blockages. A clean hose ensures optimal water flow.
3. Attach one end of the hose to the water source, tightening it securely to prevent leaks.
4. Connect the other end to the inlet on the device, ensuring a snug fit. This will help maintain the required pressure during operation.
Testing the Connection
Before you proceed, turn on the water supply and check for leaks. I learned the hard way that a small leak can lead to pressure loss, resulting in inefficient operation. A quick inspection can save you from unnecessary complications.
| Step | Details |
|---|---|
| Locate Inlet | Find the water inlet on the device. |
| Use Clean Hose | Ensure the hose is free from kinks and clogs. |
| Secure Connections | Tighten all hose connections to prevent leaks. |
| Check for Leaks | Turn on water supply and inspect for any leaks. |
Connecting the water supply properly is a straightforward yet crucial step. By taking a few moments to ensure everything is set up correctly, you can focus on the task at hand without interruptions. Trust me, it’s worth the effort.
Start the Engine Using the Recoil Starter
To engage the recoil starter, ensure that you have a firm grip on the handle. Stand comfortably and position yourself so that you can pull the cord with ease, avoiding any unnecessary strain. With your other hand, maintain a steady hold on the machine to prevent it from moving during this process.
Next, pull the starter cord sharply and smoothly. It’s crucial to apply a quick motion rather than a slow, lingering pull; this ensures that the mechanism engages properly. If you hear the engine catch, continue to pull until it runs steadily. If it doesn’t start after a few attempts, consider checking the aforementioned components to confirm everything is in order.
Once the motor is running, let it idle for a minute to warm up. This allows the internal parts to adjust and lubricate properly, which is particularly important for longevity and performance. After warming up, you’re set to begin your cleaning tasks effectively.
Troubleshoot Common Starting Issues
First of all, check the fuel. If it’s old or contaminated, drain it and refill with fresh fuel. I remember a time when I was called out to a site, and the unit wouldn’t ignite. It turned out the user had left fuel sitting in the tank for months. A quick drain and refill solved the problem instantly.
Battery and Electrical System
If the unit relies on a battery, inspect it for charge and connections. Loose or corroded terminals can stop the machine from functioning. I once faced a situation where a customer was convinced their machine was faulty. A simple tightening of the terminal connections made all the difference.
Air Filter Inspection
Check the air filter for clogs. A dirty filter restricts airflow, making ignition tough. I’ve encountered machines that wouldn’t fire up simply because the air filter was choked with debris. Replace or clean the filter regularly to avoid this issue.
Inspect the ignition system as well. Worn-out ignition coils can lead to weak sparks. I’ve had to replace coils on several occasions, and each time it resolved starting issues. If you notice signs of wear, it’s wise to replace them before attempting to operate the unit again.
Lastly, listen for unusual sounds when attempting to ignite. Strange noises could indicate mechanical failure or internal issues. I once ignored a faint knocking sound, which eventually led to a costly repair. Pay attention to your machine’s signals; they often hint at underlying problems.
.jpg)


