


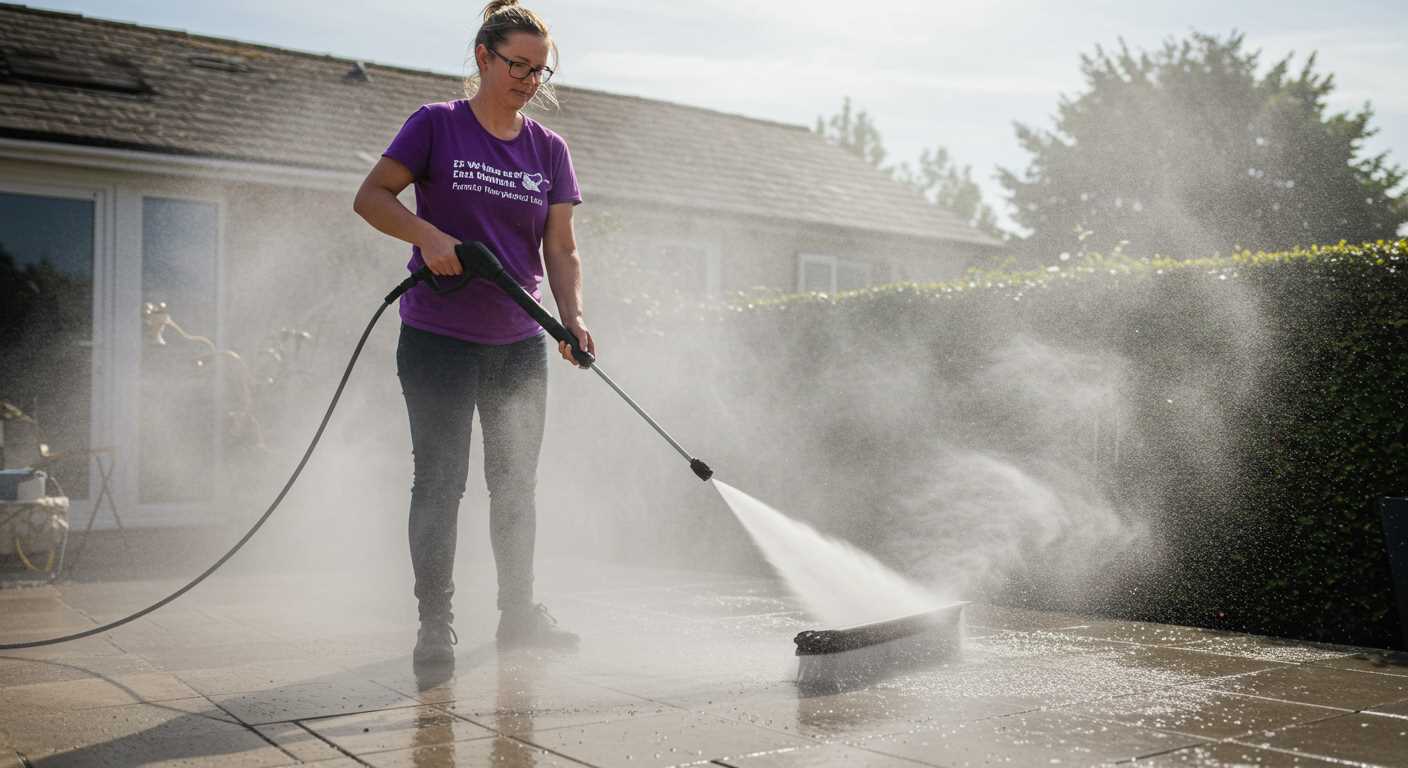
Begin by draining all water from your equipment to prevent any damage from freezing temperatures. This step is crucial; even a small amount of residual water can expand and crack hoses or internal components. Once you’ve emptied the system, run the machine for a short period without any water. This helps to clear out any remaining moisture and ensures that everything is in good condition.
Next, consider the fuel. If your device runs on petrol, use a fuel stabiliser to prevent degradation during the off-season. I’ve seen many machines fail to start in spring simply due to old, stale fuel. Add the stabiliser to your tank, run the engine for a few minutes, and then turn it off. This will circulate the mixture through the system.
Protecting the exterior is just as important as caring for the internal components. Store your unit in a sheltered location, ideally indoors, to keep it safe from harsh weather. If indoor storage isn’t an option, consider investing in a heavy-duty cover. I’ve learned that a good quality cover can significantly extend the life of your equipment by shielding it from moisture and debris.
Finally, check all accessories such as nozzles, hoses, and connectors. Clean them thoroughly and store them in a designated container. I recommend labelling your storage box for easy access come spring. Trust me, nothing is more frustrating than fumbling through a cluttered garage to find the right nozzle after months of neglect.
Preparation Steps for Your Cleaning Equipment
Begin with draining any remaining fluid from the tank. This prevents freezing and potential damage. I always lay the unit on its side to ensure every drop is out.
Maintenance of Components
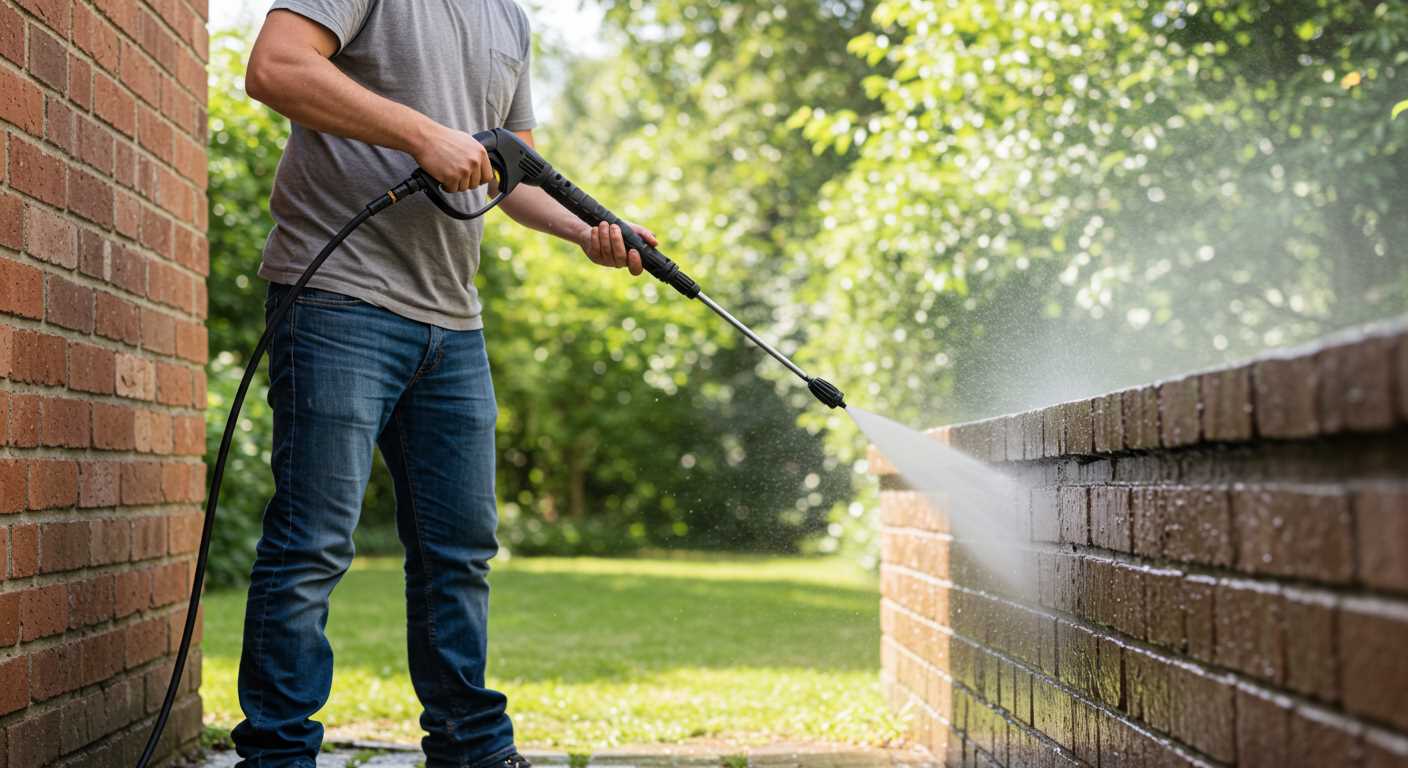
Next, flush the system with clean water and then run a pump protector through it. This lubricant keeps internal parts from drying out and forming rust. I recall a colleague who neglected this step and had to replace several parts the following season.
- Use a dedicated pump protector or antifreeze solution.
- Run the cleaner for a minute after adding the protector to circulate it thoroughly.
Storing the Machine
Choosing the right location is key. Aim for a cool, dry space away from direct sunlight. I’ve seen units left outside become brittle and cracked due to UV exposure.
- Cover with a breathable cloth to keep dust away.
- Keep it elevated on a shelf or platform to avoid contact with moisture on the floor.
Don’t forget to disconnect all attachments and store them separately. This prevents tangling and damage. I have a dedicated box just for the hoses and nozzles; it makes everything easier to find come spring.
Finally, a quick visual check on the unit before storing it helps. Look for any signs of wear or leaks. I had an unfortunate experience with a minor crack that went unnoticed and caused havoc when I next used it. Regular checks save time and money in the long run.
Drain Water from the Pressure Washer
To prevent damage from freezing temperatures, ensure all water is removed from the unit. Begin by disconnecting any hoses and attachments. Position the machine on a level surface for effective drainage.
Locate the drain plug, typically found at the bottom of the pump. If there’s no drain plug, tilt the device to facilitate water flow. Allow it to sit for several minutes to ensure complete drainage. It’s helpful to have a bucket underneath to catch any residual water.
After draining, check the hose and wand for any trapped water. Run the system briefly without any attachments to expel any leftover moisture. This step is crucial, as even small amounts of water can freeze and cause harm.
Consider laying the machine on its side for additional drainage. This method can help remove stubborn water that collects in hard-to-reach areas. After completing these steps, it’s wise to inspect the unit thoroughly for any signs of wear or damage.
| Step | Action | Notes |
|---|---|---|
| 1 | Disconnect hoses | Ensure all attachments are removed |
| 2 | Locate drain plug | Check the manual if unsure |
| 3 | Drain water | Allow to sit for several minutes |
| 4 | Run briefly | Expel remaining moisture |
| 5 | Inspect unit | Look for wear or damage |
These steps will protect your equipment, ensuring it remains in good condition until you’re ready to use it again. Trust me; a little effort now saves significant hassle later.
Clean the Water Filter and Nozzles
Remove the water filter and rinse it under warm water to eliminate any debris. A clogged filter can reduce performance and lead to pressure issues. After rinsing, inspect for damage; if it’s worn out, replace it to ensure optimal flow next season.
Next, check the nozzles. Use a soft brush or a toothpick to clear any blockages. I recall a time when a simple nozzle blockage caused my equipment to underperform during a critical job. Ensuring they are clean will enhance spray patterns and improve cleaning efficiency.
After cleaning, soak the nozzles in a mixture of vinegar and water for about 30 minutes. This helps dissolve any mineral buildup that may have accumulated. Rinse them thoroughly afterward to avoid any residual vinegar affecting performance.
Lastly, store the nozzles in a safe location, ideally in a dedicated storage container. Keeping everything organised prevents misplacing components and ensures everything is ready for use when needed again.
Add Fuel Stabiliser to the Engine
In my experience, adding a fuel stabiliser is a must when preparing your machine for a prolonged period of inactivity. This simple step can prevent the fuel from breaking down and causing issues in the spring.
After filling the tank with fresh fuel, pour in the stabiliser according to the manufacturer’s instructions. Make sure to run the engine for a few minutes to ensure the treated fuel circulates through the system. I remember one winter when I skipped this step; the engine struggled to start in the spring, leading to a frustrating day of troubleshooting.
Avoiding Fuel Issues
Old fuel can lead to clogged injectors and carburettor problems. By using a stabiliser, you significantly reduce the chances of such issues. I’ve seen engines that sat idle for months without stabiliser end up with gummy deposits that required extensive cleaning. Don’t let that be your story!
Selecting the Right Stabiliser
Look for a stabiliser designed for small engines, as these products contain additives that help protect against corrosion. Always check the expiry date on the stabiliser; using outdated products can lead to ineffective results. Trust me, investing a little effort now saves a lot of hassle later.
Protect the Electrical Components
To safeguard the electrical elements, ensure all connections are clean and dry. Moisture can lead to corrosion, which affects performance. I learned this the hard way with a unit that failed to start after a damp season. Here’s what I do to prevent that issue:
- Disconnect all power sources. Always unplug from the outlet and remove the battery if your model has one.
- Inspect the cords and plugs for any signs of wear or damage. Replace them if necessary to avoid short circuits.
- Use a moisture-resistant cover or bag to shield the electrical parts from humidity. This simple step has saved me from headaches during spring starts.
- Store the device in a dry, temperature-controlled environment. Avoid garages or sheds that experience extreme cold or dampness.
- Consider applying a light coat of electrical contact cleaner on exposed terminals. This can help prevent oxidation.
By following these tips, I’ve extended the life of my equipment and ensured it’s ready for action when the weather warms up again. Trust me, a little care goes a long way in preserving functionality.
Store in a Suitable Environment
Avoid areas with extreme temperatures or humidity. A garage or shed that maintains a stable climate is ideal. Ensure the location is dry to prevent moisture accumulation, which could lead to rust or mould. I once left my equipment in a damp corner of my garage, and it took weeks to clean it up. A friend recommended putting a dehumidifier in the space, which has worked wonders since then.
If possible, elevate the unit off the ground using a pallet or shelf. This simple step can protect it from potential flooding or leaks. I learned this the hard way after a heavy rain caused water to seep into my storage area, damaging some equipment. Now, I always keep my devices on a raised platform.
Keep the area well-ventilated. Proper airflow reduces humidity levels and prevents stale air, which can lead to unpleasant odours and mildew. I installed a small fan in my shed, and it has made a significant difference. It keeps the space fresh and dry, ensuring my tools remain in prime condition.
Consider using a cover to shield against dust and debris. I have a dedicated tarp that I drape over my devices, and it has saved me time on cleaning. In addition, regularly check the environment for any signs of pests. Rodents can cause significant damage to wiring and components; I had to replace a motor once because of a nest I overlooked.
For those interested in automotive applications, maintaining your devices in optimal conditions is just as critical. For more insights, check this automotive pressure washer guide. It highlights the importance of proper care and maintenance, ensuring your investment lasts for years.
Check for Maintenance Needs Before Spring
Before the sunny days arrive, inspect your cleaning machine for any wear and tear. Start by checking hoses for cracks or leaks. I recall a time when I neglected a small fissure, which quickly turned into a major issue during use. Replace any damaged parts promptly to avoid future headaches.
Next, examine the oil level in the engine. If it’s low or contaminated, change it before you get back to work. I learned this the hard way; running with dirty oil led to engine troubles that could have been easily avoided. Additionally, don’t forget to inspect the spark plug. A worn-out plug can hinder performance significantly. Replace it if needed.
Inspect the cleaning solution tank and ensure there’s no leftover detergent that could degrade over time. Clean it thoroughly to prevent residue buildup. I’ve seen machines malfunction due to clogged jets from old cleaning products.
Lastly, check all electrical connections. Moisture can create corrosion over time. I often take a little time to clean contacts and connectors to ensure everything is in tip-top shape. A little preventative maintenance can save you a lot of trouble when it’s time to get back to work in the garden or driveway.
For an interesting read on technology, you might check out this link about are digital cameras better than film cameras.




.jpg)


