


For those looking to refresh their outdoor timber, utilising a high-powered cleaning device can yield impressive results. Start by selecting an appropriate nozzle; a wide fan spray works best to avoid damaging the surface. During my years in the cleaning equipment industry, I discovered that maintaining an optimal distance of around 12 inches from the timber ensures thorough cleaning without risking splintering.
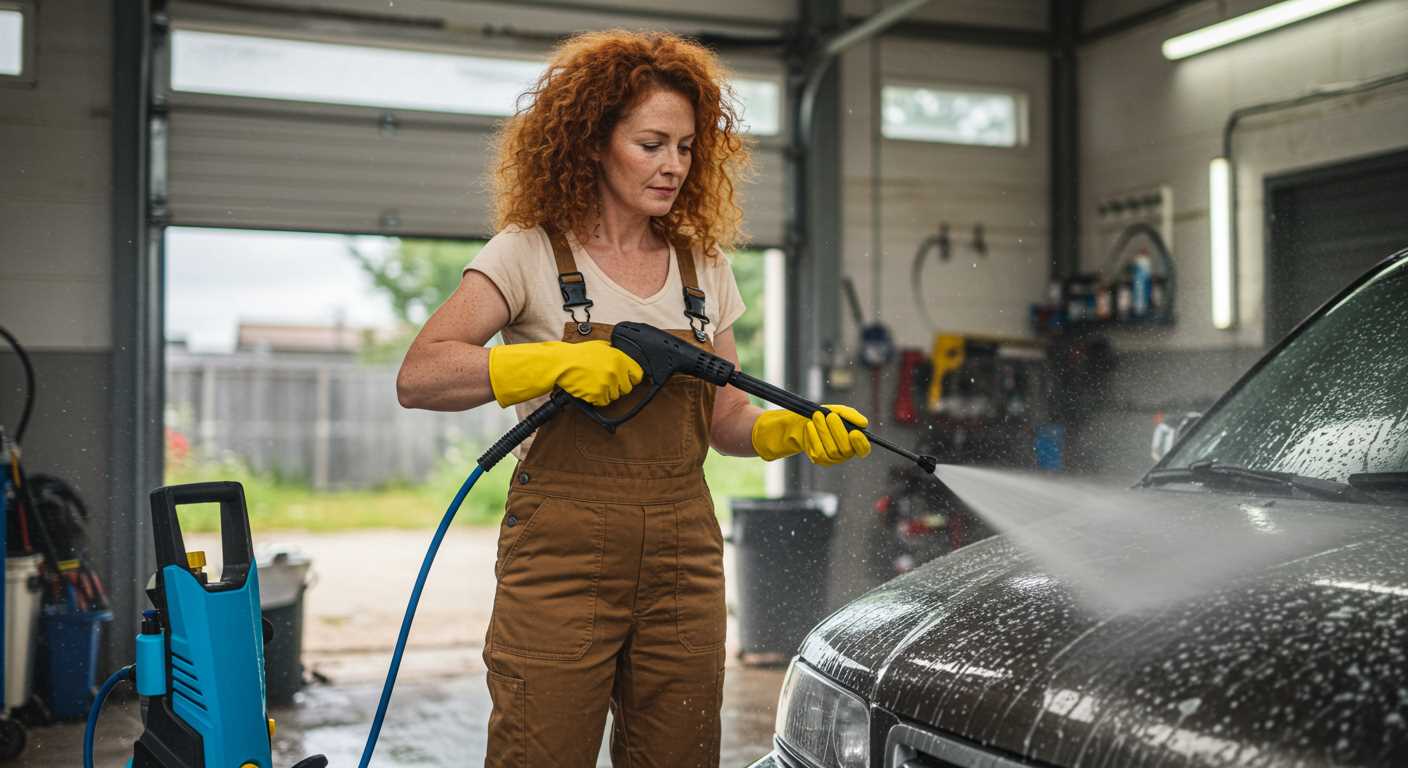
Before diving into the task, ensure the area is free of any obstacles and that surrounding plants are protected with tarps or plastic sheeting. I always recommend wearing safety goggles and a mask to shield against debris and potential fumes. My first experience attempting this was marred by neglecting protective gear; I ended up with more than just a clean surface!

When you’re ready, begin at one end and move steadily, allowing the water to break down any old coatings. It’s fascinating how the combination of pressure and water can strip away layers of history, revealing the natural beauty beneath. In my experience, applying a consistent motion helps prevent streaking and uneven results. Once you’ve finished, give the surface time to dry thoroughly before applying any new finishes to ensure optimal adhesion.
Efficient Techniques for Removing Coatings from Timber
Begin by selecting the appropriate nozzle. A 25-degree or 40-degree nozzle is ideal for delicate surfaces, minimizing the risk of damage while still providing adequate force to lift layers off. Adjust the distance between the nozzle and the surface; starting at around 12 inches and gradually moving closer as needed can yield the best results.
Use a sweeping motion rather than concentrating on a single spot. This ensures an even removal across the surface and prevents gouging. I once spent an afternoon working on an old garden bench, and by maintaining a steady hand and fluid movements, I managed to rejuvenate the wood without compromising its integrity.
Water temperature plays a significant role. If your equipment allows, using hot water can enhance the effectiveness of the process. The heat helps soften the old coatings, making them easier to lift. On one occasion, I had a stubborn layer that resisted normal temperatures; switching to hot water made all the difference.
Consider adding a cleaning solution designed for your specific type of coating. This can work synergistically with the water pressure to expedite the process. Be sure to follow manufacturer instructions regarding dilution and application methods for optimal outcomes.
Always wear appropriate protective gear. Safety goggles, gloves, and waterproof boots are a must. I learned this the hard way during an early project when a stray piece of debris hit my leg–never again!
After you finish, rinse the area thoroughly to remove any residual debris or cleaning agents. This step is crucial for preparing the surface for a new finish. For those looking for additional power tools to complement your cleaning arsenal, check out the best air compressor for car wash options. They can provide extra help for those intricate details that need a bit more attention.
Lastly, always test a small inconspicuous area first. This helps gauge the effectiveness and prevents potential damage to the main surface. I’ve encountered unexpected results in the past, and a test patch has saved countless hours of rework.
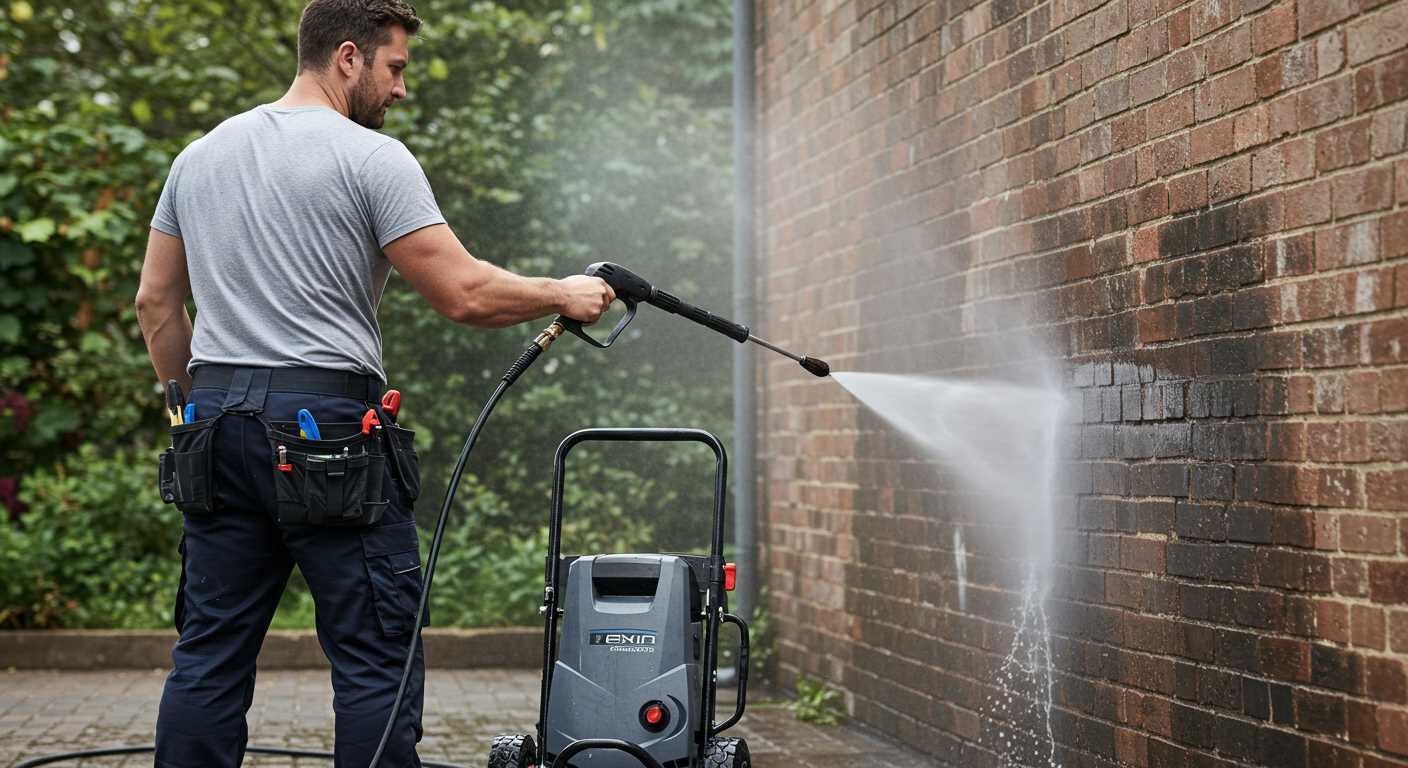
Choosing the Right Pressure Washer for Paint Removal
For effective results, select a unit with a minimum of 2000 PSI and 2.0 GPM. These specifications provide sufficient force and volume to lift old finishes without damaging the underlying surface. I once used a lesser model at 1500 PSI, and it took twice as long, leading to frustration.
Electric models are quieter and more suited for smaller jobs, while gas-powered options offer superior performance for larger areas. My most efficient experience came from using a gas unit on a weathered deck–it cut through layers of finish quickly and efficiently.
Pay attention to nozzle types. A 25-degree nozzle is a versatile choice for most tasks, but for particularly tough spots, a 15-degree nozzle provides a concentrated stream that can tackle stubborn areas. I’ve had success switching nozzles mid-task to adapt to different challenges.
Consider mobility. If you’re working on larger properties or multiple locations, a unit with wheels and a long hose saves time and effort. I learned this the hard way when a heavy machine made me rethink my approach halfway through a project.
Don’t overlook the option of a pressure washer that draws water from a bucket. It can be a lifesaver when a direct water source isn’t available, allowing you to maintain efficiency without interruptions.
Lastly, always check the warranty. A robust warranty indicates manufacturer confidence in their product, which can provide peace of mind during intense projects. I once faced issues with a unit that failed just outside the warranty period, a costly lesson in proper research.
Preparing the Wood Surface Before Stripping
Begin by clearing the area around the timber. Remove furniture, plants, and any obstacles that could interfere with the cleaning process. Safety is paramount; ensure you wear protective gear, including goggles and gloves, to shield against debris and chemicals.
Inspect for Damage
Examine the surface for any signs of rot or damage. Areas that are compromised should be addressed prior to high-pressure cleaning. I’ve encountered many projects where neglecting this step led to deeper issues later. If you spot any soft or decayed spots, consider replacing those sections or treating them with a wood hardener.
Clean the Surface
Use a broom or leaf blower to remove dust and debris. A clean surface allows the high-pressure process to be more effective. I’ve learned that a good rinse with water can help dislodge stubborn dirt, making the subsequent cleaning easier. If the wood has a significant build-up of grime, a diluted detergent solution can assist in breaking down the contaminants.
| Step | Action |
|---|---|
| 1 | Clear the area of obstacles |
| 2 | Inspect for rot or damage |
| 3 | Remove dust and debris |
| 4 | Rinse with water |
| 5 | Apply detergent if necessary |
Once the surface is adequately prepared, you’ll find the removal process much smoother and more effective. Trust me; taking these preliminary steps saves time and effort in the long run.
Adjusting the Pressure and Nozzle for Optimal Results
For the best outcome, set your device to a pressure level between 1500 to 2300 PSI. Lower pressures work wonders on softer materials, preventing damage, while higher settings are ideal for tougher surfaces. Always start at the lower end and gradually increase until you find the sweet spot.
Choosing the Right Nozzle
The nozzle selection is just as critical. Use a 25-degree or 40-degree nozzle for more delicate surfaces, as these provide a wider spray pattern. For stubborn residues, a 15-degree nozzle will deliver a more concentrated force, but be cautious; this can gouge softer timbers if held too close.
Technique Matters
Keep a distance of about 12 to 18 inches from the target area. Move the nozzle in a sweeping motion to ensure even coverage. I remember a job where I held the nozzle too close, resulting in an uneven finish that required extra work to correct. Always prioritise control over speed. Patience pays off.
Adjustments may be necessary as you work. If you notice the material is not responding, tweak the pressure or change the nozzle. Regularly check your progress; sometimes, a slight modification can lead to significant improvements.
With the right adjustments, the process becomes smoother and more effective, transforming tedious tasks into manageable ones. A few trial runs will help you master the technique, making the entire experience more satisfying and successful.
Techniques for Stripping Coatings from Different Wood Types
Each wood variety presents unique challenges and requires tailored methods for effective coating removal. Here’s a breakdown of techniques based on the type of timber you’re dealing with.
Softwoods

- Pine: Begin with a lower pressure setting to prevent gouging the surface. Use a wide fan nozzle to distribute the force evenly. This approach helps in lifting the layers without damaging the soft grain.
- Cedar: Cedar is porous and can absorb water quickly. Maintain a distance of at least 12 inches to avoid stripping too much material. A circular motion can help loosen the old finish more effectively.
Hardwoods
- Oak: For oak, I recommend using a higher pressure setting, around 2000 PSI. The dense grain resists removal, so it’s essential to keep the nozzle moving to prevent surface damage.
- Maple: This wood type can be tricky due to its fine grain. Use a narrow nozzle to focus the force and hold it at a slight angle to reduce the risk of splintering. It may require multiple passes to achieve a clean surface.
Always test a small area first, regardless of the wood type. This practice allows you to gauge how the material reacts and adjust your technique accordingly. Emphasising patience and observation during the process will yield the best results, as every piece of timber has its own story to tell.
Protecting Surrounding Areas During the Process
Investing in proper coverings is non-negotiable. I always recommend using heavy-duty tarps or plastic sheeting to shield nearby plants, furniture, and surfaces. This simple step can save you from potential headaches later on.
Be mindful of the wind direction. On one occasion, I found myself battling gusts that carried debris and water far beyond my intended target. Positioning myself strategically to face away from sensitive areas minimised unexpected fallout.
Consider surrounding surfaces carefully. If you’re working near windows or delicate siding, a quick application of painter’s tape can act as a protective barrier. I’ve seen too many projects marred by accidental splashes that could have easily been avoided.
Temporary fencing or barriers can also be beneficial, especially if you have children or pets roaming nearby. I learned this the hard way when my dog decided to investigate during a job. Keeping the area contained not only protects your work but also ensures safety for those around.
Lastly, keep a close eye on your equipment. Any leaks or drips from hoses can cause unintended damage. Regularly checking connections and fittings during your work can prevent excess moisture from affecting nearby areas.
Cleaning and Maintaining Your Pressure Washer After Use
After tackling a project, it’s crucial to ensure your cleaning tool remains in top condition. Here’s a straightforward guide based on my years of hands-on experience.
Immediate Steps Post-Use
- Disconnect the water supply and power source. This prevents any accidental activation.
- Run the machine for a brief period without any attachment to clear out residual fluid.
- Flush the nozzle and hose thoroughly to remove any debris. A clogged hose can lead to performance issues.
Long-Term Care
- Inspect all components regularly. Look for signs of wear or damage, especially on hoses and connectors.
- Store in a dry location to avoid rust and corrosion. If you must keep it outside, invest in a protective cover.
- Use a non-corrosive cleaner to wipe down the exterior, ensuring that no dirt accumulates.
Every few months, perform a more thorough maintenance check:
- Replace any worn-out seals or O-rings to maintain pressure.
- Check the oil level in the pump (if applicable) and change it as per the manufacturer’s guidelines.
- Examine the spray gun for blockages and clean it accordingly.
Staying proactive about maintenance will extend the life of your equipment and keep it operating efficiently. Trust me, a little effort goes a long way in ensuring your cleaning tasks are effortless.
Safety Precautions When Using a Pressure Washer
Always wear protective eyewear. I recall a day when I was caught off guard by a small splatter of debris that struck my glasses. It was a wake-up call; a simple pair of goggles could have saved me from a potentially serious eye injury. Thick gloves are also a must to shield your hands from water pressure and any chemicals you may be using.
Protecting Your Skin and Hearing
Long sleeves and sturdy footwear can prevent cuts and bruises from flying particles. I once wore sandals during a job, and a sudden kickback from the nozzle led to a painful toe incident. My ears also suffered after prolonged exposure to the loud noise; using ear protection is crucial to avoid any lasting damage.
Environmental Considerations
Ensure that you’re working in an open area, away from flammable materials. I learned this lesson the hard way after nearly igniting some nearby leaves. Be mindful of the wind direction too; it can carry debris or chemicals towards you or others nearby. Always check the weather forecast before starting to avoid unexpected rain, which can interfere with your work and create slippery conditions.

.jpg)


