


Always disconnect the unit from the power source before making any adjustments. This simple step ensures safety while handling different tools. I recall one time when I neglected this and had a close call; lesson learned the hard way!
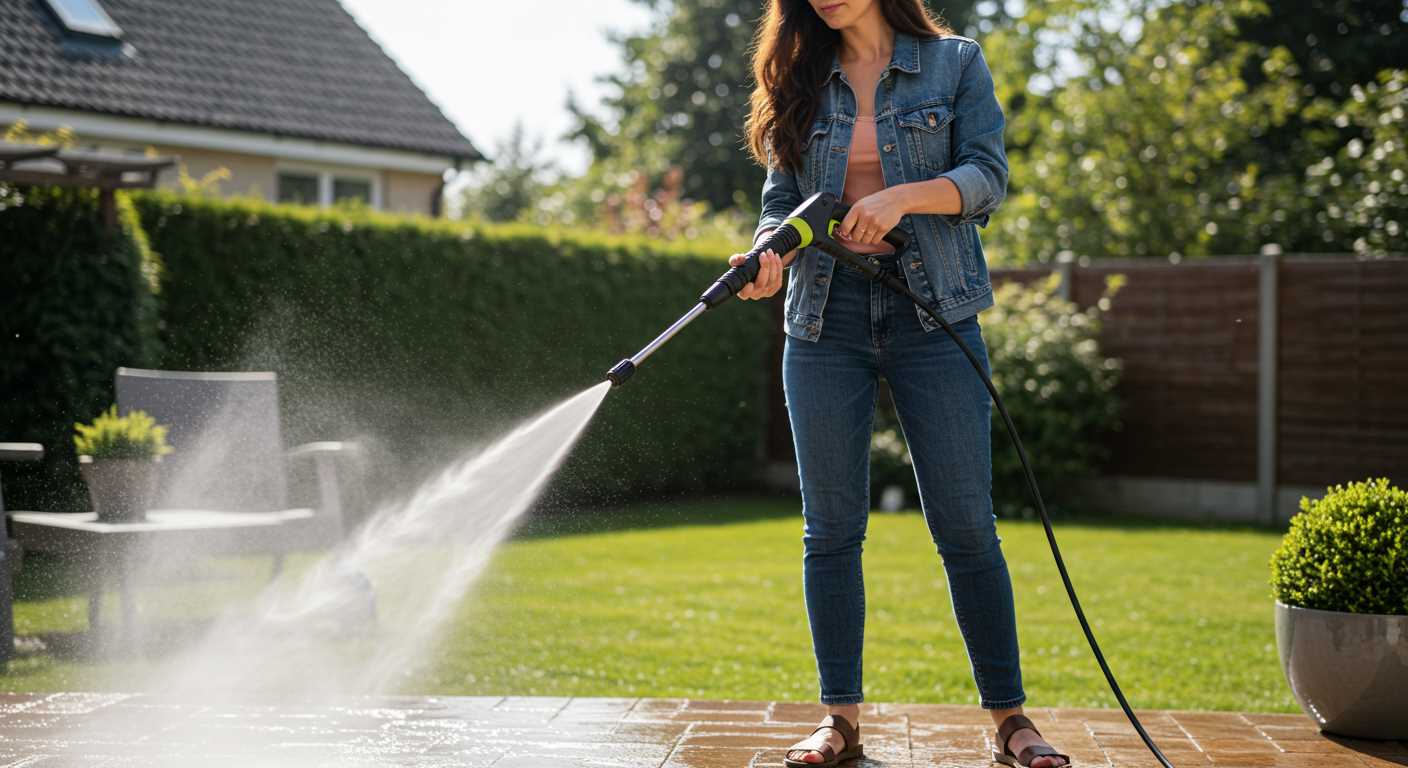
Identify the type of attachment you need for your specific task. Each piece serves a unique purpose, whether for delicate surfaces or tougher grime. For instance, a wider spray pattern works wonders on driveways, while a narrow jet is perfect for stubborn stains on walls.
To replace the attachment, grip it firmly and twist or pull depending on the model. Some designs have a quick-release mechanism that allows for effortless changes. I’ve had models where the fit was so snug that I needed to use a bit of elbow grease, but it’s all part of the process.
After securing the new attachment, test the connection by running the unit briefly. This helps to confirm that everything is locked in place and functioning correctly. I often find that a quick test saves time and prevents mishaps later on.
Lastly, make a habit of checking attachments for wear and tear. I once faced a frustrating afternoon when a worn piece malfunctioned mid-job, leading to delays and extra cleaning. Regular maintenance can save you from such headaches.
Switching Accessories for Optimal Cleaning

To change the attachment on your cleaning device, firmly grip the existing accessory and pull it straight off the lance. Ensure you have the right replacement accessory on hand, as different tasks require specific attachments. Align the new component with the lance and firmly push it until you hear or feel a click, confirming a secure fit.
Always check the connection before starting the machine to avoid any unexpected disconnections during use. I recall a time when I didn’t double-check, and the nozzle came loose while I was tackling a particularly stubborn area on my driveway. It caused quite a mess and added unnecessary time to my task.
When using a rotating brush or a fan-style attachment, remember to adjust the distance from the surface being cleaned. Too close can damage surfaces, while too far reduces effectiveness. I’ve found that maintaining a distance of around 30 cm usually strikes the right balance for most surfaces.
After completing your task, always detach the accessory and store it properly. Keeping everything clean and organised not only prolongs the life of your equipment but also makes future cleaning sessions more efficient. I’ve learned this the hard way–neglecting storage led to damaged parts and extra expenses.
Identifying the Correct Nozzle for Your Task
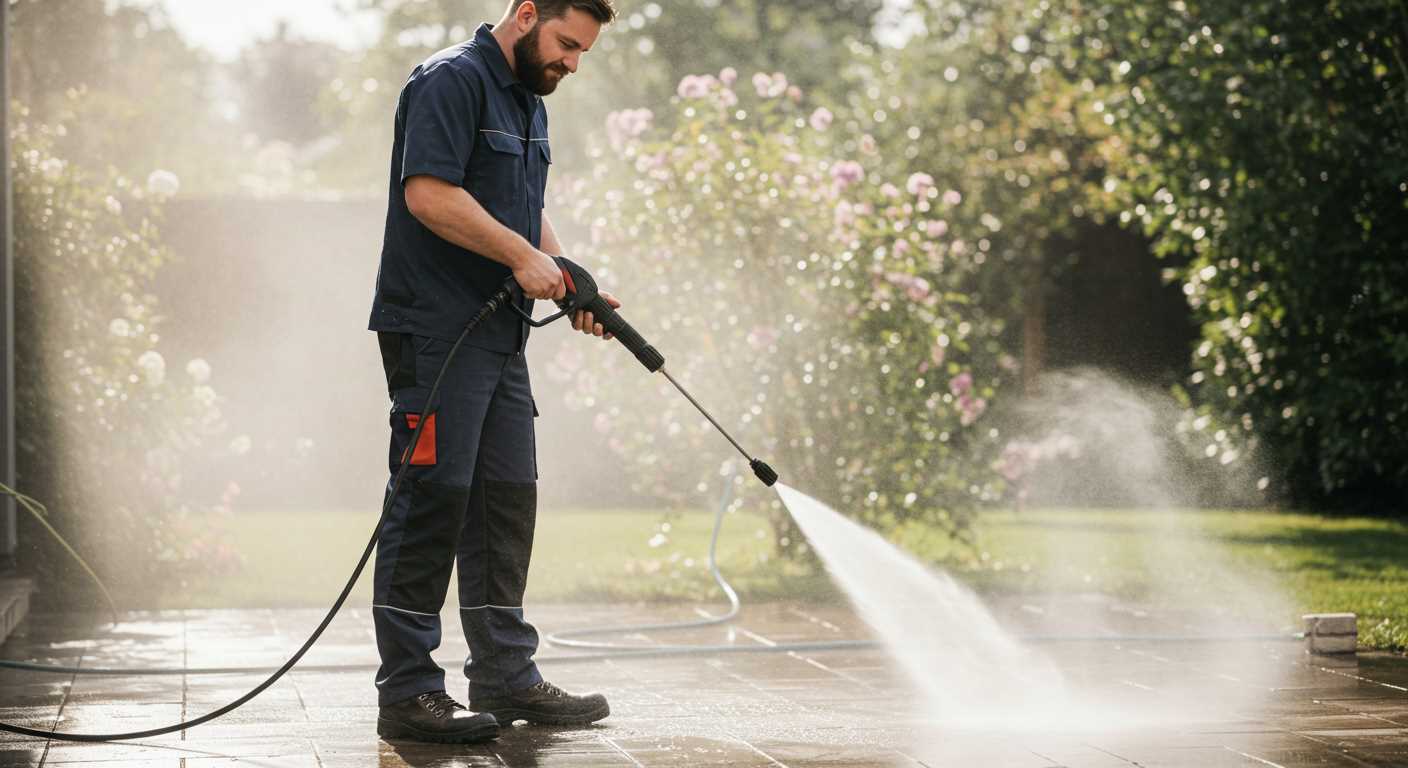
To select the right attachment, consider the surface you’re cleaning. For delicate areas like car paint or wooden decks, a fan spray is ideal, typically around 25 degrees. For tougher grime on concrete or stone, a more concentrated stream, around 0 degrees, will do the trick. I once tackled a heavily stained driveway with a narrow jet. It cut through the dirt like butter, showcasing the power of the right tool.
Another factor is the type of cleaning solution you might be using. When I worked with algae removal in aquariums, I found that using a wider spray pattern helped distribute the cleaner evenly, enhancing its effectiveness. If you’re interested in a great product for this purpose, check out the best algae scrubber for aquarium.
Lastly, always consider the water pressure. If it’s too high for a specific attachment, you risk damaging the surface. I’ve occasionally seen people using a high-pressure setting on fragile surfaces, leading to costly repairs. Adjust according to your needs, and you’ll achieve the best results.
Preparing Your Pressure Washer for Nozzle Change
Before making any modifications to your cleaning equipment, ensure it’s powered down and disconnected from the water supply. A simple yet effective step that prevents accidental activation.
- Check the power source. If it’s electric, unplug the unit. For gas models, make sure the ignition is off.
- Ensure the garden hose is detached. This avoids any unexpected water flow during the process.
- Inspect the current attachment. Look for signs of wear or damage. A well-maintained component ensures better performance.
Having the right tools on hand is key. Grab a pair of gloves to protect your hands and a towel to wipe any residual water from the fittings. This helps prevent slipping when handling the attachments.
- Gather your tools: You might need a wrench or pliers, depending on the model.
- Have a clean cloth ready to dry any wet areas on the attachment point.
Taking a moment to examine the new attachment is wise. Look for any manufacturer’s instructions, as they often include specific tips for your model. Trust me, I’ve seen many avoidable mistakes simply due to overlooking these details.
Finally, ensure the area is clear. A tidy workspace not only makes the task easier but also reduces the risk of accidents. Remember, preparation today saves time and hassle tomorrow.
Step-by-Step Guide to Removing the Old Nozzle
Begin by ensuring the equipment is powered off and disconnected from the water supply. This prevents any accidental activation during the process. I’ve seen too many mishaps caused by neglecting this step.
Unscrewing the Nozzle
Locate the nozzle attachment point, which is typically at the end of the lance. Grip the nozzle firmly, and if it’s threaded, twist it counter-clockwise to unscrew. Sometimes, a stubborn nozzle requires a bit more force. I’ve used a pair of pliers wrapped in cloth to avoid damaging the nozzle if it gets stuck.
Cleaning the Connection
After removal, inspect the connection point for debris or mineral build-up. A clean surface ensures a better fit for the new attachment. I recommend using a soft brush or a cloth to wipe away any dirt. In my experience, neglecting this can lead to leaks or poor performance with the new fixture.
Now you’re ready for the next step in enhancing your cleaning tasks. Make sure to store the old nozzle properly, as it might come in handy for different jobs in the future.
Installing the New Nozzle Safely and Securely
Always ensure the machine is powered off and disconnected from the water supply before proceeding. This eliminates any risk of accidental activation while you’re working. When you’re ready to attach the new attachment, align it carefully with the lance or wand. A secure fit is crucial to avoid leaks or detachment during operation.
I remember one time I was helping a friend with their outdoor cleaning project. They were eager to get started and rushed the attachment process. Unfortunately, the component wasn’t seated properly, and we ended up with water spraying everywhere. It was a valuable lesson in taking the time to do it right.
Once aligned, push the new piece onto the wand firmly until you hear a click or feel it lock into place. If your model has a locking mechanism, engage it to prevent any accidental release during use. Check the connection by gently tugging on the attachment; it should remain secure. If there’s any movement, remove it and repeat the process.
Finally, test the connection by turning on the water supply without activating the motor. Look for leaks around the joint. If everything appears tight, proceed to power up the machine and test the functionality. A quick spray test will confirm that the new tool is performing as expected. Always wear protective gear, such as goggles, to shield your eyes from debris or high-pressure water splashes.
Testing the New Nozzle for Proper Functionality
Before using the newly installed attachment, it’s crucial to ensure it operates as intended. Here are the steps I recommend based on my years of experience.
-
Begin by connecting the equipment to a water source. Ensure the water supply is turned on fully to avoid any interruptions during testing.
Trending Now Compact Electric Pressure Washer with Foam CannonIdeal for home and vehicle cleaning tasksWith a max pressure of 2100 PSI and a lightweight design, this electric pressure washer is perfect for various outdoor cleaning needs, including vehicles and patios. Its detachable foam cannon enhances cleaning power with added detergents. -
Start the machine and watch for any leaks around the connection points. If water leaks, turn off the unit and check if the attachment is fitted correctly.
-
Once you confirm there are no leaks, test the output. Aim the stream at a non-sensitive surface, such as a concrete path or driveway. This helps assess the spray pattern and pressure.
-
Observe the coverage area and efficiency. If it doesn’t meet your expectations, consider checking the compatibility of the attachment with your model.
-
If everything looks good, proceed to test it on your intended surface. Start with a small section to gauge its effectiveness before committing to larger areas.
In my experience, especially with models like the sun joe electric pressure washer, proper functionality testing can save time and prevent potential issues. Always remember to keep safety gear on hand and follow all manufacturer guidelines during the testing phase.
Maintaining Attachments for Longevity and Performance
Regular upkeep is key to maximising the lifespan and efficiency of your cleaning attachments. After years of hands-on experience, I’ve found that a few simple practices can make a significant difference.
First, rinse the attachment thoroughly after each use. Residue from cleaning solutions and debris can clog the openings and affect performance. I always keep a bucket of water nearby, allowing me to dip the attachment immediately after use to prevent buildup.
Next, inspect the attachment for any signs of wear or damage. Look for cracks, chips, or any irregularities. If you notice any issues, it’s best to replace the component promptly. I’ve learned the hard way that ignoring small problems can lead to larger, more costly repairs down the line.
Storing attachments correctly is equally important. Keep them in a dry, cool place away from direct sunlight to prevent degradation of materials. I use a dedicated storage container that keeps everything organised and protected. This small investment has saved me from scrambling for parts mid-job more times than I can count.
Lastly, lubricate the connection points where the attachment meets the equipment. A light application of silicone spray can prevent rust and ensure a smooth fit. This quick task can save you from frustrating jams and help maintain a reliable seal during operation.
| Maintenance Task | Frequency | Notes |
|---|---|---|
| Rinse after use | Every use | Prevents residue buildup |
| Inspect for damage | Monthly | Replace if necessary |
| Proper storage | Always | Avoid exposure to elements |
| Lubricate connection points | Every few uses | Prevents rust and ensures fit |
Implementing these straightforward practices can lead to a noticeable improvement in performance and durability. In my experience, a little effort in maintenance goes a long way in ensuring your cleaning tasks are efficient and hassle-free.
.jpg)


