
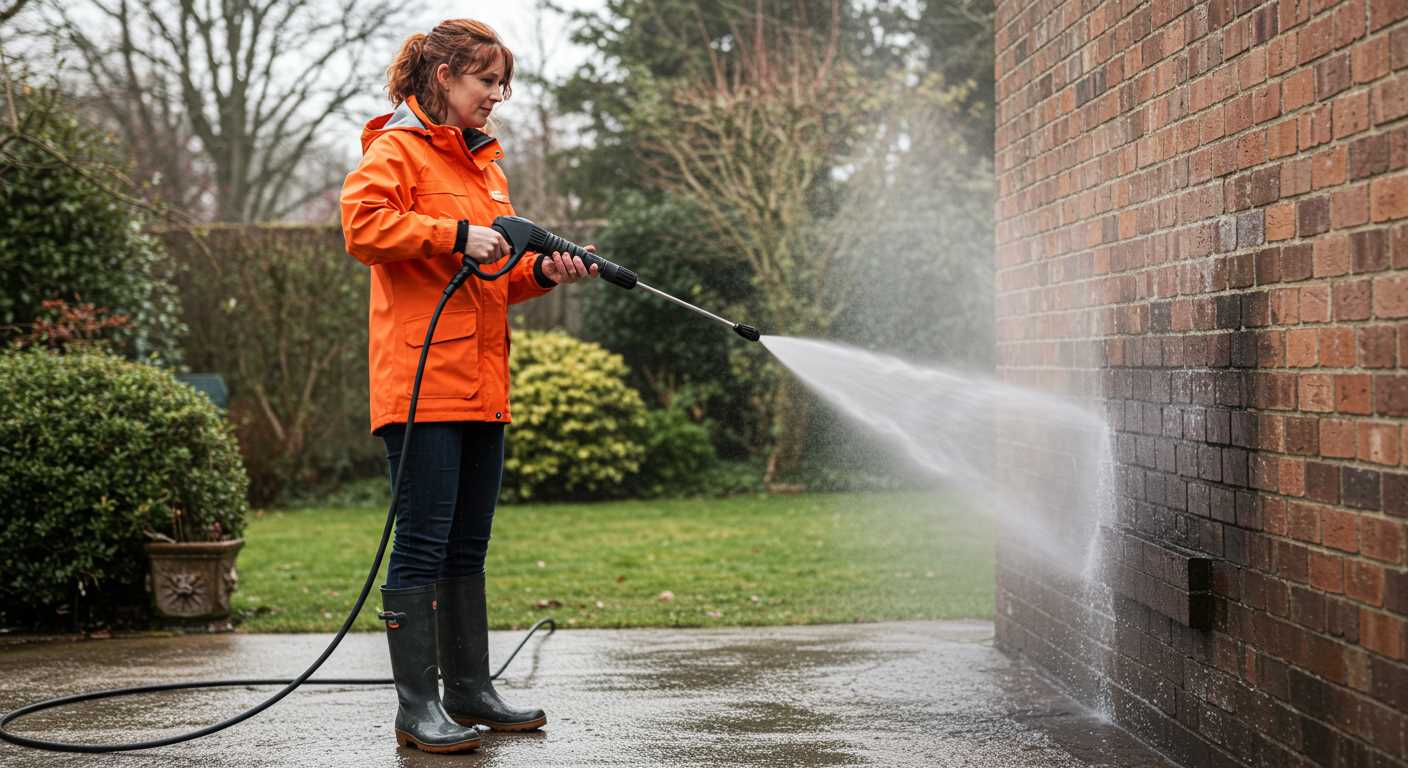


For those aiming to fix or maintain the grip of their cleaning unit, a straightforward approach can save time and ensure functionality. Begin by ensuring the device is unplugged and cooled down to prevent any accidents.
Next, locate the screws that secure the grip. Generally, these are situated at the base where the grip connects to the main body. Use a suitable screwdriver to carefully remove them, placing the screws in a safe location to avoid losing them. Once the screws are out, gently pull the grip away from the body. Be cautious of any attached wiring that may require careful handling to prevent damage.
If you encounter resistance while separating the components, check for hidden clips or additional screws that may not be immediately visible. These can often be overlooked and are critical for a smooth disassembly. After successfully removing the grip, inspect for any wear or damage, allowing you to address any issues before reassembly.
Disassembling the Pressure Cleaner Grip
Begin with ensuring the device is unplugged and the water supply is off. Locate the screws that secure the grip to the main unit. Typically, these screws are found at the base of the grip where it connects to the body. Use a suitable screwdriver to remove them carefully.
Once the screws are out, gently wiggle the grip to free it from the main assembly. Be cautious not to apply excessive force, as this might damage the internal components. If it feels stuck, check for any hidden clips that may need to be released first.
Next, examine the internal wiring connected to the grip. Carefully disconnect any electrical connectors, ensuring you note their positions for reassembly later. It’s wise to take a photo for reference, as this will simplify the process upon reattachment.
After separating the grip, inspect the internal components for wear or damage. This is an excellent opportunity to clean any debris or buildup that may have accumulated. If you plan on replacing parts, make sure you source genuine replacements to maintain performance.
To reassemble, reverse the steps taken during disassembly. Reconnect the wires, ensuring each connector clicks into place. Align the grip with the body and secure it with the screws. Double-check the tightness but avoid overtightening, which could cause stress on the plastic components.
Finally, reconnect the water supply and plug the device back in. Test the operation to ensure everything functions smoothly. Regular maintenance like this can extend the life of your equipment significantly.
Identifying the Components of the Handle
Start by examining the outer casing carefully. This is typically made from durable plastic designed to withstand wear. Pay attention to any screws or clips that may secure it in place.
Key Parts to Look For:
- Trigger Mechanism: This is the component you pull to activate the flow of water. It usually connects with a spring, which might need a gentle tug to release.
- Hoses: Look for any hoses that run through the handle. These often connect to the main body of the device and require careful detachment.
- Electrical Connections: If your unit has electric features, identify any wiring that may be linked to the handle. Unplug these with caution.
- Safety Lock: Many handles have a safety feature to prevent accidental activation. Familiarise yourself with how it operates before proceeding.
Tools You Might Need:
- Screwdriver set (both Phillips and flathead)
- Pliers for gripping and pulling components
- Small container to keep screws and small parts organised
Once you have identified these components, you’ll find it easier to disassemble the structure without damaging any parts. For maintaining your cleaning equipment, consider checking out the best pressure washer surface cleaners to ensure optimal performance.
Gathering necessary tools for disassembly
Before you start disassembling, ensure you have the right tools on hand. A Phillips screwdriver is essential for accessing screws, while a flathead screwdriver can help pry apart stubborn components. Pliers will assist with gripping and twisting parts that may be stuck. A small hammer can be useful for gently tapping components that require a bit of persuasion to come loose.
Additional items to consider
Consider having a small container or magnet tray to store screws and small pieces to avoid losing them during the process. If you encounter any rusted or stubborn screws, penetrating oil can help loosen them effectively. A clean cloth or rag is handy for wiping down parts as you work, ensuring you maintain a clean workspace. For those interested in exploring new models, check out the diesel pressure washer on the market for potential upgrades.
Step-by-step guide to removing screws and fasteners
Begin with a careful inspection of the assembly. Identify all visible screws and fasteners that secure the components. Typically, you’ll find a mix of Phillips and Torx screws. It’s crucial to have the correct screwdriver at hand to avoid stripping the heads.
Next, organise your workspace. Lay a clean cloth or mat to prevent losing any small parts. Keep a container nearby for screws and fasteners to ensure they don’t roll away. This simple step saves time later on.
Start with the screws located at the base of the grip, as these often provide the first layer of access. Use a screwdriver of the appropriate size and apply even pressure while turning. If a screw proves stubborn, a drop of penetrating oil can help ease it free. Allow it to sit for a few minutes before attempting to remove it again.
Once the base screws are out, look for any hidden fasteners. Sometimes, components may conceal screws, so check for any plastic covers or caps that need to be pried off. A flathead screwdriver can help gently lift these covers without damaging the surrounding plastic.
Continue upwards along the assembly, working on any remaining screws. It’s advisable to keep track of their sizes and lengths, as not all screws are identical. A small table can help you record this information for reassembly:
| Screw Location | Screw Type | Size |
|---|---|---|
| Base of grip | Phillips | 10mm |
| Side panel | Torx | T20 |
| Top cap | Phillips | 8mm |
After all screws are removed, gently pull apart the sections of the assembly. If you encounter resistance, double-check for any remaining fasteners. Forcing components apart can lead to damage.
In my experience, patience is key. Taking your time ensures that you don’t miss any crucial steps, which could complicate reassembly. Remember to document your process, as this will save you headaches when it’s time to put everything back together.
Disconnecting Internal Wiring Safely
Before proceeding with any disassembly, always ensure the unit is unplugged. This prevents any accidental shocks during the process. Begin by carefully inspecting the wiring. Look for connectors and terminals that can be easily unfastened without causing damage. Take note of the colour coding of wires; this will assist in reassembly later. Using a multimeter can help confirm that there is no residual voltage in the system.
Using the Right Tools
A pair of insulated wire cutters and a screwdriver set are indispensable for this task. Ensure your tools are in good condition to avoid slippage that could lead to cuts or electrical shorts. When disconnecting wires, gently wiggle the connectors rather than pulling directly to prevent any breakage. If you encounter any difficulty, a small amount of lubricant can help ease stubborn connections.
Documenting Connections
Before removing any wires, take clear photographs or make sketches of the connections. This visual reference will be invaluable during reassembly. Label each wire with tape and a marker, ensuring you document not just where it connects, but also the sequence in which they were connected. This attention to detail can save significant time and frustration later.
Reassembling the Handle After Maintenance
Ensure all components are clean and dry before beginning the reassembly. Begin by reconnecting any internal wiring, making sure that connections are secure and properly oriented. This step is critical; a loose or misaligned wire could lead to malfunction.
Reattaching the Main Components
Position the main sections of the grip back together, aligning any tabs or grooves that facilitate a snug fit. Use a gentle but firm pressure to press them together. Avoid using excessive force, as this might cause damage to the plastic casing. Once aligned, proceed to insert the screws you previously removed. Tighten them in a criss-cross pattern to ensure even distribution of pressure, which helps maintain the integrity of the structure.
Final Checks and Testing
After securing all screws, inspect for any gaps between the components. If everything appears to be in place, reconnect the handle to the main unit of the cleaning device. Do a quick functionality test before full operation, ensuring that the trigger mechanism responds correctly. It’s wise to test the unit without water first, just to confirm that everything operates smoothly. If you notice any resistance or unusual sounds, disassemble again to address potential issues before using it for cleaning tasks.
.jpg)
.jpg)


