


Regular inspection of the hoses is a must. Look for any signs of wear or leaks, as even a small crack can lead to significant pressure loss. I always keep a spare hose on hand, just in case. During my years in the field, I encountered a situation where a worn-out hose caused a delay in a job, which could have easily been avoided with a quick check.
Next, ensure the nozzle is free from blockages. A clogged nozzle can affect the performance dramatically. I remember a time when I was working on a particularly stubborn surface, and it turned out that a tiny pebble lodged in the nozzle was the culprit behind the inadequate pressure. Cleaning it out restored the power and made the task much easier.
Don’t overlook the importance of maintaining the pump. Keeping it well-lubricated with the right oil can prevent premature wear. I once had a colleague who neglected this step, leading to pump failure just weeks after purchase. A simple oil change could have saved him from that hassle.
Lastly, always store the equipment in a dry place. Moisture can cause rust and damage electrical components. After each use, I make it a habit to wipe down the machine and ensure it’s completely dry before putting it away. This practice has kept my own units in excellent condition for years.
Regularly Check and Change the Oil
Every few months, I make it a point to inspect and replace the oil in my high-pressure cleaning unit. This simple act not only prolongs the lifespan of the motor but also ensures optimal performance. Here’s how I do it:

| Steps | Details |
|---|---|
| 1. Gather Your Supplies | You’ll need fresh oil, a funnel, an oil pan, and a cloth for cleaning. |
| 2. Warm Up the Engine | Let the machine run for a few minutes. Warm oil drains more easily. |
| 3. Drain the Old Oil | Locate the drain plug and let the old oil flow into the pan. Ensure it’s completely empty. |
| 4. Replace the Oil Filter | If your model has an oil filter, change it to prevent impurities from mixing with the new oil. |
| 5. Add New Oil | Using the funnel, pour in the recommended oil type until it reaches the proper level indicated on the dipstick. |
| 6. Check for Leaks | After replacing the plug, run the unit for a minute and inspect for any leaks. |
| 7. Dispose of Old Oil | Always dispose of the used oil responsibly at a recycling centre. |
I’ve found that using the right type of oil makes a significant difference. Always refer to the manufacturer’s specifications. A few years back, I used the wrong viscosity, thinking it wouldn’t matter, but my unit struggled and overheated. Since then, I’ve learned the hard way that sticking to the guidelines pays off.
Regular oil changes not only keep the engine running smoothly but also reduce wear and tear. I often check the oil level before starting any cleaning task, ensuring everything is in top shape before diving into a big job. It’s a small effort that yields substantial results.
Inspect and Clean the Water Filter
Regular inspection and cleaning of the water filter are crucial for maintaining optimal performance. I’ve often found that neglecting this component leads to reduced efficiency and even potential damage to the machine. Begin by locating the water filter, which is typically situated near the inlet. Remove it carefully, taking note of the orientation for reinstallation.
Cleaning the Filter
Rinse the filter under running water to dislodge dirt and debris. For stubborn clogs, a soft brush can be used to gently scrub the surface. Avoid harsh chemicals as they can degrade the filter material. After cleaning, ensure the filter is completely dry before reinstalling it to prevent any moisture-related issues.
Frequency of Inspection
Check the water filter every few months, or more frequently if you use your machine in particularly dusty or dirty environments. This simple maintenance task can extend the life of your equipment and ensure consistent performance. Just as you wouldn’t let your pets roam without proper precautions–like ensuring their safety with a fence–keeping your machine’s components clean is equally important for its longevity. If you’re curious about pet safety, check out this article on can small dogs use electric fence.
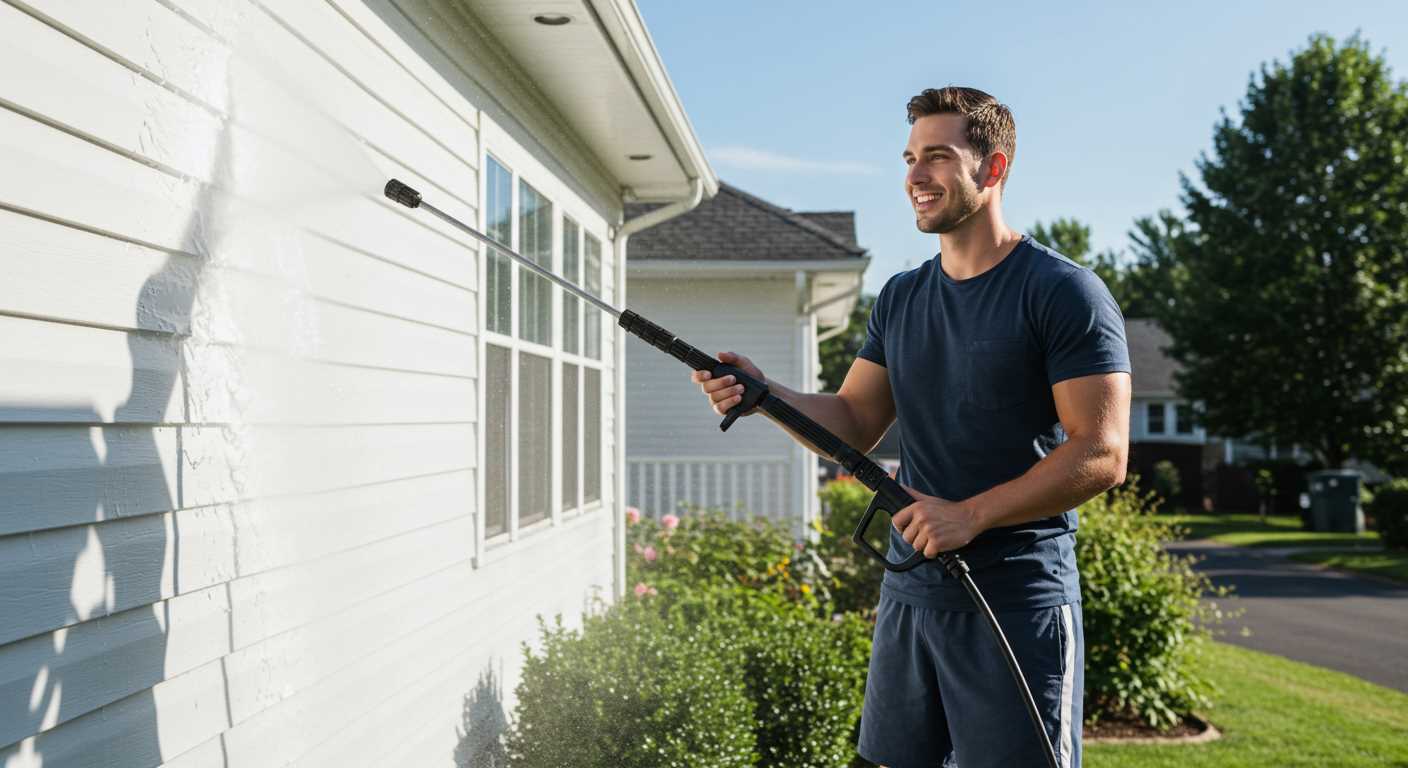
Maintain the Spray Nozzle and Hose
Regular maintenance of the spray nozzle and hose is crucial for optimal performance. Start with the nozzle; rinse it with clean water after every use to remove any debris. Use a soft brush to clear any blockages that may affect the spray pattern. If you notice a reduced flow or inconsistent spray, it might be time to replace the nozzle. Keep spare nozzles handy for quick replacements.
Inspecting the Hose
The hose experiences wear and tear over time, so regular inspection is necessary. Look for any cracks, bulges, or leaks. A simple way to check for leaks is to run the machine at low pressure and observe for any water escaping. If you find any damage, replace the hose immediately to avoid pressure loss.
- Store the hose properly to prevent kinking.
- Avoid dragging the hose over rough surfaces.
- Use a hose reel for neat storage and to prevent damage.
Cleaning and Maintenance Tips
To maintain the life of your nozzle and hose, follow these steps:
- After each use, disconnect the hose and nozzle, and rinse them thoroughly.
- Inspect the connections for any signs of wear and replace them if necessary.
- Apply a silicone-based lubricant to the hose fittings to ensure a tight seal.
Using these practices will enhance the longevity and efficiency of your cleaning equipment, ensuring that it remains in top condition for years to come. Trust me, a little attention goes a long way in preserving your investment.
Store the Washer Properly During Off-Seasons
To ensure longevity, always store the unit in a dry, climate-controlled environment. I once made the mistake of leaving mine in a damp garage during winter, and it led to rust and corrosion that took weeks to fix. Ideally, choose a spot away from direct sunlight to prevent any plastic components from warping.
Before stowing it away, drain all the water from the system. This prevents freezing in colder months, which can cause significant damage. I learned this the hard way; a small amount of water left in the pump had frozen overnight, resulting in costly repairs.
Disconnect and clean all attachments, including the hose and nozzles. This simple step keeps them from getting clogged or damaged. I often soak mine in warm, soapy water, followed by a rinse. It’s quick and ensures everything remains in top condition for the next use.
Utilise a cover or protective bag specifically designed for your model. I’ve found that this extra layer of protection against dust and debris makes a noticeable difference when it’s time to use the machine again. Always double-check for any leaks or damage before the next season to avoid unpleasant surprises.
Lastly, keep the owner’s manual handy and refer to it for specific storage recommendations unique to your model. Following these guidelines has saved me countless hours of repair work and ensures the equipment is ready to perform when I need it most.
Test and Replace Worn-Out Seals
Regularly inspect the seals on your unit for any signs of wear or damage. These components are critical for maintaining pressure and preventing leaks. I recommend checking them at least once every few months, especially if your equipment is used frequently. Look for cracks, tears, or any signs of deterioration. If you notice any issues, it’s time to replace them.
To test the seals, perform a simple water pressure test. Run the machine and observe for any leaks around the seals. If water is escaping, it indicates that a seal may be compromised. Replace the defective seal immediately to avoid further damage or inefficiency.
In my experience, using OEM (original equipment manufacturer) seals is always the best choice. They are specifically designed for your model and ensure optimal performance. When replacing, ensure that you clean the seat thoroughly before installation. A clean surface helps the new seal fit snugly, preventing future leaks. Remember to follow the manufacturer’s instructions for the specific type of seal your machine requires.
Once you’ve installed the new seals, run your unit again to ensure everything is functioning correctly. Regular maintenance of seals not only extends the life of your equipment but also enhances its performance. Trust me, a small investment in seals can save you from bigger problems down the line.
Keep the Unit Clean and Free from Debris
Regular cleaning of your equipment is paramount. After each use, make it a habit to rinse off any dirt or grime that accumulates on the exterior. This simple step prevents the build-up of residues that can lead to corrosion or damage over time. Use a damp cloth or sponge to wipe down the surfaces, ensuring that no soap or detergent is left behind, as these can degrade materials.
Pay Attention to the Undercarriage
Don’t forget about the undercarriage! This area often collects a significant amount of debris, including mud and leaves. If neglected, it can lead to blockages that affect performance. A soft brush or compressed air can help clear out any stubborn particles. Make this a routine part of your maintenance after each session, especially if you’ve used the machine in particularly dirty conditions.
Properly Store Accessories
Keep all attachments and hoses neatly stored. A tangled or improperly stored hose can wear out faster and may even lead to leaks. Use hooks or reels to hang hoses and ensure that no sharp bends occur. This not only extends the life of your accessories but also keeps your workspace tidy, making it easier to locate everything when needed. If you’re interested in a reliable model, check out this domestic karcher pressure washer for your cleaning tasks.
Follow Manufacturer Guidelines for Servicing
Referencing the manual is non-negotiable for optimal performance. Each model comes with specific instructions, detailing the servicing schedule and required tasks. I once overlooked a minor maintenance point on my unit, assuming it was universal knowledge. A costly repair followed, resulting in a lesson on the importance of adhering to manufacturer specifications.
Adhere to Recommended Intervals
Pay attention to the suggested intervals for routine maintenance. Some brands recommend checking parts monthly, while others suggest seasonal inspections. I’ve observed that sticking to these guidelines not only prolongs the lifespan of the equipment but also enhances efficiency during use. For instance, regularly replacing the spark plug as advised can significantly improve ignition and performance.
Use Approved Replacement Parts

Utilising parts endorsed by the manufacturer is crucial. During one servicing session, I opted for a cheaper alternative for a pump seal. It seemed like an economical choice until it caused a leak, leading to extensive damage. Investing in genuine components ensures compatibility and reliability, preventing potential mishaps down the line.
.jpg)


