
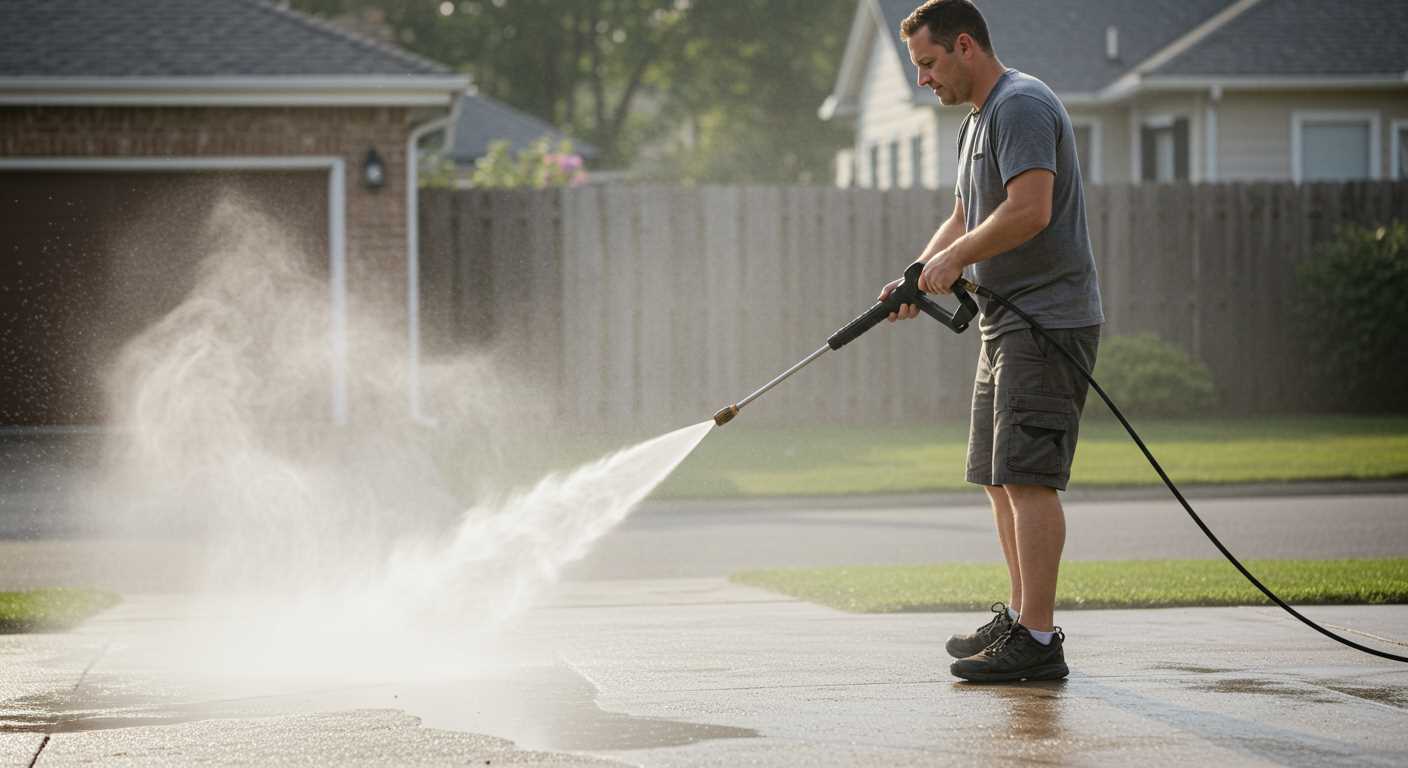


Begin with ensuring that your device is switched off and unplugged. Safety is paramount; no one wants an unexpected spray while working. Once you’re set, locate the quick-release mechanism on the connector. Most models have a simple push-and-pull design, which allows for easy disconnection.
With one hand, grasp the connector firmly while using the other hand to press down on the release button. It may require a bit of force, especially if it hasn’t been detached for a while. If you encounter resistance, a gentle twist can help loosen it. This was a lesson I learned from my early days; sometimes a little patience goes a long way.
If the connection remains stubborn, check for any debris or build-up around the fitting. A quick wipe can often do wonders. I remember a time when I overlooked this simple step, resulting in unnecessary frustration. Once clear, repeat the disconnection process for a smooth and easy removal.
After you’ve successfully detached the connector, store it properly to avoid any damage. I always keep mine in a designated spot, as losing components can lead to delays in future projects. Keeping everything organised makes life simpler and ensures that your gear stays in top condition for all your cleaning tasks.
Disconnecting the Connection on Your Pressure Cleaner
To remove the water supply line from your cleaning device, ensure the unit is powered off and unplugged for safety. Locate the quick-release connector, typically found at the machine’s rear or side. Push the release button or pull the collar while gently pulling the connector away from the main unit. This action can require a bit of firmness, but avoid excessive force to prevent damage.
Handling the Attachment with Care
After detaching, inspect both the connector and the inlet for any debris or wear. A thorough cleaning can prevent future leaks. Should you encounter resistance, check for any locking mechanisms or additional clasps that may need disengagement. It’s wise to handle all components delicately to ensure longevity.
Cleaning Tips Post-Detachment
Once disconnected, this is a prime opportunity to clean your equipment. Consider using the best car wash soap for electric pressure washer for optimal results. Regular maintenance not only enhances performance but extends the lifespan of your machine.
Assessing the Type of Hose Connection
Identifying the connection method is paramount for a seamless disconnection. Various models utilise different designs. The two primary types are quick-connect fittings and threaded connections. Quick-connect systems often feature a push-and-click mechanism, making removal straightforward. For threaded types, a counterclockwise twist is necessary to release the attachment.
Quick-Connect Fittings
In my experience, quick-connect systems are the most user-friendly. Simply push the collar towards the connection and pull the attachment away. I’ve seen many users struggle with this, but it’s really quite simple once you get the hang of it. Ensure that the collar is fully depressed to avoid any resistance during removal.
Threaded Connections
Threaded connections require a bit more finesse. You’ll need to grip the connector firmly and twist counterclockwise. Sometimes, residual pressure can create a tight seal, making it difficult to unscrew. A gentle tug while turning can often do the trick. I’ve found that using a pair of gloves can help with grip. If you encounter excessive resistance, a small amount of soapy water can ease the process.
Preparing the Pressure Cleaner for Disconnection
Begin by disconnecting the power supply. Unplug the device from the wall socket to ensure safety during the process. This step is crucial to prevent any accidental activation while you’re working on the fittings.
Release Water Pressure
Before detaching any fittings, it’s necessary to relieve the remaining water pressure. Follow these steps:
- Point the nozzle away from yourself and others.
- Activate the trigger on the spray gun for a few seconds. This will expel any residual water.
- Ensure that no water is escaping from the nozzle before proceeding.
Check for Remaining Water
Inspect the connection point for any lingering moisture. Wipe it dry with a clean cloth to prevent drips during disassembly. This simple action can save you from unnecessary mess.
Once you’ve followed these preparations, you can move forward with detaching the attachments without risk of splashes or electrical issues. Always prioritise safety and cleanliness during maintenance tasks.
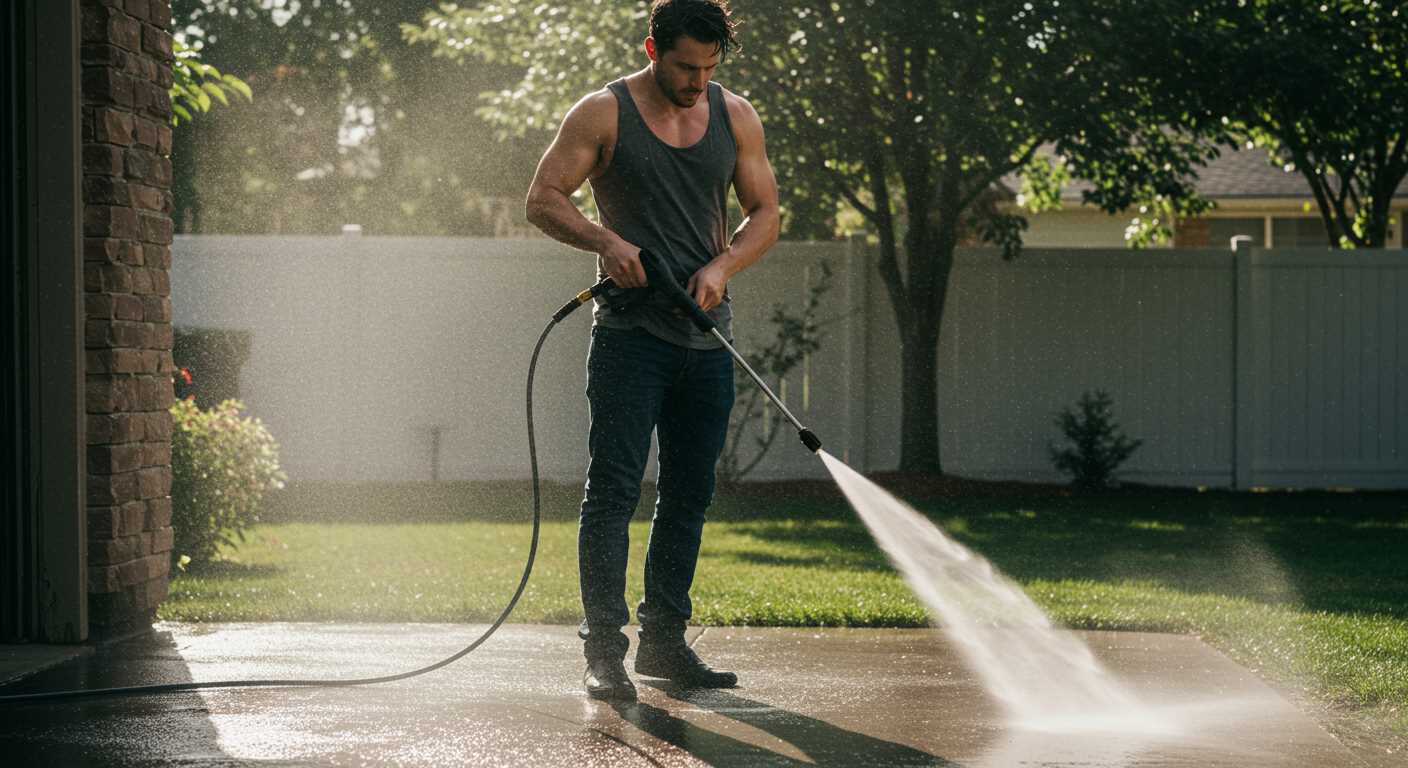
Releasing the hose from the pressure washer
Begin by ensuring that the device is powered down and disconnected from the electrical source. This step is vital for preventing any accidents while working on the connections. Next, locate the quick-release mechanism on the connection point where the flexible tube meets the unit. Typically, this involves pressing a button or pulling a lever, which varies depending on the model. In my experience, some units require a bit of a twist to disengage the latch, so be prepared for that.
Once the mechanism is activated, gently pull the connector away from the machine. It’s important to avoid excessive force; if you encounter resistance, double-check that all locking features have been disengaged. I recall a time when I rushed the process and ended up damaging the connector, which led to a frustrating delay in my cleaning tasks.
If you’re dealing with a threaded connection, use a wrench or your hands to unscrew the fitting. Ensure that you’re turning it in the correct direction–counter-clockwise is usually the way to go. I once made the mistake of twisting the wrong way, thinking I was loosening it, only to find I was tightening it further, which can be a common oversight.
After successfully separating the components, inspect both the connector and the attachment point for any signs of wear or damage. This proactive approach can save you from future leaks or malfunctions. I always keep a close eye on these parts, as I’ve encountered issues that could have been avoided with a simple inspection.
Finally, store the separated components in a safe, dry place to ensure they remain in good condition until the next use. A bit of care during this process can extend the lifespan of your equipment significantly.
Checking for Any Residual Water Pressure
Before disconnecting any attachments, ensure there’s no remaining water pressure in the system. I’ve encountered situations where users have rushed this step, leading to unexpected splashes or, worse, equipment damage. The best practice is to activate the trigger gun, allowing any trapped water within the unit to escape. Hold it firmly, and you’ll notice the pressure releasing. Keep it engaged until the water flow slows to a trickle.
Visual Inspection
After releasing the trigger, inspect the connections for any residual moisture. If you see water still present, it’s a clear indication that pressure may still be lurking. Wipe down the fittings and give them a gentle shake to encourage any remaining liquid to exit. This simple action can save you from potential messes or malfunctions later on.
Listening for Air Release
.jpg "How to take hose off karcher pressure washer")
Pay attention to any hissing sounds. Once you release the trigger, listen closely. A hissing noise indicates that air is entering the system, which is a sign that pressure has been successfully released. If you hear nothing, it’s wise to wait a moment longer before proceeding with disconnection. Patience here pays off in convenience and safety.
Storing the Hose Properly After Removal
After disconnecting your cleaning equipment’s line, proper storage is crucial to prolong its lifespan. Start by coiling the line neatly to avoid kinks or twists that can lead to damage. A figure-eight pattern works well for this, as it keeps the line organized and prevents tangling.
Utilising Storage Solutions
Consider using a dedicated storage reel or hook to keep everything tidy. These solutions not only save space but also protect the line from UV damage and harsh environmental conditions. If a reel isn’t available, a simple wall hook can suffice; just ensure it’s in a dry area, away from direct sunlight.
Check for Damage
Before placing the line in storage, inspect it for any signs of wear or leaks. Addressing any issues early can help avoid problems during your next use. Regular maintenance checks will ensure your equipment is always ready to perform at its best.
For further insights on maintaining your equipment, you might find the article on belt drive vs direct drive pressure washer which is right for you helpful.

.jpg)


