
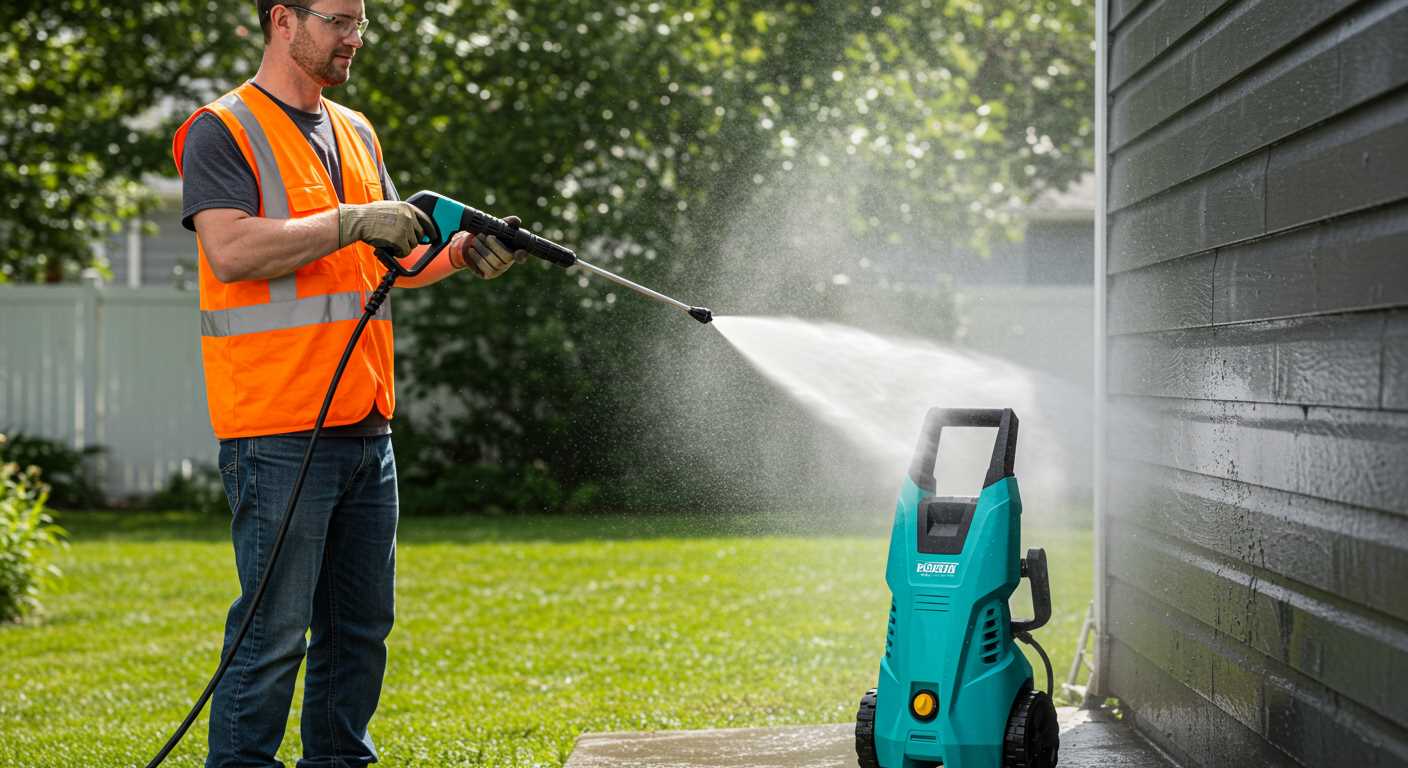


To detach the attachment from your high-pressure cleaner, grip the handle firmly while pressing the release button located on the side of the fitting. This step is crucial; applying consistent pressure will ensure a smooth disengagement. Once the button is fully engaged, pull the attachment straight out. Avoid twisting or jerking, as this could damage the locking mechanism.
In my experience, many users overlook the importance of checking for any debris or grime that may have accumulated around the connection point. A quick wipe with a damp cloth can prevent unnecessary friction and ensure a hassle-free removal process. If you encounter resistance, it’s wise to inspect for any obstructions before forcing it free.

After successfully removing the attachment, inspect the fitting for any signs of wear or damage. Regular maintenance can prolong the lifespan of your equipment. A simple visual check can save you from future headaches and ensure optimal performance during your next cleaning task.
Removing the Spraying Attachment from Your Cleaning Device
To detach the spraying attachment, grip it firmly with one hand while twisting it counterclockwise with the other. This simple motion should loosen it from the lance. If it’s particularly tight, a gentle wiggling motion can help break any grip formed by debris or wear.
Once the component is free, inspect the connection point for any wear or damage. If it appears worn, consider replacing it to maintain optimal performance. Always ensure that the water supply is turned off and the equipment is depressurised before attempting this task to prevent any mishaps.
If the attachment still resists, check for any locking mechanisms or buttons that may need to be pressed before rotation. Some models include a safety feature that prevents accidental removal. Familiarising yourself with your specific device’s design can save time and frustration.
After removal, store the attachment in a dry place to avoid corrosion. Keeping it clean and well-maintained will prolong its lifespan and ensure efficient operation during your next cleaning endeavour.
Identify the Type of Nozzle Used
Understanding the specific type of attachment in use is crucial for successful removal. Most models utilise either quick-connect or screw-on fittings. Quick-connect types are designed for easy swapping, while screw-on variants require a bit more effort.
Types of Attachments
.jpg "How to take nozzle off ryobi pressure washer")
Here’s a brief overview of common fittings:
| Type | Description |
|---|---|
| Quick-Connect | Allows for rapid changes; simply pull back the collar and pull the attachment away. |
| Screw-On | Requires unscrewing; grasp firmly and turn counter-clockwise until loose. |
Identifying Your Fitting
Check the end of the lance where the attachment connects. If you see a metal collar that can be pulled back, you’re dealing with a quick-connect type. If it appears threaded, prepare to unscrew it. Knowing this saves time and prevents damage to both the attachment and equipment.
Prepare Your Cleaning Unit for Nozzle Removal
Before attempting to detach the sprayer attachment, ensure the unit is completely powered down. Disconnect the power supply to eliminate any risk of accidental activation. I recall an instance where I neglected this step, resulting in a startled reaction when the machine jolted unexpectedly. It’s a simple precaution that goes a long way.
Next, relieve any remaining pressure in the system. Locate the trigger on the lance and squeeze it until all the water is expelled. This step is often overlooked, but letting the pressure out prevents potential injuries. I’ve seen colleagues rush through this, only to find themselves drenched and frustrated.
Gather Necessary Tools
Having the right tools on hand simplifies the process. A pair of pliers can be handy for stubborn fittings. I often keep a small toolbox handy when working with these devices, as it saves time. Make sure you have a clean cloth as well; it’s useful for wiping down the connection points after you remove the attachment.
Inspect Before You Proceed
Take a moment to examine the attachment and the area surrounding it. Look for any signs of wear or damage. I once encountered a cracked fitting that led to leaks during operation. Addressing these issues beforehand can save you from more serious problems down the line. A quick visual check can make all the difference.
Locate the Nozzle Release Mechanism
First, check the user manual for specifics on where the release mechanism is situated. Typically, it’s located near the handle or on the front of the lance. You’ll want to look for a button, lever, or a simple twist mechanism that allows for easy detachment.
In my experience, the button type is the most common. Press it firmly while holding the lance; this should disengage the attachment. If you find a twist mechanism, rotate it counterclockwise to unlock. Always ensure that the device is powered down and disconnected from any water source before attempting to release the attachment.
For those dealing with stubborn attachments, a little lubricant can go a long way. Applying a small amount of silicone spray can ease the process. And remember, if your goal is to clear blocked drains, consider using a petrol pressure washer to unblock drains for optimal results.
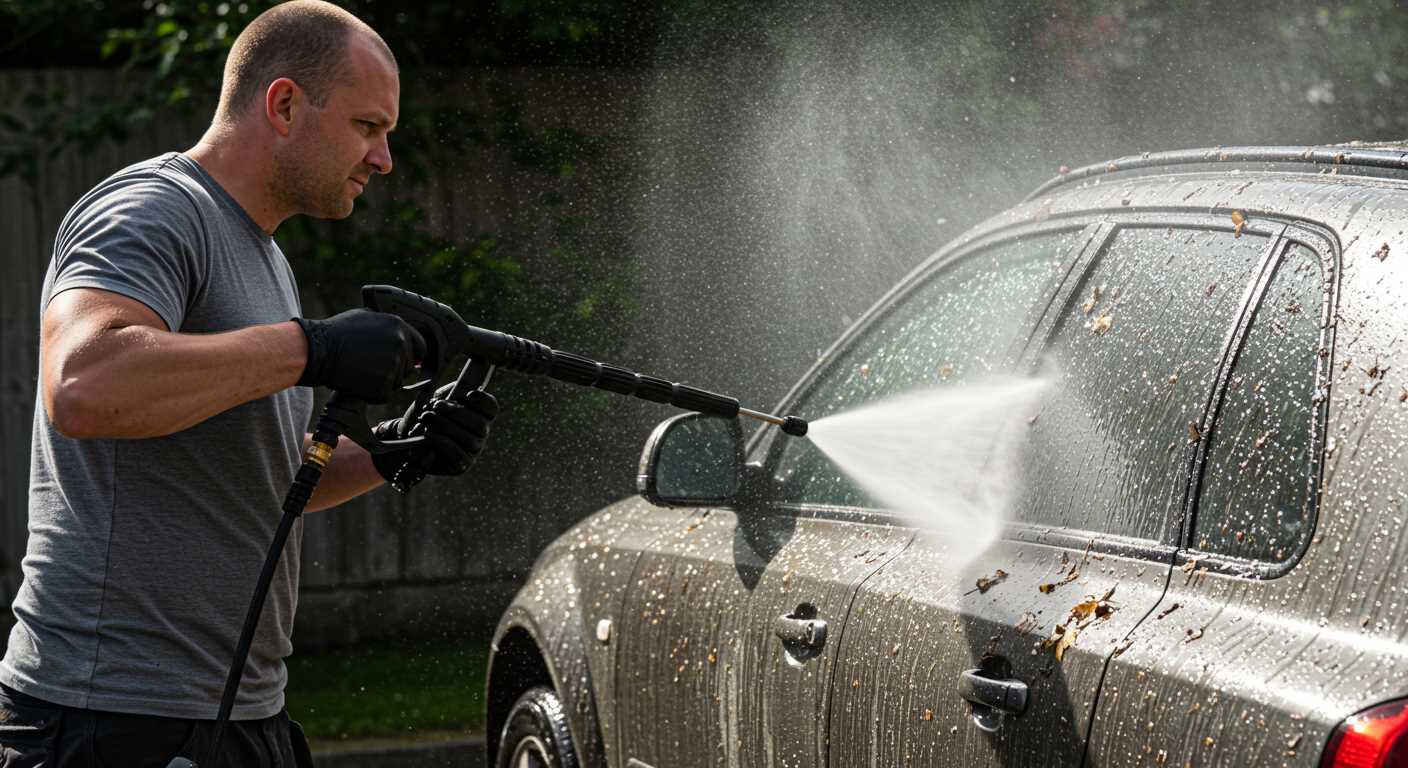
After removing the attachment, inspect it for any debris or damage. This is a good opportunity to clean it and prepare it for future use. If you’re also looking to wash your vehicle efficiently, don’t forget to grab the best car wash soap to use with pressure washer to achieve a pristine finish.
Remove the Nozzle by Hand
Grip the attachment firmly with one hand while using your other hand to twist it counterclockwise. This method relies on a strong yet careful approach to ensure you don’t damage any components. Here’s a step-by-step guide based on my experience:
- Ensure the power source is disconnected to avoid any accidents.
- Inspect the attachment for any debris or residue that might affect your grip.
- Apply a small amount of lubricant, if necessary, around the base of the attachment to ease the removal process.
- Position your fingers securely around the attachment, applying steady pressure as you twist.
- If it feels stuck, try gently rocking it back and forth while twisting to break any seal formed by dirt or grime.
In some instances, a little heat from a hairdryer can help expand the plastic slightly, making it easier to unscrew. Just be cautious not to overheat, as this could cause damage.
If you encounter significant resistance, avoid using excessive force. Instead, take a moment to re-evaluate your grip and technique. Sometimes, a fresh perspective can make all the difference.
Use Tools for Stubborn Nozzles
For those particularly stubborn attachments, a few tools can make a significant difference. I recommend using a pair of channel lock pliers. Wrap the jaws in a soft cloth to avoid scratching the surface of the component. This provides a better grip without damaging the finish. Apply steady pressure while twisting gently. Sometimes, it takes a bit of finesse to avoid breaking the fitting.
If the attachment remains resistant, consider using a penetrating oil. Spray it around the joint where the component meets the lance. Allow it to sit for a few minutes to work its way into the threads. This can help loosen any grime or corrosion that might be binding the pieces together.
Another handy tool is a rubber mallet. Lightly tapping around the base of the attachment can help break the seal without causing damage. It’s about finding that balance between force and care. I’ve had success with this method, especially on older models where parts may have become too snug over time.
In some cases, a heat gun can be useful. Applying gentle heat can expand the material slightly, making it easier to remove. Just be careful not to overheat any plastic components, as they can warp or melt. Always keep the heat source moving to avoid concentrated spots.
Finally, if you find yourself in a real bind, consider seeking assistance from a friend. Sometimes, an extra set of hands can provide the leverage needed to free a stubborn attachment. Working together can make the task more manageable and even enjoyable.
Inspect the Nozzle and Wand Connection
Before proceeding with the disconnection, examine the junction between the spray attachment and the wand carefully. Look for any signs of wear, such as cracks or corrosion, which could impact functionality. I recall a time when I neglected this step, only to find that a worn connection led to leaks and a less effective clean.
Check for any debris or residue that may have accumulated around the joint. This can create a tight seal, making removal difficult. I often found that a quick wipe with a cloth can alleviate stubborn grime, allowing for a smoother separation.
Pay attention to the mechanism used for securing the sprayer. Some models feature a simple twist-lock design, while others might employ a push-and-pull method. Understanding this mechanism is key; I once struggled with a stubborn connection until I realised it required a simple twist to disengage.
If the connection appears intact but still feels resistant, gently wiggle the wand while pulling to release it without applying excessive force. I’ve learned that patience is often the best approach, as rushing can lead to damage.
A thorough inspection not only prepares you for a successful disconnection but also helps identify any potential issues before they escalate. Don’t underestimate the importance of this step; it can save you time and frustration down the line.
Clean the Nozzle Area After Removal
After detaching the attachment, it’s crucial to clean the surrounding area. Debris and residue can accumulate, affecting future use. A damp cloth works wonders; simply wipe down the area where the attachment connects. This prevents dirt from entering the internal components during the next assembly.
Tools for Effective Cleaning
For stubborn residue, a soft brush can help dislodge grime without damaging the surface. If you encounter mineral build-up from hard water, a mixture of vinegar and water can be effective. Apply it to the affected areas and let it sit for a few minutes before scrubbing gently.
Final Checks
Before reassembling, inspect the area for any signs of wear or damage. A clean connection point ensures a proper seal next time, preventing leaks or performance issues. Taking these steps enhances the longevity of the equipment and optimises its functionality.
Store the Nozzle Properly for Future Use
After removing the attachment, ensuring it is stored correctly will prolong its lifespan and maintain its performance. Here are key steps to consider:
Cleaning and Drying
- Rinse the attachment with clean water to remove any dirt or debris.
- Use a cloth to dry it thoroughly, preventing moisture from causing rust or damage.
Organise Your Storage
- Keep the attachment in a dedicated storage container or toolbox to avoid accidental damage.
- Label the container if you have multiple attachments, making it easier to find the right one later.
- Consider using a hanging system or pegboard to keep attachments visible and accessible.
Avoid storing the attachment in direct sunlight or extreme temperatures. This can lead to warping or degradation of the materials. Always check the attachment before reusing it, ensuring it remains in optimal condition.

.jpg)


