
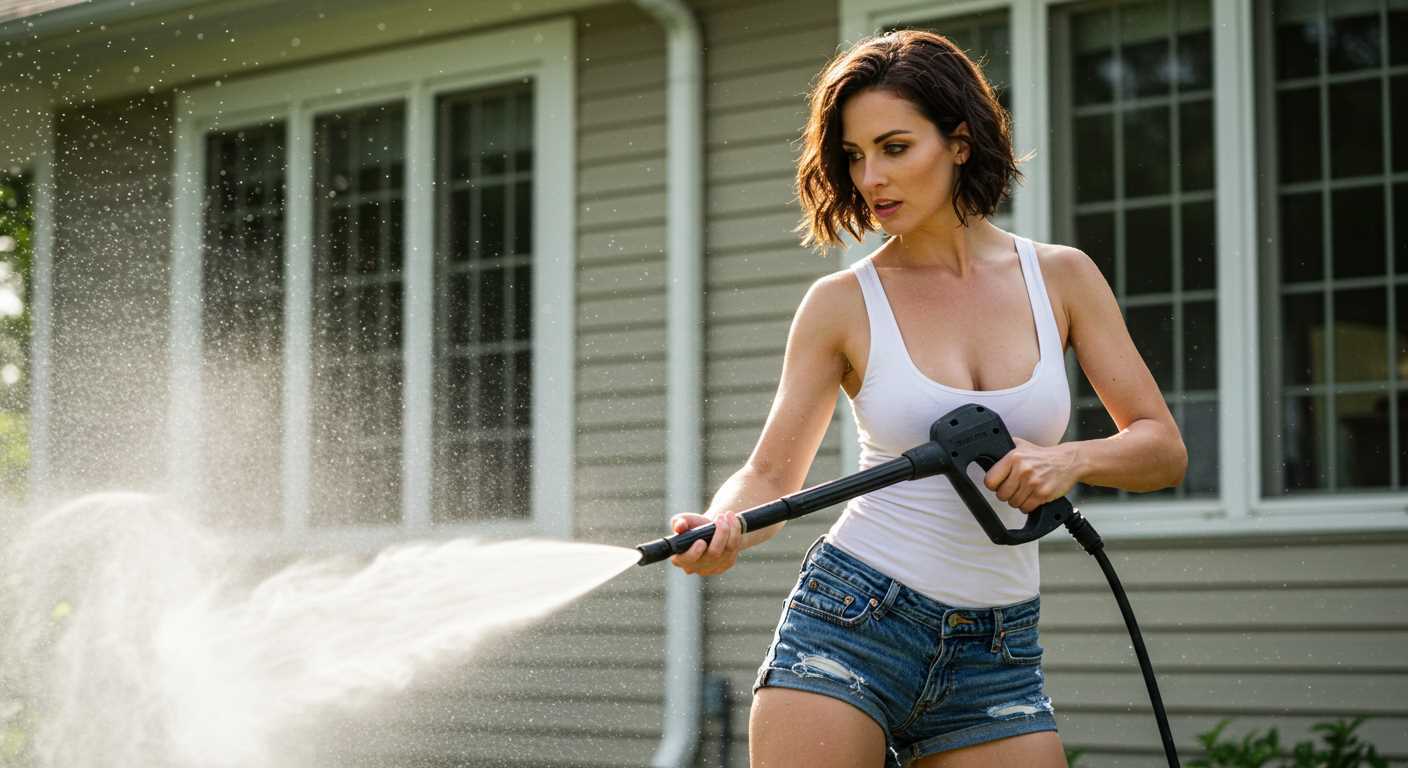


To accurately gauge the output of your cleaning device, equip yourself with a reliable pressure gauge. Attach it to the spray gun’s outlet, ensuring a snug fit to avoid any leaks. With the unit powered on, trigger the spray and observe the reading on the gauge. This simple method provides an immediate insight into the performance of your machine.
In my years of experience, I’ve encountered various models with variations in performance. Some machines, despite their advertised specifications, may not deliver the expected force. I recall one particular instance where a client purchased a well-reviewed model, only to find it underwhelming during our assessment. The gauge revealed a significant discrepancy between the claimed and actual output, leading us to explore calibration options.

Regularly checking the force generated by your equipment not only ensures it operates optimally but also helps identify any maintenance needs. A drop in performance can often be traced back to issues such as clogged nozzles or worn-out seals. Keeping a close watch on these factors can save you time and money in the long run.
Investing time in understanding the specifications and capabilities of your cleaning equipment pays dividends. By performing this straightforward evaluation, you can optimise your cleaning tasks and maintain the longevity of your machine. Whether tackling stubborn grime or routine maintenance, knowing the power at your disposal is key to achieving the best results.
Testing Your Unit’s Output
To determine the output of your cleaning device, connect a gauge to the gun or wand attachment. This allows for an accurate measurement of the water pressure being generated. I remember one instance where I had a client convinced their machine was underperforming. After attaching the gauge, it turned out the unit was operating well within its specifications, but the nozzle choice was causing inefficiencies.
Using a Flow Meter
A flow meter can provide additional insights beyond just pressure readings. By attaching one to the garden hose, you can measure the flow rate in litres per minute. I once had a situation where a low flow rate was mistakenly attributed to the machine itself, but the culprit was a clogged hose. Identifying that saved my client from unnecessary repairs.
Adjusting Nozzles
Different nozzles can dramatically affect performance. Switching to a narrower nozzle increases pressure but reduces flow. In my experience, using a 15-degree nozzle for tough stains can elevate the pressure significantly, making a noticeable difference in cleaning efficiency. Just ensure that you’re using the right nozzle for the task at hand to avoid damaging surfaces.
Always keep an eye on maintenance as well; a clean filter and unblocked hoses play a large role in consistent output. I’ve seen many units underperform simply due to neglect. Regular checks can save time and extend the life of your equipment.
Understanding PSI and Its Importance
The measurement of force produced by a cleaning device is paramount for optimal performance. Knowing the pounds per square inch (PSI) helps in selecting the right equipment for specific tasks, ensuring that you achieve the desired cleaning results without causing damage.
From my experience, a unit with a higher PSI is suitable for tough stains and large surfaces, while a lower PSI is ideal for delicate materials. Here’s a quick guide based on what I’ve observed during my years in the industry:
| PSI Range | Recommended Use |
|---|---|
| 1,300 – 1,600 | Cars, bicycles, and patio furniture |
| 1,600 – 2,300 | Decks, sidewalks, and driveways |
| 2,300 – 3,000 | Heavy-duty tasks like oil stains and graffiti removal |
| 3,000+ | Industrial-grade cleaning, large vehicles, and commercial use |
During my time testing various units, I found that exceeding the recommended PSI for a surface can lead to damage. For instance, while cleaning an old wooden deck, I mistakenly used a device with too high a rating and ended up splintering the wood. A lower PSI would have preserved the wood while still providing adequate cleaning.
Understanding the right PSI for your cleaning tasks not only enhances efficiency but also prolongs the life of surfaces. If you’re considering options, you might want to check out a pressure washer without an outside tap for convenience, especially in areas without easy access to water sources.
Always remember, the right pressure can make all the difference in achieving a clean without causing damage.
Gathering Necessary Tools for Testing
Start with a quality manometer. This device measures water pressure accurately and is crucial for obtaining reliable readings. I recommend choosing one with a clear scale that can handle high pressures, ideally up to 4000 PSI, to cover a range of machines.
Additional Equipment
Along with the manometer, gather these items:
- A sturdy garden hose, at least 25 feet long, to ensure you can connect your equipment without any strain.
- An adjustable wrench to tighten connections securely, preventing leaks that could skew your results.
- A bucket to collect water, which helps in monitoring flow rate, providing insights into performance.
- Safety goggles to protect your eyes from any splashes or debris during the process.
Safety Precautions
Before starting, ensure you have a clear workspace. Remove any obstacles that could pose a hazard. I once had a near miss with a loose extension cord that could have caused an accident. Always double-check your equipment for any wear or damage. A faulty hose or connection can lead to inaccurate readings or, worse, injuries.
| Tool | Purpose |
|---|---|
| Manometer | Measures water pressure accurately |
| Garden Hose | Connects to the water source |
| Adjustable Wrench | Tightens connectors |
| Bucket | Collects water for monitoring flow |
| Safety Goggles | Protects eyes during operation |
With the right tools at hand, you can confidently proceed with your assessment. Just as a digital camera’s image quality is determined by the camera’s specifications, the precision of your results hinges on the quality of your instruments. Prepare well, and you’ll gather the data you need effectively.
Preparing the Equipment for Assessment
Begin by ensuring the unit is on a stable and flat surface. This prevents any movement during the evaluation and guarantees accurate readings. Check the fuel or power source; if it’s gas-operated, fill the tank with fresh fuel, avoiding any that has been sitting around for weeks. For electric models, confirm that the cord is in good condition and the outlet is functioning.
Inspecting Hoses and Connections
Examine all hoses for signs of wear, cracks, or leaks. A compromised hose can significantly impact performance and lead to misleading results. Ensure that all connections, including the nozzle and wand, are tightly secured. If you notice any debris or blockages, clear them out; even a small obstruction can alter water flow and pressure readings.
Priming the System
Fill the unit’s water tank or connect it to a water supply. Turn on the water and allow it to flow through the system to eliminate air pockets. This step is vital; air in the lines can cause erratic readings. Once the water flows steadily, engage the trigger on the wand to release any trapped air and prepare the system for a proper evaluation.
Connecting a Pressure Gauge Correctly
To ensure accurate readings, attach the gauge directly to the outlet of the machine. Begin by removing any existing nozzle or attachment from the wand to eliminate potential interference. This step is crucial for clear measurements.
Follow these steps for a secure connection:
- Check the gauge’s compatibility with your device. Most models use a standard fitting, but confirming this can save time.
- Inspect the connecting threads for debris or damage. Clean if necessary to avoid leaks.
- Thread the gauge onto the outlet by hand, ensuring a snug fit without overtightening. A wrench can be used for added security, but be cautious not to apply excessive force.
- Once connected, turn on the unit briefly to check for leaks. Any signs of water escaping indicate a poor seal and should be addressed.
After ensuring the gauge is secure, adjust the machine settings to the desired mode. If equipped with multiple settings, starting with the lowest pressure allows for a gradual increase, providing clearer insights into performance.
In my experience, I’ve noticed that many users overlook the importance of a solid connection. A loose gauge can lead to fluctuating readings, leaving you guessing about the actual output. Always double-check before proceeding.
Once everything is set up correctly, you’ll be ready to monitor the output effectively. Keeping track of the readings offers valuable information regarding the machine’s efficiency and maintenance needs.
Conducting the PSI Test: Step-by-Step
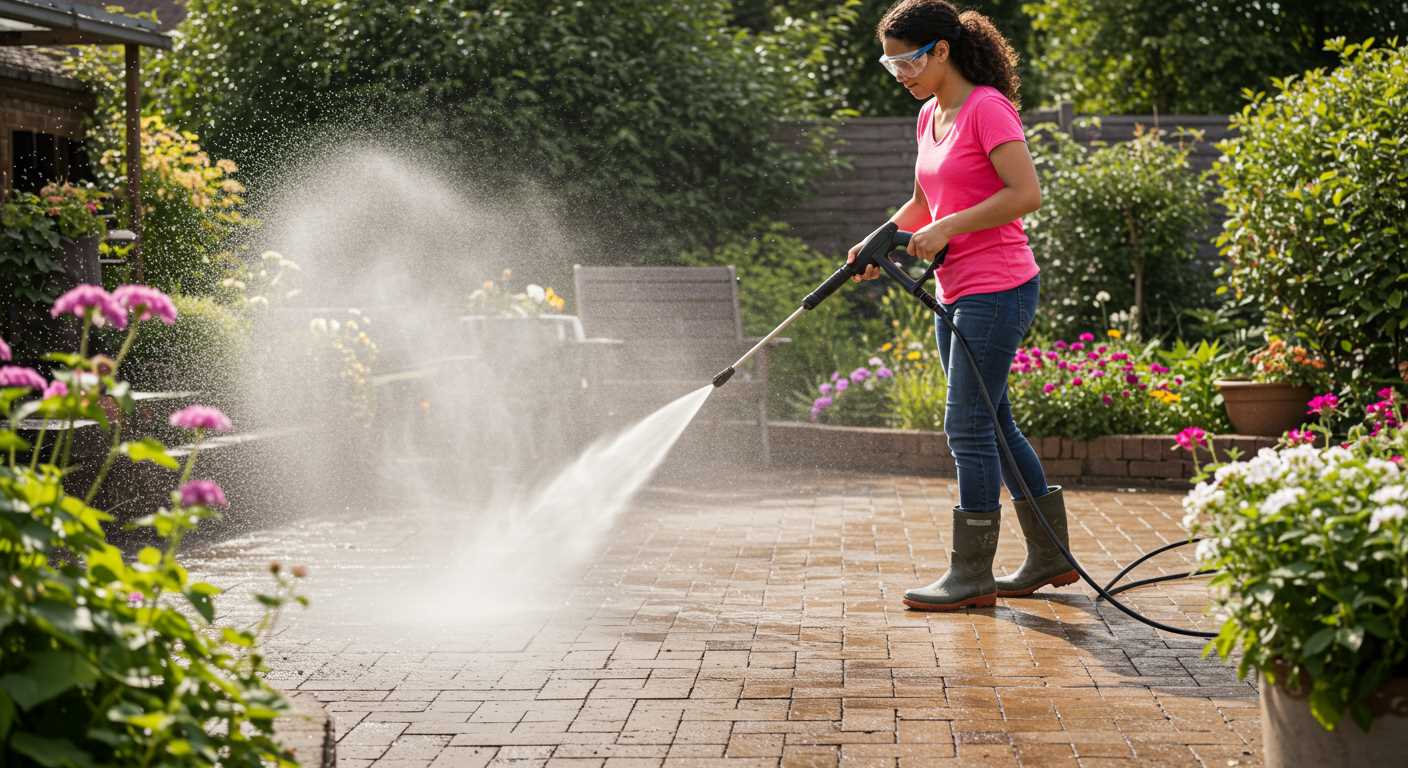
Begin by ensuring your device is connected to a suitable water supply. Turn on the water and check for any leaks around the hose connections. A steady flow is necessary for accurate measurements. Once confirmed, power on the equipment, allowing it to build pressure.
Engaging the Trigger
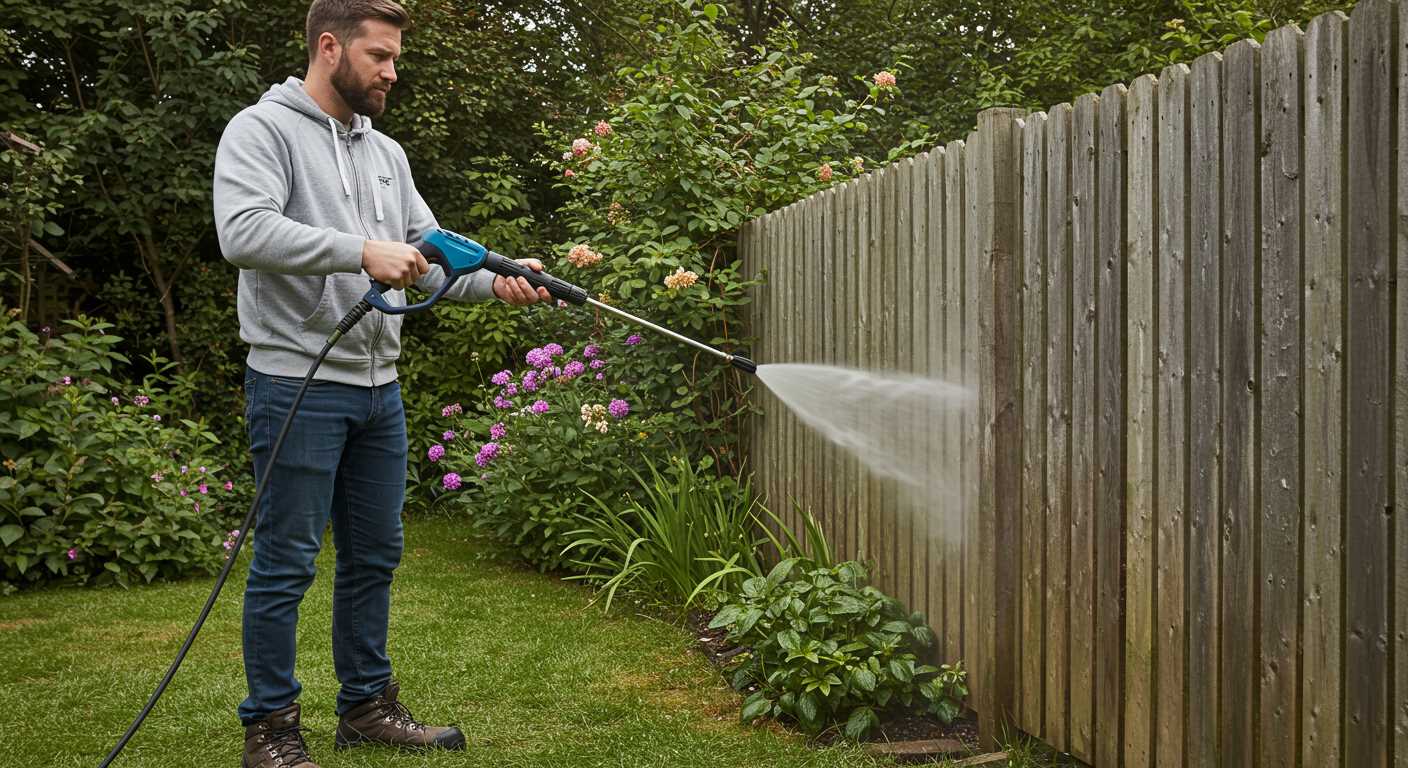
With the machine running, grasp the spray wand securely. Point the nozzle away from yourself and any bystanders. Pull the trigger to release the water. This action will generate the pressure needed for measurement. Maintain a firm grip on the wand, as the force can be significant.
Reading the Gauge
Observe the gauge closely while the water flows. Note the maximum reading achieved during this phase. If the pressure stabilises, consider it your operating pressure. If it deviates from the manufacturer’s specifications, investigate further for potential issues such as clogged nozzles or worn components. Make adjustments as needed, repeating the process to verify.
Interpreting the Results of Your PSI Test
Once you’ve completed the measurement, understanding the outcome is crucial. The reading on the gauge tells you a lot about the operational state of your cleaning machine. Here’s how to interpret what you see:
- Below Recommended Levels: If the value is significantly lower than the manufacturer’s specifications, your equipment may be underperforming. This could indicate issues such as clogged nozzles, worn-out seals, or even pump problems. Address these issues promptly to restore functionality.
- Within Normal Range: A reading close to the specified range suggests everything is functioning correctly. Regular maintenance is key to keeping it in this condition. I often recommend routine checks to catch any potential problems early.
- Exceeding Specifications: If the gauge displays a higher value than recommended, this could lead to damage. High pressure can cause leaks or even blow fittings. Consider adjusting the pressure settings or inspecting the unit for faults.
After interpreting the results, take notes for future reference. Keeping a record of your measurements can help identify trends over time. If you notice a gradual decline in performance, it might be time for a more thorough inspection or service.
In my experience, discussing these findings with a professional can provide additional insights. They may suggest specific maintenance tasks or upgrades to enhance performance further. Always prioritise safety and efficiency when addressing any issues revealed by your reading.
Troubleshooting Low PSI Readings
If you’re facing disappointing pressure readings, the first thing to check is the nozzle. A clogged or worn nozzle can significantly impede water flow. I recall one instance where a customer complained their unit was underperforming. After a quick inspection, I found the nozzle was entirely blocked with debris. Cleaning or replacing it restored functionality almost instantly.
Next, inspect the hose for kinks or leaks. A single kink can reduce performance, so lay it out straight and check for any signs of wear. In my experience, even a small hole can lead to a noticeable drop in efficiency. I once encountered a hose that looked fine but had a pinhole. Replacing the hose fixed the issue immediately.
Don’t overlook the pump. If it’s not functioning properly, it can fail to generate the required force. Listen for unusual sounds; a grinding or whining noise might indicate internal damage. I had a case where a customer’s pump was failing due to lack of maintenance, resulting in low output. Regular servicing can prevent such issues.
Another area to examine is the inlet filter. A blocked filter restricts water intake, which directly affects performance. I remember replacing a dirty filter for a client, and they were amazed at the immediate improvement in power. Clean or replace any obstructed filters to ensure optimal flow.
Lastly, check the water supply. If the source isn’t providing enough flow or pressure, it will directly impact your readings. I’ve had clients who thought their unit was malfunctioning when, in fact, the issue was with their tap. Always ensure you have a strong and steady water supply.
.jpg)


