
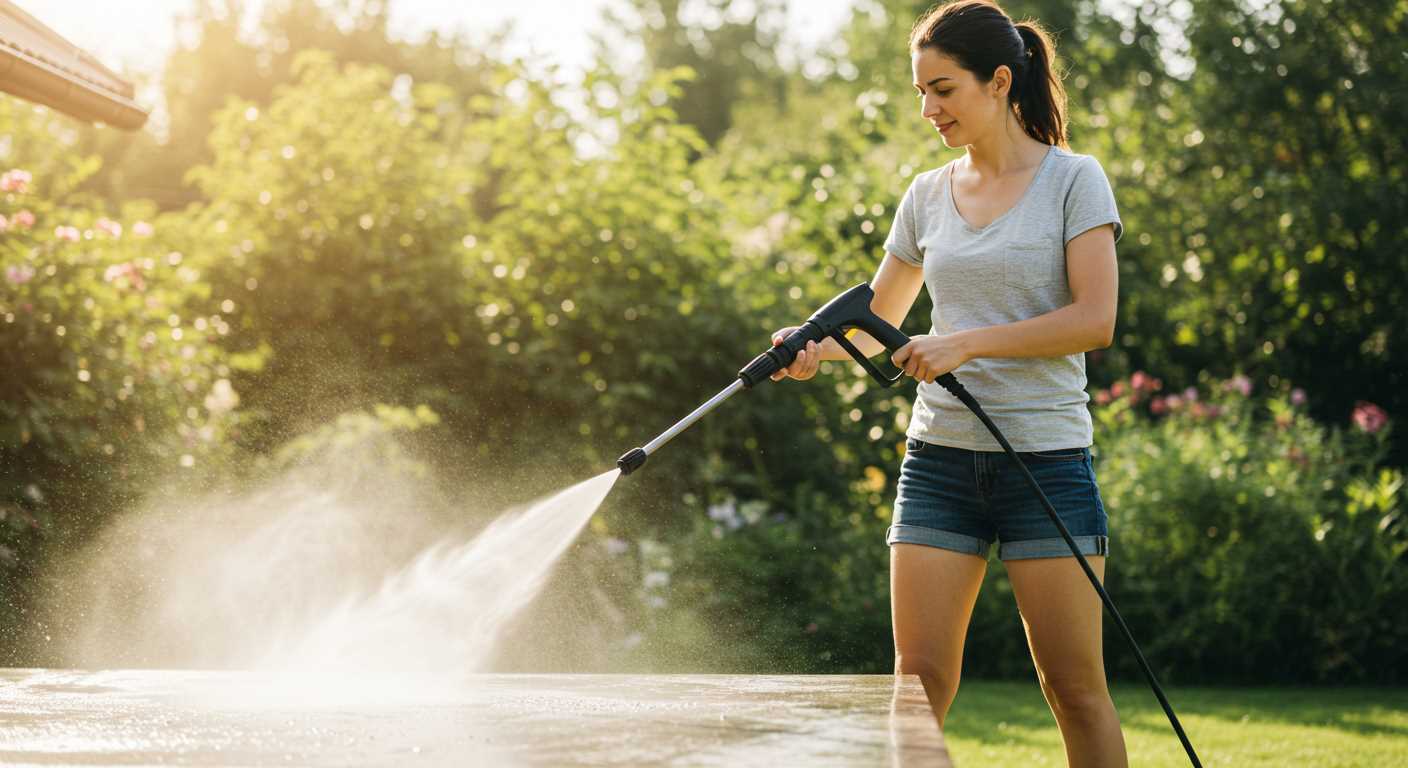


To determine if the bypass mechanism is functioning correctly, observe the spray gun while the machine is running. If water continues to flow from the nozzle instead of being redirected back into the pump, that’s a clear indication of a malfunction. This simple observation can save you time and trouble down the line. I recall a particular instance when a client faced a similar issue. They were baffled by the inconsistent water flow during their cleaning tasks. My advice to them was straightforward: watch the output. Sure enough, the problem was identified quickly.
Next, disconnect the equipment from the power source and inspect the component visually. Look for any signs of wear or damage. A cracked casing or corroded parts can lead to inefficiencies. One time, I encountered a unit that seemed fine on the surface, but a closer look revealed a hairline fracture that was causing significant issues. Replacing that small part made a world of difference. It’s amazing how a minor detail can affect overall performance.
After the visual inspection, you should check the pressure settings. Using a gauge to measure the output can provide valuable information about the operational state. If the readings are inconsistent, it may indicate that the bypass mechanism isn’t engaging as it should. I’ve seen numerous cases where the pressure gauge was overlooked, leading to prolonged troubleshooting. Taking the time to measure can often pinpoint the root cause of the problem.
Lastly, always remember to clean the inlet screen. A blocked screen can restrict flow and cause unnecessary stress on the entire system. I’ve worked with many machines that seemed to be malfunctioning, but a quick clean of the inlet resolved the issues. Simple maintenance goes a long way in prolonging the life of your equipment.
Testing the Bypass Mechanism on a Cleaning Unit
Begin by disconnecting the water supply and power source. This is non-negotiable for safety. Next, locate the bypass mechanism; it’s typically near the pump. Look for any visible signs of wear or damage. If you notice anything suspicious, replace the part before proceeding.
With the unit still disconnected, pull the trigger on the spray gun. This will release any remaining pressure in the system. After that, reconnect the water supply without turning on the motor. You should see a steady flow of water from the gun, signifying that the mechanism is operating correctly. If water is leaking or there’s no flow, it’s time to delve deeper.
Observing Performance Under Load
Reconnect the power and water supply, then start the machine. Allow it to run for a minute before pulling the trigger. You want to observe how the water flow responds. If it fluctuates or there’s a noticeable drop in pressure, the mechanism isn’t handling the load as it should. In my experience, a well-functioning bypass will maintain consistent pressure without interruption.
Inspecting for Blockages
If the performance seems off, check for blockages in the inlet or outlet hoses. Disconnect the hoses and inspect them for any debris. I’ve often found that a simple blockage can cause major issues. A thorough cleaning can sometimes resolve the problem without needing to replace any parts.
Understanding the Function of the Unloader Valve
The role of the component in high-pressure systems is pivotal. It regulates the flow of water, allowing the machine to manage pressure effectively. This mechanism activates when the trigger on the gun is released, diverting the water back to the pump. This prevents over-pressurisation, which can lead to damage. From my experience, a malfunctioning part often results in erratic pressure during operation or even complete shutdowns.
In one instance, I encountered a unit that would intermittently lose pressure. After thorough inspection, I found that the component was stuck in a closed position, causing pressure to build up dangerously. A simple cleaning and adjustment restored functionality. Regular maintenance is crucial; ensuring that this mechanism is free from debris can prevent many headaches down the line.
Another important aspect is the adjustment feature. Many units allow for fine-tuning to cater to specific tasks. I remember working on a model that required a delicate balance of pressure for cleaning delicate surfaces. Adjusting this component enabled precise control, ensuring effective cleaning without causing damage.
Understanding the operational principles of this crucial part can greatly enhance your experience with cleaning machines. Knowing how it works not only aids in troubleshooting but also informs you about the best practices for maintaining optimal performance. Always refer to the manufacturer’s guidelines for specific adjustments and maintenance tips tailored to your model.
Identifying Signs of a Malfunctioning Unloader Valve
Check for inconsistent water flow. If you notice a sudden surge or drop in pressure while operating your equipment, it might indicate an issue with the mechanism responsible for regulating the water output. This can often lead to a frustrating experience, especially when trying to achieve a consistent clean.
Unusual Noises
Pay attention to any strange sounds coming from the machine. A hissing or whistling noise can signal that the mechanism is not sealing properly. I remember a time when I worked with a model that emitted these noises, and after a thorough inspection, it turned out to be a simple fix that saved the customer from costly repairs.
Excessive Heat Build-Up
Monitor the temperature of the equipment. If you notice it becoming unusually hot, this may suggest that the mechanism is stuck in a closed position, causing water to recirculate and heat up excessively. During one of my evaluations, I encountered a unit that suffered from this issue, leading to a complete breakdown. Regular checks can prevent such scenarios.
Look for leaks around the fittings. If you spot water escaping from the connections, it could indicate a failure in the sealing function of the mechanism. I’ve seen firsthand how addressing these leaks promptly can extend the lifespan of the entire system.
Lastly, observe the pressure gauge. Erratic readings could point to a malfunctioning component. A friend of mine had a similar problem that led to a misdiagnosis, wasting both time and resources. Consistent monitoring is key to catching these issues early.
Tools Required for Testing the Unloader Valve
For an accurate assessment of this crucial component, ensure you have the following tools on hand:
- Pressure Gauge: A reliable gauge that can handle high pressures is vital. It allows you to measure the outlet pressure, helping you identify any discrepancies.
- Wrench Set: Having a variety of wrenches will facilitate the removal and tightening of fittings without damaging them. Choose adjustable wrenches for flexibility.
- Screwdriver Set: Flat-head and Phillips screwdrivers are necessary for accessing different screws on the machine. Make sure they fit snugly to avoid stripping.
- Multimeter: This is useful if your model has electrical components integrated with the pressure system. It helps check for any electrical issues that could affect performance.
- Cleaning Supplies: Keep some rags and a brush handy to clean any debris or build-up around the area you’re working on. A clean workspace prevents additional complications.
- Safety Gear: Always wear protective eyewear and gloves. The high-pressure environment can be hazardous, and safeguarding yourself is a priority.
In my experience, having the right tools not only simplifies the process but also enhances accuracy. I once had a client who attempted to diagnose issues without a proper gauge, leading to incorrect assumptions and unnecessary part replacements. Having the right equipment can save time and money.

Steps to Safely Disconnect the Pressure Cleaning Device
Before disconnecting your cleaning equipment, ensure it’s powered down and the pressure is released to prevent any accidents.
- Turn Off the Engine: Switch off the motor or engine to cut power supply.
- Release Pressure: Squeeze the trigger on the spray gun until no water comes out. This step is crucial to eliminate any remaining pressure in the hoses.
- Disconnect the Water Supply: Turn off the water source and disconnect the hose from the inlet. Make sure to direct water away from you.
- Remove the Spray Gun: Detach the spray gun from the hose. Keep the trigger squeezed while doing this to ensure any residual pressure is released.
- Detach the Hose: Uncouple the high-pressure hose from the machine. Be cautious of any lingering water that might leak.
- Store Safely: Store all components in a dry place to avoid any damage. Consider wrapping hoses to prevent kinks.
For additional maintenance tips, refer to this guide on cleaning stained utensils that might come in handy.
Performing a Pressure Test on the Unloader Mechanism

Begin by ensuring the machine is turned off and disconnected from the power source. With the trigger gun released, reattach the high-pressure hose to the outlet. This setup is crucial as it allows you to observe the behaviour of the system under demand.
Monitoring the System
Start the engine and let it run for a few moments. As you engage the trigger gun, watch for any fluctuations in pressure. A steady stream indicates proper function, while abrupt drops or spikes suggest issues with control. If you notice a consistent drop in pressure when the gun is activated, it may indicate that the mechanism isn’t regulating flow correctly.
Using a Pressure Gauge
If you have a pressure gauge, connect it to the outlet where the hose attaches. This will give you a precise reading of the output during operation. As the machine runs, note the pressure reading while the trigger is pulled. A reading that deviates significantly from the manufacturer’s specifications signals a problem. Consider replacing or adjusting the mechanism if the readings are outside the acceptable range.
Assessing the Results of Your Pressure Test
After performing the assessment, the next step is to interpret your findings. Look closely for any signs of irregularities in the flow or pressure readings. If the flow is inconsistent or lower than the manufacturer specifications, it indicates a potential issue with the mechanism. Remember, a healthy system should maintain steady pressure without fluctuations.
Interpreting Flow Rates
When checking the output, a steady stream signifies that the system is functioning correctly. If you notice a pulsing or erratic flow, it’s often a sign of blockage or wear. I recall once working on a unit where the flow seemed fine initially, but upon closer inspection, the hose had a kink that caused the pressure to drop intermittently. Addressing simple issues early can save time and prevent further damage.
Monitoring Pressure Readings
Use a pressure gauge to analyse the readings. If the pressure fluctuates beyond acceptable limits, it can lead to excessive wear or even failure of other components. In my experience, I’ve seen units that were misdiagnosed simply because the operator didn’t pay attention to these readings. Always compare with manufacturer guidelines; if there’s a significant disparity, it’s time to investigate further.
Common Issues and Solutions for Pressure Control Mechanisms
When dealing with these components, the most frequent problems include leaks, sticking, or inconsistent pressure. Here’s a breakdown of issues you might encounter and how to resolve them.
Leaks
- Cause: A worn or damaged O-ring is often the culprit.
- Solution: Inspect the O-ring for any signs of wear. Replace it with a new one to eliminate leaks.
Sticking or Jamming
- Cause: Debris accumulation can lead to sticking.
- Solution: Disassemble the mechanism carefully and clean all parts with a soft brush and soapy water. Rinse and dry thoroughly before reassembly.
Inconsistent Pressure
- Cause: This may result from a malfunctioning spring or blockage.
- Solution: Check the spring for damage. If it appears bent or broken, replace it. Ensure that all passages are clear of any blockages.
Excessive Noise
- Cause: Noisy operation can indicate internal wear.
- Solution: Listen for unusual sounds during operation. If you suspect wear, consider replacing the entire unit to prevent further issues.
Fixing these components often involves basic tools and a bit of patience. Regular maintenance can help prevent many of these issues before they arise. Always refer to your specific model’s manual for guidance on parts and procedures.
When to Seek Professional Assistance for Valve Issues
If you’ve performed the necessary evaluations and still face challenges, it’s time to consider reaching out to a professional. In my experience, certain situations clearly indicate that expertise is required. For instance, persistent leaks or irregular pressure fluctuations that don’t resolve with basic adjustments often signal deeper mechanical problems. Engaging a technician can save you time and further complications.
Signs Indicating Professional Help is Needed
Watch for these specific signs:
- Unusual noises during operation, which may indicate internal damage.
- Consistent pressure loss despite multiple adjustments.
- Visible wear or damage on components that may affect overall performance.
- Persistent leaks that do not respond to sealing or tightening efforts.
Benefits of Professional Inspection
Enlisting a technician brings numerous advantages, such as:
- Access to advanced diagnostic tools that can pinpoint issues quickly.
- Expert insight into potential underlying problems you might overlook.
- Quality assurance, as professionals typically offer warranties on their repairs.
In my career, I’ve encountered several cases where DIY attempts led to more significant issues. For example, a colleague tried to fix a malfunctioning component by replacing parts without fully understanding the system. This approach resulted in a cascading failure that required a complete overhaul. Investing in professional service not only rectified the problem but also improved the machine’s longevity.
If you’re still uncertain about the state of your equipment, consider consulting a professional. You can find a reliable service provider in your area by checking resources like local directories.
| Signs of Issues | Recommended Action |
|---|---|
| Unusual noises | Consult a technician immediately |
| Pressure fluctuations | Seek expert diagnostics |
| Visible damage | Schedule a professional inspection |
| Persistent leaks | Contact a repair specialist |
Don’t hesitate to seek help; your equipment deserves expert care to ensure its reliable operation.

.jpg)


