


Make sure to check the nozzle before anything else. A clogged or worn-out nozzle can drastically reduce the cleaning power of your unit. I recall a time when a customer brought in their machine, frustrated with its lack of performance. After a quick inspection, I found the nozzle was nearly blocked with debris. A simple replacement restored its effectiveness, and the customer left with a smile.
Next, pay attention to the oil levels if you’re operating a gas-powered model. Regularly changing the oil can extend the lifespan of your machine significantly. I once had a colleague who neglected this maintenance step, resulting in a costly engine failure. Now, I make it a point to remind everyone: a little preventive care goes a long way.
Inspect the hoses for any signs of wear or damage. Cracks can lead to leaks, affecting the pressure output. I vividly remember a project where I had to deal with a malfunctioning hose that caused me to lose valuable time. Replacing a damaged hose is a straightforward task, but it can save you from headaches down the road.
Lastly, don’t overlook the importance of proper storage. Keeping your equipment in a dry, sheltered area helps prevent rust and deterioration. I’ve seen machines left outside for months, only to become unusable due to weather damage. Treat your gear with respect, and it will reward you with reliable performance for years to come.
Optimising Your High-Pressure Cleaner
Replace the fuel filter annually. I once overlooked this step, and it led to a frustrating day of poor performance. A clean filter ensures proper fuel flow, which translates to consistent power output. Use a replacement that matches your model specifications for best results.
Check and clean the nozzle regularly. I learned this the hard way while attempting to clean my driveway; a clogged nozzle resulted in uneven water distribution. Soak the nozzle in vinegar for an hour, then use a small brush to remove any debris. This simple task can significantly enhance your cleaning efficiency.
Inspect and replace the O-rings on your spray gun and wand. A worn O-ring can lead to leaks and a loss of pressure. I replaced mine after noticing a drop in performance, and it made a noticeable difference in the water flow. Keep a set of replacement O-rings handy for quick fixes.
Pay attention to the pump oil level. I once ignored this and ended up with a burnt-out pump. Check the oil level before each use and replace it according to the manufacturer’s guidelines. Clean oil keeps the internals lubricated and running smoothly.
Consider the appropriate specifications for your tasks. If you’re washing a car, for instance, knowing the ideal PSI can make all the difference. I often refer to guides like this one on the best car wash pressure washer psi to ensure I get the right settings for various surfaces.
Finally, store your equipment properly. I’ve seen many machines suffer from neglect during off-seasons. Empty the fuel tank and run the machine until it stalls to clear out any remaining fuel. This simple step prevents gumming up and keeps the engine in prime condition for the next use.
Check the Oil Level and Condition
Regular inspection of oil is crucial for the longevity of your equipment. Start by locating the oil dipstick, which is typically found on the side of the engine. Pull it out and wipe it clean with a lint-free cloth before reinserting it to check the level.
- Ensure the oil level is between the minimum and maximum markers. If it’s low, top it up with the recommended type of oil.
- Pay attention to the oil’s colour and consistency. Fresh oil is usually amber and clear, while dirty oil may appear dark and murky. If it looks contaminated, consider a full oil change.
- Listen for any unusual noises during operation. These can indicate that the oil isn’t lubricating properly, potentially leading to engine damage.
During my time in the industry, I often encountered machines with neglected oil levels. One particular case involved a unit that had been running with insufficient oil. The owner was surprised when the engine seized up, resulting in costly repairs. Regular checks can prevent such mishaps.
After changing the oil, run the engine for a few minutes to circulate the new oil, then recheck the level. This ensures that the oil reaches all necessary components. Make it a habit to check oil levels before each use; it’s a quick task that can save you time and money in the long run.
Inspect and Replace the Air Filter
Regularly checking the air filter can significantly improve engine performance. Remove the filter from its housing and inspect it for dirt and damage. A clogged or torn filter restricts airflow, reducing efficiency. If it’s visibly dirty, consider replacing it. Most models have disposable filters that are easy to find and replace. Ensure the new filter fits snugly in its compartment to prevent debris from entering the engine.
During one of my routine checks, I discovered a heavily clogged air filter that had been affecting the equipment’s power. After replacing it, I noticed an immediate improvement in starting and overall operation. Don’t underestimate the impact of clean air intake on performance.
For those interested in more specialised equipment, check out this car detail pressure washer for high-quality options that often feature superior air filtration systems.
Clean or Replace the Spark Plug
Clean the spark plug to ensure optimal performance. If it appears corroded or heavily soiled, it’s best to replace it. During one of my early years in the industry, I encountered a machine that struggled to start. After some investigation, a simple spark plug cleaning resolved the issue, enhancing the engine’s efficiency significantly.
To clean the spark plug, follow these steps:
- Remove the spark plug using a socket wrench.
- Inspect the plug for any signs of wear, such as cracks or excessive carbon build-up.
- If cleaning is necessary, use a wire brush or a specialised spark plug cleaner.
- Reinstall the plug securely, ensuring it fits snugly to prevent leaks or misfires.
When considering replacement, here’s a quick guide:
| Condition | Action |
|---|---|
| Cracked Insulator | Replace |
| Excessive Carbon Build-up | Clean or Replace |
| Electrode Wear | Replace |
| Rust or Corrosion | Replace |
I’ve seen machines run much smoother after addressing spark plug issues. Regular maintenance can prevent larger problems down the road, saving both time and money. Keeping a close eye on this small but mighty component will ensure your equipment operates at its best.
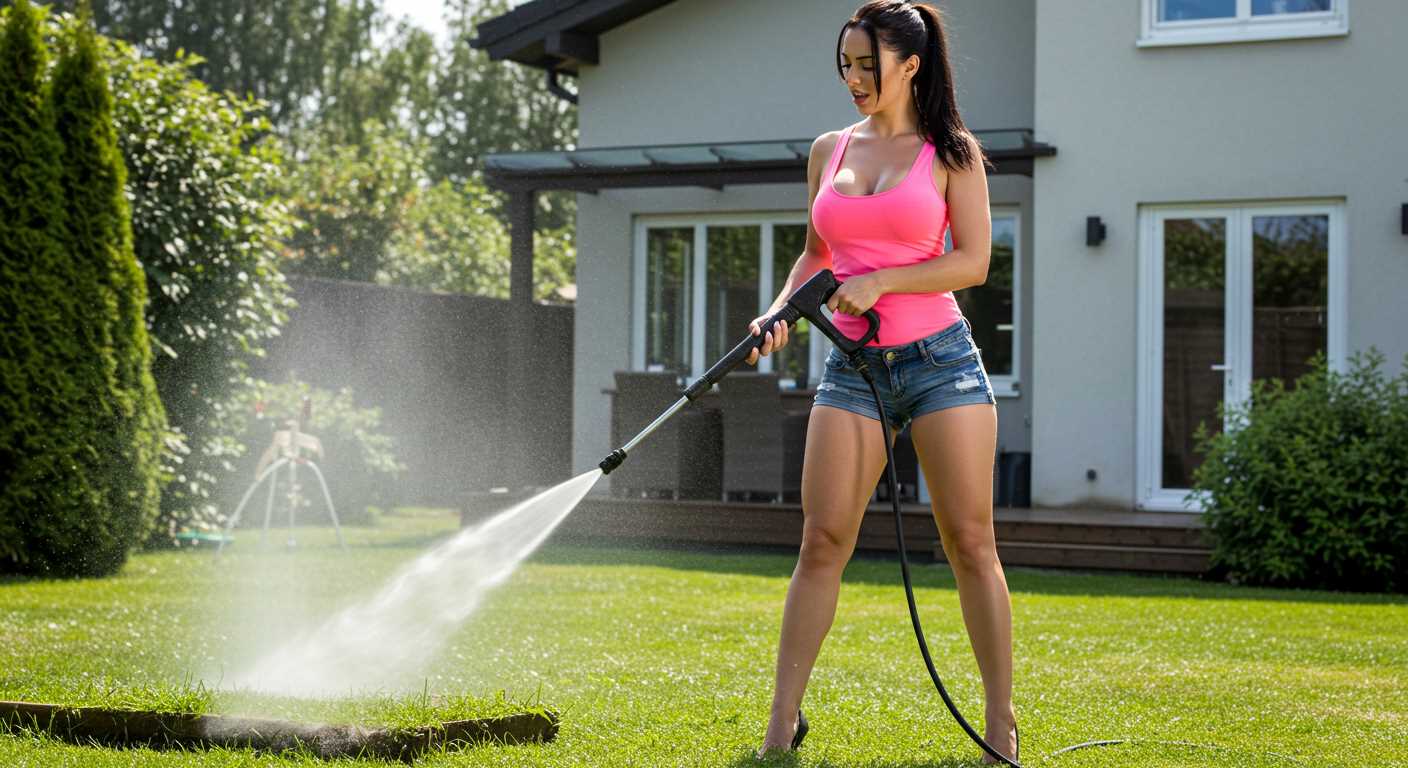
Examine and Clean the Nozzle
Start by disconnecting the water supply and power source to ensure safety. The nozzle is a critical component that affects the performance of the equipment. Inspect it for any blockages or wear. A clogged nozzle can lead to reduced water flow and pressure, making your tasks take longer than necessary.
Use a small brush or a needle to clear any debris from the nozzle opening. For stubborn blockages, soaking the nozzle in a solution of warm soapy water can help loosen grime. Rinse thoroughly after cleaning to remove any soap residue.
If you notice that the nozzle is worn or damaged, replacing it is straightforward. Choose a compatible nozzle that matches your model for optimal performance. Remember, different tasks require different nozzle types–select a fan nozzle for wider coverage or a pinpoint nozzle for concentrated cleaning.
After cleaning or replacing, reconnect everything and test the spray pattern. A well-maintained nozzle will create a solid, even stream, making your cleaning tasks more effective. Regular maintenance of this part ensures longevity and consistent performance, saving time and effort in the long run.
Test and Adjust the Fuel System
Begin by inspecting the fuel system components. Ensure the fuel tank is clean and free from debris. Contaminated fuel can lead to performance issues. If the tank looks suspicious, consider draining it and refilling with fresh fuel, preferably with a fuel stabiliser.
Inspect the Fuel Lines
Examine the fuel lines for any signs of wear, cracks, or leaks. A damaged line can hinder fuel flow and affect performance. If you spot any issues, replace the line immediately. Use a high-quality fuel line that matches the specifications of your equipment.
Adjust the Fuel Mixture
For machines with adjustable carburettors, you may need to modify the fuel mixture. Locate the adjustment screws, typically marked as “H” for high speed and “L” for low speed. Start by turning the screws to the manufacturer’s recommended settings. Then, test the unit. Fine-tune the screws in small increments, checking the engine’s response after each adjustment. Listen for smooth operation and look for consistent power delivery.
| Adjustment Type | Initial Setting | Adjustment Method |
|---|---|---|
| High Speed (H) | 1.5 turns out | Turn clockwise to lean, counter-clockwise to richen |
| Low Speed (L) | 1.5 turns out | Turn clockwise to lean, counter-clockwise to richen |
After making adjustments, run the engine for about 5-10 minutes under load. This will allow the fuel system to stabilise and give you a better idea of its performance. If you notice excessive smoke or stalling, revisit your settings. Adjustments may be necessary to find the ideal balance.
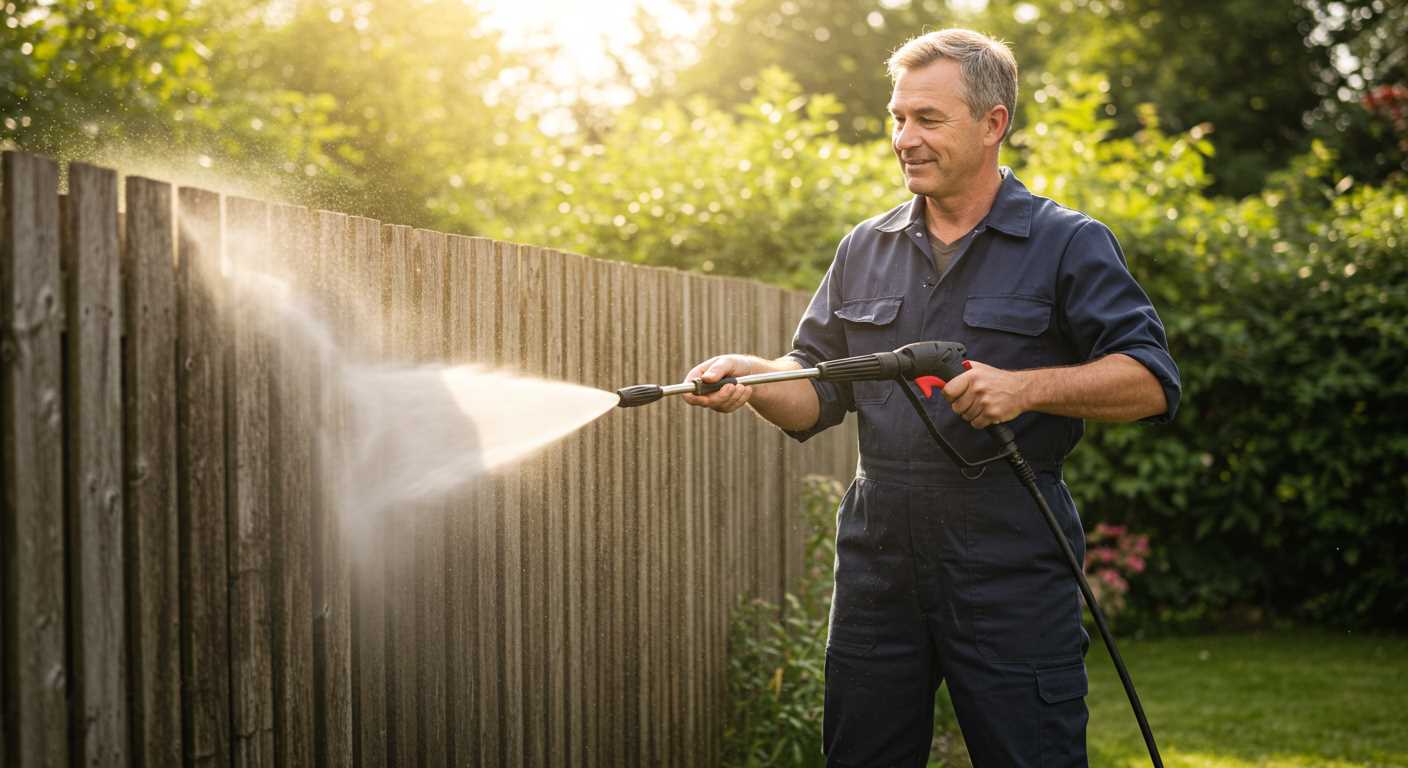
Inspect the High-Pressure Hose for Damage
Check the high-pressure hose for any signs of wear, such as cracks, fraying, or bulges. I’ve seen hoses fail catastrophically during use, often leading to injuries or costly repairs. A simple visual inspection can save you from potential disasters.
Feel along the length of the hose while looking for soft spots or irregularities that could indicate internal damage. If you notice any abnormalities, replace the hose immediately. In my experience, a compromised hose can lead to inconsistent water flow and decreased performance.
Don’t forget to examine the fittings at both ends of the hose. Ensure they’re tight and free from leaks. I once had a fitting that seemed fine but leaked under pressure, causing a frustrating mess. Using plumber’s tape can help secure these connections if they appear loose.
Always store your hose properly. Avoid kinks or sharp bends that can weaken it over time. I’ve learned the hard way that how you handle your equipment can significantly impact its lifespan. A well-maintained hose can last for years, while neglect can lead to rapid deterioration.
If you’re using an older model, consider upgrading to a reinforced hose. These are designed to withstand higher pressures and resist damage better than standard hoses. I’ve switched to reinforced hoses on several units, and the performance improvement was noticeable.
Finally, if you encounter any significant damage that can’t be easily repaired, don’t hesitate to consult your manual or the manufacturer for the right replacement. Trust me, replacing a hose is a lot cheaper than dealing with the aftermath of a hose failure during operation.
Flush the Water Pump System
To maintain optimal performance, it’s critical to flush the water pump system after prolonged use. Here’s a straightforward process based on years of experience working with various models.
- Start by disconnecting the water supply. Ensure the unit is turned off and unplugged for safety.
- Remove the high-pressure hose from the pump. This allows for a clearer pathway when flushing.
- Attach a garden hose to the inlet where the high-pressure hose was connected. Make sure the connection is secure to prevent leaks.
- Turn on the water supply and let it run through the pump for approximately 1-2 minutes. This helps to dislodge any debris or build-up inside the system.
- While the water is flowing, observe the discharge of water from the outlet. It should be clear without any visible contaminants.
- After flushing, disconnect the garden hose and reconnect the high-pressure hose securely.
In my early days, I once neglected this step and faced significant performance issues during a client job. The pump had accumulated debris, leading to reduced flow and pressure. Flushing the system regularly can save you from similar headaches and extend the life of your equipment.
For those using soap or detergent in their machines, consider running a mixture of water and a pump-safe cleaner through the system as part of your flushing routine. This can help maintain the internal components and prevent corrosion.
After flushing, always check for leaks around the connections and ensure everything is reassembled correctly. Regular maintenance like this not only enhances functionality but also ensures reliability when you need it most.
Calibrate the Pressure Settings
Adjusting the force of the water stream is key to achieving optimal cleaning performance. Start by identifying the requirements for your specific tasks; different surfaces demand varying degrees of intensity. For instance, delicate surfaces like wood or car paint require lower settings, while concrete and brick can handle higher levels.
Steps to Adjust the Force
- Locate the control dial or lever on your equipment. This is typically found near the handle or on the machine’s body.
- Set the dial to the lowest setting initially, especially if you’re working on sensitive materials.
- Test the output by pulling the trigger and observing the water stream. Increase the setting incrementally until you find the right balance between cleaning power and safety for the surface.
Tips for Calibration
- Regularly check the manufacturer’s guidelines for recommended force adjustments based on your tasks.
- Keep a notebook of settings for various jobs; this can save time on future projects.
- Consider using a pressure gauge if available, to monitor the exact measurements for precise adjustments.
In my experience, I found that many users overlook the importance of fine-tuning these settings. A friend of mine once damaged his patio furniture by using too much force; his mistake could have been avoided with a simple adjustment. Always remember, the right calibration can not only protect surfaces but also enhance the efficiency of your tasks.
Perform a Final Operational Test
After completing all maintenance tasks, it’s essential to conduct a thorough operational check. Start by connecting your water source and ensuring the hose is securely attached. Turn on the water supply and check for leaks in the connections. It’s critical that everything is sealed well before proceeding.
Initial Startup
With the water running, proceed to start the engine. Listen carefully for any unusual sounds that might indicate a problem. If the unit starts smoothly, allow it to idle for a few moments. This warm-up period helps the components settle before applying any load.
Testing Performance
Once warmed up, select a suitable nozzle and aim at a safe surface, such as a driveway or patio. Engage the trigger and observe the spray pattern. It should be consistent and powerful without any interruptions. If you notice fluctuations or weak pressure, this could point to issues with the water intake or nozzle blockage. Test different settings to confirm operational stability across the board.
Lastly, check the chemical injector, if your model has one, by introducing a cleaning solution. Ensure it mixes properly and produces the desired effect. Completing these checks will affirm that your equipment is ready for any cleaning task ahead.
.jpg)


