
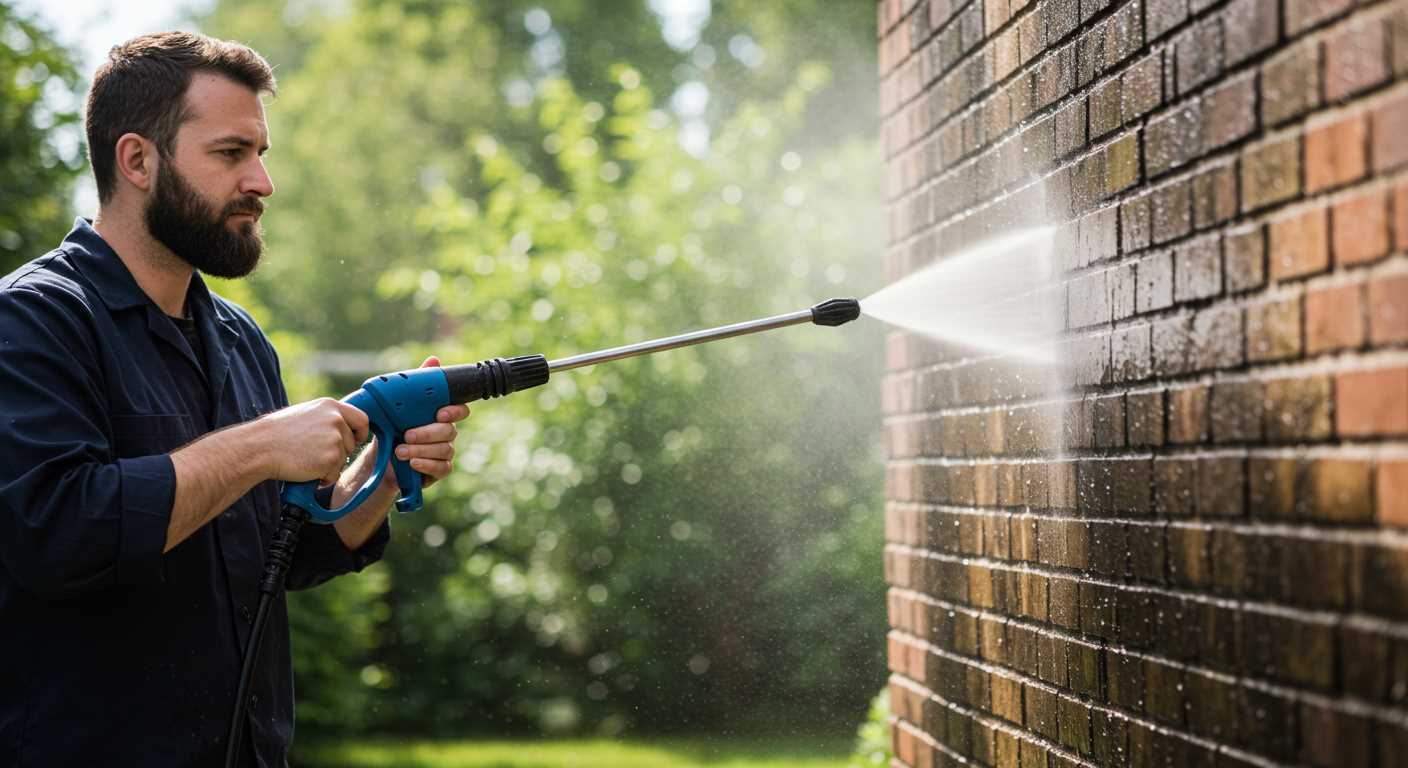


To achieve remarkable cleaning results, consider connecting a compatible nozzle to your pneumatic unit. This simple modification enhances the output pressure, making it suitable for tackling stubborn dirt and grime on various surfaces. I recall a time when I was faced with a particularly challenging stain on my driveway. A quick switch to a high-pressure attachment transformed my machine into a formidable cleaning tool.
Next, ensure you have the right fittings and hoses. A standard air hose may not withstand the increased pressure generated during cleaning tasks. Investing in a robust hose designed for high-pressure applications is key. I learned this the hard way after a few mishaps with inadequate hoses that couldn’t handle the force, resulting in frustrating leaks and interruptions.
Don’t overlook the importance of water supply. A steady stream is crucial for maintaining consistent pressure while cleaning. I often use a bucket or a water source connected directly to my setup. This ensures that I have enough flow to avoid any drop in performance. Remember, a powerful unit paired with a reliable water supply can make all the difference in achieving that pristine finish on your surfaces.
Lastly, always wear appropriate safety gear during operation. Goggles and gloves are a must, as debris can be propelled at high speeds. I vividly remember a cleaning session where I underestimated the pressure and ended up with a minor injury. Learning from that incident, I now always prioritise safety first. With these considerations in mind, you can effectively adapt your equipment for impressive results.
Transforming a Compressor into a Cleaning Device
Begin by acquiring a quality nozzle designed for high-pressure applications. This component significantly affects the effectiveness of the stream produced. I once used a 0-degree nozzle for a particularly stubborn stain on my patio. The concentrated jet made quick work of dirt and grime.
Next, ensure that you have the right fittings to connect your cleaning apparatus to the existing setup. A quick-connect adapter is often necessary to facilitate seamless transitions between components. During one of my projects, a mismatched fitting resulted in a frustrating water leak, delaying the cleaning process considerably.
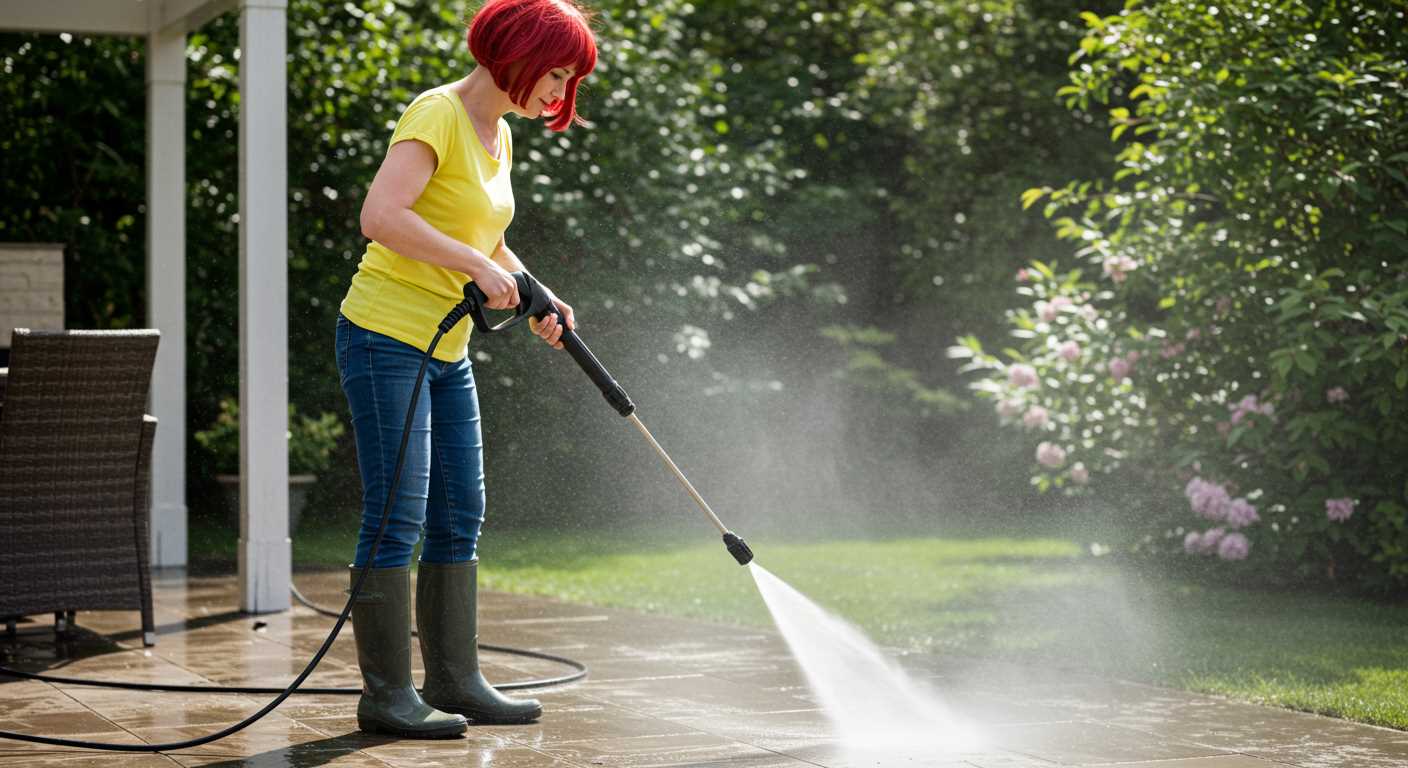
Adjust the pressure settings on your machine to achieve the optimal output. In my experience, too high a pressure can damage delicate surfaces, while too low a setting may not deliver the desired results. For instance, when cleaning my wooden deck, I found that a moderate setting was ideal to remove dirt without harming the wood.
Incorporate a detergent injection system if you aim to tackle more challenging stains. This addition allows for the application of cleaning solutions that can break down tough residues. I recall using a soap attachment while cleaning my vehicle, which enhanced the overall cleaning performance significantly.
Remember to utilise an adequate water supply. Insufficient flow can lead to ineffectiveness and potential damage to your device. I once underestimated the importance of a steady water source, leading to overheating issues that disrupted my cleaning efforts.
Lastly, always wear appropriate protective gear. High-pressure streams can cause injuries if not handled properly. I learned this lesson the hard way when a sudden slip caused a spray to hit my leg. Safety goggles and gloves are a must.
Choosing the Right Equipment for Conversion
For a successful transformation, select a unit with a minimum of 2.5 CFM at 90 PSI. This capacity ensures sufficient force for cleaning tasks without overworking the machine. I once used a model rated at 3.2 CFM, which made quick work of grime on a neglected patio. The extra power not only improved efficiency but also reduced the time spent on tough jobs.
Tank Size Matters
A larger tank, ideally 5 gallons or more, provides extended use between refills. I recall a project where a smaller 2-gallon tank kept running out mid-task, leading to delays and frustration. A bigger tank allows for continuous operation, which is particularly beneficial during extensive cleaning sessions.
Portability and Noise Level
Consider the weight and portability. A lightweight model with wheels simplifies manoeuvrability around the property. Noise is another factor; some units can be quite loud. My quieter model was a breeze to use in residential areas without disturbing neighbours. Look for a rating below 70 decibels for a more pleasant experience.
Don’t overlook the importance of accessories. Ensure compatibility with attachments like nozzles and hoses. I invested in a quality nozzle set that improved versatility. A unit that supports quick-connect fittings saves time and enhances convenience during use.
Finally, check the warranty and support options. A model backed by reliable customer service offers peace of mind, especially if you encounter issues during your projects. Investing in quality equipment pays off, making the entire process smoother and more enjoyable.
Necessary Components for Pressure Washer Setup
To create a reliable cleaning unit from your existing equipment, gather the following components:
Key Items
- High-pressure pump
- Compatible nozzle set
- Hoses (high-pressure and inlet)
- Pressure regulator
- Water source connector
The high-pressure pump is the heart of your setup. Choose one that matches your intended cleaning tasks. A nozzle set should include various spray patterns for versatility. I once underestimated the impact of a good nozzle; switching to a fan spray saved me hours on a stubborn patio clean.
Optional Enhancements
- Surface cleaner attachment
- Detergent injector
- Wheels for mobility
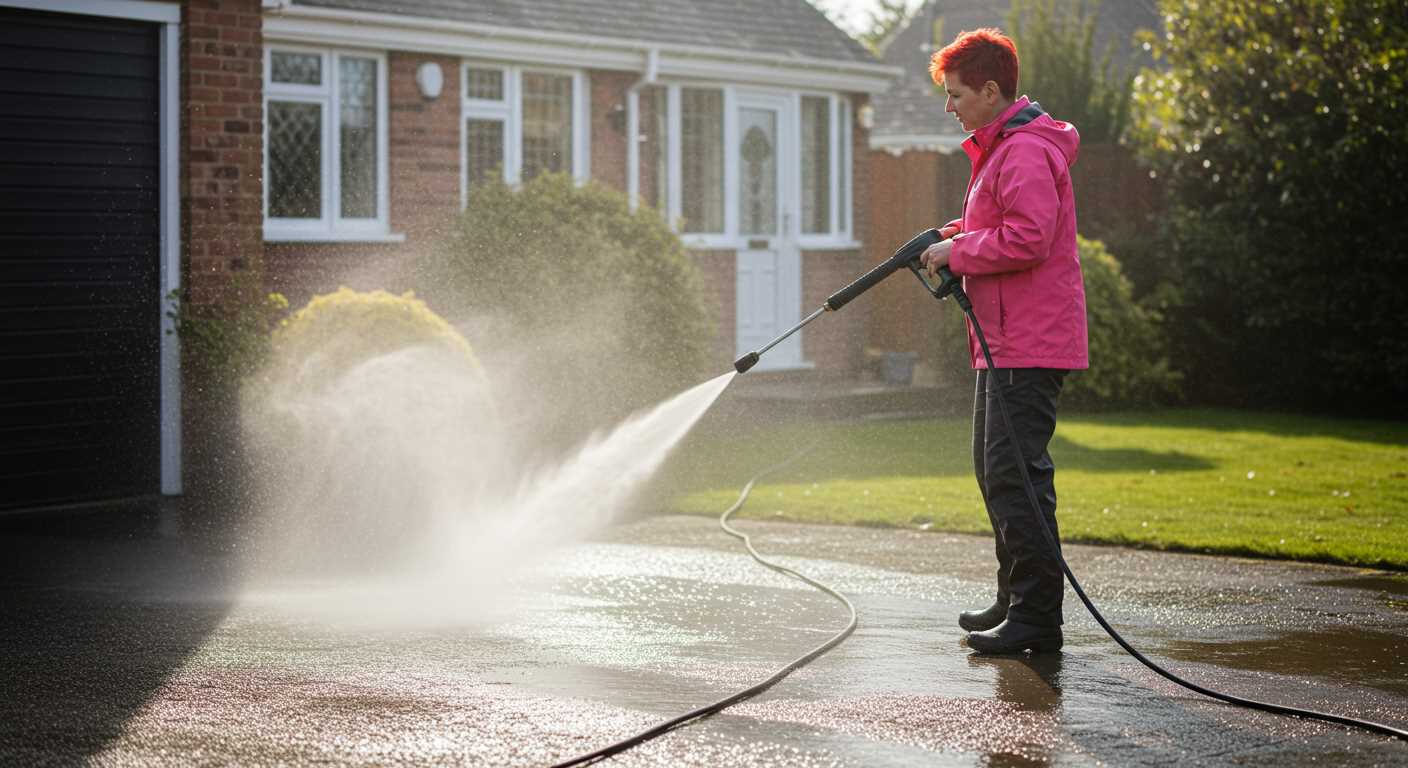
Adding a surface cleaner attachment can significantly speed up larger jobs. I remember using one for a driveway; it cut my cleaning time in half. A detergent injector allows you to apply cleaning solutions efficiently. If you’re tackling tough stains, consider this addition.
| Component | Function |
|---|---|
| High-pressure pump | Generates the necessary pressure for effective cleaning |
| Nozzle set | Offers different spray patterns for various tasks |
| Hoses | Transports water from the source to the cleaning area |
| Pressure regulator | Maintains consistent output pressure |
| Surface cleaner | Enhances cleaning efficiency on large flat surfaces |
For those seeking an alternative, a lightweight electric pressure washer can be a practical solution if you prefer a straightforward approach without the DIY aspect. However, with the right components, you can easily customise your setup for specific cleaning needs.
Step-by-Step Guide to Assembling the Pressure Washer
Gather all necessary parts before you begin. You’ll need a high-pressure nozzle, a suitable hose, and an adaptor for connecting to your existing setup. Make sure everything is compatible to avoid any leaks or issues during operation.
Start by attaching the high-pressure nozzle to the end of the hose. Ensure that the connection is tight and secure. I’ve experienced leaks in the past due to improper fittings, so double-check this step.
Next, connect the other end of the hose to the outlet of your pneumatic device. It’s crucial to use a fitting that can handle the increased pressure. I once made the mistake of using a standard fitting, and it failed under pressure, creating a mess and wasting time.
Once the hose is attached, it’s time to connect the water source. Use a garden hose and ensure that it is attached securely to prevent any loss of water. Check for kinks or blockages that might restrict the flow.
Now, set the pressure gauge if your setup includes one. Adjust it according to the type of task you plan to tackle. I recall a scenario where I started at too high a pressure, damaging delicate surfaces. Finding the right balance can save you from costly mistakes.
After everything is connected, turn on the water supply and check for leaks. Run your equipment briefly to ensure everything is functioning as intended. If you notice any issues, don’t hesitate to disconnect and troubleshoot before proceeding.
With everything in place, it’s time to test the system. Begin with a small area to get a feel for the pressure and adjust as necessary. I’ve found that starting slow allows you to gauge the effectiveness without risking damage to your surfaces.
Lastly, always follow safety guidelines. Wear protective gear, and be cautious of your surroundings. My experience has taught me that even a minor oversight can lead to accidents.
Safety Precautions During the Conversion Process

Always wear proper personal protective equipment (PPE) throughout the modification. This includes safety goggles to shield your eyes from debris and a mask to avoid inhaling any dust or fumes. Gloves are also necessary to prevent cuts and abrasions while handling tools and components.
Work Environment
Ensure your workspace is well-ventilated and free from clutter. A clean environment minimizes the risk of accidents and allows for better focus. Keep flammable materials away from your setup, especially if using tools that generate heat or sparks.
Handling Components
Be cautious when dealing with high-pressure fittings and hoses. Inspect all parts for wear or damage before installation. A compromised hose can lead to dangerous leaks. When tightening connections, avoid over-torquing, as this can cause components to fracture under pressure.
Test the system at a low pressure before ramping up. This initial run ensures everything is functioning correctly and allows you to identify any potential issues without risking injury. Always keep a water source nearby to quickly cool down any overheated parts.
Lastly, familiarise yourself with the pressure settings and limits of your setup. Mismatched pressure can lead to equipment failure or even personal injury. Always consult the specifications of your tools and parts for safe operating conditions.
Testing Your New Pressure Washer for Performance
After assembling your new high-pressure cleaning device, the first step is to evaluate its performance. Here’s how to ensure it operates optimally.
- Check for Leaks: Before turning it on, inspect all connections and hoses for any signs of leakage. Even minor leaks can reduce efficiency.
- Pressure Gauge Monitoring: If your setup includes a pressure gauge, observe the readings as you initiate cleaning tasks. Ensure it meets the expected PSI levels for your intended applications.
- Test Different Nozzles: Use various nozzles to assess performance. Each nozzle alters pressure and flow rate, so try them on different surfaces to see which combination yields the best results.
- Surface Tests: Start with a small, inconspicuous area on the surface you plan to clean. This helps you gauge the effectiveness without risking damage. Gradually increase pressure as you determine the appropriate setting.
- Flow Rate Assessment: Collect the output water for a set time (like one minute) to measure the flow rate. This will help you understand how much water your device is consuming versus the pressure it’s generating.
- Cleaning Ability: Test the unit on various stains and debris types. Monitor how quickly and effectively it removes dirt, grime, or other residues from surfaces.
- Noise Levels: Take note of the operational noise. An excessively loud machine may indicate underlying issues or inefficiencies.
- Durability Check: During use, listen for any unusual sounds that might suggest mechanical problems. A reliable unit should operate smoothly without strange noises.
After these tests, if you’re satisfied with your findings, you’re ready to tackle larger projects. If issues arise, consider re-evaluating components or configurations. Remember that regular maintenance is key to longevity.
For those curious about culinary timings, check out this resource on how long to put oxtail in pressure cooker for precise cooking tips.
Common Issues and Troubleshooting Tips
Low pressure can be a frustrating issue. Check for clogs in the nozzle or the hose. A blocked nozzle often leads to insufficient force. Clean or replace it as necessary. Ensure that the connections are tight and there are no leaks in the hoses.
Unexpected Shutdowns
If your setup suddenly stops working, inspect the power source. A loose connection or an overloaded circuit can cause interruptions. Ensure that the electrical supply is stable. Additionally, overheating can be a concern; let the device cool down before resuming use.
Water Leaks
Leaks can arise from several areas. Examine the fittings and hoses for wear or damage. Tightening fittings may resolve minor leaks. If you notice significant water loss, it might be time to replace worn components. Regular maintenance can prevent future issues.
- Inspect all hoses for cracks or abrasions.
- Check seal integrity at connection points.
- Replace any damaged washers or O-rings.
Another common concern is noise levels. If your machine becomes unexpectedly loud, it may indicate a problem with the motor or pump. Listen for unusual sounds, which can signal mechanical failure. Address these promptly to avoid further damage.
- Identify the source of the noise.
- Check for loose parts or debris within the unit.
- Consult the user manual for specific troubleshooting steps.
Lastly, if the output is inconsistent, it might relate to the power supply or the components used. Ensure that your setup is compatible with the specifications of the desired pressure output. Mismatched components can lead to performance issues.
Maintenance Tips for Longevity of Your Washer
Regularly inspect seals and gaskets for wear. A small crack can lead to significant pressure loss, making your setup less effective. Replace any damaged components immediately to maintain optimal performance.
Cleaning the Components
After each use, clear out any debris from the nozzle and hoses. Blockages can cause back pressure, which may damage the motor over time. A simple rinse with clean water will suffice. Additionally, flush out the system with a cleaning solution periodically to prevent build-up of grime.
Storage Practices
Store your equipment in a dry, cool area. Extreme temperatures can degrade materials and affect functionality. Consider using a protective cover to shield it from dust and moisture. Disconnect hoses to prevent kinks, which might lead to leaks or reduced efficiency.
Finally, check the oil levels if applicable and replace it according to the manufacturer’s recommendations. Fresh oil keeps the working parts lubricated and functioning smoothly, extending the lifespan of your device significantly.
FAQ:
What materials do I need to convert an air compressor into a pressure washer?
To convert your air compressor into a pressure washer, you will need a few specific materials. First, you will require a pressure washer nozzle or a spray gun that can handle high-pressure air. Additionally, a hose with the appropriate fittings to connect to both the compressor and the nozzle is necessary. You may also need a pressure regulator to control the air pressure, as well as various adapters to ensure a secure fit. Lastly, safety goggles are recommended to protect your eyes from any debris that may be dislodged during the cleaning process.
Can all air compressors be used for this conversion, or are there specific types that work better?
Not all air compressors are suitable for conversion into pressure washers. Generally, a compressor with a high CFM (cubic feet per minute) rating is ideal, as it indicates a higher airflow, which is necessary for effective cleaning. Portable or stationary compressors that can deliver at least 2-3 CFM at 90 PSI are typically the best candidates. Additionally, ensure that your compressor has a suitable pressure rating to avoid any damage or safety hazards during use.
What safety precautions should I take when using a converted air compressor as a pressure washer?
When using a converted air compressor as a pressure washer, safety should be a top priority. Always wear safety goggles to protect your eyes from flying debris and ensure that you are wearing appropriate clothing to shield your skin. Make sure to secure all connections between the air compressor, hose, and nozzle to prevent any accidental disconnections. It is also advisable to test the setup at a lower pressure before increasing it to the desired level, allowing you to identify any potential issues safely. Lastly, keep bystanders at a safe distance while operating the equipment.
What types of surfaces can I clean with this converted pressure washer?
You can clean a variety of surfaces with a converted air compressor pressure washer, depending on the nozzle and pressure settings used. Suitable surfaces include driveways, patios, decks, and outdoor furniture. However, caution is advised when cleaning more delicate surfaces such as painted surfaces, wood, or windows, as high pressure may cause damage. Always start with a lower pressure setting on sensitive materials and test a small area first to ensure that it doesn’t cause any harm.
How does the cleaning power of a converted air compressor compare to a traditional pressure washer?
The cleaning power of a converted air compressor can vary significantly compared to a traditional pressure washer. Standard pressure washers are designed to deliver consistent water pressure and flow rates that effectively remove dirt and grime. In contrast, an air compressor relies on compressed air, which may not provide the same level of cleaning efficiency, especially for heavy-duty tasks. While lighter cleaning jobs may be manageable, for more challenging cleaning tasks, a traditional pressure washer may still be the better option due to its design and intended purpose.
.jpg)


