


Begin by ensuring that all necessary components are connected properly. Check the fuel level; a tank that’s too low can lead to starting issues. Always use the recommended fuel type to avoid engine complications.
Next, inspect the oil levels. A clean machine operates smoothly, so if you notice any contaminants in the oil, a change is advisable. This step is often overlooked but can significantly affect performance.
After confirming fuel and oil quality, locate the ignition switch, usually found near the control panel. Turn the switch on, and listen for the engine to engage. It may take a moment, especially if the unit hasn’t been used for a while. Patience is key here.
Once the engine starts, allow it to idle for a few minutes. This warms up the system and ensures that everything is functioning as it should. I’ve had instances where rushing this step led to inconsistent performance during use.
Finally, test the output by pulling the trigger on the lance. If water flows steadily, you’re ready to tackle any cleaning task. If not, double-check your connections and ensure there are no blockages in the hoses.
Starting the Karcher Diesel Cleaner
Ensure the fuel tank is filled with the appropriate diesel before you proceed. Check the oil level and top up if necessary. Locate the ignition key and insert it into the ignition switch.
Check the Connections
Inspect all hoses and connectors. Make sure they are securely attached to avoid leaks. If your model has a water supply connection, ensure it’s properly linked and the tap is open.
Ignition Sequence
With everything in place, turn the key to the ‘on’ position. Wait for the glow plug indicator to illuminate, then turn the key further to engage the starter. Release the key once the engine roars to life. Allow it to warm up for a few minutes before engaging the trigger gun.
Locate the Power Switch on the Karcher Diesel Pressure Washer
First, identify the power switch on your unit. Typically, it is located on the front panel, easily accessible for quick operation. Look for a large, prominent switch that is often marked with a power symbol. If your model features an emergency stop button, ensure you are not pressing that instead.
Visual Inspection
Before starting, conduct a visual inspection of the area around the power switch. Clear any obstructions and ensure there are no water sources nearby that could cause issues. This attention to detail can prevent accidents and ensure a smooth start-up.
Check for Indicators
Many models come equipped with indicator lights near the power switch. These lights typically signal the operational status of the equipment. A green light usually means the machine is ready, while red may indicate a fault. Familiarising yourself with these indicators can save you time and prevent unnecessary troubleshooting later.
Check the Fuel Level Before Starting the Machine
Always inspect the fuel gauge before switching on the equipment. This simple check can prevent unnecessary interruptions during your tasks.
Steps to Verify Fuel Levels:
- Locate the fuel tank cap on the unit.
- Remove the cap carefully to avoid spillage.
- Look inside the tank to assess the fuel level. If the level is low, refuel before starting.
Refuelling Tips:
- Use a funnel to minimise spills when pouring fuel.
- Ensure you’re using the recommended type of fuel for optimal performance.
- After refuelling, securely replace the cap to avoid leaks.
Running low on fuel while in operation may cause the machine to stall, leading to frustration and delays. For additional tips on using pressure-related equipment, you might find this link helpful.
Inspect the Water Supply Connection for Leaks
Begin by examining the water supply hose and its connections. Any leaks can significantly hinder the performance of the equipment. Look for signs of dampness or pooling water around the fittings. An effective way to check is to tighten the connections carefully, ensuring a snug fit without over-tightening, which could damage the threads.
Testing for Leaks
After securing the connections, turn on the water supply without starting the machine. Observe the joints for a minute or two. If you notice dripping or continuous streams of water, it’s time to replace the washers or seals. These components wear out over time and can easily lead to inefficiencies.
Inspecting the Hose

Next, inspect the entire length of the hose for kinks, cracks, or abrasions. Even small damages can lead to significant water loss. If you find any issues, consider replacing the hose entirely, as this is often more efficient than attempting to repair it. Keeping the water supply intact ensures that the machine operates optimally, preventing unnecessary strain on the motor.
Ensure All Hoses are Properly Connected
Before starting the machine, verify that all hoses are securely attached. Loose connections can lead to significant pressure loss and affect performance. I recall a time when I neglected this step, and the result was an unexpected spraying of water everywhere except where it was needed.
Check the Water Inlet Hose
Inspect the water inlet hose for any kinks or damage. Ensure it is firmly connected to the machine and the water source. A clean, unobstructed flow is essential for optimal functioning. I’ve learned that even minor blockages can impact water supply and pressure, so don’t overlook this detail.
Examine the High-Pressure Hose
The high-pressure hose should be tightly connected to both the unit and the spray gun. It’s also wise to check for any signs of wear or leaks. On one occasion, I experienced a frustrating delay because of a small crack that had developed in the hose, which I had missed during my initial checks. Replacing damaged hoses can ensure a consistent and powerful spray. For those looking to enhance their cleaning capability further, consider using a pressure washer nozzle for garden hose to achieve different spray patterns.
Set the Pressure Level According to Your Cleaning Needs
Adjust the intensity of the water stream based on the surface you’re tackling. For delicate tasks like washing cars or cleaning outdoor furniture, set the level to low. This prevents damage to paint or softer materials. I recall a time when I accidentally used a high setting on a wooden deck–it stripped the finish and led to costly repairs.
Determining the Right Setting
For tougher jobs such as removing grime from concrete or preparing surfaces for painting, increase the pressure. A medium setting usually suffices for most outdoor cleaning tasks. I’ve learned through trial and error that excessive force can lead to more harm than good, especially on porous materials. Always test a small, inconspicuous area first.
Using Attachments Wisely
Utilising the right nozzle is crucial. A fan nozzle provides a wider spray for gentle cleaning, while a turbo nozzle concentrates the flow for stubborn stains. On one occasion, switching to a turbo nozzle helped me eliminate years of built-up grease from a driveway with ease. Tailor your approach based on the specific requirements of each project for optimal results.
Activate the Diesel Engine Using the Start Button
To ignite the engine, locate the start button, typically found on the control panel. Ensure the engine choke is in the correct position–usually set to “start” for cold starts.
Follow these steps:
- With all safety checks completed, firmly press the start button.
- Listen for the engine to engage; it may take a moment for the system to respond.
- If the engine fails to start after a few attempts, check the battery connection and ensure it’s adequately charged.
- Should the engine still not start, consult the user manual for troubleshooting tips specific to your model.
Once the engine is running, observe the display panel for any warning lights. If everything appears normal, you are ready to begin your cleaning tasks. Always allow the engine to warm up for a couple of minutes before applying full pressure to ensure optimal performance.
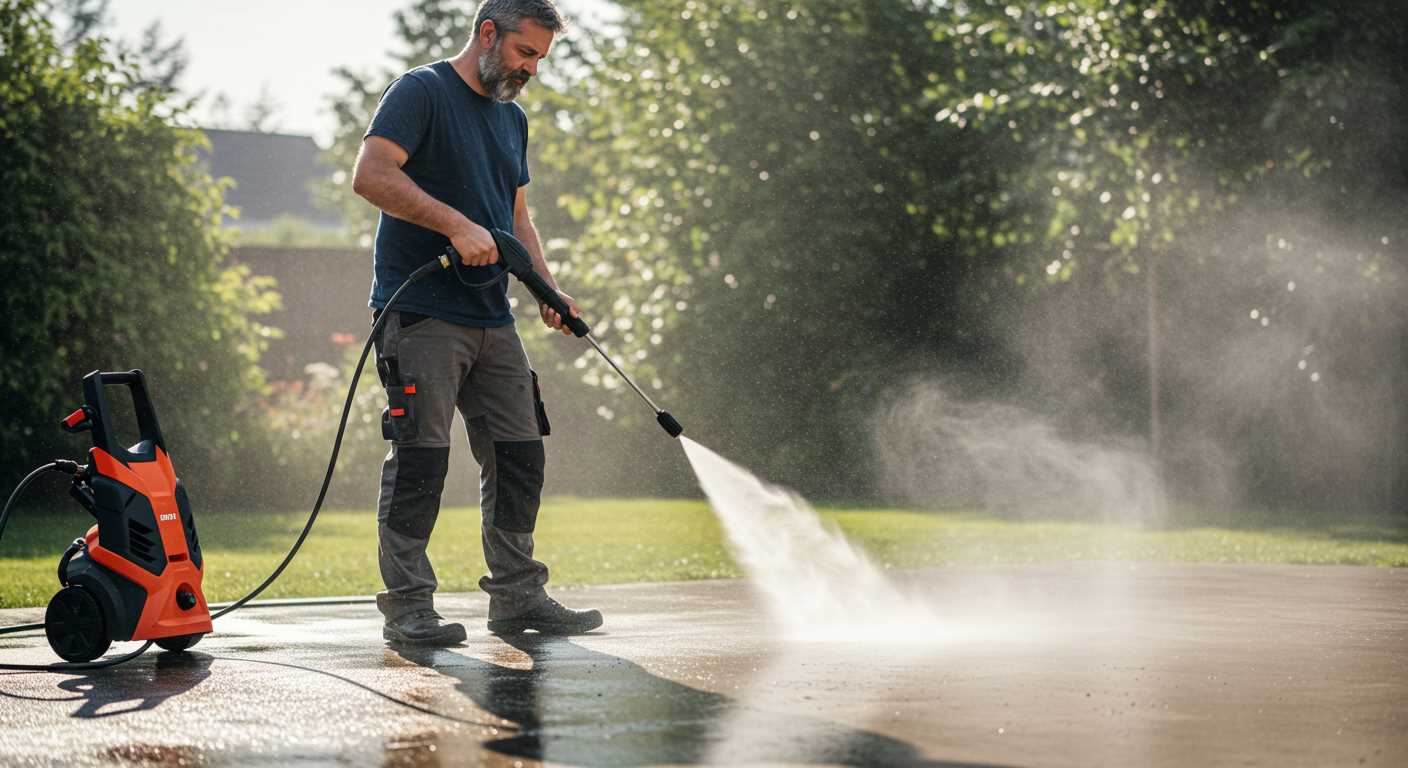
Monitor the Pressure Gauge for Optimal Performance
Always keep an eye on the pressure gauge during operation. A stable reading indicates that the system is functioning properly. If you notice fluctuations or a drop in pressure, it may signal an issue that requires immediate attention.
From my experience, a reading below the manufacturer’s recommended level can lead to inadequate cleaning results. Conversely, excessive pressure can damage surfaces or components. Regularly checking the gauge helps maintain the balance needed for efficient operation.
Here’s a quick reference table to help you interpret the gauge readings:
| Pressure Reading (bar) | Condition | Action Required |
|---|---|---|
| 0-80 | Low Pressure | Inspect for clogs or leaks in hoses and nozzles |
| 80-120 | Normal Operating Range | Continue use; optimal performance |
| 120-160 | High Pressure | Check settings; may need adjustment |
| 160+ | Excessive Pressure | Stop operation; inspect for potential damage |
During my time in the field, I’ve seen many users overlook this critical aspect. A simple glance at the gauge can save you from costly repairs and ensure that your cleaning tasks are completed effectively. Always prioritise monitoring to achieve the best results.
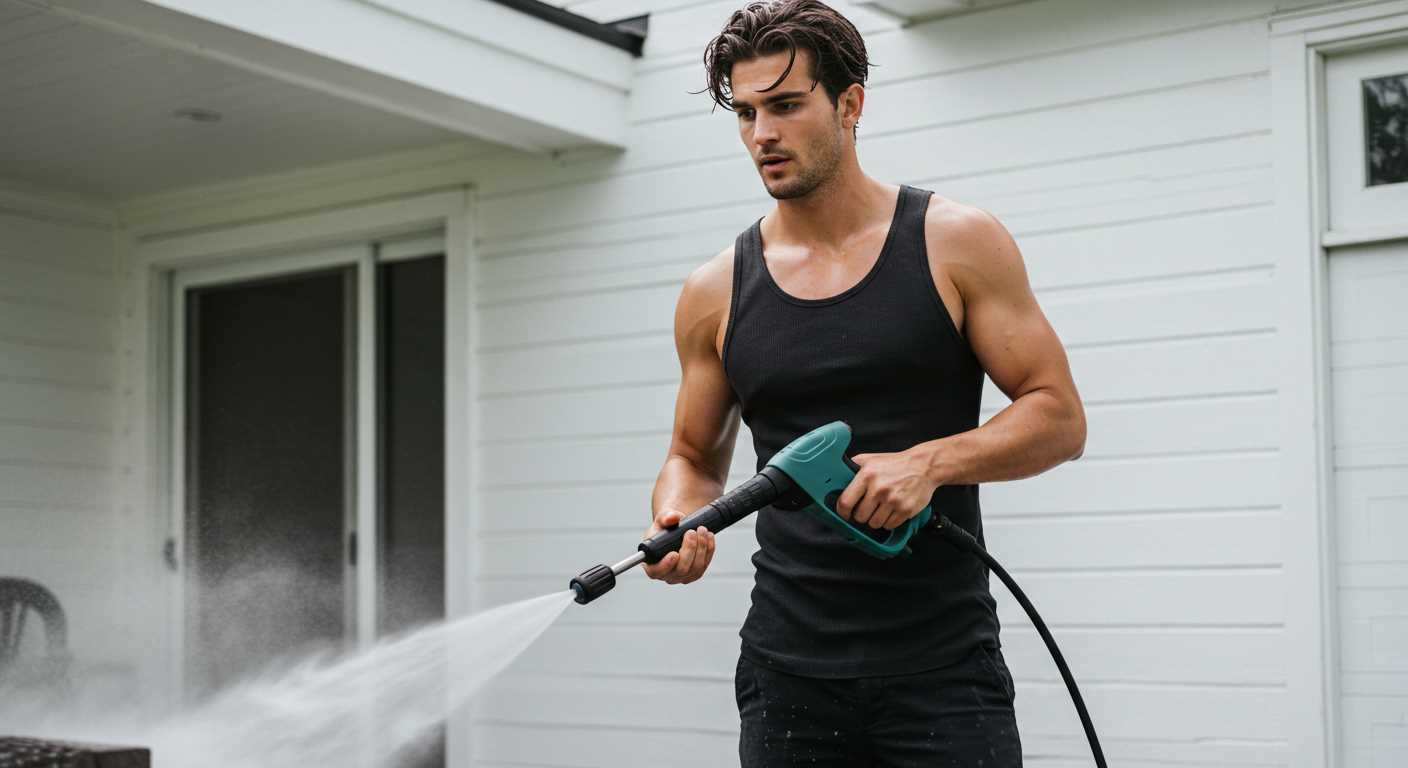
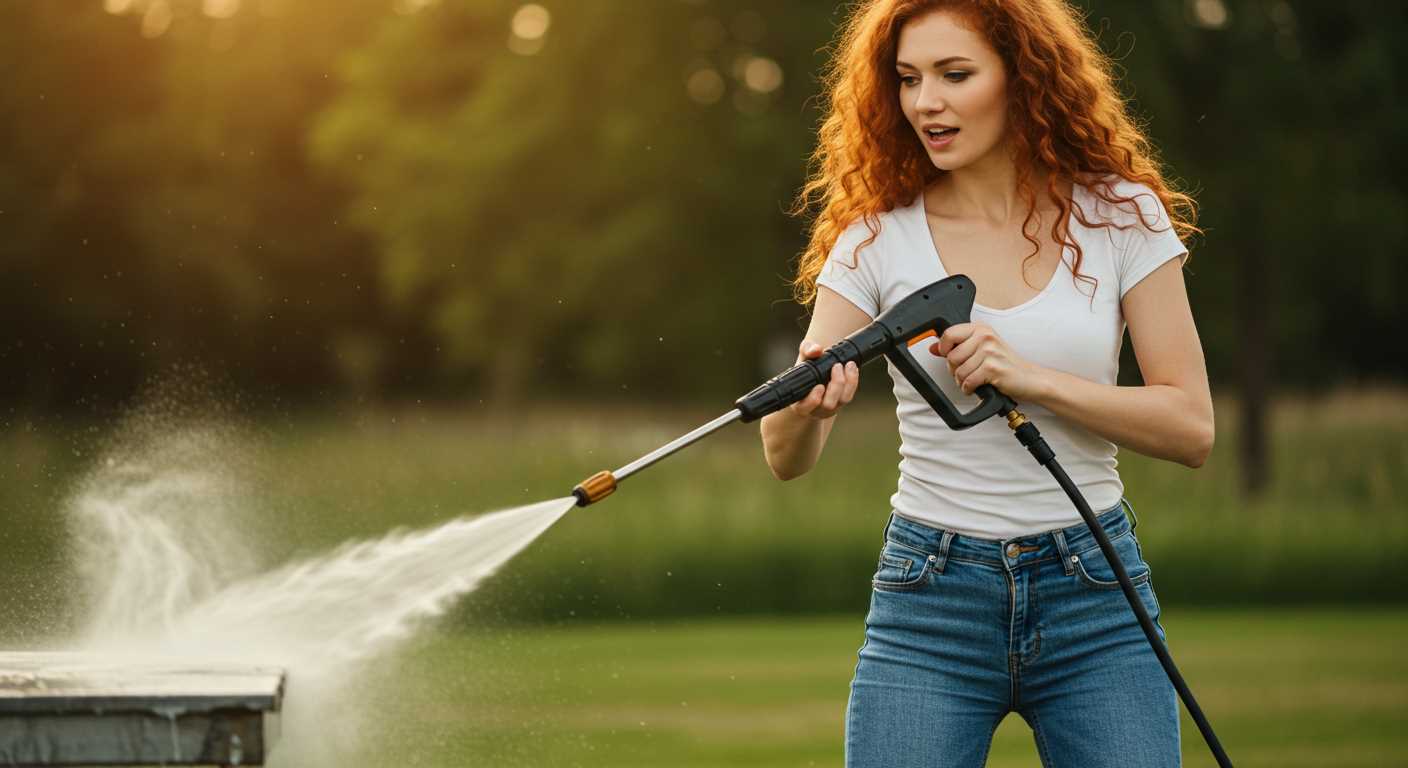
Perform a Test Spray to Confirm Functionality
After ensuring everything is correctly set up, it’s time to conduct a test spray. Begin by adjusting the nozzle to the desired spray pattern. A wider spray is ideal for rinsing surfaces, while a concentrated jet is best for stubborn stains.
Stand at a safe distance from the surface you intend to clean, generally about 2 to 3 metres away. This distance helps prevent damage to delicate surfaces while allowing you to assess the machine’s performance effectively.
Gently squeeze the trigger on the wand to initiate the flow of water. Observe the spray pattern and pressure output. If the spray appears weak or uneven, recheck all connections, including the hose and water supply, as blockages can lead to inconsistent performance.
If the operation is smooth, proceed to test various pressure settings. Adjust the pressure according to the specific cleaning task at hand. Note how the machine responds to these changes; a reliable unit will maintain consistent pressure without hesitation.
Finally, after the test, turn off the machine and check for any leaks or unusual sounds, which could indicate potential issues. Regular testing not only ensures optimal functionality but also prolongs the life of your equipment.
.jpg)


