
.jpg)


.jpg "How to turn pressure down on pressure washer")
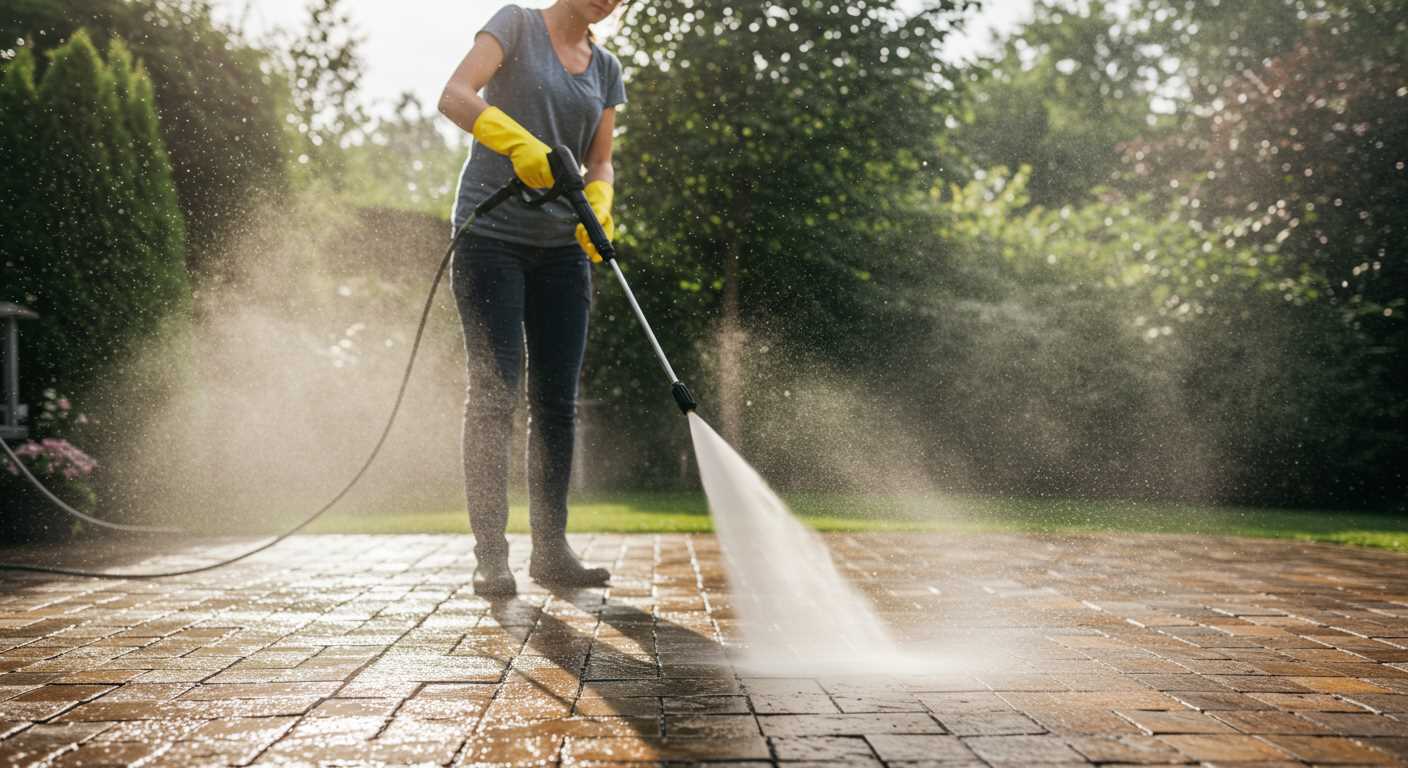
Adjusting the output force on your high-pressure cleaner is straightforward. Start by locating the adjustable nozzle or tip that came with your device. Many models feature interchangeable tips that allow you to modify the spray pattern and intensity. For lighter cleaning tasks, switch to a wider spray angle, such as 25 or 40 degrees, which disperses the water over a larger area and minimizes the impact force.
In my experience, using a wider nozzle not only protects delicate surfaces but also conserves water. During a recent project, I had to wash a vintage car with sensitive paint. By opting for a 40-degree tip, I effectively cleaned it without risking damage, and the results were impressive.
Another way to adjust the water output is by regulating the flow rate. If your unit has a pressure adjustment feature, lower the setting to decrease the water force. I recall a time when I was cleaning a wooden deck; reducing the output helped me remove grime without stripping the wood. Always remember to test the spray on a small, inconspicuous area first to ensure you achieve the desired effect without causing harm.
Adjusting Output on Your Cleaning Equipment
Begin by locating the adjustable nozzle, often at the end of the lance. Switching to a wider spray pattern significantly reduces the force of the stream.
If your model has a variable pressure control dial, simply rotate it to a lower setting. This dial typically ranges from high to low settings, allowing for flexibility depending on the task.
For units with interchangeable nozzles, consider using a larger nozzle size. For example, if you’re currently using a 15-degree nozzle, swapping it for a 25-degree or 40-degree option will lessen the intensity of the water jet.
In cases where your device features a soap injection system, engaging this can also help temper the output, as it mixes the detergent with water, resulting in a gentler application suitable for delicate surfaces.
Regular maintenance plays a role as well. Ensure that filters are clean and free from debris; clogged filters can cause pressure spikes. Here’s how to maintain your device:
- Inspect and clean the inlet filter regularly.
- Check hoses for kinks or blockages.
- Ensure all connections are tight to prevent leaks.
Lastly, remember the importance of keeping a safe distance from the surface being cleaned. Being too close can result in damage, so maintain a proper distance to achieve the desired cleanliness without excessive force.
Identify the Type of Pressure Washer You Have
Determining the specific model of your cleaning device is crucial for adjusting its output. Begin by checking the manufacturer’s label, usually located on the frame or motor housing. This label often includes the brand, model number, and specifications. Jot down this information, as it will guide you in understanding the functionalities available for your equipment.
Electric vs. Gas Models
Electric units are generally lighter and quieter, making them suitable for light to medium tasks, while gas-powered ones provide greater force and are designed for more demanding jobs. Knowing which type you possess helps in recognising the adjustment features available. Electric machines typically feature a dial or switch for modifying intensity, whereas gas models might require different attachments or nozzle changes.
Consider the Specifications
Familiarise yourself with the specifications listed in the manual or online. The details about flow rate and maximum output are essential when understanding the limits of your device. If you can locate the user manual, it often contains valuable information about adjustments and operational guidelines tailored to your specific model.
Locate the Pressure Control Knob or Valve
To adjust the force of your cleaning device, you need to find the right control component. Most models feature either a knob or a valve dedicated to modifying the water output. This element is typically integrated into the handle or situated on the unit’s body, near the inlet or pump area.
Identifying the Control Mechanism
When I first started working with various cleaning machines, I encountered several configurations. Some machines utilise a straightforward dial system, where you simply rotate the knob to increase or decrease the intensity. Others may have a lever that allows you to adjust the flow rate more dynamically. Familiarise yourself with your specific model by consulting the manual or searching online for diagrams if you can’t locate it immediately.
Testing Adjustments
After identifying the control feature, experiment with it while observing the results. I’ve found that making small adjustments can lead to significant changes in performance. Start with a moderate setting, then test the spray pattern and force on a surface. This hands-on approach helped me understand the optimal settings for various tasks, from delicate cleaning to heavier-duty applications.
Adjust the Pressure Settings for Different Nozzles
Choosing the right nozzle is key to achieving optimal results with your cleaning rig. Each nozzle has a specific angle and flow rate, which directly affects the force of the water stream. For instance, a narrow-angle nozzle delivers a concentrated jet, perfect for tough stains, while a wider nozzle disperses the water over a larger area, suitable for gentler tasks.
When switching nozzles, it’s crucial to adjust the settings accordingly. Here’s a quick reference to help you match your nozzle choice with the appropriate adjustments:
| Nozzle Type | Angle | Recommended Settings |
|---|---|---|
| 0° (Red) | Direct jet | High setting for heavy-duty cleaning |
| 15° (Yellow) | Narrow spray | Moderate to high setting for stubborn grime |
| 25° (Green) | Medium spray | Mid to low setting for general cleaning |
| 40° (White) | Fan spray | Low setting for delicate surfaces |
| Soap (Black) | Wide spray | Low setting to apply cleaning agents |
For example, I once tackled a moss-covered patio using a 15° nozzle. Initially, I used too much force, causing water to splash everywhere and damaging some nearby plants. After realising my mistake, I adjusted the settings to a moderate level, allowing me to efficiently remove the moss without collateral damage.
Always experiment with different combinations to find what works best for your specific task. Each cleaning scenario is unique, so don’t hesitate to make adjustments as needed. For those looking to enhance their cleaning arsenal, consider integrating a best audio scrubber program for thorough surface cleaning.
Test the Pressure After Adjusting
After you’ve made adjustments to the output settings, it’s time to verify the results. Here’s a straightforward approach to assess the modifications you’ve implemented.
- Reconnect the unit to a water source and ensure all connections are secure.
- Choose a suitable nozzle for your task. For lighter jobs, a wider nozzle is ideal, while a narrower one works better for more stubborn stains.
- Switch on the equipment and allow it to build up the necessary force.
- Begin testing on a small, inconspicuous area. Observe how the water interacts with the surface. If the results meet your expectations, you’re good to go.
- If the outcome is not satisfactory, revisit the control knob or valve and make further tweaks as needed.
During testing, take note of the sound and any vibrations. A well-adjusted unit operates smoothly without excessive noise or shaking. If issues arise, it may indicate that further adjustments are required.
After each adjustment, ensure that you also check the oil level in your machine. A well-maintained engine contributes to optimal performance. For those using Honda engines, consider referring to oil for honda pressure washer engine for guidance.
This routine not only enhances the efficiency of your device but also extends its lifespan, ensuring you get the most out of your investment.
Maintain Consistent Pressure During Use
To achieve stable output while operating the cleaning device, ensure a steady grip on the trigger. This control helps maintain a uniform flow, preventing fluctuations that can occur if the trigger is released and squeezed repeatedly.
Regularly inspect the nozzle for clogs. A blocked tip can alter the water stream, leading to varying effectiveness. Clear any debris to sustain optimal performance. I recall a time when I was tackling a particularly stubborn surface, and a simple check of the nozzle revealed a small obstruction that, once cleared, restored the expected power.
Consider the distance from the surface being cleaned. Keeping a consistent distance allows for uniform coverage and avoids uneven results. Moving too close can increase the force, while being too far may lessen the impact. I always aim for a distance of around 12 to 18 inches for the best balance.
Monitor your water supply. An adequate flow rate is crucial; insufficient water can lead to inconsistent performance. I once encountered a situation where the garden hose was partially kinked, causing the performance to waver until I adjusted it. Keeping the supply line free from obstructions is key.
Lastly, periodically check for leaks in hoses and connections. Any loss of fluid can disrupt the system’s balance, causing variations in output. I’ve had instances where a small leak significantly affected the results, so a thorough inspection can save time and effort. Regular maintenance of the hoses ensures everything operates smoothly, providing the reliability needed for effective cleaning.
Troubleshoot Common Issues with Pressure Adjustment
If your adjustments aren’t yielding the desired results, first examine the connections between the hose and the nozzle. A loose or damaged fitting can lead to inconsistent output. I’ve encountered situations where a simple tightening of the hose connection resolved fluctuating performance.
Next, check the nozzle itself. Different nozzles create varying spray patterns and impacts. A clogged or worn nozzle can impede water flow, affecting the overall functionality. Cleaning or replacing the nozzle often restores optimal performance. I once had a client who was frustrated with their unit, only to find that a quick clean of the nozzle made all the difference.
Inspect the water source as well. Low water supply can compromise the effectiveness of your adjustments. Ensure the water tap is fully open, and that there are no kinks in the supply hose. I’ve faced this challenge frequently; sometimes, it’s the simplest solutions that solve the most complex problems.
Lastly, if your machine features a pressure gauge, keep an eye on it during use. An inconsistent reading can indicate underlying issues, such as a malfunctioning pump or internal leaks. I recall assisting a customer who was perplexed by erratic pressure readings, only to discover a minor leak in the pump assembly, which required a straightforward repair.
.jpg)


