


Begin with a quality nozzle attachment that significantly increases the velocity of the water stream. Opt for a fan or jet nozzle, both of which can drastically enhance cleaning capabilities. During my time in the cleaning equipment industry, I found that a good nozzle can make all the difference when tackling tough stains on driveways or patios.
Next, ensure a secure connection to a reliable water source. Inspect the fittings for leaks and make any necessary adjustments. I recall a project where a faulty connection wasted time and water–an easily avoidable mistake. Once everything is tightly fitted, you’ll experience a substantial improvement in water pressure, perfect for dislodging dirt and grime.

Incorporating a detergent injector can elevate the cleaning experience. When I was testing various models, I discovered that adding soap not only helped in breaking down stubborn stains but also reduced the amount of scrubbing required. Choose a biodegradable detergent to protect your plants and surrounding areas while achieving a thorough clean.
Finally, the technique matters. Maintain a consistent distance from the surface being cleaned, typically around 12 to 18 inches, to avoid damage while still maximizing the power of the water stream. This approach proved invaluable in my hands-on experience, allowing me to achieve professional results without the need for expensive equipment.
Transforming a Standard Water Supply into a High-Pressure Cleaning Tool
Begin by acquiring a nozzle that can adjust the flow of water. A fan spray nozzle is ideal for achieving a concentrated stream, while a rotating nozzle can further enhance cleaning efficiency. These attachments are readily available at hardware stores or online.
Assembly Steps
- Disconnect the regular sprayer from the end of the pipe.
- Attach the adjustable nozzle securely. Ensure it fits snugly to prevent leaks.
- If available, add a pressure washer attachment kit that connects to your standard water supply.
Enhancing Performance
For optimal results, consider the following enhancements:
- Incorporate a garden siphon attachment to draw in cleaning agents while in use. This can help tackle tough stains.
- Utilise a longer length of piping to increase reach, especially for larger areas.
- Adjust the water temperature when permissible to boost cleaning effectiveness. Warm water can help dissolve grime more rapidly.
After assembling your setup, perform a test spray on a small, inconspicuous area to gauge effectiveness and adjust the nozzle as needed. This initial trial can prevent potential damage to surfaces.
Lastly, remember to maintain your sprayer setup. Regularly check for clogs and clean the nozzle to ensure continuous high performance. This simple transformation can save you both time and money while providing an efficient cleaning solution.
Selecting the Right Nozzle for Your Hose
Choosing the right nozzle can significantly enhance the cleaning power of your setup. I’ve experimented with various nozzles over the years, and here’s what I’ve discovered.
Types of Nozzles
Different nozzles serve different purposes. Here’s a quick breakdown:
| Nozzle Type | Pressure | Application |
|---|---|---|
| Adjustable Nozzle | Variable | General cleaning tasks |
| Fan Nozzle | Medium | Washing surfaces like patios |
| Turbo Nozzle | High | Heavy-duty cleaning |
| Soap Nozzle | Low | Applying detergent |
Recommendations Based on Experience
I often recommend an adjustable nozzle for versatility. It allows you to switch between a fine mist for delicate surfaces and a powerful jet for tough stains. For instance, while cleaning my driveway, I found that using a turbo nozzle removed years of grime in a fraction of the time. Just remember, a finer spray will require more distance from the surface to avoid damage.
For applying detergent, a soap nozzle is invaluable. It mixes soap with water effectively, ensuring thorough coverage. I’ve even used it on my car, and it delivered great results without damaging the paint.
Always consider the task at hand. A fan nozzle works wonders on larger areas, while a turbo nozzle is your best friend for stubborn spots. Selecting the right attachment can be the difference between a tedious chore and an effortless clean.
Understanding Water Pressure and Flow Rate
Water pressure and flow rate are critical when transforming a simple water supply into a cleaning powerhouse. A minimum pressure of 40 psi is recommended for effective cleaning, while 60 to 100 psi is ideal for most tasks. If you find yourself below this threshold, you might struggle with the desired results.
The flow rate, measured in gallons per minute (GPM), determines how much water can be delivered to the nozzle. A good balance is usually around 2 to 5 GPM, as this range provides sufficient water for rinsing and cleaning without overwhelming the system. If you’re using a nozzle that restricts flow too much, you may experience a drop in pressure.
In my experience, I once encountered a setup with a low-pressure water supply that made it nearly impossible to clean a stubborn driveway stain. After switching to a higher pressure system, the difference was night and day. The right combination of pressure and flow can turn even the toughest grime into a minor inconvenience.
It’s also worth checking your nozzle’s compatibility with your setup. A nozzle that matches both pressure and flow rate can significantly enhance performance. I recall testing various nozzles on the same hose, and the results varied dramatically. Some would create a fine mist, while others shot a concentrated stream. The latter worked wonders for tough stains.
Lastly, never underestimate the impact of hose length and diameter. A longer or narrower hose can result in a drop in pressure. For optimal performance, keep hoses as short as possible and select wider diameters when feasible. This attention to detail can save time and effort during cleaning tasks.
Choosing the Best Hose Attachments for Cleaning
To maximise cleaning efficiency, focus on selecting attachments that match the specific tasks at hand. For general purpose cleaning, consider a fan spray nozzle. This attachment disperses water over a wide area, making it suitable for rinsing off dirt and debris from patios and driveways.
Specialised Attachments for Different Surfaces
For tougher jobs, such as removing grease or grime from vehicles, a turbo nozzle is ideal. This attachment combines the power of a concentrated jet with a spinning motion, effectively tackling stubborn stains without needing excessive pressure. I recall using one on my car’s rims; the results were impressive, and it saved me considerable scrubbing time.
Foam Cannons and Detergent Dispensers
If you often clean with soaps or detergents, consider investing in a foam cannon. This attachment mixes soap with water, creating a thick foam that clings to surfaces, breaking down dirt and grime. I’ve found that using a foam cannon on my patio furniture not only cleans effectively but also makes the task more enjoyable. A good detergent dispenser can also enhance cleaning results when tackling particularly dirty areas.
Creating a DIY Pressure Washer Kit
Start with a solid base. Choose a reliable nozzle to maximise efficiency. I once used a simple adjustable nozzle with multiple settings, which allowed me to switch between a narrow jet for stubborn stains and a wider spray for larger areas. This flexibility saved both time and water while enhancing cleaning results.
Components of Your Kit
Gather these items to create your own setup:
| Component | Purpose |
|---|---|
| Garden Hose Adapter | Connects the nozzle to your water source securely. |
| Adjustable Nozzle | Allows for various spray patterns. |
| Extension Wand | Increases reach for high or hard-to-access areas. |
| Scrubbing Brush Attachment | Enhances cleaning power on tough surfaces. |
| Detergent Dispenser | Mixes cleaning solution for better results. |
Assembly Tips
Assemble the components in a logical order. I recommend testing each piece separately before combining them. This ensures no leaks or faults exist in the connections. A tight seal on the adapter is crucial; any small gap can reduce water pressure significantly. When I first assembled my kit, I overlooked this detail and was frustrated by the weak cleaning power until I corrected it.
Experiment with different combinations of attachments. I discovered that using the scrubbing brush with a detergent dispenser worked wonders on my patio, where grime had built up over time. Adjust your approach based on the surface type–hard surfaces require different techniques than softer materials.
Using a Pump to Increase Water Pressure
For anyone looking to boost the efficiency of their cleaning tasks, adding a pump is a straightforward solution. A compatible pump can elevate the water pressure significantly, resulting in more effective dirt and grime removal. I’ve worked with various pumps, and I recommend a diaphragm or centrifugal pump for optimal results. These types not only increase pressure but also maintain a steady flow rate, which is critical for effective cleaning.

When selecting a pump, ensure it matches the flow rate of your existing system. For instance, a pump that delivers around 1.5 to 2.5 gallons per minute (GPM) generally works well for most home applications. This range provides the necessary pressure without overworking your setup. I once used a 2 GPM pump for a large patio, and the difference in cleaning time was remarkable.
Installation is usually straightforward, requiring basic tools. You’ll need to connect the pump to your water source and the outlet to your cleaning attachment. Ensure all fittings are tight to prevent leaks, which can reduce pressure. I’ve seen friends struggle with loose connections leading to frustratingly low pressure during cleaning sessions.
For those wanting the best results, consider incorporating the right cleaning agents. Using the best pressure washer soap and detergent can enhance cleaning power, especially when combined with increased water pressure. I’ve found that certain detergents work better with specific surfaces, so a bit of research can pay off big time.
Lastly, always check the specifications of the pump regarding compatibility with your current setup. A mismatch can lead to inefficiency or damage. I’ve learned the hard way that not all pumps are created equal, and investing time in the right choice is well worth the effort.
Connecting Your Hose to a Bucket or Tank
Start by selecting a suitable container, such as a bucket or tank, that can hold enough water for your task. A 5-gallon bucket is often sufficient for most cleaning jobs.
- Ensure the container is clean and free of debris to prevent clogging your setup.
- If using a tank, check for leaks and ensure it is sturdy enough to hold the water without risk of collapsing.
Next, you’ll need a submersible pump if the water source is not gravity-fed. This pump will provide the necessary suction to draw water from the container. Select a pump that matches the flow rate and pressure needs for your nozzle.

To connect the submersible pump to your setup:
- Place the pump inside the bucket or tank, ensuring it is fully submerged.
- Attach a hose to the pump’s outlet. Ensure it is secured tightly to prevent leaks.
- Connect the other end of the hose to the nozzle or attachment that you intend to use.
Power the pump according to the manufacturer’s instructions. If using an electric pump, ensure you have a safe power source nearby.
Before starting, check for any potential leaks in your connections. A simple test run can help identify issues before you dive into your cleaning task.
When using this setup, keep an eye on the water level in the container. Refilling is necessary to maintain consistent performance. It’s a straightforward approach that can save you time and effort, especially for large areas that need cleaning.
Adding Detergents and Cleaning Solutions Safely
Mixing detergents with water effectively can enhance the cleaning process, but it’s vital to do so safely. I recommend using biodegradable and environmentally friendly solutions to minimise harm to plants and wildlife. Always check the manufacturer’s instructions on the cleaning product for dilution ratios. A common mistake is over-concentrating the detergent, which can lead to residue and damage surfaces.
When adding detergent, use a separate bucket to mix your solution. This prevents any undiluted product from affecting your nozzle or hose fittings. I’ve seen many people pour detergent directly into their water source, which can clog lines and create a mess. Instead, using a siphon attachment can allow for controlled mixing and application.

Before applying any solution to a large area, test it on a small, inconspicuous section. This helps to avoid any unwanted reactions or discoloration. I once learned this lesson the hard way with a wooden deck that had a strong reaction with a chlorine-based cleaner, leaving noticeable stains.
Always wear protective gear, such as gloves and goggles, when handling detergents. Accidental splashes can lead to irritation or injury. Additionally, keep pets and children away from the area while cleaning. I’ve found that explaining the process to family members helps them understand the need for caution during these tasks.
Lastly, when finished, thoroughly rinse the cleaned area to remove any remaining detergent. This practice not only ensures surfaces are clear of residues but also prevents slippery conditions. If you’re looking for more powerful cleaning solutions, consider exploring options like a commercial pressure washer australia, which can handle tougher jobs while integrating these cleaning methods safely.
Optimising Your Technique for Different Surfaces
For effective cleaning, adjusting technique based on the surface type is paramount. For instance, when tackling concrete, use a narrow stream to penetrate grime and stains effectively. Stand approximately 30 cm away to avoid damage while ensuring thorough cleaning.
On wood, such as decks or fences, a wider spray angle is preferable. This prevents splintering and allows for even coverage. Maintain a distance of at least 60 cm to protect the wood’s integrity. Always test a small, inconspicuous area first to gauge how the surface reacts.
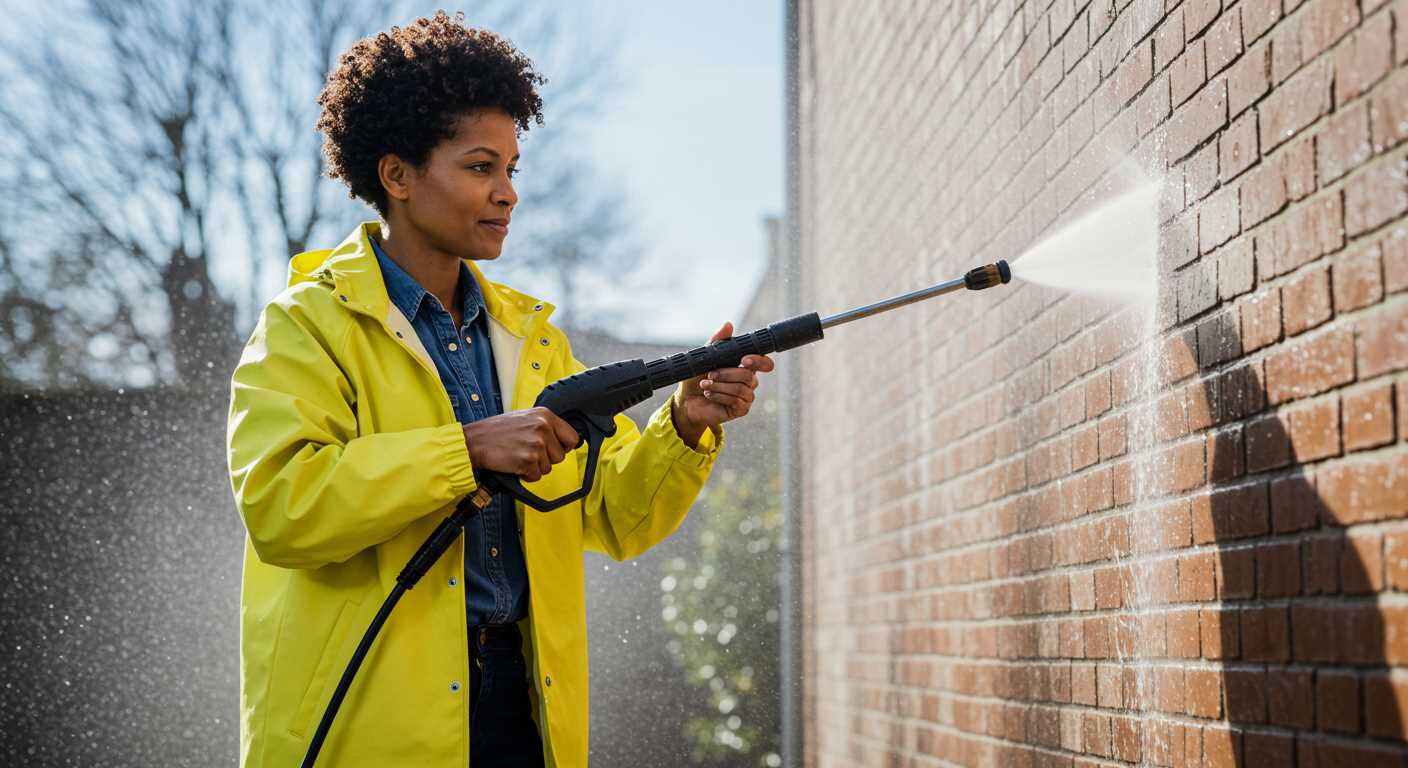
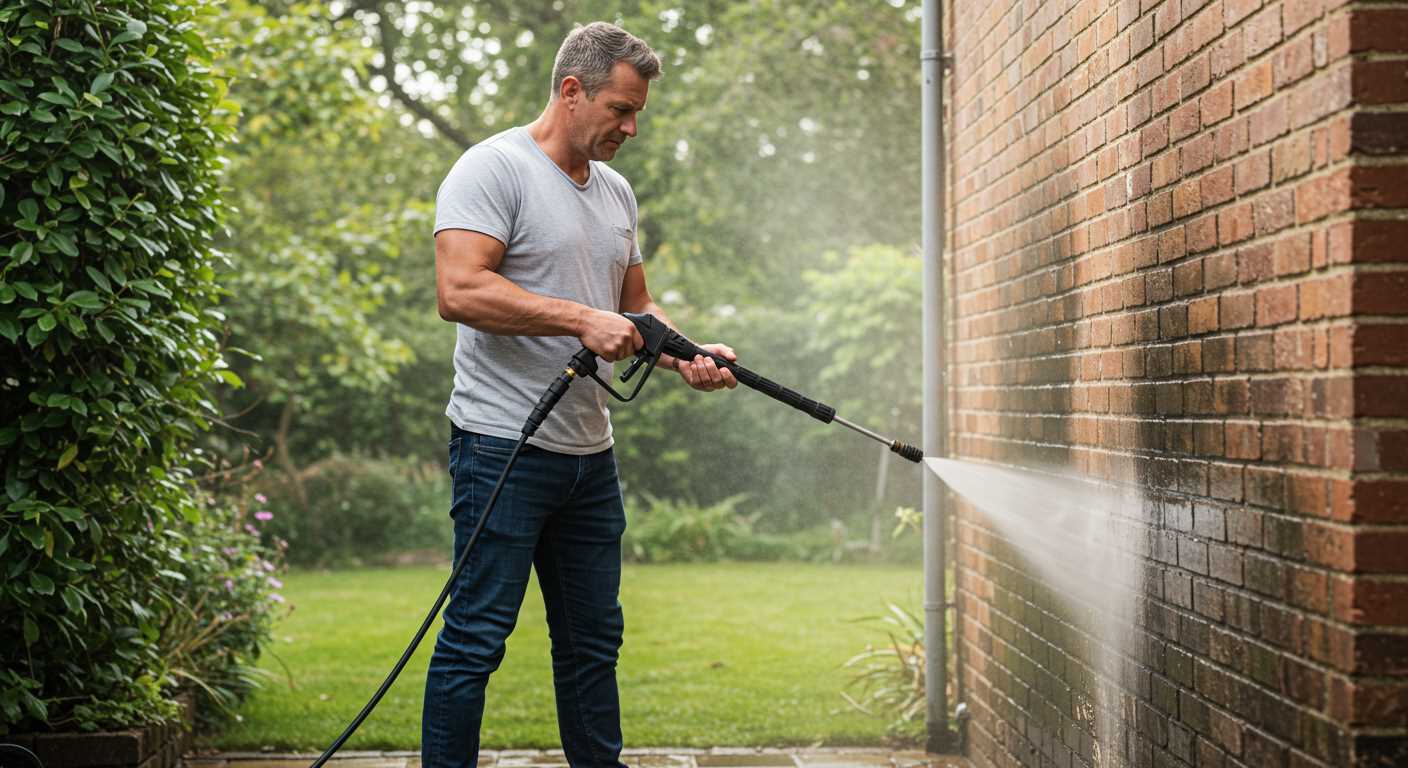
Brick and Stone
For brick or stone surfaces, a mid-range nozzle works wonders. The goal is to balance pressure and coverage. Position yourself about 45 cm away, working in sections to avoid over-saturating the surface, which can lead to moss or mildew growth.
Vehicles and Delicate Surfaces
When cleaning vehicles, utilise the gentlest setting. A fan spray is ideal, keeping the nozzle at least 1 metre away. This prevents paint damage and ensures dirt is lifted without scratching the surface. Always rinse thoroughly after applying any detergent, as residue can cause streaking.
Maintaining Your Homemade Pressure Washer Setup
Regular upkeep is key to ensuring your DIY cleaning apparatus functions effectively and lasts longer. Here are practical steps to maintain your setup:
- Inspect Connections: Check all fittings and connections for leaks or wear. Tighten any loose parts and replace damaged components promptly to prevent water loss and maintain pressure.
- Clean Nozzles: Remove and clean the nozzles regularly. Debris can clog them, reducing performance. Soak them in a vinegar solution if mineral deposits are present, then rinse thoroughly.
- Store Properly: After each use, empty the system of water to prevent freezing in colder months. Coil the tubing neatly to avoid kinks and store it in a cool, dry place away from direct sunlight.
- Inspect the Pump: If you’re using a pump, check it for signs of wear or leaks. Regularly lubricate moving parts as per the manufacturer’s instructions to ensure smooth operation.
- Check the Filter: If your setup includes a filter, clean or replace it regularly to ensure optimal water flow and prevent dirt from entering the system.
From my experience, neglecting these maintenance tasks can lead to significant performance issues. I recall a time when I overlooked a small leak at a connection point; it gradually worsened, resulting in a loss of pressure during a crucial cleaning session. That taught me the importance of diligence in maintenance.
Additionally, consider seasonal maintenance. Before winter, ensure all water is drained, and components are checked for frost damage. In spring, a thorough inspection can help prepare your equipment for the busy cleaning season ahead.
By following these recommendations, you can extend the life and efficiency of your cleaning setup, making it ready for any task that comes your way.
FAQ:
What materials do I need to convert my garden hose into a pressure washer?
To transform your garden hose into a pressure washer, you will need a few specific items. Firstly, obtain a high-pressure nozzle that fits your hose. You might also need a pressure washer attachment that connects easily to your existing hose. Additionally, having a bucket, detergent, and a brush can help enhance the cleaning process. If you want extra pressure, consider using a hose connector that can boost water flow from the tap.
How does the pressure from a garden hose compare to a traditional pressure washer?
A typical garden hose provides a water pressure of around 40 to 60 psi, whereas a standard pressure washer can deliver anywhere from 1300 to 3000 psi or more. While converting a garden hose can increase its pressure slightly, it won’t match the force of a dedicated pressure washer. However, with the right attachments, you can still achieve a satisfying clean for lighter tasks like washing cars or patio furniture.
Can I use detergent with my hose pressure washer setup?
Yes, you can use detergent with your garden hose pressure washer. Look for a detergent specifically designed for pressure washers or general use cleaning solutions. It’s advisable to mix the detergent with water in a separate container before applying it with your hose. Be sure to rinse the surface thoroughly afterward to prevent any residue from damaging the material.
What are some common cleaning tasks I can do with my converted hose pressure washer?
With your converted hose pressure washer, you can tackle various cleaning tasks around your home. It’s suitable for washing cars, cleaning driveways and patios, removing dirt from outdoor furniture, and even clearing gutters. While it works well for light to moderate cleaning jobs, for heavy-duty tasks like stripping paint or deep cleaning surfaces, a traditional pressure washer would be more effective.
.jpg)


