
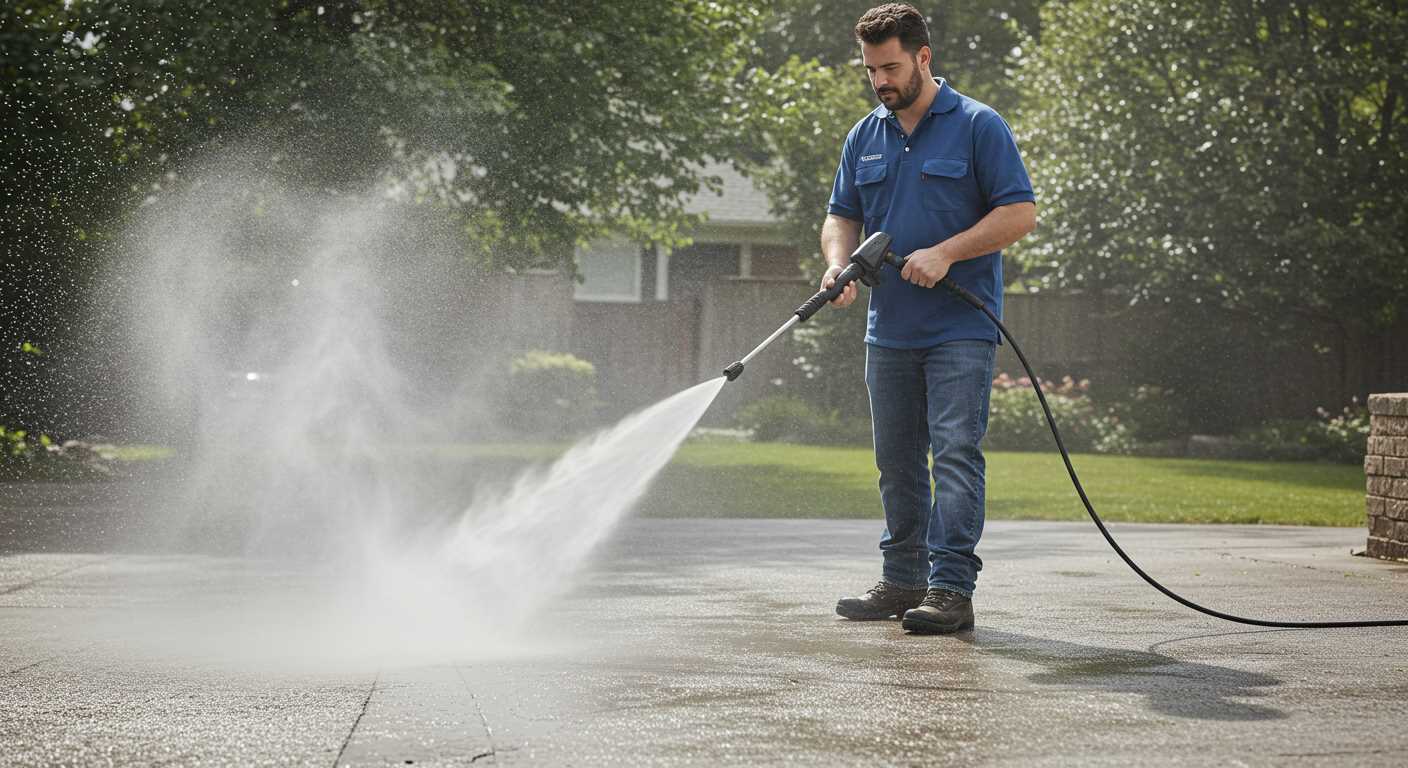


Begin by setting up your machine outside, ensuring you have a steady water supply. I’ve learned that the right angle and distance matter immensely. Position the nozzle about 12 inches away from the entrance of the pipe for optimal results, allowing the force to penetrate without causing damage.
Next, select a narrow nozzle attachment. In my experience, a 0-degree nozzle delivers a concentrated stream that cuts through stubborn clogs effectively. As you start the unit, maintain a firm grip and direct the jet into the opening. I recall a particularly challenging instance where grease and debris had built up for years. By using the narrow nozzle, I could swiftly dislodge the blockage, and the satisfaction of watching the water flow freely again was unparalleled.
Be mindful of the pressure settings. Too much pressure can risk harm to older pipes, while too little won’t achieve the desired outcome. I recommend starting at a lower setting and gradually increasing it as needed. One time, I miscalculated the pressure, and it led to a minor mishap. Learning from that, I always keep an eye on the gauge to avoid any surprises.

Finally, after the initial clearing, run water through the system to wash away any remaining debris. This step ensures a clean, unobstructed flow. Remember, it’s not just about clearing the blockage; it’s about maintaining the longevity of your plumbing system. Regular maintenance with this tool can prevent future issues, saving time and money in the long run.
Selecting the Right Machine for Pipe Cleaning
For tackling stubborn clogs, a unit with a minimum of 2000 PSI is ideal. I’ve found that models in this range provide enough force to dislodge accumulated debris without damaging pipes. Additionally, look for a flow rate of 2.5 GPM or higher; this ensures a strong water jet that carries away loosened material effectively.
Key Features to Consider
Accessories play a crucial role. A rotating nozzle is particularly beneficial. This design allows for a concentrated jet that enhances cleaning power, making it easier to clear tough blockages. Also, consider a model with adjustable pressure settings. This allows you to fine-tune the intensity based on the specific situation, whether it’s a light clean or a more demanding job.
Choosing the Right Accessories
Investing in the right attachments can significantly improve your experience. A hose reel is a practical addition, making storage and transport easier. Additionally, a long-reaching hose can be advantageous, allowing you to access hard-to-reach spots without needing to reposition the unit frequently. If you plan to work on various types of pipes, consider interchangeable nozzles for versatility across different tasks.
| Feature | Recommended Specification |
|---|---|
| Pressure | 2000 PSI Minimum |
| Flow Rate | 2.5 GPM or Higher |
| Nozzle Type | Rotating and Interchangeable |
| Pressure Settings | Adjustable |
| Hose Length | Long-Reach for Versatility |
From my experience, choosing the right model and accessories can make all the difference. It’s not just about the power; it’s about how well you can manage and utilise that power to get the job done efficiently.
Preparing the Area and Ensuring Safety Precautions
Clear the vicinity of any obstacles. Remove garden furniture, potted plants, and any items that could obstruct your work. This not only protects your belongings but also provides ample space for movement while operating the equipment.
Wear appropriate protective gear. Sturdy gloves, safety goggles, and waterproof boots are non-negotiable. I’ve learned the hard way that even a small splash can lead to unexpected injuries. Ensure your clothing is snug to prevent entanglement in hoses or moving parts.
Assessing the Environment
Check the surface around the targeted area. If it’s slippery, consider placing some non-slip mats nearby. Wet surfaces can lead to accidents, so being cautious is paramount. If you’re working near a wall or other structures, inspect them for any vulnerability to high-velocity water streams.
Setting Up Equipment Safely
Position the cleaning device on stable ground. Ensure that the hose is free of kinks and that all connections are secure. I’ve encountered situations where a loose connection caused water to spray unpredictably, creating a chaotic work environment. Keep electrical cords away from any water sources to avoid hazards.
Finally, before starting the machinery, conduct a quick test to ensure everything functions smoothly. A simple check can save time and prevent accidents. Once you’re ready, take a moment to breathe and prepare for an effective session. Safety first ensures a successful cleaning experience.
Connecting the Pressure Cleaner to the Drain System
For optimal performance, ensure you attach your high-force cleaning device to the appropriate drainage outlet. Start by selecting a suitable nozzle that matches the size of the pipe. A narrow nozzle concentrates the water stream, which is essential for clearing blockages. I’ve found that using a rotating nozzle can significantly enhance the cleaning process, making it more effective against stubborn clogs.
Steps to Connect
Begin by detaching the garden hose from your device and connecting it to the drain line. Use a hose adapter if necessary to secure a tight fit. Once connected, double-check for leaks to prevent loss of pressure. If your system allows, set the water temperature to warm, as hot water can break down grease and debris more efficiently. Remember to wear protective gear, as the force of the water can splash back.
Testing and Adjustments
Before applying full force, conduct a brief test by turning on the machine at a lower setting. This will help you gauge the response of the system. Adjust the pressure gradually until you achieve a satisfactory outcome. In my experience, keeping the nozzle at a slight angle can enhance the water’s impact, making it easier to push through blockages. Once finished, ensure you disconnect and clean the equipment properly to prolong its lifespan. For more tips on related tasks, check out this guide on how to can diced tomatoes with a pressure cooker.
Choosing the Appropriate Nozzle for Optimal Performance
Selecting the right nozzle is paramount for achieving the best results during the cleaning process. Each type of nozzle serves a specific purpose, and understanding these differences can significantly enhance your experience.
- Rotary Nozzle: This nozzle is ideal for tackling stubborn blockages. It combines high pressure with a rotating spray pattern, allowing water to penetrate deeply into the debris. I once used a rotary nozzle on a particularly tough project, and the results were astonishing. It cleared years of buildup in no time.
- Fan Nozzle: A fan nozzle disperses water in a wide arc, which is perfect for general cleaning tasks. It’s especially useful when you need to cover a larger area quickly. During my early days in this field, I often relied on the fan nozzle for routine maintenance, and it never disappointed.
- Turbo Nozzle: This combines the benefits of both rotary and fan nozzles. The oscillating spray pattern ensures effective cleaning while maintaining a good reach. I remember a time when I had to clear a sizable obstruction in a commercial setting; the turbo nozzle worked wonders, making the task much easier.
- Soap Nozzle: For situations where soap or detergent is required, a dedicated soap nozzle is essential. It mixes the cleaning solution with water effectively, ensuring that the chemicals reach the blockage. I’ve found this particularly useful in grease-heavy areas.
When choosing a nozzle, consider the type of blockage you are facing. A rotary nozzle may be your best bet for stubborn, compacted debris, while a fan nozzle might suffice for lighter cleaning tasks. Always test the nozzle on a small area first to gauge its effectiveness before fully committing to the entire project.
Remember to check the compatibility of the nozzle with your machine. Using the wrong nozzle can lead to subpar performance or even damage. Investing time in selecting the correct accessory can save you a great deal of effort and frustration down the line.
Techniques for effectively using the pressure washer
Utilising a high-powered cleaner can be remarkably efficient. Begin by adjusting the angle of the nozzle to direct the water precisely onto the stubborn materials. A 25-degree nozzle often works best for dislodging debris, while a zero-degree nozzle can be reserved for more stubborn blockages, though it requires caution due to the concentrated force.
Maintaining a steady distance, typically around 12 to 18 inches from the target, ensures optimal coverage without causing damage. I recall a time when I got too close, creating unnecessary wear on the surface. It’s best to keep a consistent motion to avoid concentrating too much pressure in one area, which can lead to unintended consequences.
Employing a back-and-forth motion can also enhance the cleaning process. This method allows for better penetration into the build-up, making it easier to clear away the material. I’ve found that occasionally pausing to allow the water to work on the obstruction gives it a chance to break down. Don’t hesitate to switch between nozzles if one isn’t producing the desired results.
For those who prefer a less manual approach, a bucket fed pressure washer can be a fantastic alternative. It simplifies the process and reduces the need for constant repositioning, making it a go-to for larger areas.
Lastly, after clearing any blockage, follow up with a thorough rinse. This step ensures no remnants remain, promoting a cleaner and more efficient system moving forward. A wise technician once told me that prevention is better than cure; regular maintenance can save time and hassle down the line.
Post-cleaning maintenance and prevention tips
After clearing the blockage, it’s crucial to maintain the system to prevent future issues. Start by flushing the pipes with clean water to remove any residual debris. This simple act can significantly reduce the chances of clogs reappearing.
Regular inspections
Schedule periodic checks of the piping system. Look for signs of wear or corrosion, especially in older installations. This can help catch potential problems before they escalate into major blockages.
Use of drain screens
Install drain screens or filters to catch leaves, hair, and other debris before they enter the plumbing. This low-cost solution can save a lot of trouble down the line. Additionally, consider using enzyme-based cleaners monthly to maintain a clear flow without harsh chemicals.

.jpg)


