


To resolve any blockages in your cleaning tool’s tip, first, ensure the machine is turned off and unplugged. A simple yet effective method is to remove the tip and soak it in a mixture of warm water and vinegar for about 30 minutes. This solution will help dissolve any stubborn debris that might be causing the obstruction.
After soaking, gently scrub the tip with a soft brush or cloth to remove any remaining residue. In my experience, even the most stubborn clogs can often be cleared this way. If the blockage persists, using a straightened paper clip or a needle to carefully poke through the opening can dislodge trapped particles. Be cautious not to damage the tip during this process.
Once the obstruction is cleared, reattach the tip and run the machine briefly to ensure proper water flow. I once faced a similar issue during a crucial cleaning job, and these steps saved me time and frustration, allowing me to finish the task smoothly. Regular maintenance, including checking for clogs and cleaning the tips, can significantly extend the life of your equipment and enhance its performance.
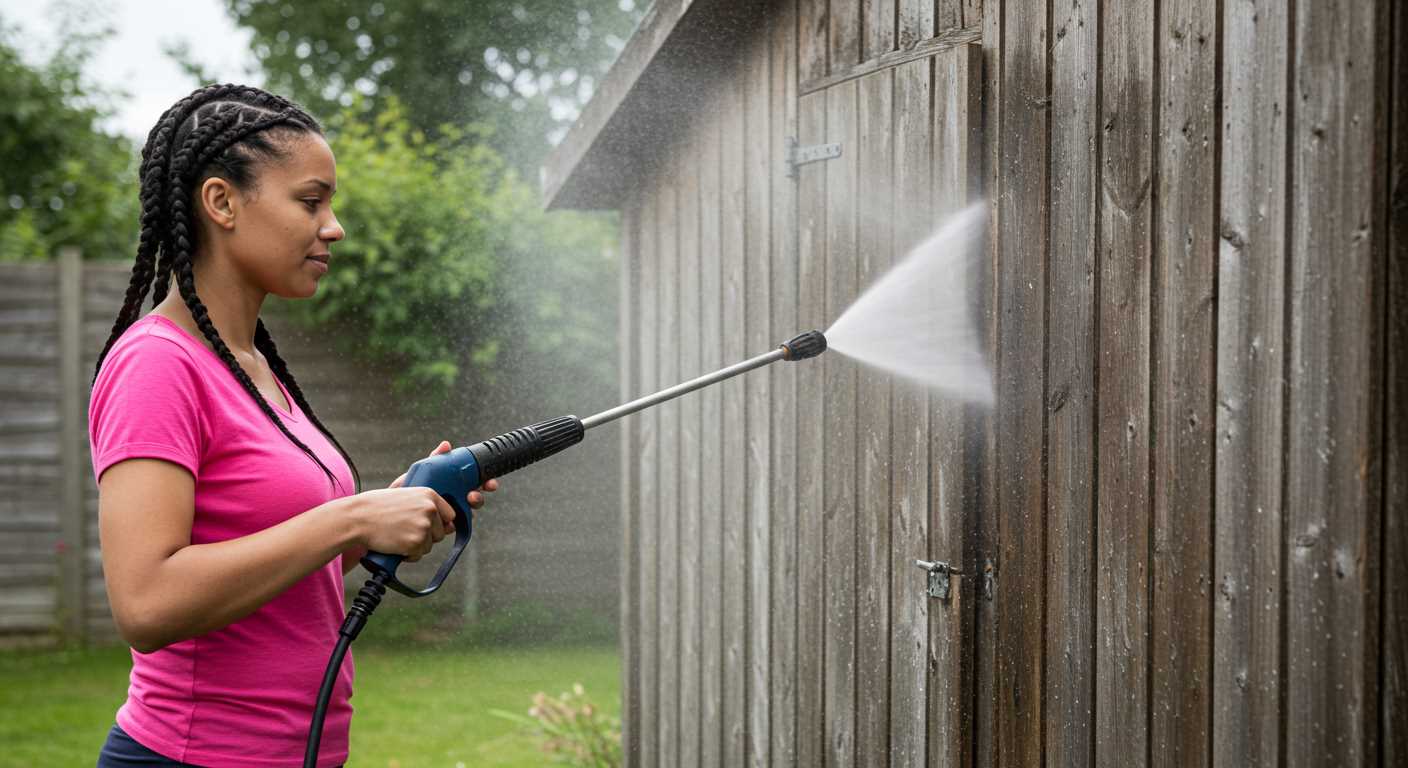
Identify signs of a blocked nozzle
Observe the flow pattern of the water. If you notice a narrow or uneven spray, it’s a clear indication of an obstruction. The expected fan shape should be consistent; any deviation suggests a buildup inside the tip.
Listen for unusual sounds. A high-pitched whistling or coughing sound can signal that the water is struggling to pass through, hinting at potential clogs. This is particularly noticeable if the unit seems to be working harder than usual.
Monitor pressure levels
Check the pressure gauge. A significant drop in pressure compared to normal operating levels often points to a blockage. If you usually achieve a certain PSI and it’s noticeably lower, inspect the outlet for any hindrances.
Inspect the connection points
Examine the fittings and hoses for leaks or kinks. Even minor obstructions here can lead to reduced performance. Pay close attention to any debris that might have accumulated around the connectors, as this can impede water flow.
Gather Necessary Tools for Unblocking
Before tackling any clogs, assemble the right tools. A basic toolkit will make the process smoother and more efficient. Start with a flathead screwdriver; it’s handy for removing any screws on the attachment. A fine wire or a straightened paper clip can be a lifesaver for dislodging debris stuck in tight spaces.
Additional Equipment
A soft brush will aid in cleaning the exterior parts without causing damage. If you find a significant blockage, a garden hose with a nozzle can assist in flushing out stubborn residues. For more stubborn clogs, consider investing in a best air scrubber for hvac; it’s remarkable for clearing out grime. Lastly, always keep a cloth handy for wiping down surfaces as you work.
Safety Gear
Don’t forget about safety. Protective gloves will shield your hands from sharp edges and chemicals. Safety goggles are also wise to prevent any debris from flying into your eyes while you work. With these tools and precautions in place, you’ll be well-equipped to handle any issues that arise.
Disconnect the pressure cleaning tool safely
Always turn off the device and unplug it from the power source before attempting any disconnection. This step prevents any accidental activation while you work on it.
Follow these steps for safe disconnection:
- Ensure the unit is switched off. Locate the power button and press it to turn off.
- Unplug the electric cord from the outlet. Avoid pulling on the cord itself; grasp the plug firmly.
- Release any built-up pressure in the system. Squeeze the trigger on the gun until no water comes out.
- Disconnect the high-pressure hose from the cleaning equipment. Use an adjustable wrench if needed, but avoid overtightening the connection.
- Remove the detergent tank if applicable. Check for any leftover soap to avoid clogging in the future.
- Store all components safely. Hang the hoses neatly and keep the gun in a dry place to prevent damage.
In my experience, neglecting to follow these steps can lead to mishaps. I once forgot to release the pressure before disconnecting, which resulted in a sudden burst of water that soaked me completely. It was a lesson learned the hard way, so I always make it a point to double-check these steps now.
Remove the nozzle for inspection
Start by ensuring the unit is disconnected from the power source. With a gentle twist, remove the attachment from the lance. This step allows you to visually inspect the component for any visible signs of damage or blockage.
Hold the nozzle up to a light source. This will help you identify any clogs or debris obstructing the pathway. If the opening appears blocked, it’s time to clean it thoroughly. A soft brush or a pin can help dislodge stubborn particles without damaging the material.
After inspecting, rinse the nozzle under warm water. This will wash away any residual dirt. If you encounter a particularly stubborn obstruction, soaking the nozzle in a mixture of water and vinegar for about 30 minutes can help dissolve mineral deposits.
Once cleaned, examine the O-ring and other seals for wear. Replacing any damaged parts is crucial to maintaining a proper fit and preventing leaks. After ensuring everything is in order, reattach the nozzle securely to the lance, ensuring a tight fit to avoid any pressure loss during use.
Clean the nozzle with water and a brush
After removing the attachment, the next step is to clear the blockage using water and a brush. First, rinse the tip under running water to dislodge any debris. A gentle stream is often sufficient to clear out larger particles. If the water alone isn’t enough, grab a soft-bristled brush.
Use the brush to scrub the orifice gently. Avoid using excessive force, as this can damage the delicate components. Pay special attention to any visible signs of grime or residue. For stubborn blockages, soak the nozzle in warm, soapy water for about 15 minutes before scrubbing again.
| Steps | Details |
|---|---|
| Rinse | Hold the nozzle under running water to remove loose debris. |
| Brush | Gently scrub with a soft-bristled brush to clear any remaining dirt. |
| Soak | For tougher build-up, soak in warm, soapy water before scrubbing. |
After cleaning, rinse the nozzle again to remove any soap residue. Ensure that it is completely dry before reattaching it to the machine. This simple maintenance step can significantly improve the performance of your equipment during future cleaning tasks.
Use a pin or needle for stubborn blockages
If you find debris stuck in the orifice, a pin or needle can be your best ally. I remember a time when I encountered a particularly stubborn obstruction that resisted all my cleaning methods. After trying water and a brush, I decided to employ a simple sewing needle. I carefully inserted it into the opening, using a gentle twisting motion to dislodge the stubborn dirt.
Always ensure the tool is thin enough to fit without causing damage. In my experience, a standard sewing needle works perfectly. Just be cautious not to apply excessive force, as this could alter the shape of the orifice. After freeing the blockage, I rinsed the area thoroughly to clear away any remaining particles. This method proved to be a quick and effective solution, saving me time and frustration.
Follow-up cleaning
After using a pin or needle, a follow-up cleaning is vital. I recommend running warm water through the attachment to flush out any loosened debris. This step ensures that the flow remains consistent and powerful. In my years working with various models, I’ve learned that a clean outlet is crucial for optimal performance, so never skip this part!
Inspecting for damage
Lastly, take a moment to inspect the orifice for any signs of wear or damage. If you notice cracks or deformities, it might be time to consider a replacement. I once neglected this step, leading to further issues down the line. Trust me, a thorough inspection can save you from future headaches and keep your equipment running smoothly.
Check the nozzle size and type compatibility
Verify that the size and type of the attachment match your equipment specifications. Using the wrong size can lead to inadequate performance or even damage. Measure the diameter of the fitting and compare it with the manufacturer’s guidelines. This step can save you from unnecessary frustration.
Understanding nozzle types
Different attachments serve various purposes–fan spray for broad coverage, pinpoint for precision cleaning, and rotary for tackling tough stains. Ensure the chosen type aligns with your cleaning task. I once grabbed a narrow attachment for a large surface and ended up doubling my cleaning time. It’s all about using the right tool for the job.
Compatibility checks
Before proceeding, inspect the connection points for compatibility with your machine. Some brands have unique fittings, and using an incompatible attachment can lead to leaks or insufficient pressure. I learned this the hard way during a project when I assumed all attachments were interchangeable. Always consult your user manual for confirmation.
Reassemble the Cleaning Unit Correctly
Once you’ve cleared any obstructions from the spray tip, it’s time to reassemble everything properly. Start by ensuring all components are dry and free from debris. Misalignment can lead to leaks or reduced performance, so double-check that all parts fit snugly together.
Reconnect the Hose and Accessories
Attach the high-pressure hose securely to the handle and the motor unit. Ensure the connections are tight but avoid overtightening, which could cause damage. If you have a hose reel for pressure washer, make sure it’s properly integrated to avoid kinks or tangles during operation.
Final Checks Before Use
Inspect all connections one last time. Check for any signs of wear or damage on the connectors and hose. If everything appears in order, proceed to reattach any guards or casings that were removed during the inspection. Always refer to the manufacturer’s manual for specific guidance on reassembly, as it contains valuable information tailored to your model.
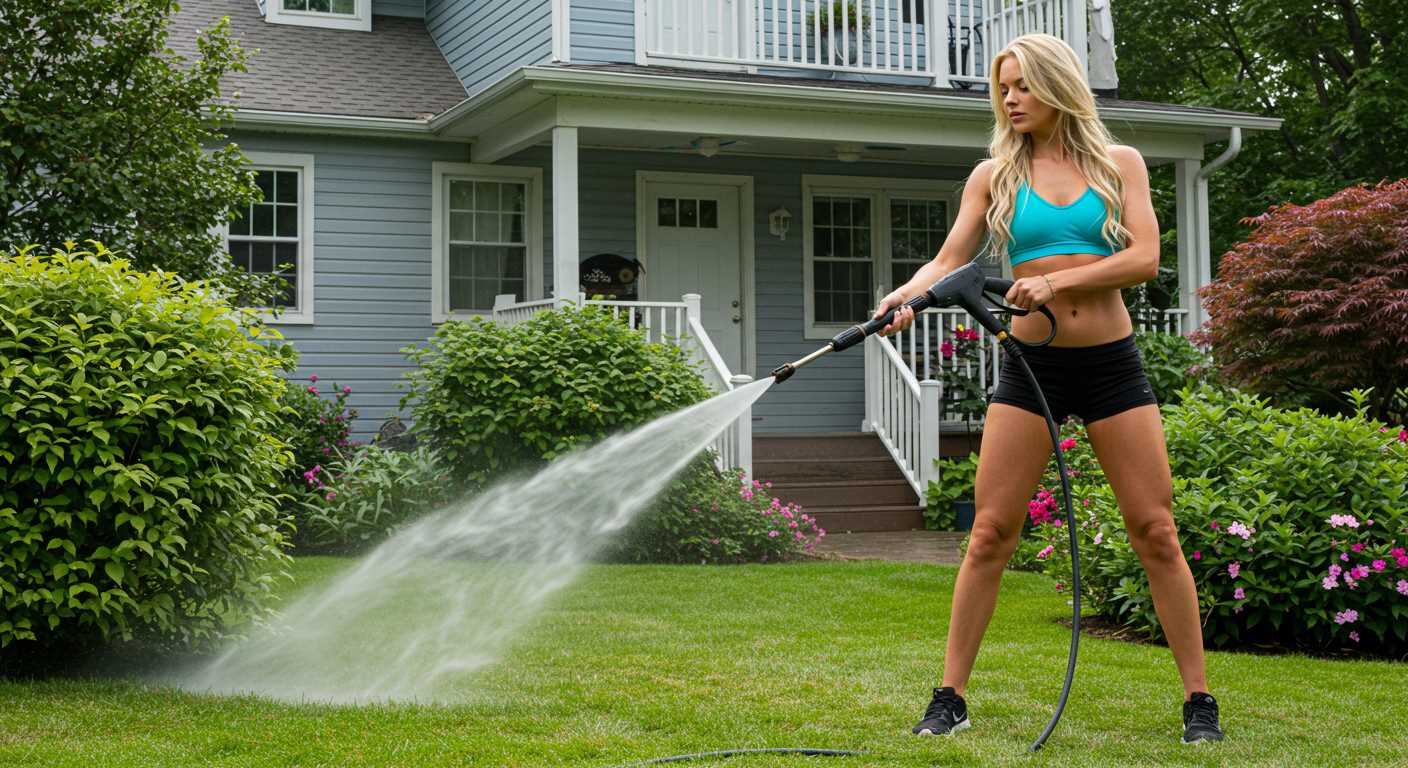
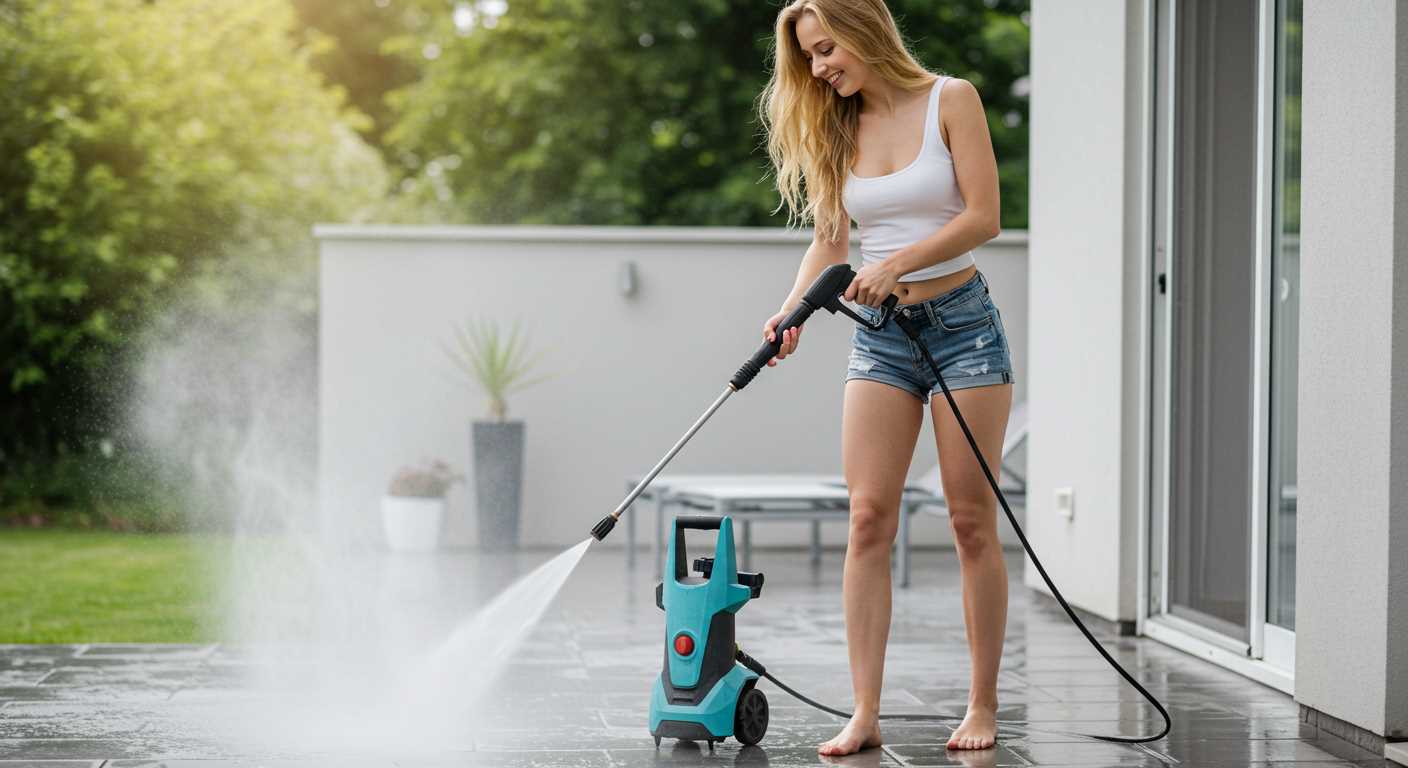
Test the Performance of the Nozzle After Clearing
Once you’ve cleared any obstructions from the end attachment, it’s time for a performance test. This step is crucial to ensure that everything is functioning correctly before you start your cleaning tasks.
Steps to Evaluate Functionality
- Reconnect the attachment securely to the cleaning unit.
- Start the machine and allow it to warm up for a few minutes.
- Choose a suitable surface for testing, preferably a small, dirtier area where you can observe the results.
- Engage the trigger to release the fluid.
What to Look For
- Watch for a steady, even stream of fluid. It should not sputter or spray erratically.
- Check the pressure. The spray should be strong enough to remove dirt without being overly aggressive.
- Listen for unusual sounds. Any strange noises may indicate further issues.
- Inspect the area being cleaned. The results should demonstrate effective dirt removal.
If the performance is satisfactory, you’re ready to tackle larger cleaning tasks. If issues persist, further investigation may be necessary. This could involve checking for additional blockages in the hose or examining other components of the unit.
.jpg)


