
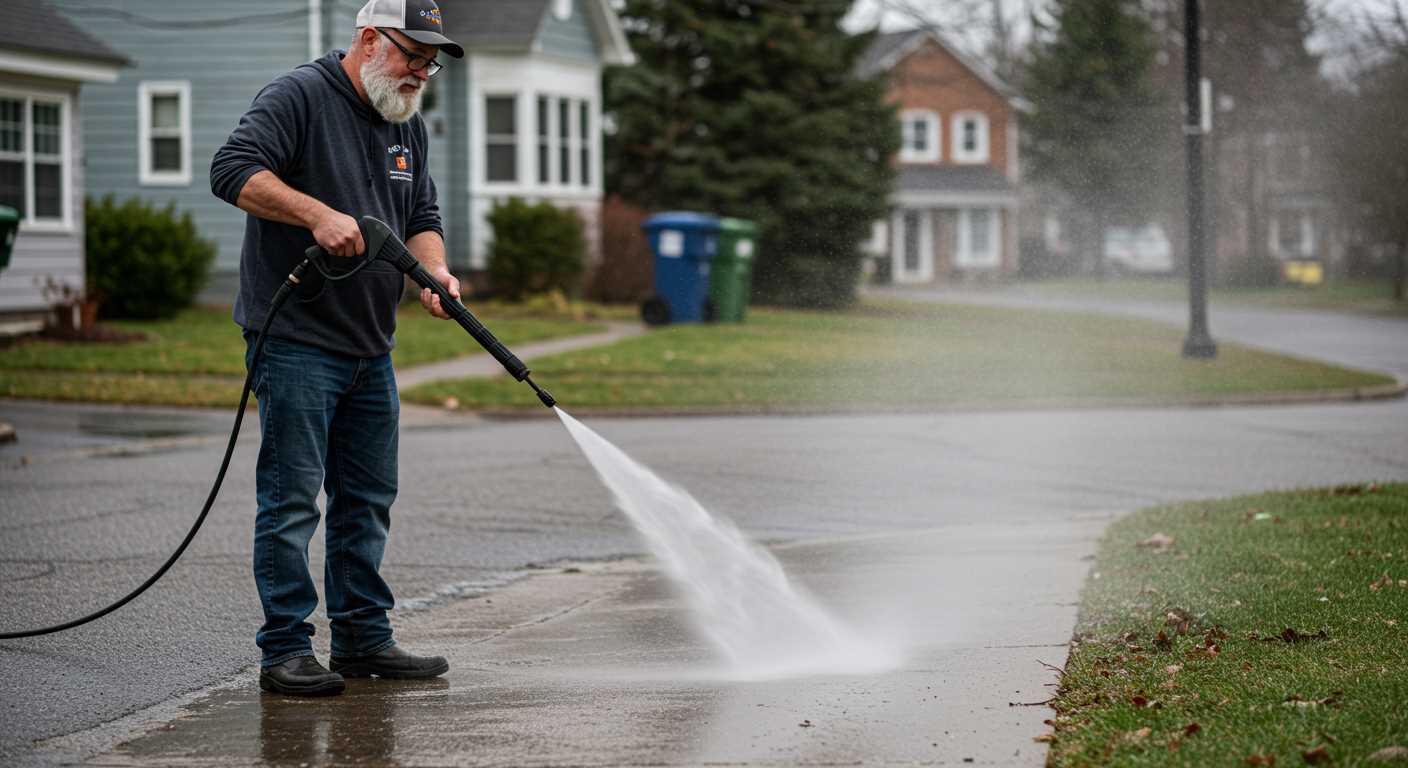


Begin by detaching the spray wand from the machine. This simple step allows for easier access to the end where clogs often occur. A common culprit is debris buildup, which can form from dirt, grime, or even leftover detergent. Make sure to examine the tip closely for any visible obstructions.
Next, grab a small wire or a straightened paperclip. Carefully insert it into the opening of the wand’s tip to dislodge any stuck particles. Be gentle to avoid damaging the internal components. If the blockage remains stubborn, soaking the tip in a mixture of warm water and vinegar can help break down residue, making removal easier.
After clearing the blockage, it’s wise to perform a quick rinse. Reattach the wand to your device, turn it on, and let it run for a few moments. This will help expel any remaining debris and ensure a clear flow. If you notice a consistent loss of pressure, consider checking the filters in the water inlet as well. Cleaning these components can prevent future issues and enhance performance.
Having faced similar challenges myself, I’ve learned that regular maintenance and inspection can save time and frustration. A little proactive care goes a long way in keeping your cleaning equipment in top shape.
How to Clear a Blockage in a High-Pressure Cleaner’s Sprayer
Begin with disconnecting the equipment from the power source to ensure safety. Next, remove the sprayer tip carefully. Often, the blockage is found within this component. I’ve encountered numerous instances where a simple cleaning solved the issue. So, grab a small wire or a needle and gently insert it into the opening of the tip. This helps to dislodge any debris that may have accumulated.
If the blockage persists, submerge the tip in a mixture of warm water and vinegar. Allow it to soak for about 30 minutes. This solution can dissolve stubborn deposits that regular cleaning may miss. Rinse thoroughly with water after soaking to ensure no residues remain.
While addressing the sprayer tip, inspect the hose for any kinks or blockages. Sometimes, a slight twist or bend in the hose can impede flow. Straighten it out and check for any visible obstructions in the line. If you see any debris, use a high-pressure stream of water to flush it out–make sure to do this carefully to avoid damaging the hose.
In cases where the blockage is deeper in the machine, it’s worth checking the inlet filter. This component can get clogged with dirt and grime, affecting overall performance. Remove the filter and clean it under running water. If necessary, replace it if it shows signs of wear or damage.
| Step | Action |
|---|---|
| 1 | Disconnect from power source. |
| 2 | Remove and clean the sprayer tip with a wire or needle. |
| 3 | Soak the tip in warm water and vinegar for 30 minutes. |
| 4 | Inspect and straighten the hose. |
| 5 | Check and clean the inlet filter. |
After completing these steps, reassemble your equipment and perform a test run. You should notice a significant improvement in flow. If problems persist, it may require professional attention to diagnose more complex issues. In my experience, a little maintenance goes a long way in extending the life of your cleaning gear.
Identifying Common Signs of a Clogged Nozzle
Loss of water pressure during operation is often the first clue something is amiss. If your equipment isn’t delivering a steady stream, it’s likely that the tip is blocked. In my years of testing various models, I’ve observed that fluctuations in pressure can significantly affect cleaning efficiency.
Uneven Spray Pattern
Another clear indicator is an uneven spray pattern. If you notice that the water isn’t dispersing evenly, or if it’s coming out in a narrow, focused jet instead of a broad fan, it’s time to investigate. This usually points to debris lodged in the outlet. I recall a time when I was working on a particularly grimy patio; the inconsistent spray made it nearly impossible to achieve a uniform clean.

Increased Operating Noise
Listen for unusual sounds while using the machine. A high-pitched whine or a sudden increase in noise level can signal that the water isn’t flowing as it should. I’ve experienced this firsthand; the moment I noticed the sound change, I knew I had to check the attachment. Ignoring this can lead to further damage, so always trust your instincts.
Gathering Necessary Tools and Materials
Start with a flat-head screwdriver to remove any stubborn debris lodged in the tip of the sprayer. Over the years, I’ve found that a simple tool like this can make a significant difference when dealing with blockages.
Cleaning Solutions
A good degreaser or cleaning fluid is invaluable. I remember a time when I was wrestling with a particularly stubborn obstruction. A few squirts of a high-quality cleaning solution worked wonders, breaking down the grime that was causing the issue. Ensure it’s compatible with your equipment to avoid any damage.
Safety Gear
Always wear safety goggles and gloves. I learned the hard way that even small particles can become hazardous when dislodged. Protecting your eyes and hands while you work is a must. It’s a small step that can prevent a big accident.
Finally, have a bucket or container handy to catch any excess cleaning solution or debris. This not only keeps your workspace tidy but also aids in the cleaning process, allowing you to dispose of waste properly. With these tools and materials at your side, you’ll be well-prepared to tackle any blockage head-on.
Disassembling the Nozzle for Cleaning
Begin by disconnecting your equipment from the power source to ensure safety. Next, locate the connection point where the spray attachment meets the wand. Use an adjustable wrench to loosen the coupling, carefully unscrewing it to avoid damaging any threads. Once detached, gently pull the spray tip away from the wand.
Removing Internal Components
With the spray tip in hand, examine the rear section for a small retaining ring. Use needle-nose pliers to carefully pull this ring out. This will free the internal components, including the orifice and the filter screen. Inspect these parts closely for debris or mineral build-up. A soft brush or cloth can be used to scrub away any stubborn residues. If the orifice appears damaged or enlarged, consider replacing it with a new one.
Reassembly
After cleaning, reassemble the components in reverse order. Start by placing the filter screen and orifice back into the spray tip, securing them with the retaining ring. Make sure everything fits snugly before reattaching the spray tip to the wand. Finally, reconnect the unit to the power source and test the spray pattern to ensure optimal performance.
Cleaning Techniques for Different Types of Clogs
For blockages caused by dirt and debris, a simple soak in warm, soapy water can work wonders. Disassemble the component, ensuring you keep track of all parts, and immerse it in the solution for about 30 minutes. This softens any buildup, making it easier to wipe clean with a soft brush or cloth.
For Mineral Deposits
Mineral deposits often form when hard water is used. Using a vinegar solution is effective; mix equal parts of vinegar and water and soak the affected parts for 30 minutes. After soaking, scrub gently with a soft brush to avoid scratching the surface. Rinse thoroughly with clean water to prevent any residual vinegar from causing further issues.
For Stubborn Blockages

If the obstruction is particularly stubborn, a thin wire or a needle can be utilised to clear the passage. Be cautious while using sharp objects; ensure you don’t damage the internal structure. After clearing, flush with water to ensure all debris is removed. For ongoing maintenance, consider investing in a best cordless garden vacuum shredder to minimise future clogs by keeping your work area clean.
Reassembling the Nozzle Properly
After cleaning, ensure each component is put back together in the right order. This step is crucial for optimal performance. Begin by inspecting the O-ring and seals for any damage. Replace them if necessary to prevent leaks during use.
Step-by-Step Assembly
- Start with the main body of the sprayer. Align the inner components correctly to avoid jamming.
- Insert the cleaned filter back into its designated spot, ensuring a snug fit. This prevents debris from entering.
- Carefully place the nozzle tip onto the body, making sure it’s seated properly.
- Tighten any screws or bolts gently, ensuring not to over-tighten, which could strip the threads.
- Reattach any additional components that were removed during disassembly, like the pressure adjusting knob.
Final Checks
- Once assembled, inspect for any visible gaps or misalignments.
- Test the unit briefly before full operation. A quick run will help confirm everything is functioning as intended.
- If you notice irregular spray patterns, disassemble and check the alignment again.
For those in the commercial sector, understanding the psi for commercial pressure washer is vital to ensure efficiency and effectiveness. Proper reassembly leads to a reliable machine ready for any task.
Testing the Equipment After Clearing Blockages
After addressing any disruptions in the water flow, it’s critical to carry out a thorough test before returning the tools to regular use. Begin by reconnecting the unit to a water source, ensuring all fittings are secure. Turn on the water supply and then start the motor. Observe the initial flow–if it’s steady and powerful, you’re on the right track.
Key Testing Steps
Follow these steps to validate that everything is functioning correctly:

- Check for leaks around the connections. Any dripping or spraying indicates a need for further tightening or a new seal.
- Direct the spray wand at a safe surface, away from people and delicate items. Activate the trigger and observe the spray pattern. A consistent and even spray signifies successful restoration.
- If the stream appears irregular or weak, recheck the cleaning process. There might still be residue or debris affecting performance.
Performance Assessment Table
| Observation | Action Required |
|---|---|
| Steady flow with strong pressure | No action needed; ready for use. |
| Leaks present | Tighten connections or replace seals. |
| Ineffective spray pattern | Inspect for remaining clogs; repeat cleaning if necessary. |
| Noise or vibration | Check for mechanical issues; consult the manual. |
Always take the time to assess the functionality thoroughly. In my experience, neglecting this crucial step can lead to further issues down the line. Once satisfied with the performance, you can resume your cleaning tasks with confidence, knowing your equipment is in optimal condition.
Preventative Measures to Avoid Future Clogs
Regular maintenance is key to avoiding blockages in your cleaning equipment. Here are some practical measures you can implement:
Use Clean Water
- Always fill your tank with clean, filtered water to minimise impurities.
- Avoid using water from muddy sources, which can introduce debris.
Inspect and Replace Filters
- Check the water intake filter frequently and clean it as needed.
- Consider replacing filters yearly if you use your equipment regularly.
Store Properly
- Keep your equipment indoors or in a sheltered area to protect it from the elements.
- Ensure that all hoses and attachments are properly stored to prevent kinks and damage.
Regular Usage
- Use your unit regularly to keep the internal components clear of build-up.
- Consider running a cleaning solution through the system occasionally to maintain performance.
Inspect Before Each Use
- Before starting, check for any signs of wear or damage in hoses and attachments.
- Look for any debris that may have accumulated in the connectors.
By incorporating these practices, you can significantly reduce the risk of experiencing blockages in your cleaning system, ensuring a smoother and more efficient operation each time you use it.
.jpg)

.jpg)


