
.jpg)


.jpg "How to unseize a pressure washer pump")
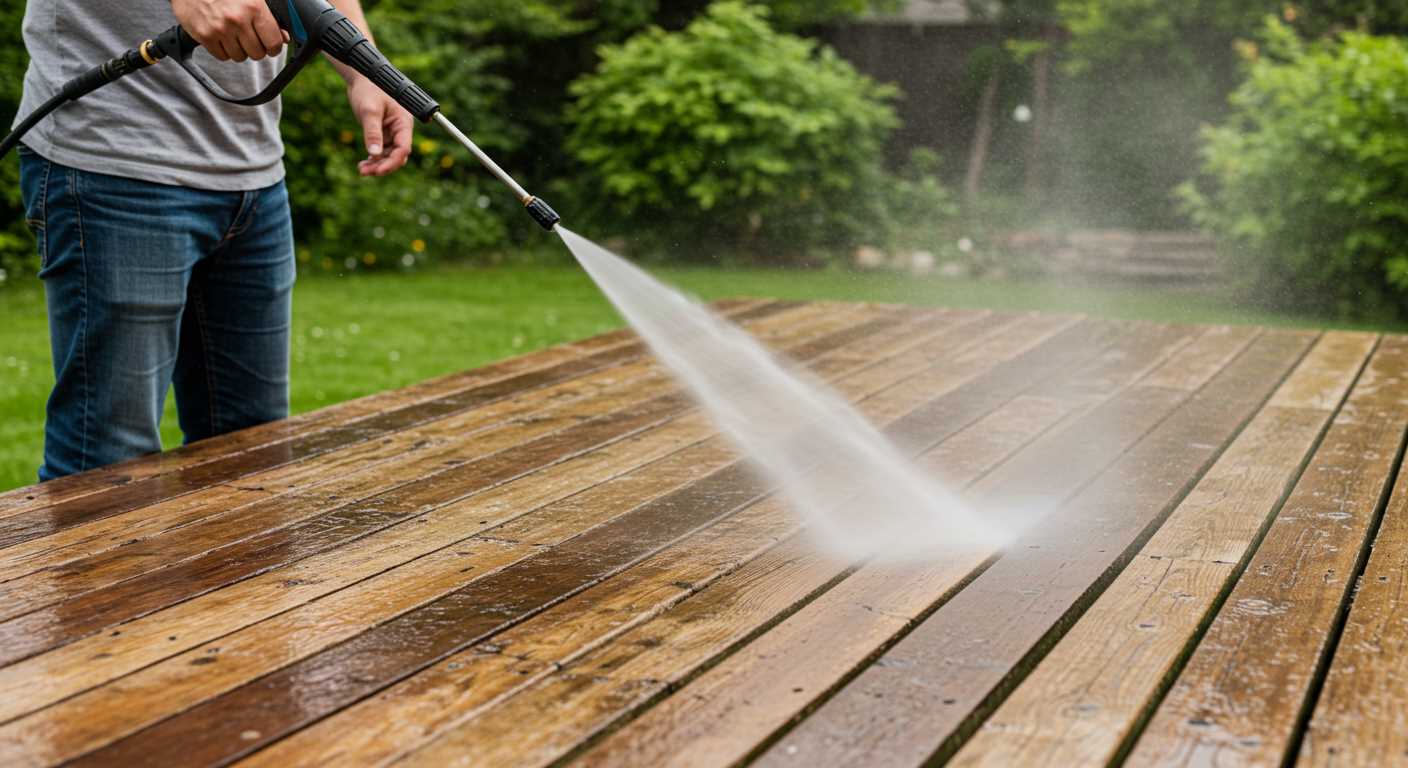
Begin with a thorough inspection of the unit. Disconnect it from the power source and check for any visible signs of damage or wear. Look for rust or corrosion around the motor and connections, as these can often contribute to the issue. If you notice any obstructions, clear them away carefully.
Next, apply a penetrating lubricant to the joints and bearings. A good choice is a silicone-based spray, which can seep into tight spaces and work its magic. Allow it to sit for a few minutes, giving it time to penetrate. In my experience, this step is critical–I’ve seen stubborn engines come back to life with just a little patience and the right product.
If the motor still won’t budge, try manually rotating the shaft. Use a wrench or a socket that fits snugly, and gently attempt to turn it. Be cautious; too much force can cause further damage. In my years of handling various models, I’ve found that a gentle touch often yields better results than brute strength.
Lastly, if you’ve exhausted all other options, consider disassembling the motor. This allows for a more detailed examination of internal components. Clean any dirt or grime you find, and replace worn parts as necessary. Reassembly should be done with care, ensuring everything is aligned properly. I’ve often found that taking this extra step can prevent future issues and extend the life of the equipment.
Identify the Signs of a Seized Pump
Look for the absence of any operational sounds when you attempt to start the unit. If the motor runs but there’s no water flow or pressure, this could indicate a problem. A seized mechanism often leads to a complete shutdown of movement within the system.
Check for Unusual Resistance
When you manually attempt to rotate the drive shaft, any stiffness or inability to turn suggests an internal blockage. This resistance often results from rust or debris accumulation within the assembly. Regular maintenance checks can help prevent this issue from developing.
Monitor for Leaks and Excessive Heat
Leaks around the housing or noticeable overheating during operation are signs that the internal components are not functioning correctly. If the unit feels hot to the touch after minimal use, it’s time to investigate further. A malfunctioning component can cause an increase in temperature and lead to further damage.
Pay attention to any abnormal sounds such as grinding or whining. These noises can point towards worn bearings or other internal issues that need immediate attention.
Finally, keep an eye out for pressure loss during operation. If the equipment struggles to maintain consistent pressure, it could indicate that the internal mechanisms are compromised, possibly leading to a complete failure.
Gather the necessary tools and materials

Start by collecting these specific items to tackle the task effectively:

Tools
| Tool | Purpose |
|---|---|
| Wrench set | To loosen bolts and fittings on the equipment. |
| Screwdriver set | For removing screws securing various components. |
| Pliers | Helpful for gripping and twisting parts during disassembly. |
| Rubber mallet | To gently tap components without causing damage. |
Materials
| Material | Purpose |
|---|---|
| Penetrating oil | To loosen rusted or stuck components. |
| Sealing tape | For resealing any joints after reassembly. |
| Cleaning rags | To wipe down parts and ensure a clean working area. |
| Replacement seals or O-rings | To replace any worn components during reassembly. |
Having these tools and materials on hand will streamline the process and make it less frustrating. I remember a time when I was missing a crucial wrench, and it turned a simple fix into an all-day ordeal. Don’t let that happen to you; be prepared!
Disconnect the pressure cleaner from power and water supply
Ensure the unit is unplugged from the electrical outlet. This simple step prevents accidental activation while you work on it. If your model has a power switch, make sure it’s in the off position as an extra precaution.
Next, detach the water supply hose. This is crucial to avoid any water-related accidents or damage. If your cleaner has a quick-connect feature, simply release the hose. Otherwise, use a wrench to loosen the fittings. Be prepared for some residual water to spill out, so have a towel handy to catch any drips.
Once the water hose is removed, check the inlet screen for any debris or blockages. A clean inlet ensures proper flow once the machine is operational again. If you spot any dirt, rinse it under running water before reattaching.
After disconnecting both power and water, take a moment to inspect the surrounding area for safety. Ensure you have ample space to work without any tripping hazards. This attention to detail can save you from potential mishaps during the repair process.
Remove the Pump from the Pressure Cleaner
Begin by placing the unit in a stable position, ensuring it won’t tip over during the process. Detach any hoses connected to the water inlet and outlet. Use a wrench to loosen and remove the bolts securing the assembly to the main body. Keep a container handy to catch any residual water that may spill out.
Steps to Detach the Assembly
- Locate the mounting bolts on the pump casing.
- Using the appropriate size wrench, carefully unscrew each bolt.
- Support the assembly while removing the last bolt to prevent it from falling.
- Gently pull the pump away from the main unit, ensuring no wires or hoses are still attached.
Post-Removal Inspection
Once detached, inspect the connection points for any signs of damage or wear. This is also a good time to assess the condition of the seals. If you plan to replace the unit, consider looking for a pressure washer for paint removal pressure washing that suits your needs.
After inspection, clean the mounting area on the main body to ensure a good fit when installing a new assembly. Use a soft cloth to wipe down any debris or grime that may have accumulated.
Inspect for Visible Damage and Debris
First, take a close look at the exterior of the unit. Check for any visible cracks or breaks in the casing that could indicate internal issues. If you see any signs of wear, this could contribute to malfunctioning. Pay special attention to the seams and joints, as these spots are often weak points.
Next, remove any debris that may have accumulated around the intake and outlet areas. Leaves, dirt, or any obstructions can impede the flow and cause the mechanism to seize. Use a soft brush or cloth to gently clear away any build-up without damaging the surfaces.
After clearing debris, inspect the hoses and connections. Look for kinks, tears, or other damage that might restrict fluid flow. A compromised hose can lead to pressure buildup, which may cause problems with the internal workings.
Finally, check the mounting points where the device attaches to the motor. Loose or damaged mounts can create vibrations that lead to misalignment and further issues. Tighten any loose screws or bolts and replace any broken components to ensure a secure fit.
Apply Penetrating Oil to the Pump Components
For those stubborn components that refuse to budge, applying penetrating oil is a critical step. Choose a high-quality penetrating oil, such as WD-40 or PB Blaster, known for their ability to break down rust and corrosion.
Steps to Apply Penetrating Oil
- Ensure the unit is completely disconnected from any power source and water supply.
- Identify the areas where rust or corrosion is most evident. These are usually around the seals and connection points.
- Generously spray the penetrating oil onto the affected areas. Allow it to soak in for at least 15-30 minutes, giving it time to penetrate and loosen the seized components.
- After soaking, gently tap the components with a rubber mallet. This helps to further dislodge any stubborn parts without causing damage.
- Repeat the application if necessary, especially if you notice any improvement after the first attempt.
After Application
Once you’ve applied the oil and let it sit, check for looseness by attempting to move the components manually. If they still feel stuck, more soaking time may be required. Patience is key here; rushing the process can lead to further damage.
For cleaning and maintenance tasks, consider using a best antimicrobial body scrubber to keep your equipment in top shape after repairs.
In my experience, not all oils are created equal. I once used a cheaper brand that failed to work effectively, leading to prolonged frustration. Investing in a reliable penetrating oil can save time and effort in the long run.
Manually Rotate the Pump Shaft to Loosen It
Position your equipment securely on a flat surface. With the right tools in hand, locate the shaft at the rear of the unit. Use a suitable wrench or pliers to grip the shaft carefully. Ensure a solid hold without applying excessive force that could cause damage.
Gently attempt to rotate the shaft clockwise and counterclockwise. Start with small movements, gradually increasing the range as you feel resistance decrease. Patience is key; forcing it can lead to further issues. If it doesn’t budge, take a break and reapply penetrating oil, allowing it to seep into the mechanism before trying again.

Occasionally, a slight tapping on the shaft with a rubber mallet can assist in breaking any stubborn debris or corrosion that may be causing the seize. Be cautious and avoid over-striking, as this might misalign components.
Keep an eye on the movement. Once you notice it turning more freely, continue rotating until you achieve a full rotation without resistance. This indicates the internal components are starting to move again. After loosening, check for any unusual sounds or vibrations when you test the unit.
Once you’ve successfully rotated the shaft, reassemble everything and conduct a thorough test to ensure proper functionality. This method, while straightforward, can save you time and money on repairs or replacements.
Reassemble and Test the Pressure Cleaning Unit
Once you’ve tackled the issue and freed the components, reassembling everything is straightforward. Begin by securing the pump back into its housing. Ensure all screws and bolts are tightened properly, as loose fittings can lead to leaks or further complications.
Next, reconnect any hoses and fittings. Pay special attention to seals and gaskets; replacing worn-out parts can prevent future issues. After everything is put back together, double-check your connections to ensure no components are misaligned.
Before testing, it’s wise to refill fluids if applicable. Check the oil levels and any necessary lubricants to ensure smooth operation. Once you’re confident everything is in place, reconnect to the power and water supply.
Start the unit without any load initially. Listen for unusual sounds that might indicate remaining problems. Observe for leaks at the connections and monitor the performance of the motor. If all appears normal, proceed to test with an appropriate nozzle. Adjust the settings gradually, and watch for consistent pressure and flow.
In my experience, it’s always best to keep an eye on the unit during the first few minutes of operation. This allows you to catch any issues early on. If everything runs smoothly, you’ve successfully revived the equipment and can return to cleaning tasks with confidence.
.jpg)


