


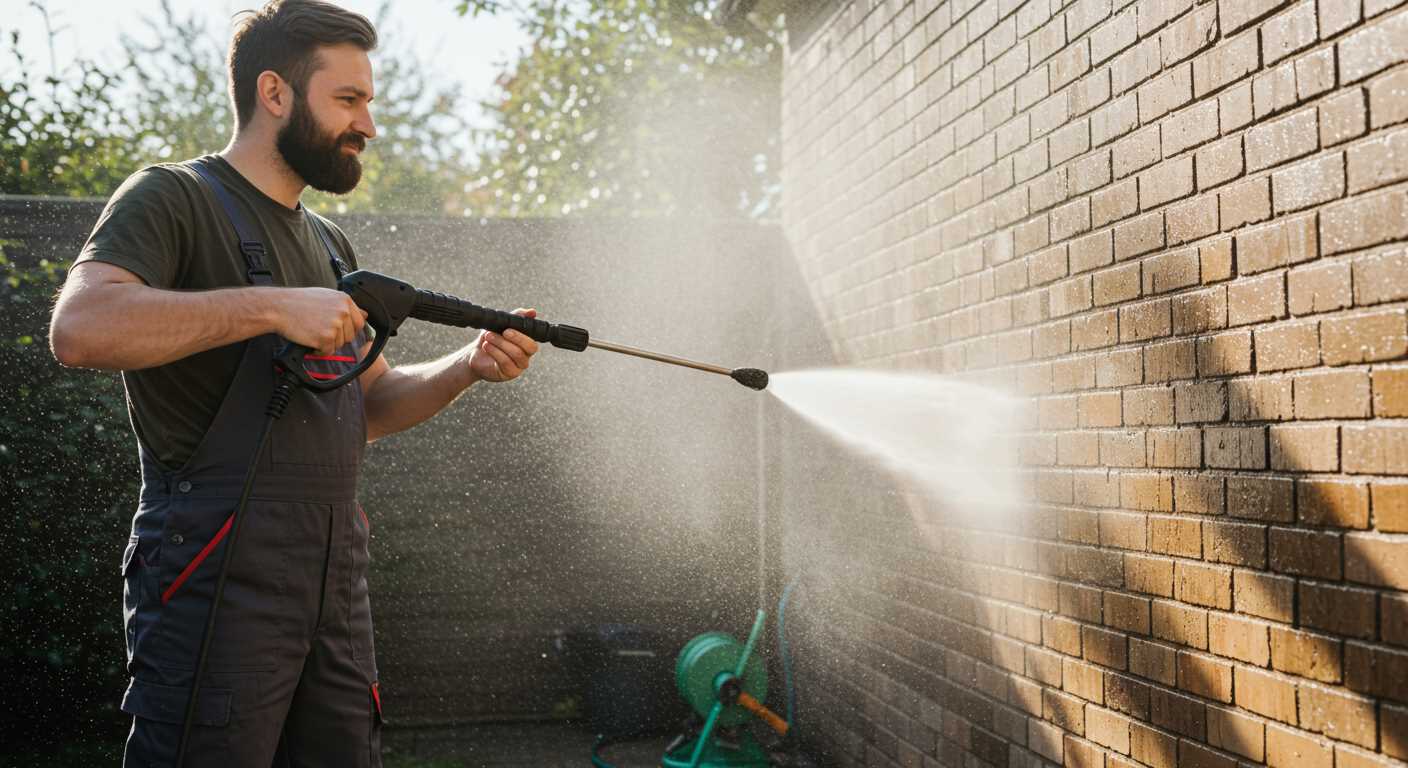
For anyone serious about achieving a spotless finish on their vehicle or patio, integrating a foam sprayer into your cleaning routine is a game changer. My first encounter with one was during a particularly muddy winter, and the results were astonishing. Instead of battling dirt and grime with a traditional method, I discovered that a well-mixed solution combined with this tool could effortlessly lift stubborn residues.
Begin by ensuring your mixture is right; a good rule of thumb is to use a mixture of 1:10 for soap to water. This balance creates a thick lather that clings to surfaces, allowing it to break down contaminants effectively. I’ve often found that using too much soap can lead to excessive suds that don’t rinse easily, so moderation is key.
Next, attach the sprayer to your cleaning device, making sure all connections are secure to prevent any leaks. My first attempt was marred by a loose fitting, which turned a simple task into a mess! Adjust the nozzle to achieve a wide spray pattern, ensuring coverage across the entire surface. I learned quickly that sweeping motions work best to coat surfaces evenly without missing spots.
Finally, let the solution sit for a few minutes before rinsing. This waiting period allows the cleaner to penetrate and lift grime, making rinsing a breeze. I often get distracted during this time, but it’s crucial to resist the urge to rush. After all, the wait will ultimately yield a more satisfying clean.
Selecting the Right Foam Cannon for Your Pressure Washer
Choosing the correct attachment for generating rich lather is crucial. I’ve tried multiple types over the years, and the performance can vary significantly based on compatibility and design. Always check the specifications of your high-powered cleaning device. Most units will include a PSI rating; aim for a cannon that matches or exceeds this for optimal results.
Key Features to Consider
Here are some vital elements to focus on during your selection process:
| Feature | Description |
|---|---|
| Connector Type | Ensure it fits the wand of your device; common types include quick-connect and screw-on. |
| Adjustable Nozzle | Look for options that allow you to modify the spray pattern, which can be beneficial for different tasks. |
| Material Quality | Opt for durable materials like brass or heavy-duty plastic to withstand high pressures and chemical exposure. |
| Foam Thickness Control | Some models enable you to adjust the foam density, providing versatility for various cleaning jobs. |
Compatibility and Performance
Not every attachment works seamlessly with every model. I once purchased a highly-rated attachment, only to find it lacked the necessary connector for my system. To avoid this, consult the manufacturer’s recommendations or user reviews. Additionally, consider the foam generation capability; a well-designed unit will produce thick lather that clings to surfaces, enhancing cleaning efficiency.
For those tackling tough tasks, such as how to clean algae from fish tank decorations, investing in a high-quality attachment can make a noticeable difference.
Preparing Your Pressure Equipment for Foam Application
Check the detergent tank first. Ensure it’s clean and free from any residue from previous cleaning solutions. A dirty tank can affect the quality of the mixture and its effectiveness. Rinse it out thoroughly with water.
Next, verify the nozzle. For optimal performance, use a nozzle that matches the attachment. An incorrect nozzle can lead to inadequate application or even damage the machine. If you’re unsure, consult the manufacturer’s specifications.
Adjusting the Pressure Settings
Before you begin, adjust the pressure settings. Lower pressure is typically recommended for applying the soap solution. This prevents the detergent from being expelled too forcefully, allowing for better coverage and longer dwell time on surfaces.
- Check the pressure gauge to ensure it’s set appropriately.
- If your unit has adjustable settings, select the lowest setting for detergent application.
- Test the pressure briefly to confirm it’s functioning correctly.
Mixing the Detergent
Follow the manufacturer’s guidelines for mixing the cleaning solution. Usually, a specific ratio of detergent to water is required. It’s crucial to get this right; too little detergent may not clean effectively, while too much can leave a residue.
- Measure the recommended amount of detergent.
- Add it to the tank, then fill with water, ensuring not to exceed the maximum fill line.
- Seal the tank tightly and shake gently to mix.
Finally, perform a quick test run to check for leaks in the connections and the tank. This little step ensures that everything is in working order before you begin applying the solution. A few minutes spent on these preparations can save you time and effort later on.
Choosing the Appropriate Soap for Your Cleaning Task
Opt for a pH-neutral cleaner when tackling delicate surfaces like car finishes. In my experience, this type of soap effectively breaks down dirt without damaging the paint. I remember a time when I used a harsher detergent on my vehicle; the results were disastrous, with streaks and dullness afterwards. Lesson learned: always select a gentle option for painted surfaces.
For heavy-duty cleaning, such as removing grease or oil stains from driveways, a concentrated alkaline cleaner works wonders. I once faced a stubborn oil spill after a family barbecue and applied a product specifically designed for such situations. After a short dwell time, the stains lifted easily, leaving the concrete looking pristine.
Consider biodegradable soaps for outdoor applications. These environmentally friendly options are effective yet safe for plants and wildlife. I’ve often used them while washing outdoor furniture, and the peace of mind knowing I’m not harming the garden is priceless.
Always read the label for compatibility with your equipment. Some detergents may cause damage or void warranties. I recall a colleague who disregarded this advice and ended up with a clogged system. Avoid that headache by ensuring the soap aligns with your machine’s specifications.
Lastly, don’t overlook the scent. While it may seem trivial, using a pleasant-smelling cleaner can significantly enhance the experience. I once used a lemon-scented product, and not only did it clean well, but it also made the whole task more enjoyable.
Adjusting the foam cannon for optimal coverage
Start by setting the nozzle to a wider spray pattern. This adjustment enhances the distribution of the cleaning solution across surfaces, ensuring no spot is missed. I recall a time when I was tackling a particularly grimy vehicle. After experimenting with the nozzle angle, I found that a broader spray not only covered more area but also helped to lift dirt more effectively.
Next, focus on the mixture ratio. A typical recommendation is to use about 1 part soap to 10 parts water, but this can vary based on the soap’s concentration. I once used a highly concentrated formula, and by reducing the water, I achieved a thicker layer of suds that clung better to vertical surfaces. Adjusting this ratio can make a significant difference in performance.
Additionally, check the pressure settings. For most cleaning tasks, around 120 to 150 bar is effective. If you’re uncertain about the ideal pressure for your equipment, refer to this guide on how many bar do I need for my pressure washer. Lowering the pressure can prevent the solution from being blown away too quickly, allowing for more dwell time and improved cleaning results.
Finally, the distance from the surface matters. Aim for a distance of about 12 to 18 inches. This distance provides enough force to apply the solution effectively while preventing overspray and wastage. During a car wash session, I noticed that getting too close resulted in streaks, while maintaining the right distance led to a smooth, even application.
Cleaning techniques using a foam cannon and pressure washer
For tackling tough grime, I recommend layering the pre-treatment foam thickly on surfaces. This allows the detergent to cling longer, breaking down stubborn dirt and contaminants. Once applied, let the solution sit for 5 to 10 minutes before rinsing. This dwell time enhances cleaning efficiency and reduces the need for scrubbing.
Technique for vehicles
When cleaning cars, start from the top and work your way down. This prevents dirty water from dripping onto already cleaned areas. Use a wide pattern to cover large sections quickly, ensuring every inch is treated. After the initial foam application, I suggest rinsing from a distance of about 2 to 3 feet to avoid damaging the paint.
Surface preparation for patios and driveways
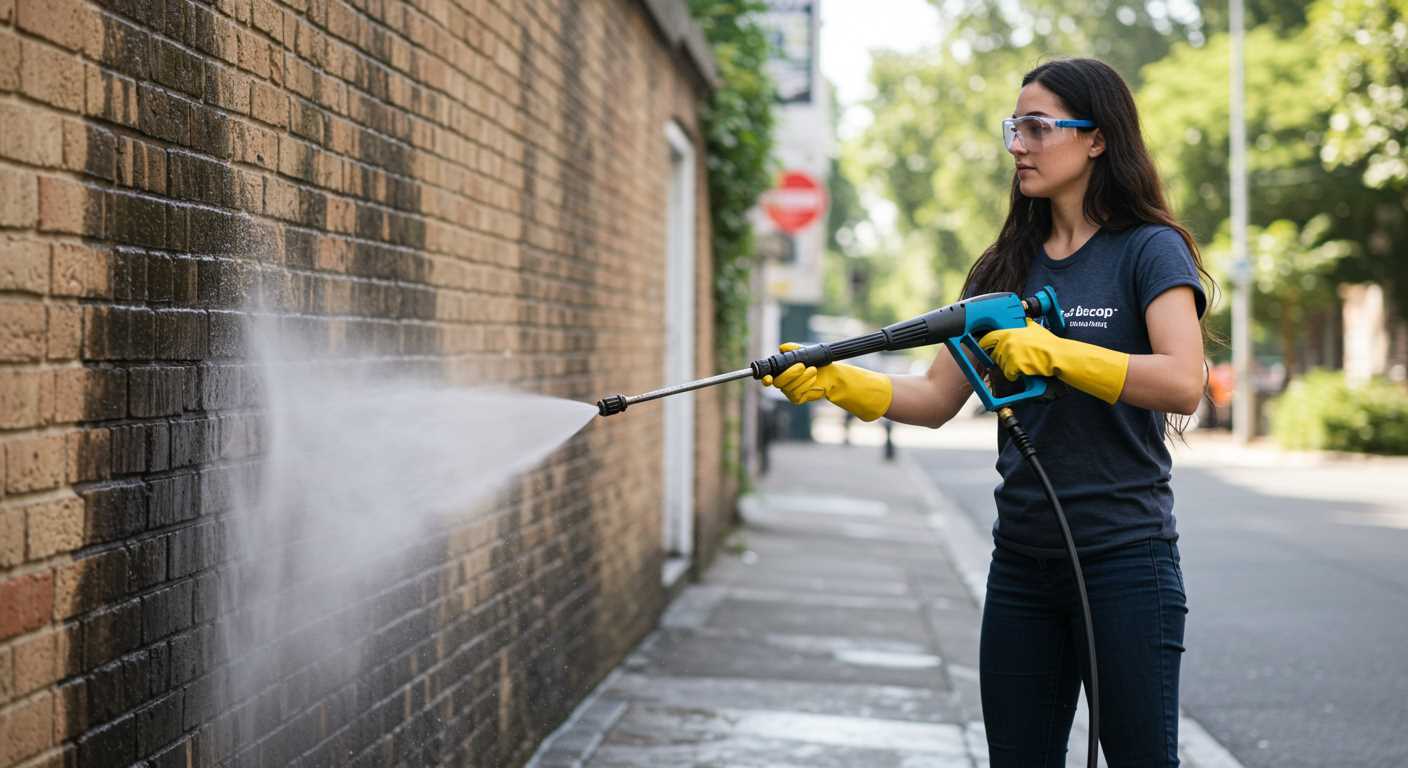
For outdoor surfaces, pre-wet the area before applying the cleaning solution. This helps to prevent the soap from drying too quickly. Apply the cleaner in overlapping strokes to ensure complete coverage. After letting it dwell, rinse thoroughly, beginning at the highest point and moving downwards, similar to vehicle cleaning.



.jpg)


