


To create that thick, clinging lather often associated with professional-grade cleaning, a garden sprayer can be your best friend. Simply mix your preferred detergent with water in the sprayer, following the manufacturer’s dilution guidelines. Aim for a rich consistency that will cling to surfaces effectively.
Once you have your mixture ready, adjust the nozzle to achieve a fine mist. This setting ensures an even distribution across the surface being cleaned. Apply the solution from the bottom upwards, allowing gravity to assist in the coverage while preventing runs.

After application, give the cleaning solution time to work its magic. A few minutes of dwell time will enhance the cleaning process, breaking down dirt and grime. It’s best to work in small sections, ensuring that the product remains wet throughout the cleaning phase. Finally, rinse thoroughly with a hose to remove residue and reveal a clean, gleaming surface.
Throughout my years in the cleaning equipment industry, I’ve seen countless DIYers achieve outstanding results using simple techniques and readily available tools. The key lies in patience and attention to detail, allowing each step to unfold naturally for optimal outcomes.
Utilising a Foam Dispenser with Regular Water Supply
First off, grab a garden sprayer or a spray bottle that can handle liquid mixtures. I’ve found that a good quality garden sprayer can create a decent lather, especially if you mix the cleaning solution correctly. Aim for a ratio of one part shampoo to three parts water – adjust according to the desired thickness of the foam.
After mixing your solution, fill the sprayer and pump it to build pressure. This step is crucial; the more pressure you can create, the better the foam will cling to surfaces. I remember using a sprayer for the first time, and I was surprised at how much foam it produced, albeit less than a dedicated device.
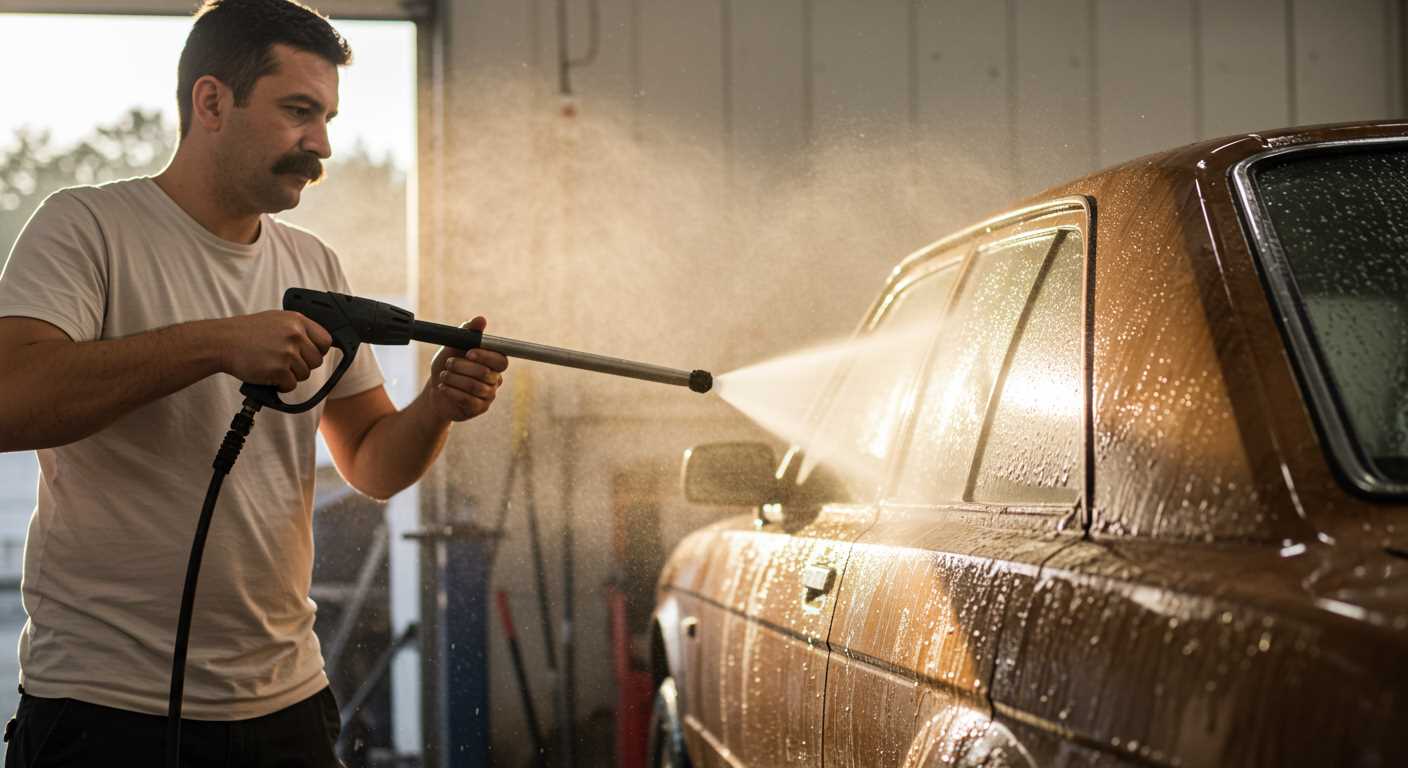
Next, aim the sprayer at the surface you want to clean. Start from the top and work your way down. This method prevents dirty water from running down onto areas you’ve already cleaned. Be generous with your application; a good coat of foam will encapsulate dirt and grime effectively.
After allowing the foam to sit for about 5-10 minutes, grab a soft brush or sponge. Gently agitate the foam on the surface. I often find that this step is where you can really make a difference, as the combination of foam and light scrubbing lifts dirt without scratching surfaces.
Finally, rinse thoroughly with clean water. A garden hose works well for this. Make sure to remove all residues of the cleaning solution to avoid streaks or film left behind. I’ve experienced the frustration of an incomplete rinse; it’s not fun when you see soap marks on a freshly cleaned surface.
This approach might not replicate the experience of using a high-powered washer, but it’s a practical alternative. I’ve used this method on my car and outdoor furniture with great results, proving that sometimes simpler tools can do the job just fine.
Choosing the Right Foam Cannon for Manual Use
Selecting an appropriate device for applying thick suds manually can significantly enhance your cleaning routine. From my years in the industry, I’ve found that the most effective units are those designed with versatility in mind, allowing for easy adjustment of foam thickness and spray pattern.
Look for models featuring adjustable nozzles. This feature enables you to control the spray width and density, ensuring that you can adapt to different surfaces and levels of grime. A wider spray is fantastic for large areas, while a tighter stream works wonders on stubborn spots.
Material construction matters too. Opt for options made from durable, corrosion-resistant materials. You will want something that withstands prolonged exposure to cleaning agents without degrading. Pay attention to the container capacity; larger tanks mean fewer refills during big jobs.
| Feature | Recommendation |
|---|---|
| Adjustable Nozzle | Allows customisation of spray width and foam density |
| Durable Materials | Corrosion-resistant for longevity |
| Container Capacity | Larger sizes reduce the need for constant refills |
| Compatibility | Ensure it fits your manual sprayer or garden hose |
Compatibility with your existing equipment is key. Many models attach directly to garden hoses, making them user-friendly for anyone who may not want to invest in additional machinery. Ensure you check the specifications before purchase.
Based on my experience, investing a bit more in a quality unit pays off in the long run. A well-built device offers better performance, reducing time and effort spent on cleaning tasks. Look for customer reviews and product demonstrations online; they often highlight features that may not be immediately apparent from the packaging.
Finally, don’t overlook the importance of maintenance. Regular cleaning of the nozzle and container will ensure consistent performance. After all, keeping your equipment in top shape is part of achieving those pristine results you’re aiming for.
Preparing Your Cleaning Solution for Optimal Foam
For the best results, mix your cleaning solution with care. The concentration of soap can significantly impact the quality of the lather you achieve. Here’s how to prepare your mixture:
- Select the Right Cleaner: Use a product specifically designed for manual application. Look for a concentrated car shampoo or a dedicated surface cleaner that promotes thick lather.
- Follow Manufacturer’s Instructions: Always adhere to the dilution guidelines provided on the cleaner’s label. A common ratio is typically 1:10 for most products, but this can vary.
- Water Quality: Softened water is preferable. Hard water can reduce suds and make rinsing harder. If you can, use distilled or filtered water for mixing.
- Mixing Process: In a clean bucket, pour the recommended amount of cleaner first, then add water. This method helps to prevent excessive foaming during mixing.
- Test the Mixture: Before applying to surfaces, do a small test on an inconspicuous area. This ensures compatibility with the surface and the desired foam consistency.
For those who want a more robust cleaning experience, consider using a commercial grade pressure washer for future projects. They deliver superior results when paired with the right cleaning solution.
Lastly, always store any leftover mixture in a sealed container to maintain its effectiveness for future cleaning sessions.
Techniques for Applying Foam Without Pressure

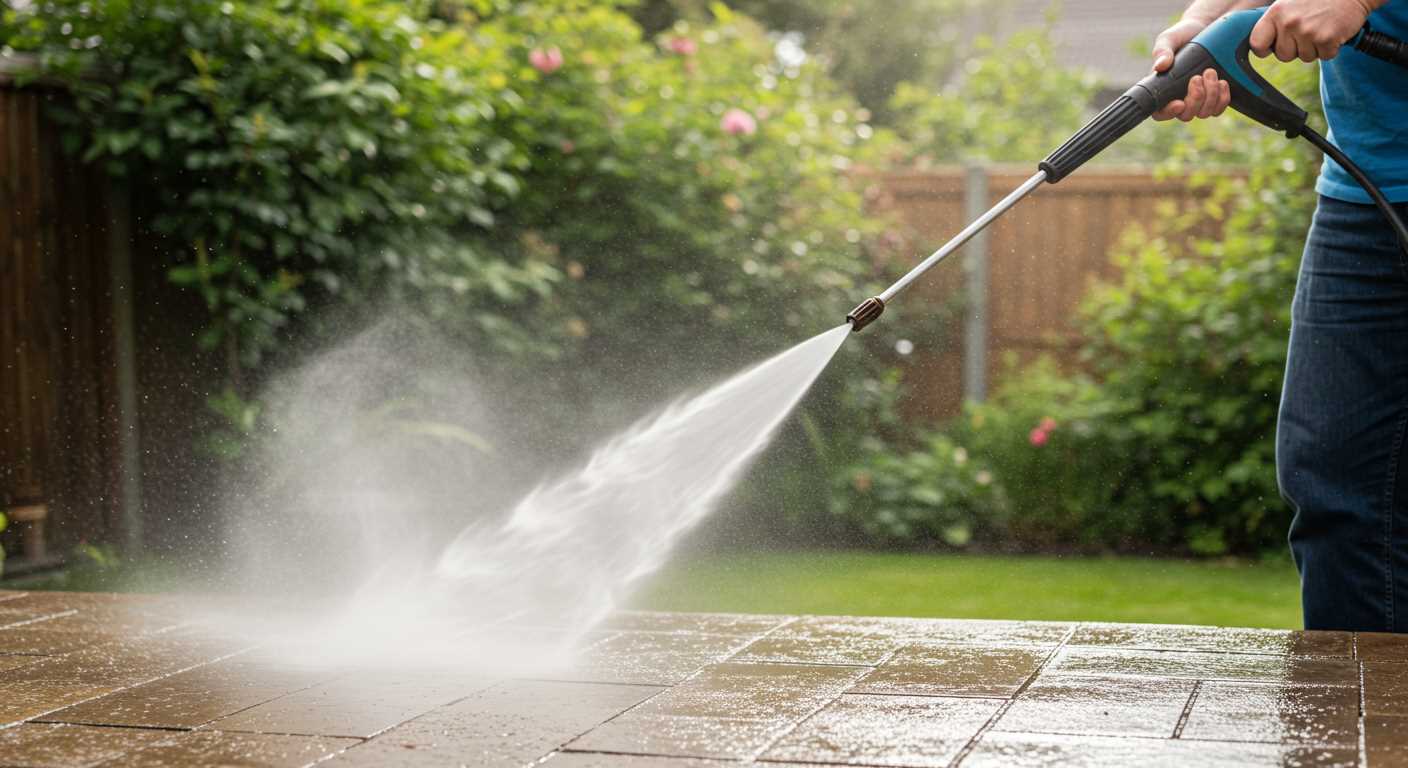
To achieve a thick layer of suds manually, employ a hand pump sprayer. Fill it with your preferred cleaning solution, ensuring it’s diluted to the right concentration, and then pump it to build pressure. Aim for an even coverage by spraying from a distance of about 12 to 18 inches, working in a sweeping motion. This technique allows for a consistent application while saturating the surface effectively.
Layering for Enhanced Cleaning
Consider applying multiple layers of suds. Start with a base layer, let it sit for several minutes to break down grime, and then apply a second layer. This method maximises the dwell time of the cleaning agents and boosts the cleaning power. For stubborn stains, a gentle agitation with a soft brush can further enhance the results.
Timing and Surface Preparation
Timing is crucial. Apply the solution during cooler parts of the day, avoiding direct sunlight. This prevents premature drying and allows the solution to work effectively. Prior to application, ensure surfaces are free from loose debris; a quick rinse with water can help. This preparation allows the cleaning solution to adhere better and penetrate the dirt.
Best Practices for Agitating Foam on Surfaces
To enhance the cleaning effect, agitating the suds on surfaces significantly boosts the removal of dirt and grime. Here’s how to effectively achieve that:
1. Utilize a Soft Brush or Sponge
- Select a soft-bristled brush or a clean sponge to avoid scratching delicate surfaces.
- Work the cleaning mixture into the surface using circular motions, ensuring even coverage.
- Pay extra attention to heavily soiled areas, applying more pressure while still being gentle.
2. Employ a Microfibre Cloth
- For small or intricate sections, microfibre cloths provide excellent agitation and absorbency.
- Dampen the cloth with the soapy liquid and wipe down surfaces, allowing the mixture to penetrate grime.
- Rinse the cloth frequently to avoid redepositing dirt.
In my experience, the choice of tool significantly impacts the result. A soft brush has always been my go-to for larger areas, while microfibre cloths excel in tight spots. Adjusting the technique based on the surface material is crucial; for instance, glass and painted surfaces require a lighter touch compared to harder materials like concrete.
3. Timing Matters
- Allow the suds to dwell for a few minutes before agitating. This gives the solution time to break down contaminants.
- During this dwell time, avoid letting the mixture dry out on the surface, as this can lead to streaks.
I’ve found that patience pays off. Waiting a few moments before scrubbing can make a world of difference. Always check the label of your cleaning solution for specific recommendations regarding dwell time and agitation methods.
4. Rinse Thoroughly
- After agitating, rinse the surface well with clean water to remove all residues.
- Consider using a garden hose with a spray nozzle to control the flow and intensity of the rinse.
In conclusion, the right combination of agitation tools, proper timing, and thorough rinsing can elevate your cleaning results significantly. Adjust techniques according to the surface type, and you’ll notice a remarkable difference in cleanliness.

Rinsing Off Foam: Tools and Methods
For effective removal of suds, a reliable water source is key. I recommend using a garden hose fitted with a standard nozzle to control the flow while rinsing. A nozzle with adjustable spray settings allows for a more versatile approach, from a gentle mist to a strong jet, depending on the surface and the amount of residue left behind.
In my experience, a handheld spray bottle can be a practical alternative for smaller areas or detailed work. Fill it with water, and you can directly target stubborn patches. This method works particularly well on vehicles, where precision is essential to avoid water spots.
Consider the temperature of the water as well. Warm water can enhance the rinsing process, helping to break down any remaining soap more effectively. If you have access to warm water, it’s worth using it during the final rinse.
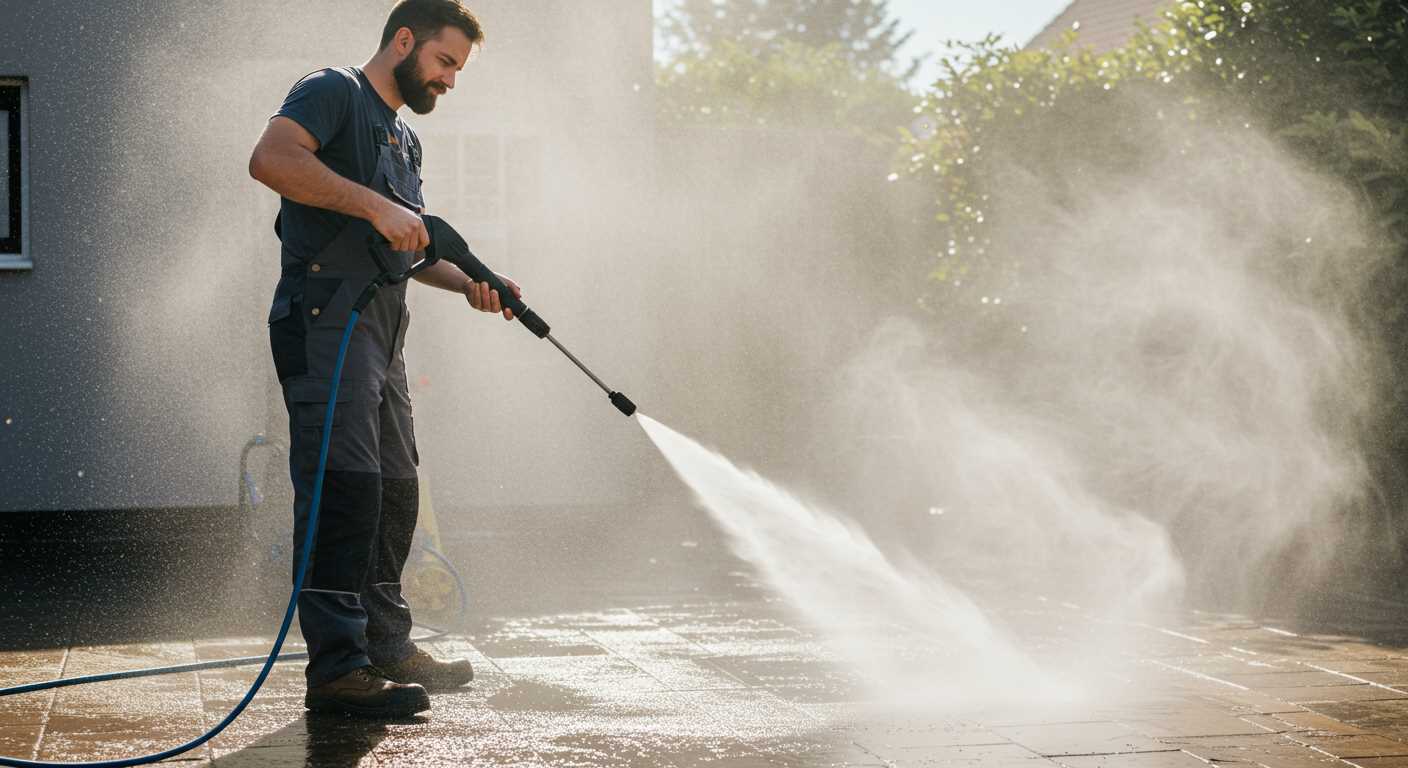
For larger surfaces, such as driveways or patios, I’ve found that using a broom or squeegee after rinsing can help push excess water and residual product off the surface, ensuring a thorough clean. This technique is especially useful on textured surfaces where water might pool.
If you’re contemplating investing in a cleaner, check out the best portable pressure washers. They can make rinsing effortless and provide a more thorough clean than manual methods.
Lastly, timing matters. Always rinse as soon as possible after application to avoid any product drying on the surface, which can lead to streaks or spots. Keeping these strategies in mind will ensure a clean finish with minimal hassle.
Maintaining Your Foam Cannon for Longevity
To maximise the lifespan of your suds sprayer, regular maintenance is key. After each session, promptly rinse the unit with clean water. This prevents any residual cleaning solution from clogging the nozzle or damaging internal components. I learned the hard way that neglecting this step can lead to frustrating blockages, making future tasks much more difficult.
Inspect the nozzle frequently for any signs of wear or blockage. If you notice diminished performance, it may be time to replace the nozzle. A clear pathway ensures optimal distribution of suds, which is crucial for achieving that thick, rich lather.
Store the apparatus in a cool, dry place away from direct sunlight. Extreme temperatures can degrade the materials over time. I once left mine in a hot garage, and upon retrieval, I discovered cracks that significantly impacted its functionality.
Additionally, periodically check the seals and O-rings for signs of damage or wear. These small parts play a significant role in maintaining pressure and preventing leaks. Replacing them at the first sign of wear can save you from larger issues down the line.
Lastly, consider using a dedicated cleaning solution that is compatible with your model. Some harsh chemicals can corrode the inner workings, leading to premature failure. Always follow the manufacturer’s recommendations to ensure you’re using the right products.
.jpg)


