


Before you grab that new cleaning machine, ensure you have a firm grip on the basics. First off, always connect the device to a water source before switching it on. This simple step prevents damage and ensures optimal performance. I recall the time I neglected this and ended up with a malfunctioning unit. A vital lesson learned!
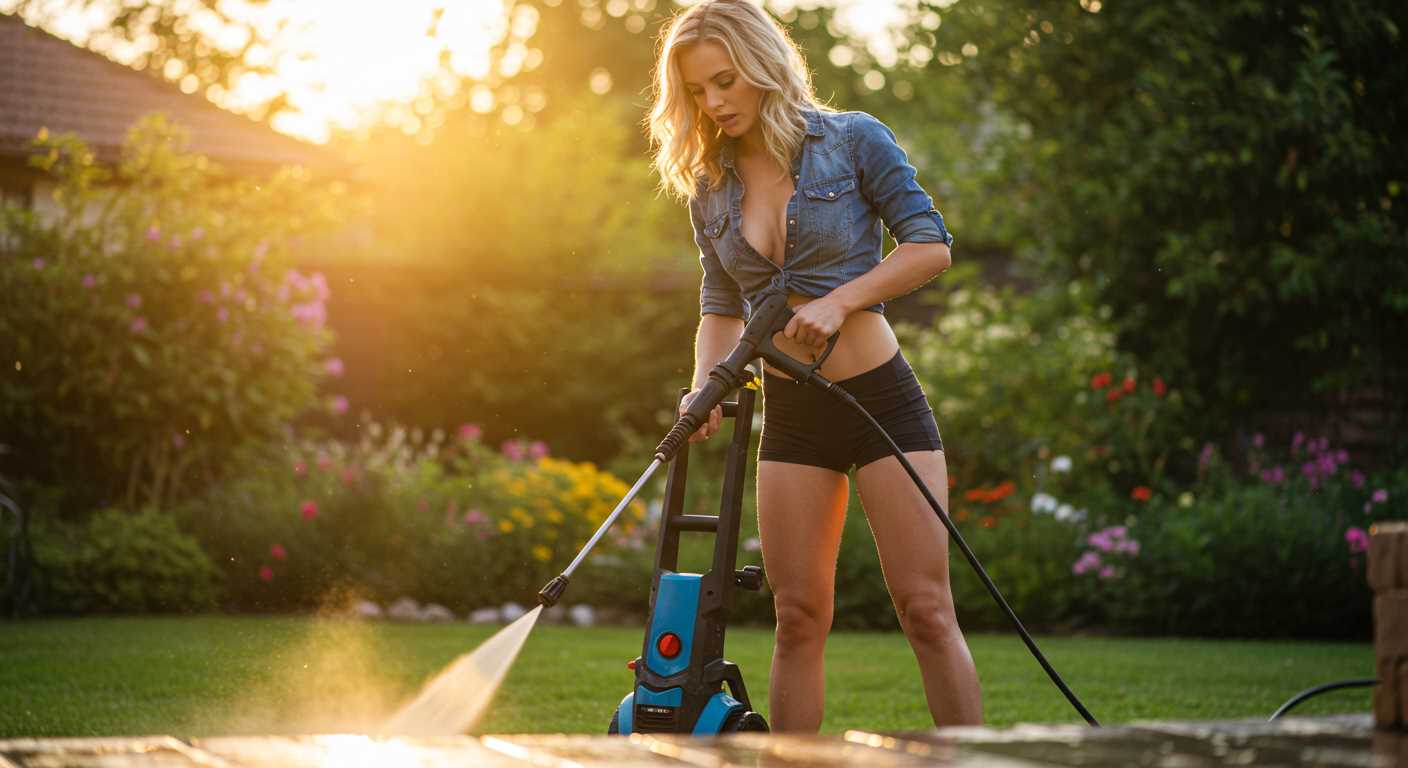
Next, consider the nozzle selection. Each attachment serves a unique purpose, from wide sprays for gentle cleaning to narrow jets for stubborn grime. I often switch nozzles mid-task, especially when tackling different surfaces. For example, using a fan nozzle on a driveway can make a world of difference compared to a pinpoint jet that’s best reserved for tough stains.
Don’t forget about the detergent. Using the right cleaning solution can enhance your results significantly. I remember a particularly grimy patio that looked brand new after applying a suitable cleaner. Just remember to follow the manufacturer’s instructions regarding dilution and application to avoid any mishaps.
Lastly, always maintain a safe distance from the surface you’re cleaning. Getting too close can lead to damage, especially on softer materials. I learned this the hard way while cleaning a wooden deck. A few too many inches too close and I had more than just dirt removed. Keep your distance and let the machine do the hard work for you.
Operating Your High-Pressure Cleaner
Before you begin, ensure that the unit is placed on a flat, stable surface and that the power source is securely connected. I once had a friend who started using theirs on a sloped driveway, and it ended up rolling into the bushes. Trust me, stability matters.
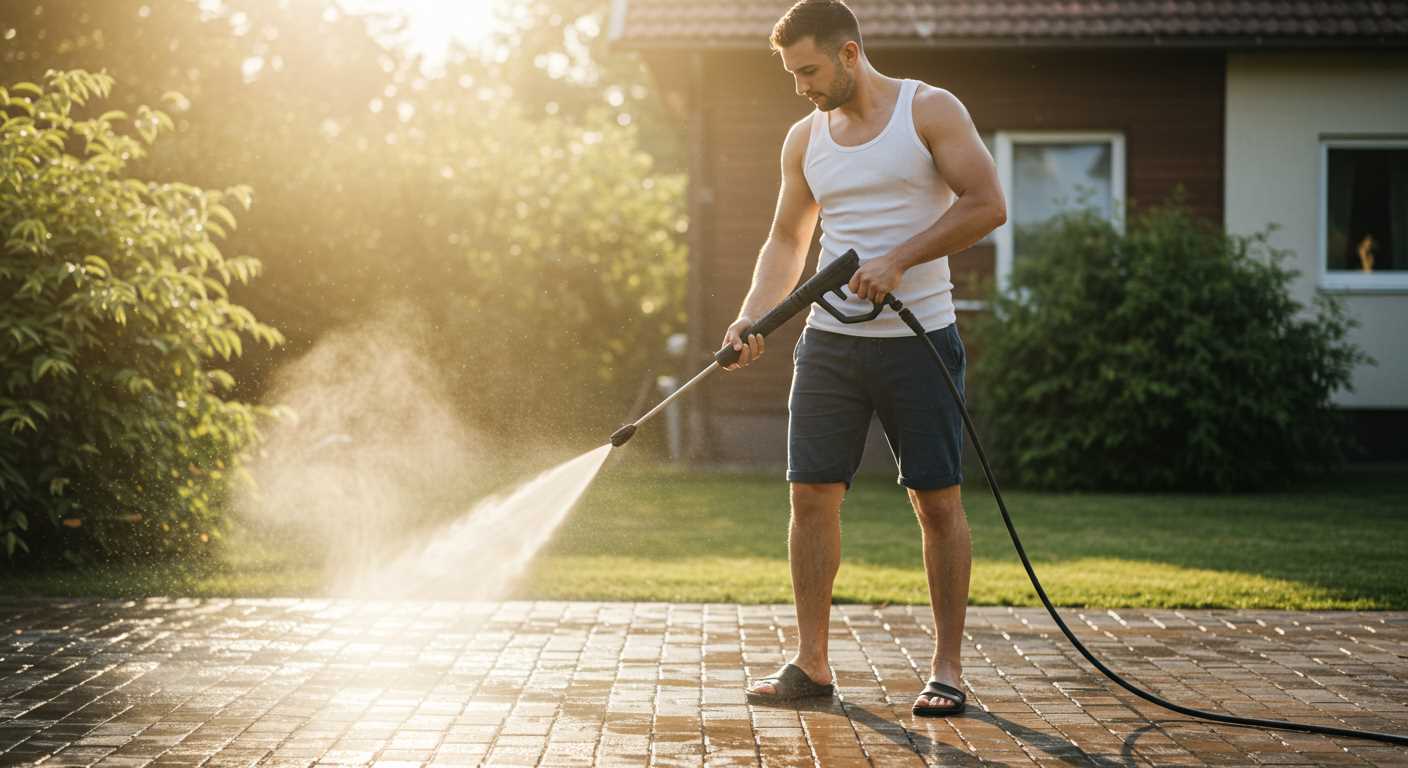
Attach the appropriate nozzle for your task. For light cleaning, the 25-degree nozzle is a good choice, while the 15-degree option is perfect for tougher stains. Always test the spray on a small, inconspicuous area first. I recall cleaning my patio with the wrong nozzle, and it ended up stripping some paint off the garden furniture. That was a lesson learned!
Starting the Machine
To initiate the operation, turn on the water supply and ensure the trigger is released. Then, plug in the unit and turn it on. This process can vary slightly depending on the model, but the core steps remain the same. I remember a time when I neglected to release the trigger first; it took a while to figure out why it wouldn’t start. Patience pays off!
Cleaning Techniques
Maintain a consistent distance of about 30 cm from the surface while spraying. Holding the nozzle too close can damage the material. When I first started, I learned the hard way that wood decking requires a gentle touch. Keep the nozzle moving to avoid streaks or damage. Afterward, rinse the area thoroughly to remove any detergent residue. Trust me, it makes a difference in the final result.
Choosing the Right Nozzle for Your Cleaning Task
Selecting the correct nozzle is key to maximising your cleaning results. Different nozzles serve various purposes, and knowing which one to choose can make all the difference.

- 0-degree nozzle: This nozzle produces a concentrated, high-pressure stream ideal for tough stains on hard surfaces. I recall using it to remove baked-on grease from a concrete driveway. It worked wonders, but be cautious–this nozzle can damage softer materials.
- 15-degree nozzle: Perfect for stripping paint or cleaning heavily soiled surfaces. I once tackled an old wooden deck that was covered in grime. The 15-degree option stripped off the dirt without harming the wood, provided you keep a safe distance.
- 25-degree nozzle: This versatile nozzle is suitable for general cleaning tasks, such as washing cars or cleaning patios. I often reach for this one during spring cleaning. It strikes a balance between pressure and spread, effectively lifting dirt without causing harm.
- 40-degree nozzle: Best for delicate surfaces like windows or vehicles. I remember cleaning my car with this nozzle–it delivered just the right amount of pressure, ensuring no scratches while still leaving a sparkling finish.
- Soap nozzle: Designed for applying detergent, this nozzle mixes soap with water, allowing for deeper cleaning. I once used it on my patio furniture, ensuring the soap penetrated the grime before rinsing it off with a higher-pressure nozzle.
When choosing a nozzle, consider the surface you’re cleaning and the type of dirt you’re tackling. Test different options if possible, and always maintain a safe distance to avoid causing damage. Your results will speak for themselves.
Setting Up Your Pressure Washer for First Use
Begin by ensuring that the equipment is placed on a flat, stable surface, ideally near a water source and a power outlet. Connect the water supply hose to the inlet, making sure it’s secure to prevent leaks. Always check for any debris in the inlet filter; a clean filter ensures optimal water flow.
Next, attach the high-pressure hose to the designated outlet. Ensure it clicks into place properly. I recall a time when I overlooked this step, and the hose became detached mid-cleaning, causing quite the mess. Tight connections are key!
Once the hoses are secured, plug the unit into an appropriate electrical outlet. Ensure the extension cord, if used, is rated for the power of the machine to avoid any electrical issues. I’ve seen many users underestimate this aspect, leading to tripped breakers or worse.
Before turning it on, fill the detergent tank if your model includes one. Use only the recommended cleaning solutions; using incorrect chemicals can damage the system. I learned this the hard way during a demonstration, where a harsh cleaner caused significant damage to the internal components.
Check the nozzle settings. Begin with a wider spray pattern, which is safer for initial use. I often start with a 25-degree nozzle for general tasks, gradually adjusting as needed based on the surface and grime level. It’s a simple adjustment that can significantly impact the cleaning outcome.
Finally, before starting the machine, double-check all connections and settings. Taking a moment to ensure everything is in place can save a lot of hassle later on. Trust me, I’ve missed this step before and ended up with a spray of water in unexpected places!
Connecting the Water Supply and Power Source
First, ensure your water connection is secure. Attach a garden hose to the inlet on the machine, making sure it’s tightly fastened to prevent leaks. I’ve had instances where a loose connection led to interruptions in the flow, causing frustration during cleaning sessions.
Next, turn on the water supply to allow it to fill the unit before powering it up. This step is often overlooked but critical. I recall a time when I made the mistake of starting the machine without sufficient water, and it resulted in overheating. Always check that the water is flowing freely through the hose.
Powering Up
For the electrical aspect, connect the power cord to a grounded outlet. Avoid using extension cords as they can lead to voltage drops, which may affect performance. I learned this the hard way after using a long extension and experiencing inconsistent pressure. If a longer reach is necessary, opt for a heavy-duty cord that can handle the load.
After ensuring both connections are secure, you can proceed to start the equipment. With everything properly set up, you’ll notice a significant improvement in performance, making your cleaning task more straightforward and efficient.
Adjusting Pressure Settings for Different Surfaces
Begin with a thorough assessment of the surface you are cleaning. For delicate materials like wood decks, a lower setting between 1000-1500 PSI will help avoid damage. I recall a time when I used too high a pressure on a wooden patio. The result? A splintered mess that took hours to repair.
Hard Surfaces
For concrete or brick driveways, increase the pressure to around 2000-3000 PSI. This range effectively removes grime and stains without risking surface integrity. During a recent project, I tackled an oil stain on a driveway with 2500 PSI, and it came out effortlessly.
Vehicles and Sensitive Areas
When cleaning cars or sensitive areas like windows, always dial it back to 1200-1900 PSI. I remember a friend who accidentally cracked a windshield due to excessive force. A gentle approach with a lower setting ensures that you maintain the integrity of the surfaces.
Adjusting the pressure correctly not only maximises cleaning efficiency but also extends the life of your equipment and the surfaces you work on. Always test a small area first to see how the surface reacts to the pressure applied.
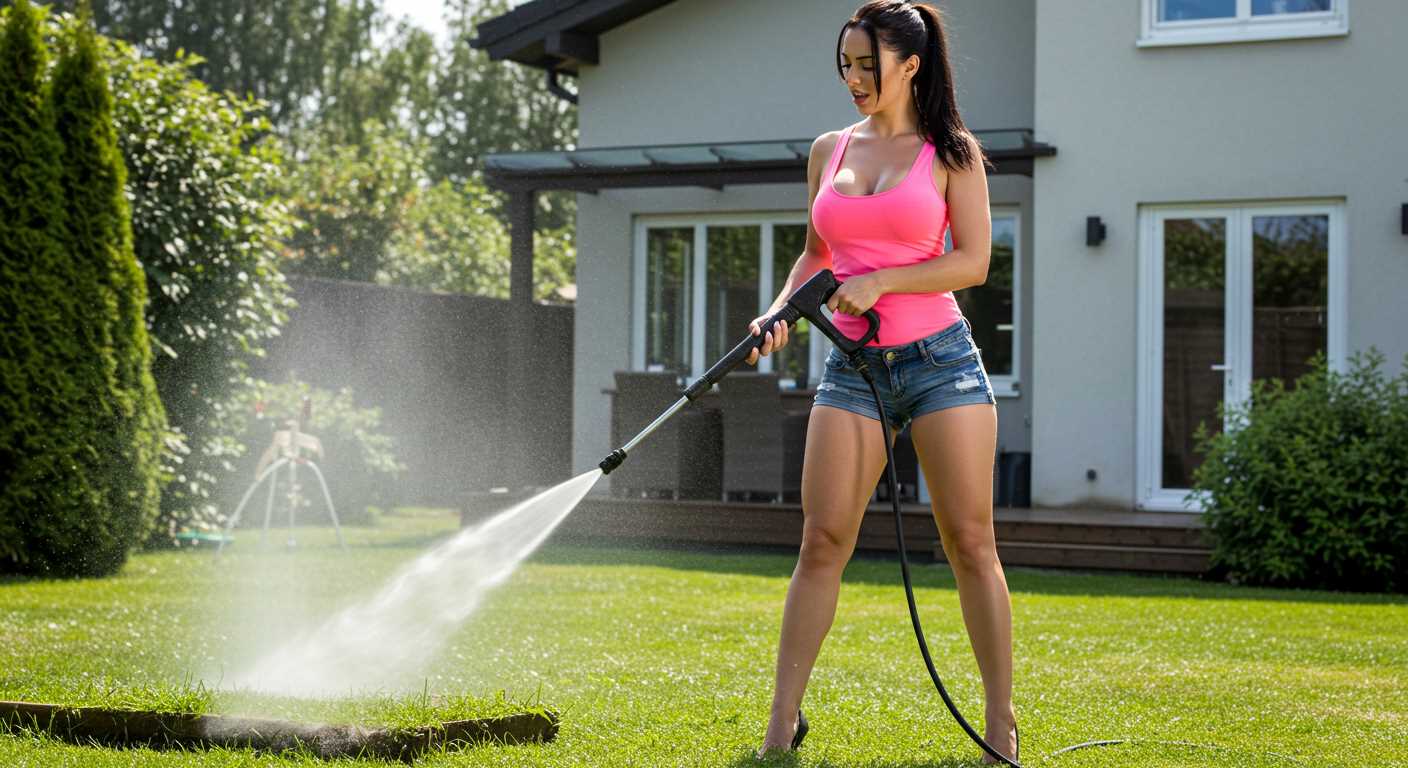
Techniques for Cleaning Various Outdoor Areas
For tackling specific outdoor surfaces effectively, it’s crucial to adjust your approach based on the material and level of grime. Here are some targeted strategies I’ve found particularly useful:
-
Driveways and Patios:
Hot Pick WD-40 Specialist Degreaser PackProfessional strength for tough cleaningThis degreaser is formulated to tackle stubborn grease and grime quickly and effectively, making it ideal for a variety of cleaning tasks. Its fast-evaporating formula leaves surfaces spotless without residue.Begin with a wide spray nozzle (25° or 40°). This prevents damage while ensuring dirt and stains are lifted. For tough oil stains, pre-treat with a degreaser. Move in a systematic pattern to ensure even cleaning.
-
Wood Decks:
Utilise a fan nozzle (40°) to avoid splintering the wood. Keep the wand at least 12 inches from the surface. It’s helpful to clean in the direction of the wood grain to maintain its integrity.
-
Fences:
For wooden or vinyl fences, a detergent nozzle can be effective for applying cleaning solutions. After allowing it to sit, switch to a wider spray to rinse thoroughly. Adjust the pressure to low to prevent damage.
-
Cars and Vehicles:
Always start with a low-pressure setting to avoid scratches. A 25° nozzle is recommended for rinsing dirt off without harming the paint. Keep a distance of at least 2 feet while cleaning.
-
Outdoor Furniture:
Utilise a gentle nozzle (40°) to clean plastic or metal furniture. If there’s stubborn mildew, adding a mildew cleaner can help. Rinse thoroughly to avoid residue.
-
Drains and Gutters:
For clearing blockages, a specialized nozzle is invaluable. I often recommend a pressure washer for drain cleaning that can blast away debris effectively. Ensure to follow up with a standard rinse to clear any remaining residue.
Each surface requires its own technique, so adjusting your method based on the area will yield the best results. Remember, thorough rinsing is as important as the initial cleaning action.
Maintaining Your Equipment After Use
After completing a task with your cleaning device, proper maintenance is crucial for longevity and performance. Start by disconnecting the water supply and power source to prevent any accidents. Always allow the machine to cool down if it has been used for an extended period. This simple step can save you from potential burns and damage.
Cleaning and Storing
After each session, flush the system with clean water. Run the unit for a few minutes without any detergent to clear out any remaining soap or debris. This practice helps avoid clogs and ensures a longer lifespan for the internal components.
Once you’ve flushed the equipment, detach the nozzle and wand. Rinse both thoroughly to remove any residue. Store them in a dry, protected area to prevent damage from moisture or extreme temperatures. Regularly check hoses for leaks or wear; replacing them early can prevent bigger issues down the line.
Winter Preparation
If you live in a region with cold winters, winterising your machine is essential. Use antifreeze designed for cleaning devices to protect the pump. Follow the manufacturer’s recommendations for the correct procedure. This step can save you from costly repairs when spring arrives.
| Maintenance Task | Frequency |
|---|---|
| Flush with clean water | After each use |
| Inspect hoses and connections | Monthly |
| Replace worn parts | As needed |
| Winterise the unit | Before first frost |
Taking these steps will keep your device in optimal condition, ensuring it’s ready for your next cleaning task. Regular upkeep may seem tedious, but in my experience, it pays off with reliable performance and fewer repairs.
Troubleshooting Common Washer Issues
If you’re facing difficulties with your cleaning equipment, check the power supply first. Ensure the outlet is functional and that the device is plugged in securely. If there’s still no response, inspect the power cord for any visible damage.
Inadequate water flow can stem from a clogged filter or hose. Detach the intake hose and inspect for blockages. Clear any debris, as this can significantly impact performance. Additionally, make sure the water supply is turned on fully.
If the device shows low pressure, it might indicate a worn nozzle. Replace it with a suitable alternative to restore functionality. Sometimes, air trapped in the system can cause pressure issues, so releasing the pressure by pulling the trigger can help.
For persistent leaks, examine the connections and seals. Tighten any loose fittings and replace damaged seals or hoses as necessary. A quick fix can sometimes save a more extensive repair down the line.
Strange noises during operation often signal a problem with the motor or pump. If you hear unusual sounds, stop immediately and inspect the unit for any signs of wear or damage. It’s wise to consult the manual for troubleshooting specific to your model.
Lastly, if the equipment trips the circuit breaker, it may be overloaded. Reduce the load by disconnecting unnecessary attachments and restart the device. For ongoing issues, consider professional servicing.
For additional tips on outdoor maintenance, check out this guide on can i use stranded wire for dog fence.
.jpg)


