
.jpg)


.jpg "How to use a karcher pressure washer with detergent youtube")
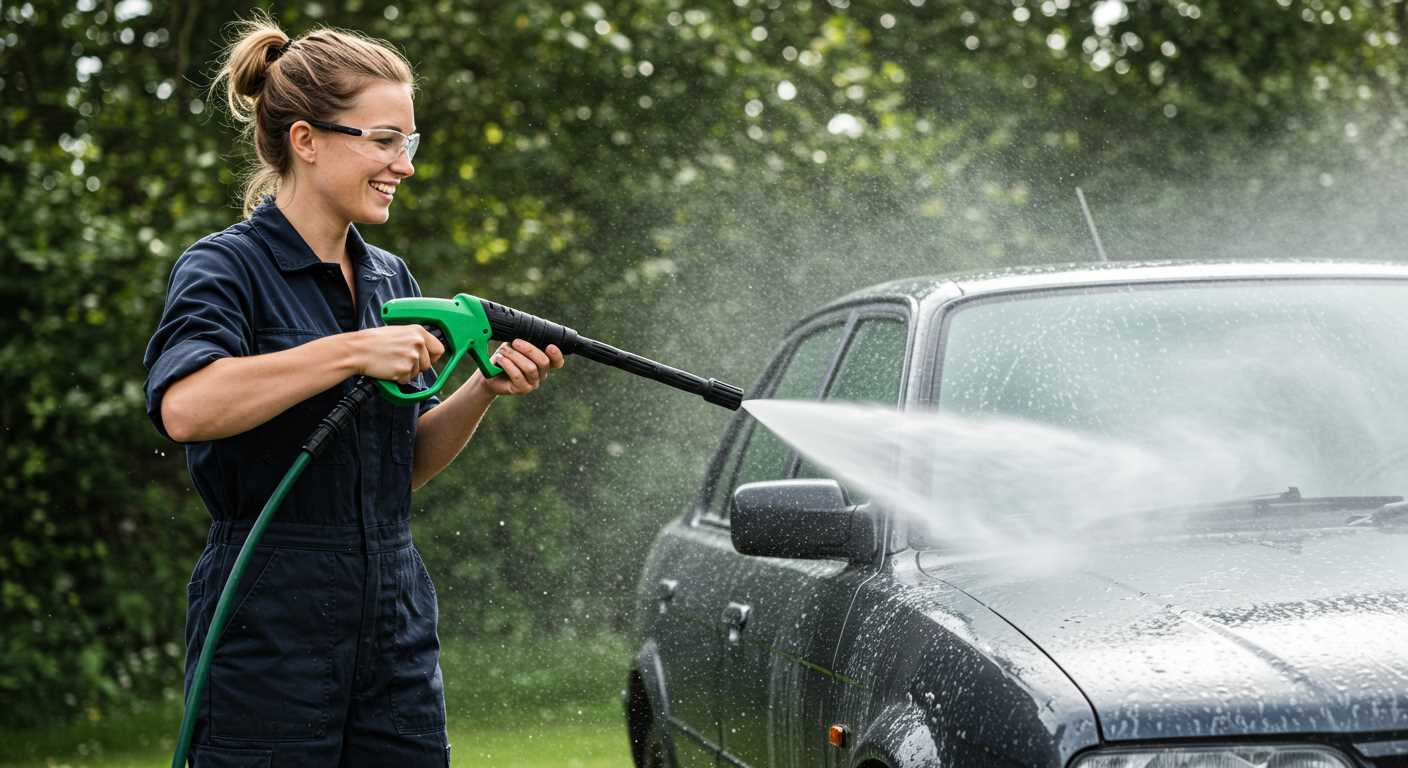
For optimal results, begin by selecting the right cleaning solution tailored to your specific task. I’ve often found that the effectiveness of the cleaning process greatly depends on the choice of detergent. For instance, when tackling stubborn grime on patios, a dedicated patio cleaner can work wonders compared to standard soaps.
Next, ensure the solution is correctly mixed according to the manufacturer’s guidelines. A common mistake is to over-concentrate the mixture, which can lead to residue and ineffective cleaning. In my experience, a well-balanced mix not only enhances cleaning performance but also protects surfaces from damage.

Utilising the appropriate attachment is equally important. I learned early on that using the right nozzle can make a significant difference in how the solution interacts with the surface. A wider spray pattern is perfect for larger areas, while a more concentrated jet is ideal for stubborn stains. Always remember to adjust your approach based on the surface material to avoid any unwanted wear.
Finally, when you’re ready to apply the cleaning solution, start from the bottom and work your way up. This method prevents streaking and ensures an even application. It’s a simple tip I picked up that has saved me countless hours of re-cleaning and frustration. Following these steps will not only enhance your cleaning regimen but also extend the life of your equipment.
Utilising a Karcher Cleaner with Soap on Video Platforms
For those looking to enhance their cleaning routine, applying soap during the washing process can significantly improve results. Here’s a straightforward approach to achieving this while capturing the process for sharing or learning purposes.
Preparation Steps

- Gather all necessary equipment: cleaner, soap, nozzle attachments, and a surface to clean.
- Check that the soap reservoir is clean and free of residues from previous uses.
- Fill the reservoir with the appropriate cleaning solution, ensuring it matches the surface you plan to treat.
Execution Tips
- Attach the soap nozzle to the device. This specific attachment helps in mixing the soap with water effectively.
- Start the machine and let it run for a minute to ensure proper mixing of soap and water.
- Begin applying the solution from a distance of about 30 cm from the surface. This prevents damage and allows for even coverage.
- Allow the soap to sit for the recommended time on the label, usually around 5-10 minutes, to break down grime.
- Switch to a different nozzle for rinsing, ensuring all soap is removed for a clean finish.
Capturing this process on video can be beneficial. Position the camera to showcase each step clearly, ensuring the lighting highlights the action. Focus on key moments, such as filling the reservoir and the final rinsing, to provide viewers with a complete understanding.
Sharing these insights not only helps others but also hones your own skills. Engaging with an online community can lead to valuable feedback and additional tips from fellow enthusiasts.
Selecting the Right Detergent for Your Karcher Pressure Washer
Choosing the correct cleaning solution can make a significant difference in your results. I learned this early in my career while testing various products. Here’s what I found effective.
Types of Cleaning Solutions
- Alkaline Cleaners: Ideal for greasy surfaces like driveways or grills. They break down fats and oils effectively.
- Acidic Cleaners: Best for removing rust and mineral deposits. Perfect for patios or brickwork.
- Neutral Cleaners: Suitable for general cleaning tasks. They are safe on all surfaces.
- Foaming Agents: These cling to vertical surfaces, allowing for more dwell time and better cleaning.
Compatibility and Concentration
Always check the label for compatibility. Not all solutions are suitable for every model. I recall once using a concentrated solution that caused issues with the machine’s seals. Dilution is key; follow the manufacturer’s recommendations for mixing.
For effective cleaning, I suggest starting with a lower concentration. You can always increase it if needed, but it’s challenging to rectify if overly aggressive solutions damage your surfaces.
Eco-Friendly Options
Many brands offer biodegradable options, which are gentle on the environment. I’ve found these to work surprisingly well for routine cleaning tasks without the harsh chemicals. It’s a win-win for your surfaces and the planet.
Testing and Feedback
Before committing to a detergent, I recommend testing a small area. Pay attention to the results and any potential reactions on different materials. I’ve seen some products perform brilliantly on one surface but poorly on another.
In summary, selecting the right cleaning agent can enhance your cleaning experience and prolong the life of your equipment. Make informed choices, and you’ll achieve the best results. Happy cleaning!
Preparing Your Equipment for Detergent Application
Firstly, ensure the machine is off and unplugged. This simple step can prevent accidental activation while you prepare the unit. Next, check the detergent tank; it should be clean and free of any residual product from previous use. If you notice any buildup, rinse it thoroughly with water to avoid mixing different chemicals.
When selecting the right nozzle, opt for the detergent nozzle. This attachment usually has a wider spray pattern, allowing for an even application of the cleaning solution. If you’ve got adjustable nozzles, set it to the low-pressure mode to ensure the detergent is applied gently, preventing any damage to surfaces.
Add the recommended amount of cleaning solution into the detergent tank. Always refer to the product instructions for dilution ratios and application methods. Over-concentration can lead to ineffective cleaning or even damage, while too little may not yield the desired results.
Connect the suction hose if your model requires it for drawing detergent. Ensure it’s securely attached to prevent leaks. If your unit has a separate detergent port, it’s generally straightforward–just pop it in, ensuring a snug fit.
Before application, it’s wise to test the setup on a small, inconspicuous area. This helps confirm the detergent works well with your unit and the surface being cleaned. After confirming everything is in order, you can proceed with the cleaning process, confident that you’ve prepared everything correctly.
Proper Mixing of Cleaning Agents and Water
Start by reading the manufacturer’s instructions on the detergent bottle. Each product has its own recommended mixing ratio. Typically, a 1:10 ratio is a good starting point, meaning one part detergent to ten parts water.
Tools You’ll Need
Gather a clean bucket for mixing, a measuring cup for accuracy, and a stirring stick. Avoid using old containers that may have residues of other chemicals. This ensures the effectiveness of your cleaner.
Mixing Process
Pour the appropriate amount of water into the bucket first, then slowly add the detergent. This prevents excessive foaming and allows for a more uniform blend. Stir gently until fully mixed. Avoid vigorous stirring, which can create bubbles that may interfere with application.
Once mixed, transfer the solution to the detergent tank of your machine. Ensure the tank is clean and free from any previous solutions. If you’re looking for a reliable machine for snow foaming, check out this pressure washer for snow fosming car forim.
Using the Detergent Tank on Your Karcher Pressure Washer
Fill the tank with the recommended cleaning solution, ensuring you don’t exceed the maximum fill line. I once rushed this step, and the overflow caused a messy situation. It’s crucial to choose a product compatible with your machine for optimal results.
After securing the tank, switch the nozzle to the low-pressure setting. This adjustment is vital for proper application. I recall a day where I neglected this and ended up spraying foam everywhere–except where I intended. It’s all about control.
Stand at a distance of about 2 feet from the surface you’re cleaning. This distance helps distribute the cleaning solution evenly. During one particular cleaning session, I got too close, which led to streaks that took ages to fix.
Activate the trigger to spray the solution in a sweeping motion. Avoid lingering on one spot to prevent any damage. I learned this the hard way while cleaning a deck; it took a while to repair the wood after I focused too long in one area.
Allow the solution to dwell for a few minutes to break down grime effectively. I often set a timer during this step to avoid distractions that could lead to premature rinsing. After dwelling, switch to a high-pressure nozzle to rinse thoroughly, ensuring all residues are removed.
Clean the tank afterwards to prevent any build-up. I’ve encountered clogged nozzles before due to neglecting this part of the process, which can lead to frustrating delays in future projects.
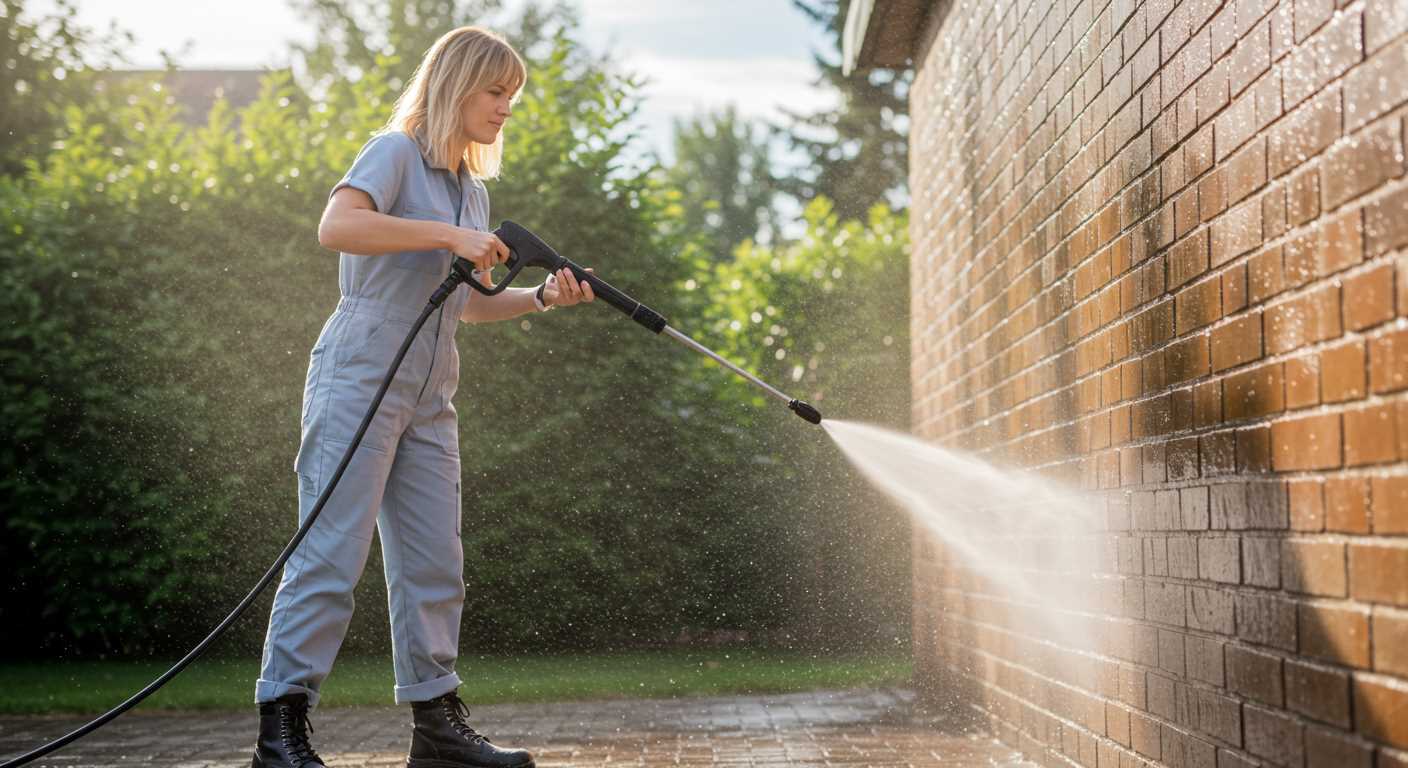
Adjusting the Nozzle for Optimal Detergent Dispersion
Set the nozzle to a wide spray pattern for detergent application. This ensures an even distribution over surfaces, which is crucial for effective cleaning. I recall a time when I tackled a particularly grimy patio; switching to a wider angle made a noticeable difference in coverage.
For stubborn stains, narrow the nozzle to concentrate the solution on specific areas. I’ve found that adjusting the angle can help target tough spots without wasting product. Just remember to test it on a small section first to avoid any potential damage.

When experimenting with nozzle settings, maintain a distance of about 30 cm from the surface. This distance allows the mixture to adhere properly while preventing oversaturation. I made the mistake of getting too close once, resulting in excessive runoff that diluted the cleaning power.
Keep an eye on the foam produced during application. If it’s too watery, adjust the nozzle to enhance pressure and create a more consistent lather. The right foam helps the solution cling to surfaces, improving its effectiveness. I often tweak the nozzle until I see that perfect balance.
Lastly, after adjusting, always rinse the nozzle to avoid clogs. A clean nozzle ensures optimal performance and prolongs the life of the equipment. After a long day of cleaning, I’ve learned that a quick maintenance check goes a long way in maintaining efficiency for future tasks.
Effective Techniques for Applying Cleaning Agents
For optimal results, begin by applying the solution from the bottom up. This prevents streaking and ensures that dirt and grime are effectively lifted away. I often start at a corner and work my way around the area, ensuring even coverage. Watching the cleaner dissolve stubborn stains is always satisfying!
Utilising the Right Pressure Setting
Adjusting the pressure setting is critical. Too high a force can cause the cleaning agent to splatter and miss its target, while too low may not activate the cleaner properly. I usually find that a moderate setting works well, allowing the solution to cling to surfaces without being blown away. Don’t hesitate to experiment a bit to find what works best for your specific task.
Timing is Key
After applying the cleaning mixture, allow it to sit for a short period–usually around five to ten minutes. This dwell time lets the agent penetrate and lift dirt. However, don’t let it dry completely; if it does, it may become harder to rinse off. I’ve had experiences where I underestimated this step, leading to less than satisfactory outcomes. Adjusting my timing made a significant difference in the end results.
Post-Cleaning Tips: Rinsing and Maintaining Your Equipment
After completing your cleaning task, it’s crucial to thoroughly rinse your equipment to prevent any residue build-up. Begin by running clean water through the system for a few minutes. This simple step ensures that any remaining cleaning solution is flushed out, maintaining the longevity of your machine.
Make sure to detach the detergent tank and rinse it separately. If any solution has thickened or dried, it can clog the system or affect future cleaning performance. A soft brush can help remove stubborn residues from the tank.
Regular maintenance checks are key. After rinsing, inspect the nozzles and filters for blockages or wear. Replace any damaged parts immediately to keep your device operating at peak performance. I remember a time when I neglected to replace a worn nozzle; it led to uneven cleaning and wasted effort.
Store your equipment in a cool, dry place. Protect the hoses from kinks and sharp objects that could cause leaks. If possible, hang the hoses to avoid crushing them. This simple act extends their lifespan significantly.
| Maintenance Task | Frequency |
|---|---|
| Rinse after use | Every use |
| Check nozzles and filters | Weekly |
| Store in a dry place | Always |
| Inspect hoses for damage | Monthly |
Lastly, always refer to the manufacturer’s guidelines for specific maintenance tips. If you’re looking for inspiration or guidance, check out resources like a digital camera is an example of a computer peripheral for detailed reviews and advice on keeping your tools in top condition.
.jpg)


