


Begin with the right nozzle; a 25-degree or 40-degree tip is ideal for most surfaces. This choice prevents damage while providing a thorough clean. During my years in the cleaning equipment industry, I often saw how a simple nozzle switch could make a huge difference. One time, a homeowner used a more aggressive nozzle on their vinyl siding, resulting in grooves and damage that required expensive repairs.
Prior to getting started, ensure you prepare the area by covering windows and plants. A small oversight can lead to water intrusion or damage to delicate foliage. I recall a colleague who neglected this step and ended up with water seeping into a basement, creating a significant mess and costly repairs. A little precaution goes a long way.

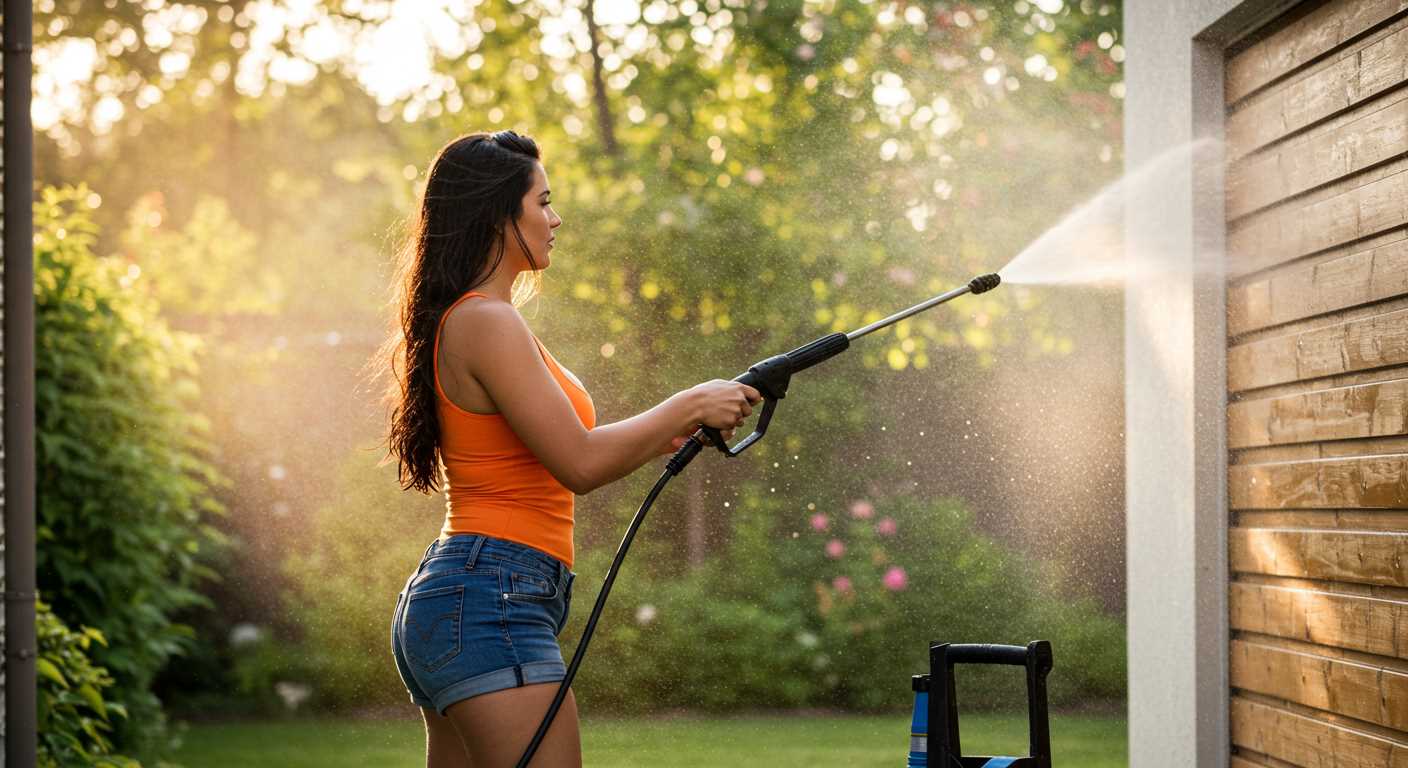
Maintaining a consistent distance of about 12 to 18 inches from the surface is key to achieving an even clean. Too close, and you risk etching or damaging the material; too far, and the dirt remains. I once demonstrated this principle to a group of DIY enthusiasts, and their astonishment at the difference in results was a rewarding moment. Precision matters.
Lastly, take your time with stubborn stains. A combination of a suitable detergent and a dedicated scrubbing brush can work wonders. I often found that a little patience and the right technique led to results that left homeowners thrilled with their freshly revived exteriors. Remember, it’s not just about speed; it’s about achieving a finish you can be proud of.
Selecting the Right Pressure Cleaner for Your Home
For effective exterior cleaning, the choice of equipment plays a significant role. Based on years of testing different models, I recommend opting for a unit with adjustable pressure settings, allowing versatility for various surfaces.
- Electric vs. Gas:
- Electric models are quieter and easier to maintain, suitable for smaller tasks.
- Gas-powered versions deliver higher pressure, ideal for demanding jobs like removing ingrained dirt from driveways.
- Pressure Rating:
- For delicate surfaces like wood or vinyl siding, aim for a range of 1300 to 2000 PSI.
- For tougher materials such as concrete, consider units with 2500 PSI or more.
- Water Flow Rate:
- Measured in gallons per minute (GPM), a higher GPM means quicker cleaning. Look for at least 1.5 GPM for effective results.
- Hose Length:
- A longer hose allows greater mobility without needing to move the unit constantly. Aim for at least 25 feet.
- Nozzle Options:
- Interchangeable nozzles provide flexibility for different tasks. A rotating nozzle can be particularly effective for stubborn grime.
In my experience, investing in a reliable brand pays off in the long run. Brands that offer good warranties and customer support tend to have better durability. Before purchasing, always check user reviews for insights on performance.
Lastly, ensure you’re comfortable with the setup and operation of the equipment you choose. Familiarity with the controls can significantly enhance your cleaning experience and efficiency.
Preparing the Area Before Cleaning
Clear the vicinity of any furniture, planters, or decorative items. This prevents damage and ensures a smooth process. I once overlooked a garden gnome, and let me tell you, that little guy didn’t take kindly to a sudden blast of water!
Protect Surrounding Plants
Cover nearby plants with plastic sheeting or old towels. High-velocity water can harm delicate foliage. In one instance, I forgot to shield a flower bed; the results were less than favourable, with several blooms suffering. A simple precaution saved me that headache.
Check for Electrical Outlets and Fixtures
Inspect any electrical outlets or fixtures on the exterior. Ensure they’re secured and covered with waterproof sheeting. I once encountered a situation where an uncovered outlet caused a short circuit, leading to unnecessary repairs. Safety first–better to be cautious than sorry!
Lastly, remove any debris from gutters or eavestroughs before starting. Clogged areas can lead to overflow and unintended mess. I’ve learned the hard way that a little prep can save a lot of time and frustration during the cleaning process.
Choosing the Correct Nozzle for Different Surfaces
When tackling various surfaces, selecting the right nozzle is critical for achieving optimal results. I’ve experienced firsthand how the wrong nozzle can lead to damage or inefficient cleaning. Here’s a breakdown of nozzle types and their ideal applications.
| Nozzle Type | Angle | Best For |
|---|---|---|
| 0° | Red | Stubborn stains on concrete and greasy surfaces |
| 15° | Yellow | Heavy-duty tasks like removing paint or mildew |
| 25° | Green | General cleaning of decks, patios, and driveways |
| 40° | White | Delicate surfaces like wood and cars |
| Soap | Black | Applying cleaning solutions |
During a recent project on my own deck, I opted for the green nozzle for general cleaning. The results were impressive, efficiently removing dirt without damaging the wood. I later switched to the soap nozzle to apply a cleaner, which worked wonders in conjunction with the cleaning power of the equipment.
For surfaces like fences, a pressure washer for decks and fences can significantly enhance the maintenance process. Using a 25° or 40° nozzle ensures that wood remains intact while still achieving a thorough clean.
Always remember to test the nozzle on a small, inconspicuous area before diving into larger tasks, especially with softer materials. Each surface has unique requirements, and a little caution can save you from costly mistakes.
How to Safely Connect and Operate the Pressure Washer
Before connecting your cleaning device, ensure the area is free of debris and potential hazards. Always start with a thorough inspection of the equipment. Check hoses for any signs of wear or damage. A frayed hose can compromise safety and performance.
Securely attach the hose to the machine and ensure all connections are tight to avoid leaks. If your model has a water inlet filter, clean it before use to prevent clogging. Next, connect the water supply to the device, making sure it’s turned off before doing so. Turn on the water supply and check for leaks around the connections.
When powering on the unit, stand firmly and keep a safe distance from the nozzle. It’s wise to test the unit on a small, inconspicuous area before tackling larger surfaces. This allows you to gauge pressure and adjust settings accordingly. If using detergent, refer to the manufacturer’s guidelines for mixing ratios. For instance, using the best car wash soap for pressure washers can enhance your results without damaging surfaces.
Always maintain a firm grip on the handle while operating, and avoid pointing the nozzle at yourself or others. Pay attention to your surroundings, and take care to avoid electrical outlets and wiring. Keep children and pets at a safe distance to prevent accidents.
After completing your task, turn off the machine, disconnect the water supply, and release any remaining pressure by squeezing the trigger. This practice not only prolongs the lifespan of the equipment but also ensures safety during storage.
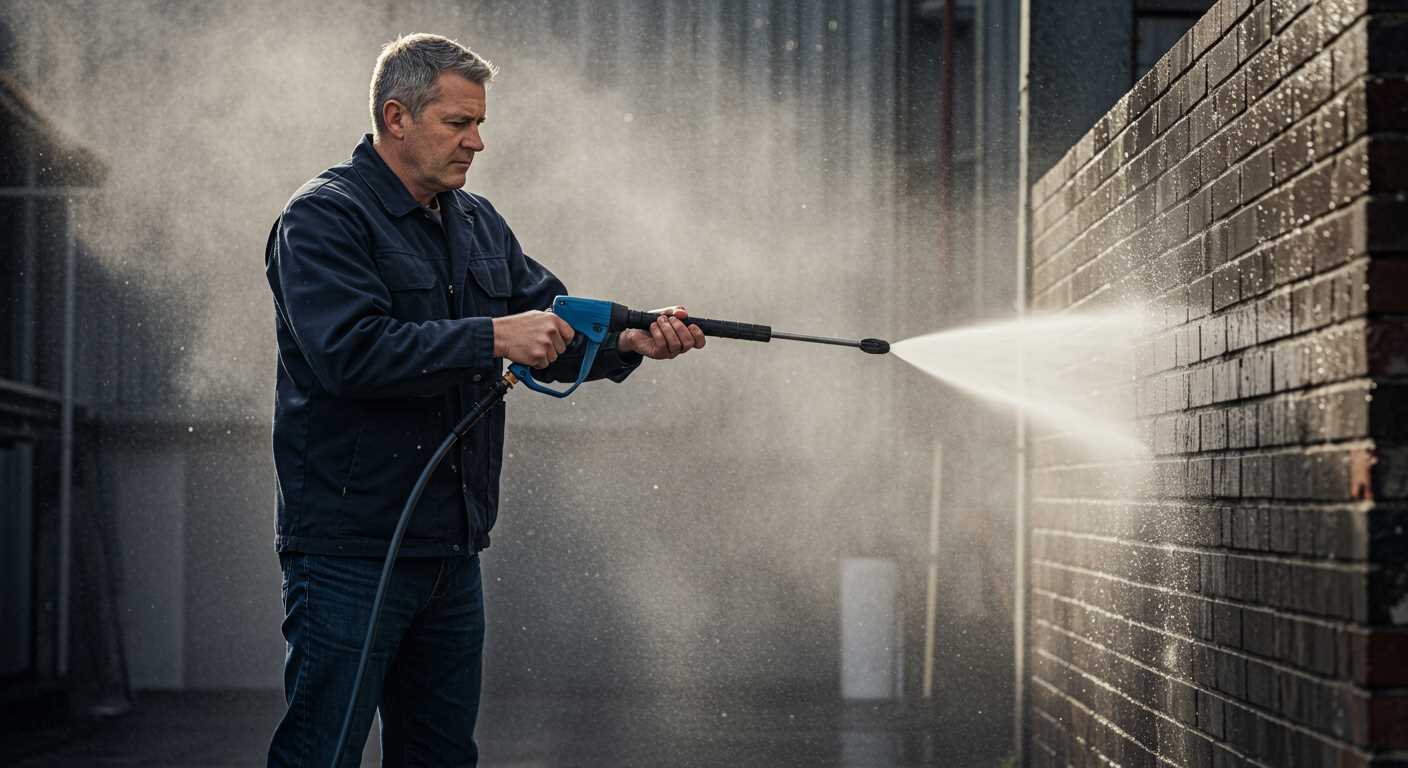
Techniques for Washing Walls and Siding
For optimal results, approach vertical surfaces with a steady, sweeping motion. Begin at the top and work your way down to prevent streaks and ensure that dirt runs off rather than pooling. Maintain a distance of around 30 to 36 inches from the surface, gradually adjusting based on the material and level of grime.
Adjusting Angles and Patterns
Vary your angle for different finishes. For textured siding, tilt the nozzle slightly to allow water to penetrate the crevices effectively. On flat surfaces, a more perpendicular angle works best. Use overlapping strokes to ensure comprehensive coverage; this avoids missed spots and promotes uniform cleaning. Keep the nozzle moving to prevent damage from concentrated force on one area.
Dealing with Stubborn Stains
For persistent stains, pre-treat areas with a suitable cleaner before rinsing. Apply the solution with a low-pressure setting and allow it to sit briefly. Afterward, switch to a higher pressure to eliminate any remaining residue. Always test any cleaning solution on a small, inconspicuous area first to avoid adverse reactions with the surface.
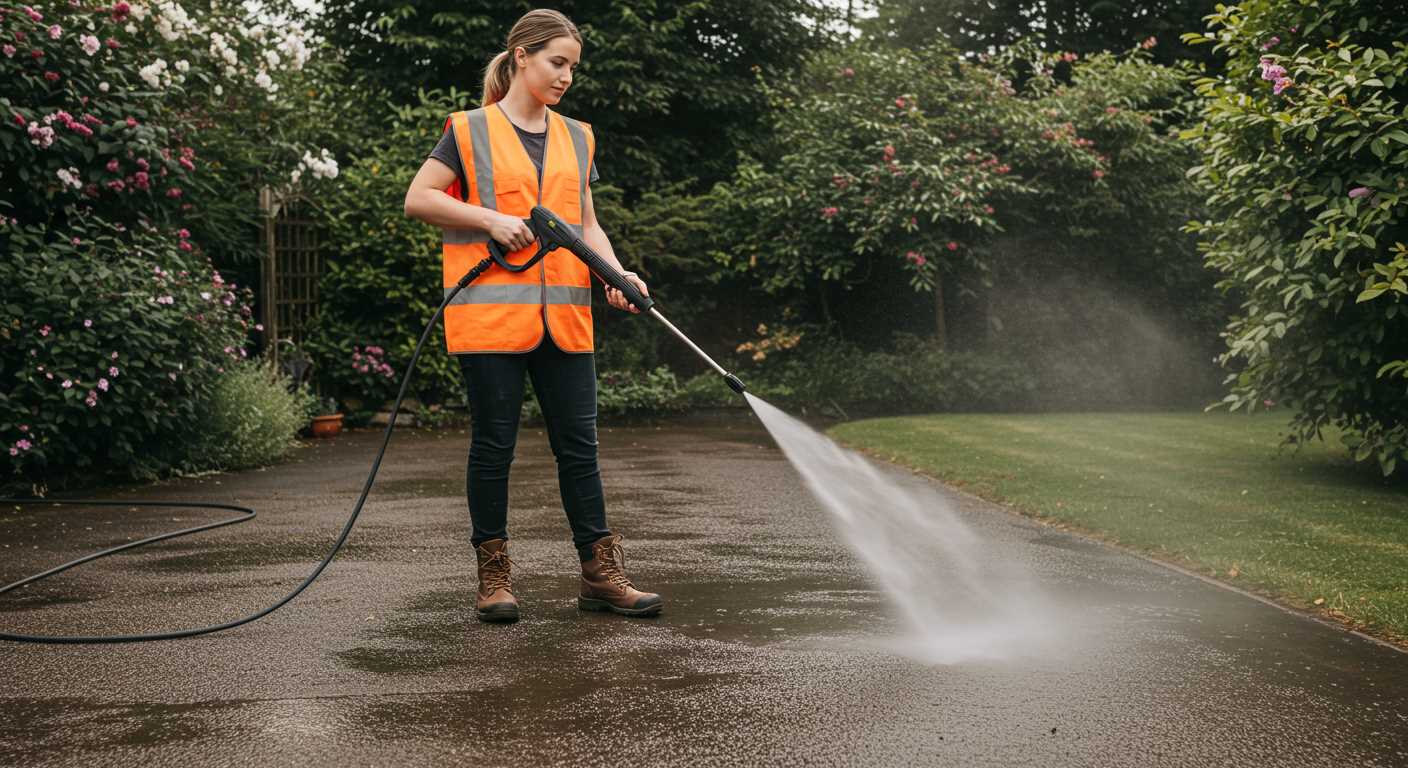
Cleaning driveways and pathways with precision
Begin with a clear assessment of the surfaces. Concrete and brick require different approaches. For concrete, I typically choose a high-pressure setting, while for more delicate brick pathways, a lower setting is advisable to avoid damage.
Before starting, ensure loose debris is swept away. I’ve found that gravel or dirt can lead to unwanted stains or scratches during the cleaning process. After clearing the area, applying a suitable detergent can enhance the cleaning outcome, especially for oil stains.
Position the nozzle about 12 to 18 inches from the surface. This distance helps avoid etching while still delivering effective cleaning. My experience shows that moving in a consistent, sweeping motion yields the best results. Avoid concentrating on one spot for too long; this can create uneven surfaces or damage.
For stubborn stains, a second pass may be necessary. I often allow the detergent to sit for a few minutes before rinsing, as this can break down grime more effectively. After thorough rinsing, inspect the area for any missed spots to ensure a uniform finish.
Don’t overlook safety. Always wear protective eyewear and non-slip shoes. I’ve had my share of close calls, and those precautions can make a significant difference in keeping accidents at bay.
In my experience, maintaining a steady pace while cleaning ensures that no area is overlooked. If you find yourself struggling with tough stains, consider using a dedicated surface cleaner attachment, which can make the task easier and more efficient.
Finally, after completing the task, take a moment to admire your work. A clean driveway or pathway not only enhances the property’s appearance but also extends the life of the surfaces. It’s rewarding to see the transformation unfold right before your eyes.
Taking Care of Windows and Delicate Fixtures
When tackling windows and delicate fixtures, a gentle approach is key. I recommend starting with a low-pressure setting, ideally around 1200 PSI. This helps prevent damage to glass surfaces and intricate details on fixtures. You can adjust the machine settings to find the sweet spot that cleans effectively without risking breakage.
Preparation Steps
Before getting started, ensure that all nearby breakable items are moved out of the way. Close windows tightly to prevent water intrusion. It’s also wise to cover any window frames or seals with plastic sheeting to protect against excess moisture. I once neglected this step and regretted it when water seeped into the frame, causing issues later.

Cleaning Technique
Utilise a fan spray nozzle to distribute the water evenly. Stand at least 2-3 feet away from the surface to avoid direct impact. Start from the top of the window and work your way down, allowing dirt and grime to flow away from the glass. For particularly stubborn spots, a dedicated cleaning solution can be applied beforehand. I’ve found that a mix of dish soap and water works wonders on greasy fingerprints.
| Surface Type | Recommended Nozzle | Pressure Setting (PSI) |
|---|---|---|
| Windows | Fan Spray | 1200 |
| Delicate Fixtures | Fan Spray | 1200 |
| Screen Mesh | Low-Pressure Nozzle | 1000 |
After cleaning, check for any missed spots and touch them up if necessary. Always finish by rinsing the area with clean water to remove any soap residue. This approach has saved me from streaks and has kept my windows sparkling clear.
Post-washing maintenance and care for your pressure cleaner
After completing a thorough cleaning session, it’s crucial to maintain your equipment to ensure its longevity and optimal performance. Here’s what I’ve learned over the years.
Flush the System
- Disconnect the water supply and start the machine for about 30 seconds. This will expel any remaining water and detergent.
- Use clean water to flush the detergent tank and any connected hoses. This helps prevent residue build-up.
Inspect and Clean Components
- Examine the nozzle for clogs. If you notice any blockages, clear them with a needle or a small wire.
- Check the hose for kinks or damage. Any issues should be addressed immediately to avoid leaks during future use.
- Wipe down the exterior of the unit and check for any signs of wear or damage.
Storage Tips
- Store the device in a dry location, away from direct sunlight. Extreme temperatures can damage components.
- Keep the unit upright to prevent any residual water from leaking into electrical components.
- Coil the hose properly to avoid kinks and tangles, which can compromise its integrity.
From my experience, neglecting these steps can lead to costly repairs or replacements. Regular maintenance not only extends the life of your equipment but also ensures it operates at peak performance whenever you need it.
Common mistakes to avoid while pressure washing
One of the biggest blunders I’ve seen is neglecting to test the equipment on a small, inconspicuous area first. This step can save you from damaging surfaces or ruining the aesthetics of your property. Always do a patch test before fully committing.
Another frequent error is using the wrong nozzle. It’s tempting to grab the most powerful option, but different surfaces require different attachments. For instance, a narrow spray can strip paint or etch wood, while a wide spray may not clean effectively. Always match the nozzle to the task at hand.
Overzealous cleaning can lead to unintentional damage. Applying too much pressure on delicate areas, like wood siding or older bricks, can cause deterioration. I remember a time when I had to replace a whole section of siding because I misjudged the pressure needed. Maintain a safe distance and adjust settings as necessary.
- Skipping safety gear is a common oversight. Eye protection, gloves, and sturdy footwear are vital. I once got a small stone in my eye because I wasn’t wearing goggles. Trust me; it’s not worth the risk.
- Failing to prep the area can result in a messy job. Remove furniture, plants, and obstructions beforehand. I’ve seen patio furniture get drenched, and it takes ages to clean up afterwards.
- Ignoring weather conditions can lead to subpar results. Avoid washing when it’s windy or if rain is expected shortly after. I once had to redo an entire driveway because the rain washed away all my hard work!
Lastly, neglecting to maintain the equipment can cause issues down the line. Clean filters and check hoses regularly to ensure everything runs smoothly. A friend of mine had a frustrating day because of a clogged filter that halted his work midway. Regular maintenance saves time and headaches.
.jpg)


