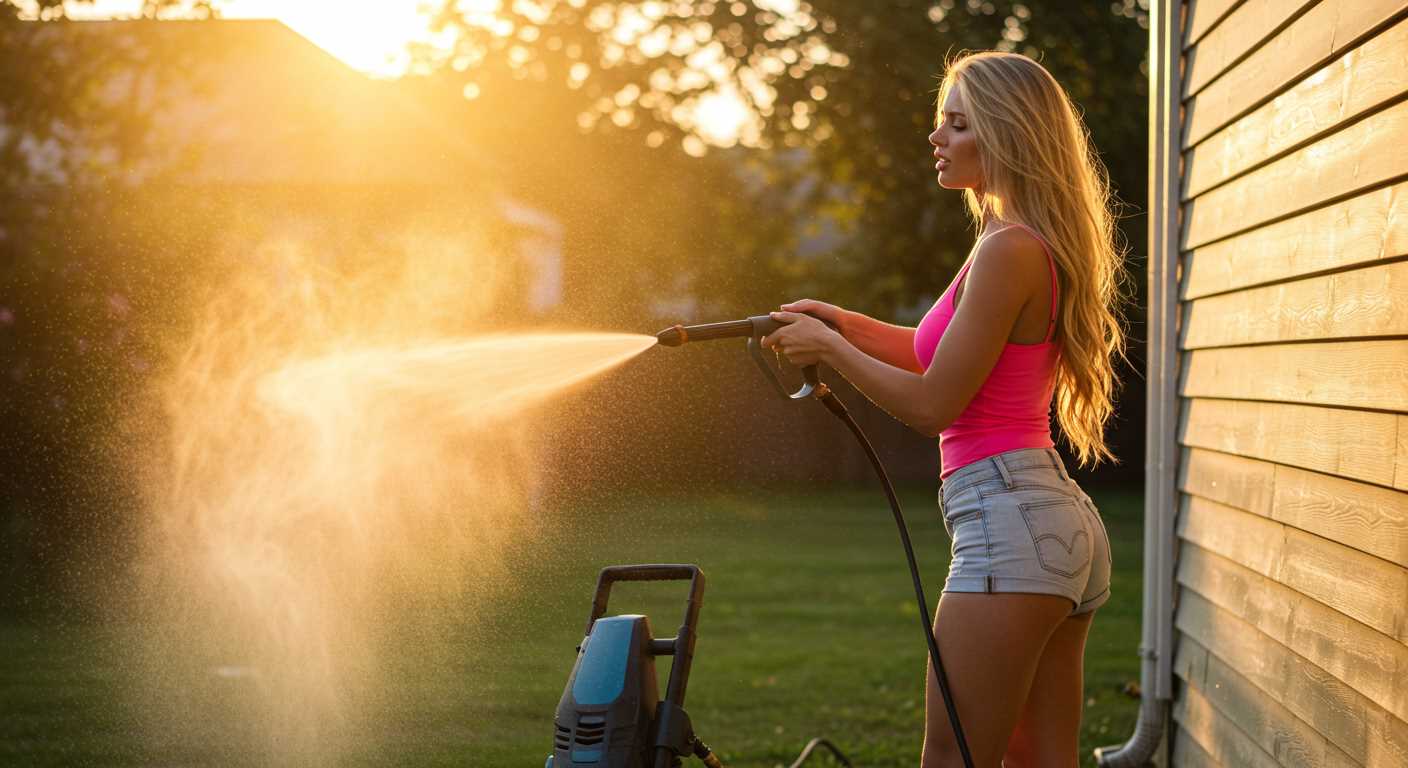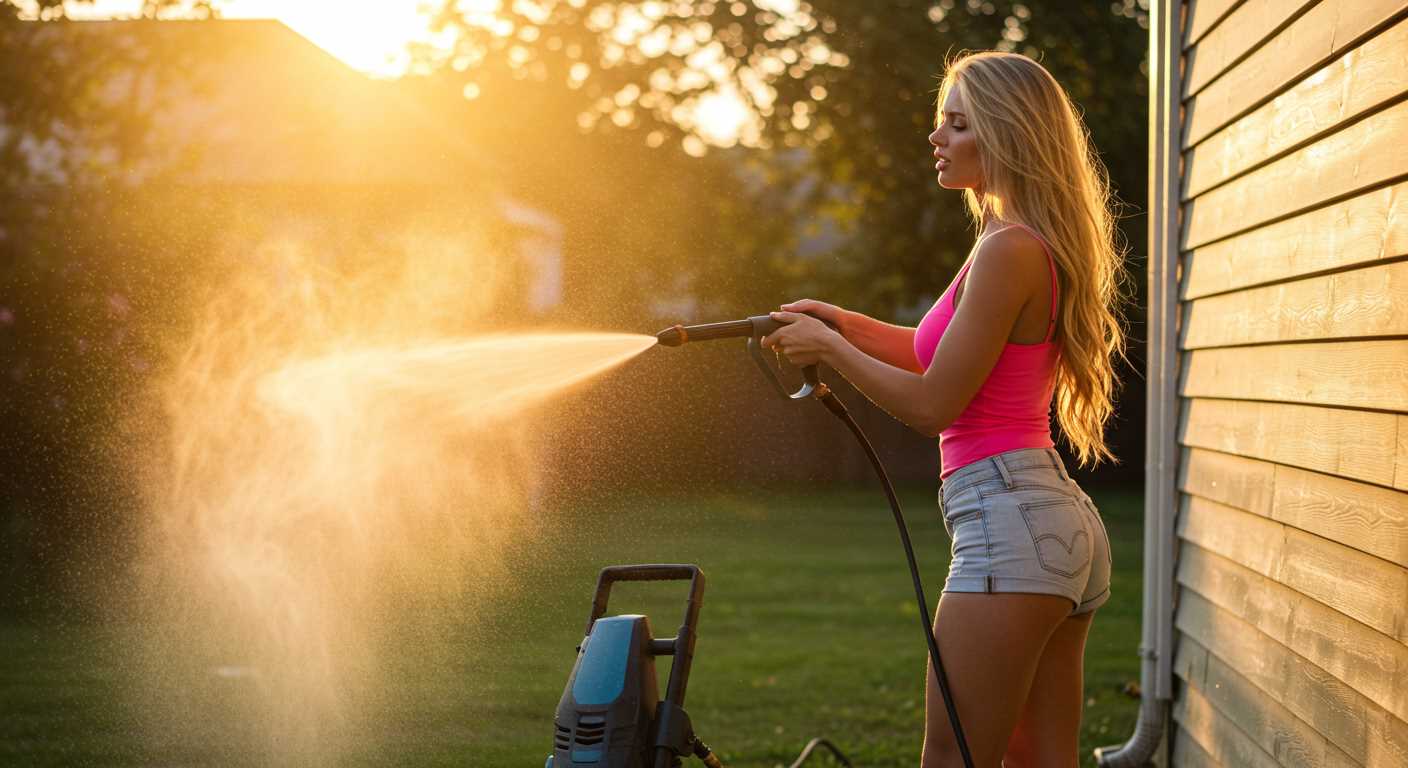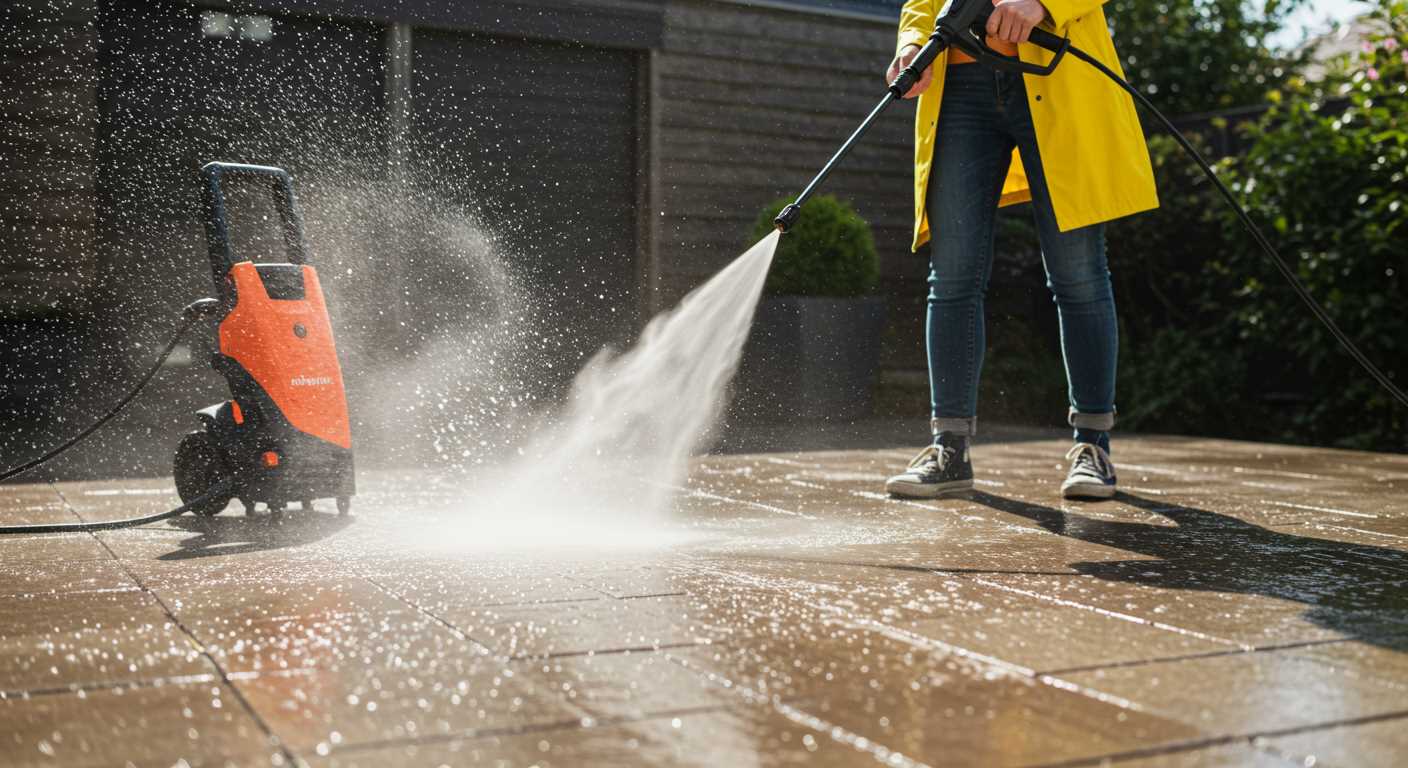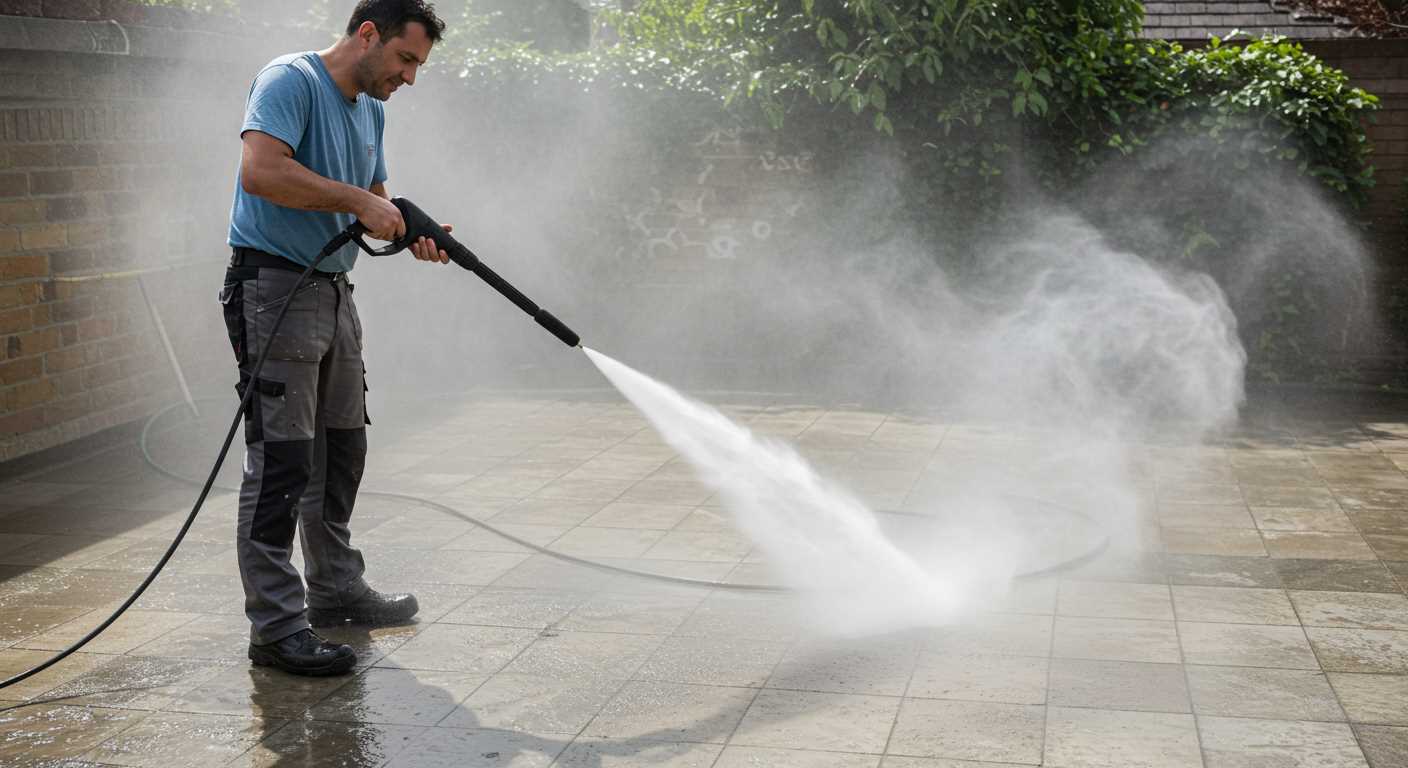


Before you even think about starting the equipment, make sure to wear appropriate protective gear. A sturdy pair of safety goggles and gloves can save you from unexpected injuries. I recall a time when I neglected this simple step and ended up with a painful splash in my eye. It was a hard lesson learned, and now I always suit up before tackling any cleaning task.
Inspect the apparatus thoroughly before each session. Look for any signs of wear or damage, particularly in hoses and connections. On one occasion, I overlooked a small crack in the hose, which led to an unexpected burst of water. Not only did I get drenched, but I also had to deal with a minor safety hazard. Taking a few moments to check your gear can prevent accidents and save you from unnecessary frustration.
Maintain a firm grip on the handle and keep the nozzle pointed away from yourself and others. A high-pressure stream can cause severe injuries if misdirected. I remember a colleague who got a bit too comfortable and accidentally aimed it at his foot. The result? A trip to the hospital. Stay alert and keep your focus on the task at hand, and you’ll avoid mishaps.
Be mindful of your surroundings. Clear the area of obstacles, pets, and children before you begin. I once had to halt a session because a curious dog wandered too close. It’s better to take a moment to ensure a safe environment than to deal with the consequences of an accident.
Finally, always follow the manufacturer’s guidelines. Each model has specific instructions that can vary significantly. I learned this the hard way when I used the wrong detergent, which not only damaged the unit but also left a mess that took hours to clean. Reading the manual can save you time and trouble in the long run.
Understanding the Components of a High-Pressure Cleaning Device
Familiarity with the parts of a high-pressure cleaning device is key to effective operation and maintenance. The heart of the unit is the motor or engine, which can be electric or gas-powered. Each has its own benefits; electric models are quieter and require less maintenance, while gas models typically offer more power for tougher jobs.
Pump Mechanics
The pump is where the magic happens. It takes in water and forces it out at a much higher pressure. There are two common types: axial cam pumps and triplex pumps. Axial cam pumps are generally more user-friendly and suitable for light to medium tasks, whereas triplex pumps are built for heavy-duty work and provide a longer lifespan. I remember testing both types on various surfaces; the triplex pump consistently delivered superior performance on stubborn grime.
Accessories and Attachments
Attachments can greatly enhance functionality. Nozzles vary in spray pattern and pressure; a narrow jet is excellent for deep cleaning, while a wider spray is ideal for rinsing. Additionally, surface cleaners are perfect for large areas, reducing cleaning time significantly. I once used a surface cleaner on a driveway, and it cut my cleaning time in half compared to using a standard nozzle. Always consider the task at hand when selecting the right attachments.
Selecting the Right Equipment for Your Task
For optimal results, match the cleaning device to your specific project. High-pressure tools vary in power and application, so knowing the right specs is key. For light-duty tasks like washing cars or patio furniture, look for models with a rating of around 1300 to 1900 PSI. This range is gentle enough for delicate surfaces yet effective for basic cleaning.
Medium-duty tasks, such as cleaning driveways or decks, require more muscle. A rating between 2000 and 2800 PSI is ideal. This level of force will tackle stubborn dirt without damaging surfaces. I remember using a medium-duty unit to restore my wooden deck; it stripped away years of grime effortlessly.
For heavy-duty jobs, such as paint removal or cleaning large commercial areas, opt for devices with ratings above 2900 PSI. These units provide the power needed to handle tough stains, but caution is necessary to avoid damaging softer materials. I once used a high-powered model on a brick wall; it worked wonders but left some bricks chipped due to excessive pressure.
Consider the flow rate as well, measured in gallons per minute (GPM). A higher GPM means more water is expelled, aiding in quicker cleaning. For most home projects, a flow rate of 1.5 to 2.5 GPM is sufficient.
Electric models are quieter and lighter, perfect for smaller tasks, while gas-powered variants offer more power and mobility for larger jobs. My first experience with a gas model was eye-opening; the power was impressive, but I had to carry more weight and manage fuel refills, which can be a hassle.
Lastly, don’t overlook accessories. Different nozzles, surface cleaners, and extension wands can enhance performance and versatility. Investing in the right attachments can simplify tasks significantly. I always keep a rotating surface cleaner handy for large flat surfaces; it saves time and provides even results.
Wearing Appropriate Personal Protective Equipment
Always don protective eyewear. The force of the water can dislodge debris, and one small piece hitting your eye can lead to serious injury. I once saw a colleague neglect this and ended up with a small rock in his eye–quite the painful lesson.
Footwear is equally important. Opt for non-slip, waterproof boots with good ankle support. I recall a day when I was caught on a slick surface without proper shoes; it was a close call, and I nearly lost my balance. Secure footing cannot be overstated.
Long sleeves and trousers should be your go-to attire. Not only do they protect your skin from water blasts, but they also shield against potential chemicals used in conjunction with high-pressure equipment. I learned the hard way that bare arms can take quite a beating from a stray spray.
Gloves are another must-have. Choose heavy-duty, waterproof gloves to guard against the cold and any cleaning solutions you might apply. I once had a pair of lightweight gloves, and after a short session, my hands felt raw and chilled; proper gloves make all the difference.
Consider ear protection if you’re working with a particularly loud machine. Prolonged exposure to high noise levels can lead to hearing damage. I’ve spent days without ear protection and left with a ringing in my ears–a reminder that some sounds are best muffled.
Lastly, don’t overlook a face shield, especially when using attachments that create more spray or when working at awkward angles. I’ve had instances where the spray caught me off guard, and having that extra layer of defence can prevent unfortunate accidents.
Preparing the Area Before Cleaning
Before you tackle any cleaning task, ensuring your environment is ready is crucial. This step not only protects your surroundings but also enhances the effectiveness of the equipment. Here’s what I recommend based on years of experience.
Clear the Space
- Remove furniture, decorations, and any items that may obstruct the cleaning area.
- Relocate potted plants, garden tools, and outdoor furniture to avoid damage.
- Cover delicate plants with tarps or plastic sheets to shield them from high-pressure streams.
Check for Hazards
- Inspect the area for loose electrical wires, cords, or outlets that could pose a risk.
- Look for any fragile items that might break under pressure, such as glass or thin plastic.
- Ensure pets and children are kept at a safe distance to prevent accidents.
Once the area is cleared and inspected, it’s time to think about surface protection. If you’re working on a wooden deck or a painted surface, consider using a lower setting to avoid damage. When I first started, I learned this lesson the hard way. A friend’s lovely deck suffered scratches because the wrong nozzle was used without proper preparation.
Lastly, ensure you have a clear drainage path for the dirty water. Setting up a sloped surface or using a wet vacuum can make cleanup much easier. After all, nobody enjoys a soggy yard or a muddy pathway. And if you’re curious about the benefits of switching to modern equipment, you might also find this article on are digital cameras better than film cameras intriguing as it discusses the advantages of newer technology.
Setting the Correct Pressure and Nozzle for the Job
Adjusting the force and selecting the right attachment can make or break your cleaning project. For delicate surfaces, like car paint or wood, I recommend using a lower setting, typically between 1000 to 1500 PSI. This range protects the material while still removing grime effectively. When tackling tough stains on concrete or brick, ramping up to 2500 to 3000 PSI is appropriate.
In my experience, the nozzle selection is just as vital as the PSI. A zero-degree nozzle delivers a concentrated stream, perfect for stubborn stains but can easily damage softer materials. I prefer the 15-degree for heavy-duty tasks and the 25-degree for general cleaning. For washing vehicles, the 40-degree nozzle is best as it disperses water wide enough to avoid damage but still provides adequate cleaning power.
Always test a small, inconspicuous area first, regardless of the surface. I once had a client who didn’t heed this advice and ended up with paint damage on their outdoor furniture. They learned the hard way that adjusting both the pressure and nozzle can save a lot of headaches.
Remember that using the wrong combination can lead to inefficient cleaning or even irreversible damage. It’s worth taking a moment to adjust the settings properly before starting your project. This attention to detail will yield better results and extend the life of your equipment and the surfaces you’re cleaning.
Maintaining a Safe Distance from Surfaces
Keep at least 2 to 3 feet between the nozzle and the surface being cleaned. This distance helps prevent damage to delicate materials and ensures an even clean. When I first started with this equipment, I was eager to see results and got too close to a wooden deck. The high force stripped the wood and left it rough. A simple adjustment in distance could have saved me that headache.
For tougher surfaces like concrete, you might get away with being a bit closer, around 1 foot, but always assess the condition first. If there are any cracks or loose pieces, maintain a greater distance. For example, while cleaning my driveway, I noticed that being too close caused some of the concrete to flake away. Learning to gauge the right distance was a game changer.
Also, consider the angle of the spray. Aiming the nozzle straight at a surface increases the intensity, while a 45-degree angle diffuses the force and allows for better cleaning without causing damage. I had a similar experience when I adjusted the angle while cleaning my car; it not only cleaned better but also preserved the paint job.
Lastly, if you’re equipped with a pressure washer with foam cannon, it’s even more crucial to maintain distance. The foam needs time to break down dirt effectively, and being too close can wash it away too quickly, resulting in less effective cleaning.
Avoiding Electrical Hazards While Using a Pressure Cleaning Device
Always inspect the power source before connecting your machine. Ensure that the electrical outlet is dry and free of any visible damage. I recall a time when I overlooked this step and faced a nasty shock. Trust me, it’s a lesson you don’t want to learn the hard way.
Ground Fault Circuit Interrupter (GFCI)
Utilising a GFCI is non-negotiable. This device cuts off power instantly if it detects an imbalance, significantly reducing the risk of electric shock. I’ve seen too many accidents that could have been avoided simply by using one. Make sure your outlet has a GFCI or use a portable one if necessary.
Extension Cords and Connections
- Choose heavy-duty extension cords rated for outdoor use.
- Avoid running cords through water or puddles.
- Keep connections elevated and away from moisture.
During a job last summer, I witnessed someone using a lightweight cord in wet conditions. It was a dangerous combination. Always ensure that the cords are intact, without frays or cuts, and remember that using a damaged cord is a recipe for disaster.
Keep the unit at least a few feet away from any electrical sources, such as outlets, wiring, and overhead power lines. Plan your work area to avoid accidental contact. The last thing you want is an unexpected jolt because you got too close to a power line.
Finally, always wear rubber-soled shoes and avoid working in wet conditions. I’ve seen people slip and fall due to water pooling, leading to dangerous situations. Stay grounded, both in your stance and with your equipment.
Knowing how to handle gas-powered machines
Always start by checking the oil level and fuel quality before firing up a gas-powered unit. I once overlooked this step and ended up with a machine that sputtered and stalled halfway through a task. Use fresh fuel and a suitable oil type as specified in the manufacturer’s manual. This simple act can save you time and frustration.
Starting the engine
Engaging the choke correctly is key. I recall a time when I neglected this, and the engine wouldn’t start. Set the choke to the ‘closed’ position for a cold start, then switch it to ‘open’ once the engine is running smoothly. Always follow the starting sequence outlined in the manual, as it ensures optimal performance and longevity.
Handling and manoeuvring
Maintain a firm grip on the handles at all times. When I first started using these machines, I was surprised by the recoil when the engine started. That initial jolt can catch you off guard. Keep your feet planted and your stance stable to avoid being pulled or losing balance. Never point the nozzle at yourself or others, as the force can cause serious injuries.
After each session, remember to allow the engine to cool before storing it away. I learned this the hard way when I returned to a machine that had developed issues due to improper cooling. Regular maintenance ensures your equipment remains in peak condition, ready for the next job.
Cleaning up and storing your pressure cleaning equipment properly
After finishing a job, the first step is to disconnect the unit from the power source. For electric models, unplug the cord from the outlet. For gas models, turn off the fuel supply and allow the engine to cool down for a few minutes.
Next, make sure to clear any debris or dirt from the body of the unit, including the nozzle and wand. This helps prevent clogs and preserves the components. I recommend using a damp cloth for this task; it’s quick and effective.
Flushing the system
Before storing, it’s wise to flush the system with clean water. Connect a garden hose to the inlet and run the machine briefly without the spray nozzle attached. This helps clear any residual soap or dirt from the internals, extending the lifespan of the equipment. Always check the manufacturer’s instructions for specific flushing guidelines.
Proper storage techniques
For long-term storage, ensure that the fuel tank is empty in gas models to prevent stale fuel buildup. It’s a good idea to run the engine until it stalls to ensure all fuel is used up. For electric models, store the unit in a dry place, away from extreme temperatures. Avoid leaving it outside; moisture can cause significant damage over time.
Organise your accessories by keeping the nozzles, hoses, and wands together in a designated storage area. This prevents loss and damage. I often use a labelled container for easy access next time.
| Task | Detail |
|---|---|
| Disconnect power | Unplug or turn off fuel supply |
| Clean exterior | Wipe down with a damp cloth |
| Flush system | Run clean water through the unit |
| Store fuel | Empty tank in gas models |
| Store accessories | Keep nozzles and hoses in a labelled container |
Finally, always refer to the user manual for specific recommendations tailored to your model. Proper cleaning and storage can greatly enhance performance and longevity, ensuring it’s ready for your next task.


.jpg)


