


For anyone seeking to streamline their outdoor cleaning tasks, equipping your high-pressure unit with a surface cleaning attachment is a game changer. I remember the first time I integrated one into my routine; the transformation in efficiency was astounding. Instead of struggling with a standard nozzle, this attachment allowed me to cover large areas quickly, cutting down my cleaning time significantly.
Begin by ensuring the right connection between the cleaner and your machine. This might seem trivial, but a secure fit is crucial for optimal performance. I once encountered a frustrating situation where a loose connection led to uneven cleaning results. Tighten the fittings, and you’re on your way to achieving a flawless finish.
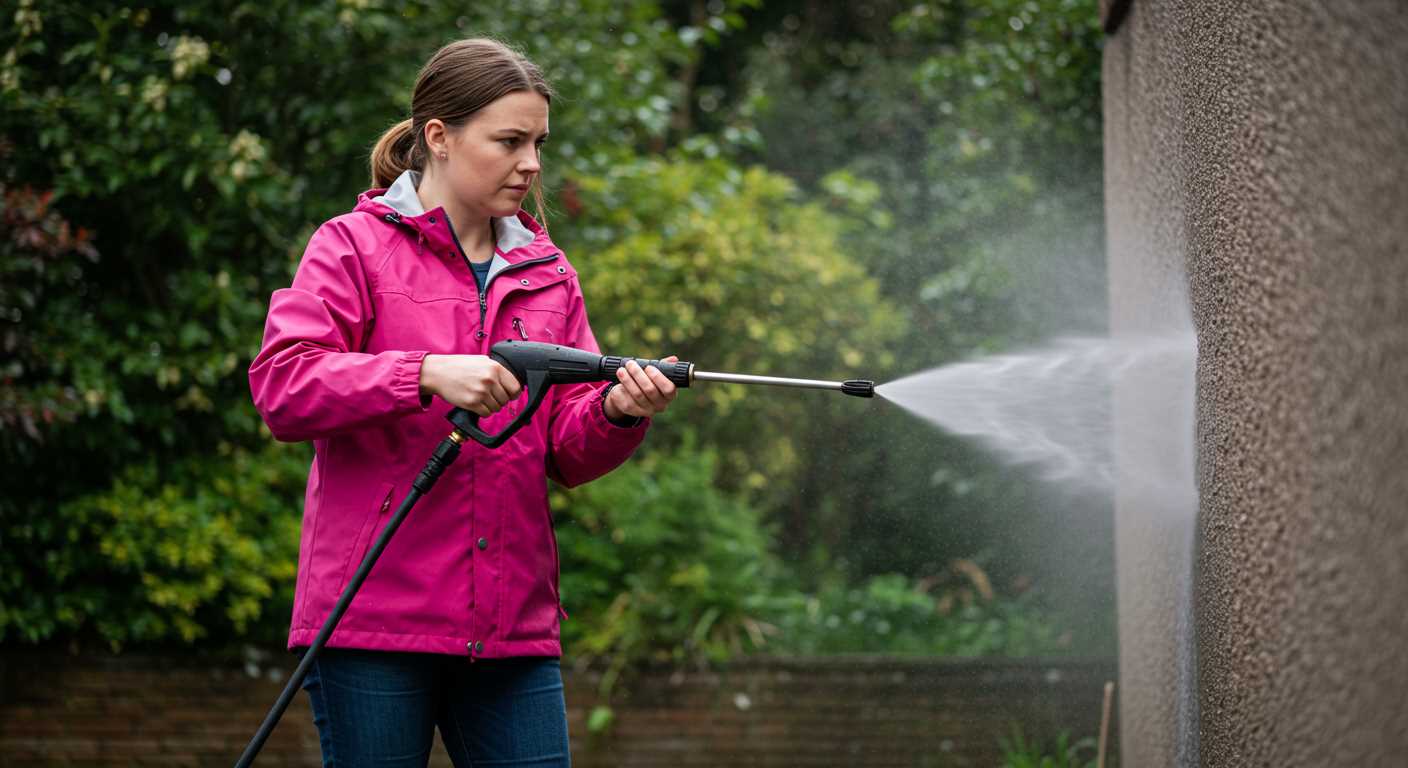
After setting up, choose the appropriate speed setting for your task. Not all surfaces require the same intensity. For instance, while cleaning a driveway, I found that a higher setting was effective, but for delicate surfaces like patios, a gentler approach worked wonders. Adjusting the pressure not only protects the material but also enhances the overall outcome.
Make sure to maintain a steady pace as you glide the cleaner across surfaces. I used to rush through, thinking speed was key, but I’ve learned that a consistent, controlled motion yields the best results. This technique allows the rotating jets to do their job, removing grime and stains with ease.
Finally, don’t overlook the importance of pre-cleaning preparations. Removing loose debris and applying a suitable pre-treatment can significantly enhance the effectiveness of your efforts. Trust me, taking a few extra moments for preparation can save a lot of time and frustration later on.
Selecting the Right Surface Cleaner for Your Pressure Washer
Choose a cleaner that matches your equipment’s pressure output. For example, if your machine operates at 2000 PSI, look for a model rated for at least that level. Using a cleaner designed for lower pressures may lead to inadequate results.
Consider the size of the cleaning head. A wider head covers more area, reducing the time needed for larger surfaces. However, smaller heads are more manoeuvrable for tight spots. Balance your needs for speed and precision.
The material of the cleaning attachment is crucial. Stainless steel options resist corrosion and are more durable than plastic alternatives, especially for outdoor use. I once had a plastic cleaner crack after a few months of use, which taught me the importance of investing in quality materials.
Check the compatibility of the attachment with your existing equipment. Some models require specific connectors or adapters. I’ve learned the hard way that mismatches can lead to leaks or poor performance.
Evaluate the nozzle types available. Nozzles can vary in angle and size, affecting the flow and spread of the water. A rotating nozzle can enhance cleaning efficiency, allowing you to tackle stubborn grime without excessive effort.
Lastly, read reviews or seek recommendations. I rely on feedback from other users to guide my choices, as real-world experiences often reveal insights that specifications alone do not. In my experience, a well-reviewed cleaner can significantly improve your results.
Preparing the Surface for Cleaning
Begin by clearing the area of furniture, planters, and any other obstacles. This ensures that you have a safe and unobstructed space to work in. I recall a time when I forgot to move a potted plant, and the water spray knocked it over, creating more mess than I had anticipated.
Next, inspect the surface for any loose debris or stains that may require pre-treatment. For example, oil spots on the driveway can be stubborn. Applying a degreaser beforehand can make a significant difference. I often keep a bottle handy for such instances.
Assessing Damage and Repairs
Check for cracks, loose tiles, or other damage. If you’re cleaning a patio or deck, ensure there are no loose boards that could become a safety hazard. I once had a board snap underfoot while cleaning, which was an unpleasant surprise. It’s better to fix these issues before you start.
Protecting Surroundings
Cover nearby plants and delicate surfaces with tarps or plastic sheeting. I learned this the hard way after inadvertently blasting some flower beds. Using a little extra care can prevent water and detergent from harming your garden. Also, consider applying a protective coating to surfaces after cleaning to maintain their condition longer.
Connecting the Surface Cleaner to Your Pressure Washer
Start with the quick-connect adapter on the surface cleaner. Ensure it matches the nozzle size of your machine. If you’re unsure, consult the manufacturer’s specifications for compatibility. A proper fit ensures optimal performance and prevents leaks during operation.
Next, take the high-pressure hose and attach one end to the outlet of your unit. The other end connects directly to the surface cleaner. Make sure the connection is tight–any slack can lead to a loss of pressure and subpar results.
Once connected, check all joints for any signs of wear or damage. Replace any worn parts before proceeding. A simple inspection can save you from interruptions while cleaning.
After securing the hose, it’s time to adjust the pressure setting on your machine. Different surfaces require varying levels of force. For instance, concrete can handle higher pressure, while more delicate materials need a gentler touch. Refer to your cleaner’s manual for the recommended settings for your specific attachment.
Before you begin, turn on the water supply to eliminate air in the hose. Then, switch on your equipment. Allow it to build pressure before engaging the surface cleaner. This step ensures a steady stream of water when you start cleaning.
Once everything is set, you’re ready to begin. Take a moment to familiarise yourself with the controls for ease of operation. Keeping a steady grip on the handle allows for better manoeuvrability, ensuring an even clean across the area.
- Verify quick-connect adapter compatibility.
- Tighten high-pressure hose connections.
- Inspect joints for wear or damage.
- Adjust pressure settings based on surface type.
- Turn on water supply before starting.
- Familiarise yourself with controls for ease.
Having connected everything correctly and prepared your unit, you’re set to achieve great results. Enjoy the process, and let the equipment do the hard work for you!
Adjusting Pressure Settings for Different Surfaces
For optimal results, it’s crucial to adjust the pressure settings based on the material you’re working with. For instance, delicate surfaces like painted wood or old concrete require lower settings, around 1000 to 1500 PSI, to prevent damage. I learnt this the hard way when I used too high a pressure on my deck, which resulted in peeling paint and costly repairs.
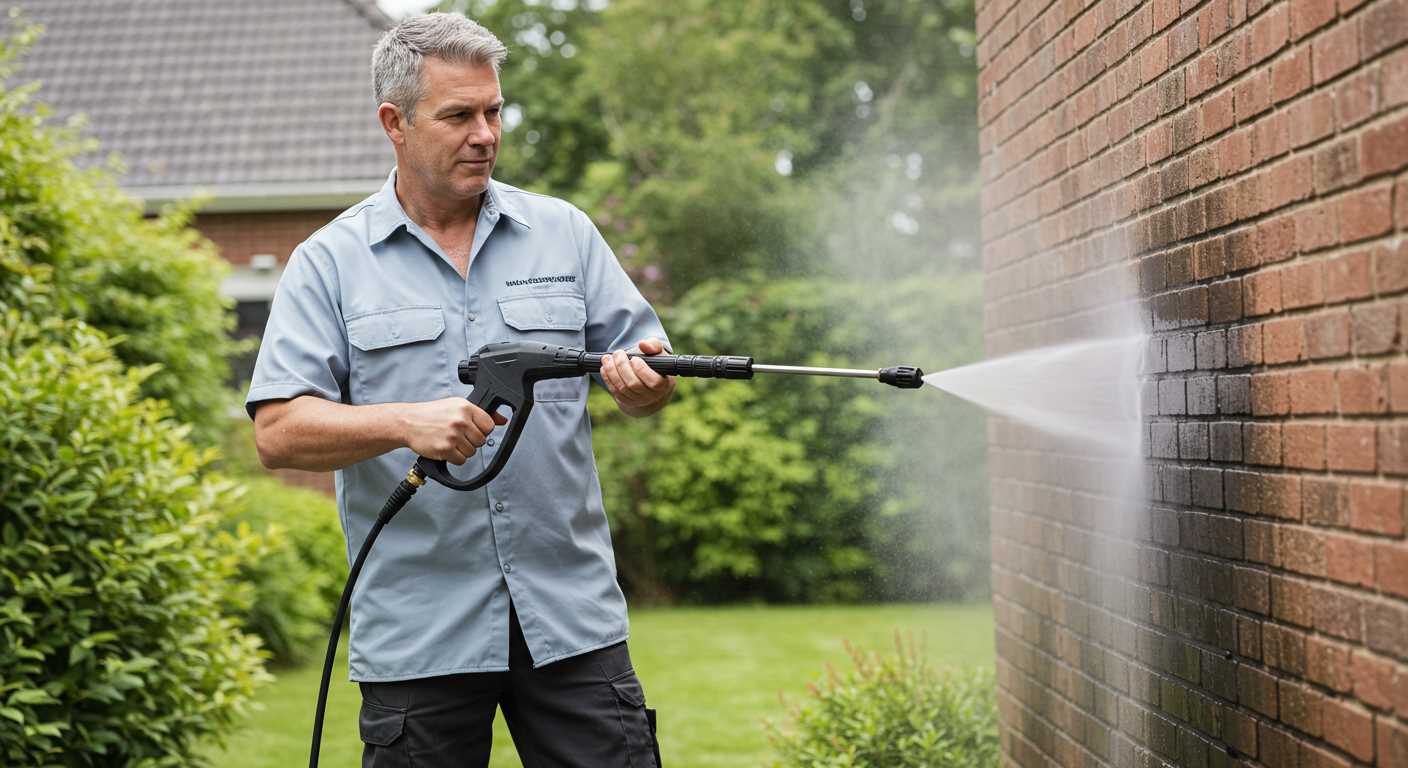
On the other hand, tougher materials such as unsealed concrete or brick can handle much higher pressures, typically between 2000 to 3000 PSI. I remember a particularly challenging job at a local restaurant where the outdoor patio was covered in grease and grime. By increasing the pressure to 2500 PSI, I managed to restore the surface without any issues.
Testing Settings
Before committing to a full clean, always test on a small, inconspicuous area. I’ve had instances where I thought I knew the right pressure, only to find out later that it was too high or too low. A quick test helps you adjust accordingly without risking the integrity of the entire surface.
Adjusting for Specific Tasks
Special tasks, like removing algae from a patio, might require a bit more finesse. In such cases, I often set the pressure around 1500 PSI and use a circular motion to ensure an even clean. If you ever need to tackle something specific, like cleaning an aquarium tank, I recommend checking out how to clean an aquarium tank for tips on dealing with sensitive materials.
Fine-tuning pressure settings not only improves the outcome but also prolongs the life of your surfaces. It’s worth the effort to make adjustments based on your unique cleaning needs.
Operating the Cleaner Safely and Efficiently
Always begin with protective gear: safety goggles, gloves, and sturdy footwear. I once underestimated the power of the water jet and learned the hard way that debris can fly unexpectedly. Wearing the right gear can prevent injuries from splinters or other projectiles.
Ensure the area is free of obstacles. I recall a time when I didn’t clear the vicinity adequately, and it resulted in a tangled hose and a minor mishap. Before starting, walk around to remove any items that could pose a hazard or get in the way.
Maintain a steady stance while operating the equipment. Position your feet shoulder-width apart for balance. I’ve seen many individuals struggle because they were too close or off-balance when the force of the water hit. If you feel unsteady, step back a little to regain control.
Keep the nozzle at a consistent distance from the surface. If you get too close, you risk damaging the material. I remember accidentally gouging a wooden deck because I was too enthusiastic with the jet. A distance of around 6 to 12 inches usually works well for most surfaces.
Work methodically in overlapping passes. I’ve always found that starting at one end and moving in a straight line to the other helps avoid missing spots. Overlap each pass slightly to ensure even coverage without streaks or patches.
Be mindful of the rotational speed if your tool has one. I’ve had moments where the rotation was too fast, leading to uneven cleaning. Adjusting the speed based on the surface type can make a significant difference in the final outcome.
Finally, take breaks if you’re working on large areas. I’ve sometimes pushed through fatigue, which can lead to sloppy work. Stepping back to reassess your progress helps maintain quality and safety. Regularly check the equipment too; a small issue can escalate into a bigger problem if neglected.
Cleaning and maintaining your surface cleaner after use
After completing your cleaning task, immediate care for your equipment is paramount. Begin by disconnecting it from the water supply and the motor. This prevents accidental activation during maintenance.
Next, rinse the underside thoroughly. Grass, dirt, and debris can accumulate in the bristles and nozzles, affecting performance over time. A quick spray with your garden hose can remove most residue. For stubborn build-up, a soft brush works wonders without damaging the components.
Inspect the nozzles and connections for any signs of wear or clogging. If you find blockages, use a small pin to clear the jets. Regular inspection ensures optimal functionality and extends the lifespan of your tool.
After rinsing, dry the entire unit with a clean cloth. Moisture can lead to rust and corrosion, so it’s best to keep everything as dry as possible. If your equipment has detachable components, consider storing them separately to prevent any potential damage during storage.
Store the cleaner in a cool, dry place away from direct sunlight. This helps maintain the integrity of the materials and prevents degradation over time.
For enhanced cleaning effectiveness, consider using a patio cleaner solution for pressure washer during your next session. This will help maintain the cleanliness and performance of your tools while achieving superior cleaning results.
| Maintenance Task | Frequency |
|---|---|
| Rinse the underside | After every use |
| Inspect nozzles | Before each use |
| Dry the unit | After every use |
| Store in a dry place | Always |

.jpg)


