


Begin with a thorough inspection of the surface. Look for any damaged boards, loose nails, or areas of rot. Address these issues before engaging in any cleaning process. Over the years, I’ve encountered many situations where neglecting this step led to further damage after the washing. A little prep work can save you from costly repairs down the line.
Next, gather your supplies. A suitable cleaning agent can enhance results significantly. I often recommend a biodegradable solution, as it’s safe for plants and pets. Pour the cleaner into your sprayer or bucket, depending on your equipment. This mixture should be applied generously to the surface and allowed to sit for a few minutes to penetrate dirt and grime effectively.
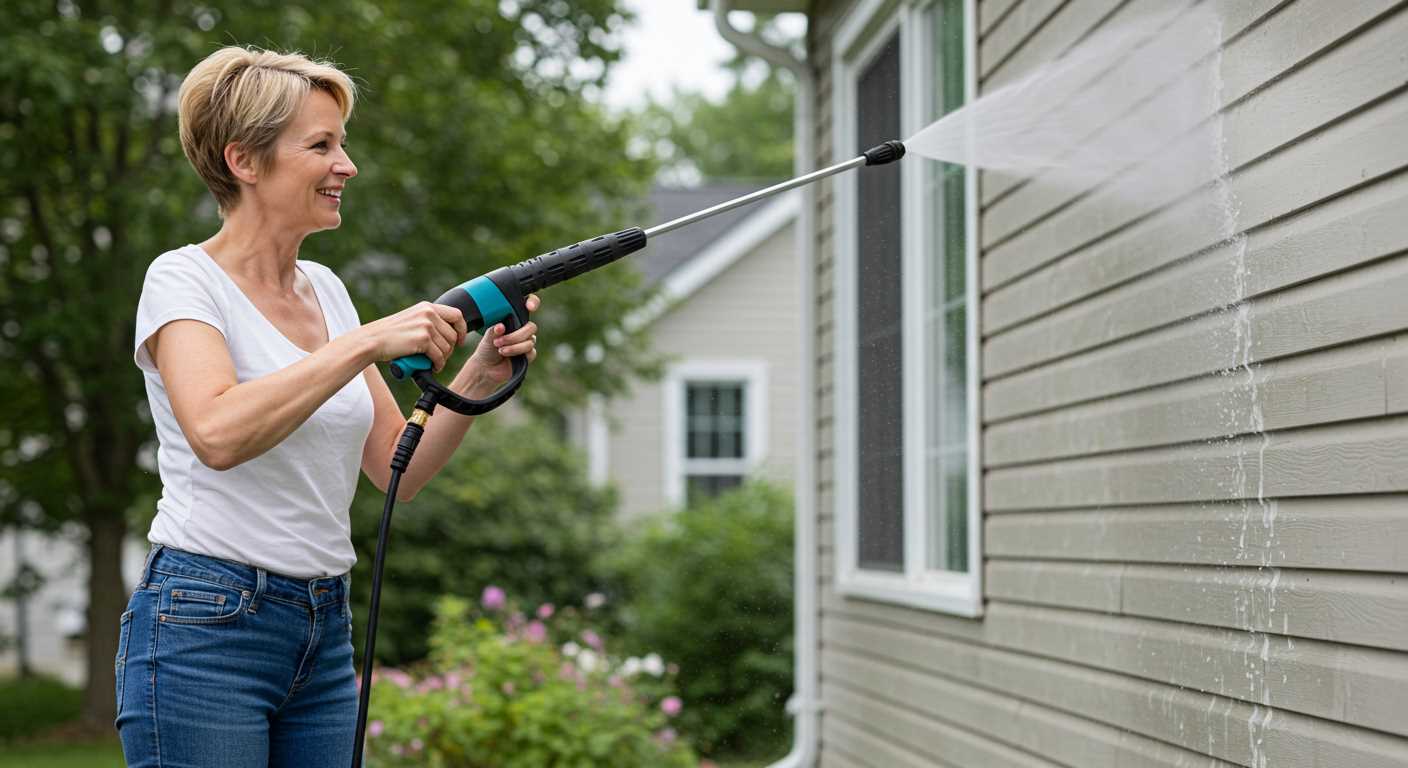
With everything prepared, it’s time to get to work. Aim the nozzle at a slight angle to the surface, moving in a consistent motion. Start from one end and work your way across, overlapping each stroke slightly. I’ve learned that keeping a steady distance of about 12 inches from the surface helps prevent damage while ensuring maximum efficiency. Avoid focusing on one spot for too long; this can lead to etching or stripping of the wood.
After rinsing, inspect the area. If any stubborn stains remain, repeat the process on those specific spots. In my experience, patience is key; rushing through can lead to an uneven finish. Once you’re satisfied, allow the area to dry completely before applying any sealants or stains to protect your hard work.
Choosing the Right Pressure Washer for Deck Cleaning
For optimal results, select a model with a PSI rating between 1200 and 2300. This strength effectively removes dirt without damaging softer wood surfaces. I’ve seen homeowners regret using machines exceeding 3000 PSI, as they can gouge the wood and lead to costly repairs.
Electric units are often quieter and lighter, making them suitable for residential tasks. I recall a customer who opted for a 1500 PSI electric unit for their cedar patio. It was perfect–gentle yet effective. If you’re tackling a larger area or tougher grime, a gas model might be more appropriate. These typically offer greater mobility and pressure, which can be a game changer on extensive surfaces.

Don’t overlook the flow rate, measured in gallons per minute (GPM). A higher GPM means more water is delivered, enhancing the cleaning experience. I often recommend a minimum of 1.5 GPM for wooden areas; it ensures the cleaning solution penetrates and rinses away with ease.
Consider attachments as well. A rotating nozzle can significantly boost your efficiency. I once tested a unit with this feature and found it cut my cleaning time in half. Additionally, a surface cleaner attachment is invaluable for expansive areas, providing an even wash without streaks.
Lastly, check for features like adjustable pressure settings and onboard detergent tanks. These allow for versatility when moving between different materials. I’ve learned that having the right equipment makes the task not just easier but also more enjoyable. Investing time in choosing wisely pays off with stunning results.
Preparing Your Outdoor Surface for Cleaning
Clear the area of any furniture, planters, or decorations. This prevents them from getting damaged and allows full access to the surface. If items are too heavy, consider covering them with a tarp or plastic sheeting for protection.
Next, inspect for any loose boards or nails. Tighten or replace them to avoid injury or damage during the process. If you notice any signs of rot, it’s best to address those issues beforehand.
Removing Debris and Stains
Sweep away dirt, leaves, and other debris. A broom or blower works well for this task. Pay attention to corners and crevices where grime tends to accumulate. If there are tough stains from mildew or grease, treat them with a suitable cleaner before starting. Allow it to sit for the recommended time for best results.
Washing Preparation
Ensure your water source is accessible. Connect a hose to a tap that can provide a steady flow. Check for leaks or kinks that could disrupt the water supply. If your equipment requires specific nozzles for different tasks, have them ready. It’s wise to have a selection of nozzles available to adjust the pressure as necessary.
- Gather safety gear: goggles, gloves, and non-slip footwear.
- Consider wearing ear protection if the equipment is particularly loud.
- Plan for the weather; a dry day is optimal for the task.
Finally, if you’re working with wooden surfaces, it’s worth checking the moisture content. A moisture meter can help determine if the surface is dry enough for thorough treatment. A moisture level below 15% is ideal.
Selecting the Correct Nozzle for Your Pressure Washer
Choosing the right nozzle is key to achieving the best results. I recommend starting with a 25-degree nozzle for most outdoor surfaces. It delivers a balanced spray that’s strong enough to remove dirt without causing damage. When I first tackled my old wooden patio, I learned this lesson the hard way by using a narrower nozzle that splintered the wood.
Nozzle Types and Their Uses
There are several types of nozzles available, each designed for specific tasks. Here’s a quick guide:
| Nozzle Angle | Recommended Use |
|---|---|
| 0-degree | For heavy-duty cleaning, like removing stubborn stains on concrete. |
| 15-degree | Ideal for tough grime on harder surfaces, but use cautiously on softer materials. |
| 25-degree | General cleaning on wood, vinyl, and concrete; my go-to for most outdoor jobs. |
| 40-degree | Perfect for washing delicate surfaces like glass or painted areas. |
| Soap nozzle | Used for applying cleaning solutions; it has a wider spray to mix with soap. |
Testing the Nozzle
Before committing to a nozzle, I suggest performing a small test in an inconspicuous area. This helps to ensure that the selected angle does not damage the surface. I once overlooked this step and ended up with a patch of stripped paint on my fence. Always better to check first!
Another tip is to maintain a safe distance while working. Aiming too close, especially with a narrow angle, can lead to unwanted damage. I find that keeping at least two feet away usually provides the best results.
Each nozzle has its strengths, so having a few on hand can be beneficial. By selecting the correct nozzle, you can make your outdoor spaces look brand new without unnecessary wear and tear.
Applying Cleaning Solutions for Optimal Results
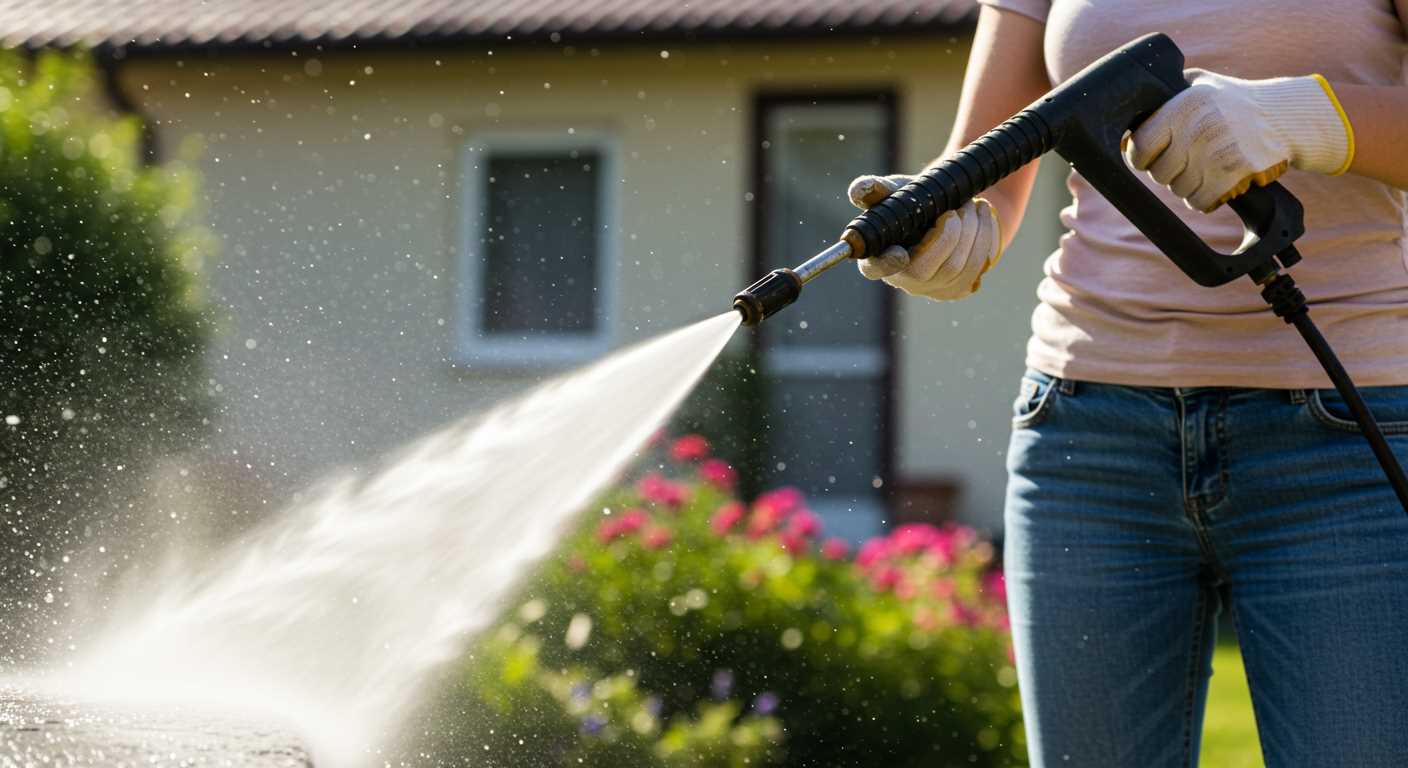
For the best results, pre-treating surfaces with a specialised cleaning agent is key. I’ve found that using a deck cleaner specifically formulated for your material type ensures effective removal of grime and mildew. Always dilute the cleaner according to the manufacturer’s instructions; too much concentration can damage the wood or composite surfaces.
Apply the solution using a pump sprayer or the detergent tank of your unit, if available. Start from the top of your surface and work your way down to prevent streaking. Allow the cleaner to dwell for about 10 to 15 minutes, but don’t let it dry out. This dwell time is critical as it allows the solution to penetrate deeply into the surface, breaking down stubborn stains.
In my experience, it’s beneficial to test a small area first. This way, you can gauge the reaction of your surface to the cleaner and adjust accordingly. After the dwell time, agitate the surface lightly with a brush to enhance the cleaning process, especially in heavily soiled areas.
Once you’ve applied the solution, rinse it off thoroughly before starting with the high-pressure equipment. Mixing a retractable pressure washer hose reel in your setup allows for easier manoeuvrability and can save time when rinsing. Remember, the aim is to remove all residual cleaner to avoid any slippery patches after drying.
Techniques for pressure washing without damaging the wood
Adjusting the angle of the spray can significantly affect the outcome. Always maintain a 45-degree angle to the surface to avoid gouging the wood. This technique helps direct the water away from the grain and reduces the risk of splintering.
Maintaining Distance
Keep the nozzle at least 12 inches away from the wood. This distance ensures that the force of the water is dispersed enough to avoid causing surface damage while still effectively removing grime and mildew. Moving closer may seem tempting for better results, but it can lead to serious harm to the timber.
Consistent Motion
Use a sweeping motion to avoid concentrating pressure in one spot. This technique not only promotes even cleaning but also prevents the wood from becoming pitted or damaged. Aim to work in small sections, ensuring each area receives equal attention, and overlapping your strokes will help maintain uniformity.
Incorporating a suitable cleaning solution can enhance results without harming the surface. For instance, I’ve found that the best car wash liquid for pressure washer can be effective when diluted properly. Make sure to apply it at lower pressure initially to allow it to penetrate before using higher settings.
Post-cleaning care and maintenance of your outdoor surface
After a thorough wash, wait for the wood to completely dry before applying any protective treatment. This usually takes 24 to 48 hours, depending on the weather conditions. Moisture trapped beneath a sealant can lead to mould or peeling over time.
Applying a Sealant
Once dry, consider applying a quality sealant or stain to enhance durability and appearance. I’ve found that using a product specifically designed for exterior wooden surfaces provides the best results. Make sure to follow the manufacturer’s instructions regarding application methods and drying times. A brush or a roller often works better than a sprayer, allowing for more even coverage and better penetration into the wood fibres.
Regular Maintenance Routines
Implement a cleaning schedule every few months to prevent the build-up of dirt and algae. A simple sweep and a gentle wash with soapy water can keep everything looking fresh. Inspect for any signs of wear, such as splintering or discolouration, and address these issues promptly to prolong the life of your boards.
Finally, keep an eye on the surrounding environment. Trim back any overhanging branches and clear away debris, which can trap moisture against the timber and lead to deterioration. A little proactive care goes a long way in maintaining the beauty and integrity of your outdoor space.
Safety Precautions When Operating a High-Pressure Cleaner
Always wear protective eyewear. I once had a small pebble ricochet off a surface and hit my glasses; it was a wake-up call. A good pair of goggles can save your eyes from debris and chemicals.

Don sturdy footwear. I remember tackling a project on a sloped area and lost my footing because I wore sandals. Slip-resistant shoes are a must to prevent accidents.
Ensure your surroundings are clear. Before starting, take a moment to inspect the area for obstacles, pets, or children. I’ve seen too many close calls with curious onlookers stepping into the spray zone.
Maintain a safe distance. When I first started, I underestimated the power of the stream. Standing too close can result in cuts or bruises. Always keep a distance of at least two feet from the surface you’re treating.
Be cautious with electrical equipment. Never operate any electrical device in wet conditions. I recall a time when I was working near an outlet and realised I’d made a risky move. Always check that your power source is safe and dry.
Use the right cleaning solutions. Some chemicals can react with the materials of your equipment or surfaces. I learned the hard way that mixing the wrong products can lead to damage. Always read labels and follow manufacturer guidelines.
Check for leaks. Prior to starting, inspect hoses and connections for wear and tear. I experienced a sudden burst because I neglected this step; it can be both dangerous and messy.
Finally, keep a first aid kit handy. Accidents happen, and it’s wise to be prepared. When I had a minor mishap, having basic supplies close by made all the difference.
.jpg)


