


Begin with a thorough assessment of the surface. Look for deeply embedded stains and areas with heavy grime. A concentrated spot treatment on these trouble spots can yield remarkable results before the main cleaning process begins. I recall tackling a neighbour’s driveway, which was covered in years of oil spills and dirt accumulation. Targeting those spots first made the subsequent steps much easier and more effective.
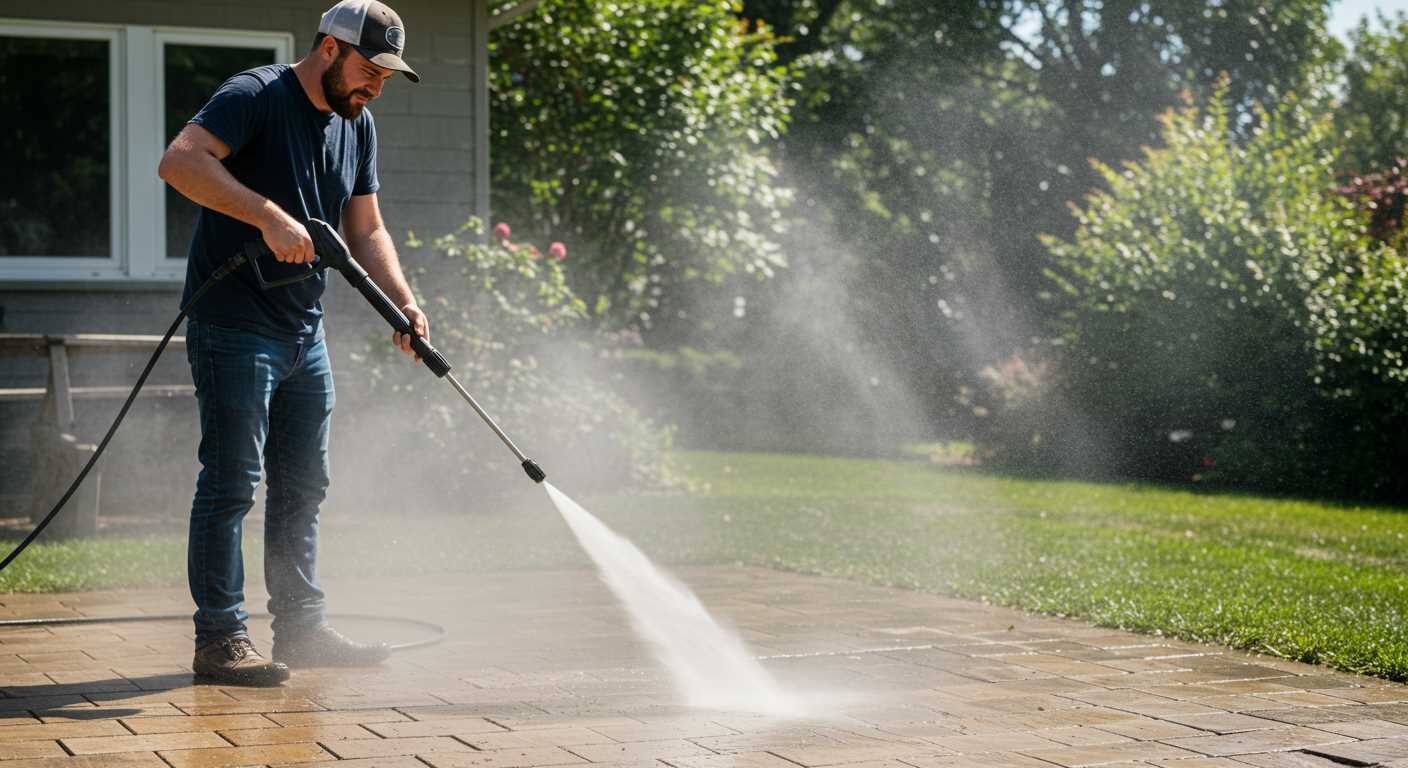
Next, select an appropriate nozzle. A 25-degree or 40-degree spray pattern typically works best for larger areas, while a 15-degree nozzle is perfect for stubborn stains. During my time in the industry, I’ve seen the difference a simple change in nozzle can make. Using the wrong one can lead to either ineffective cleaning or, worse, damage to the surface.
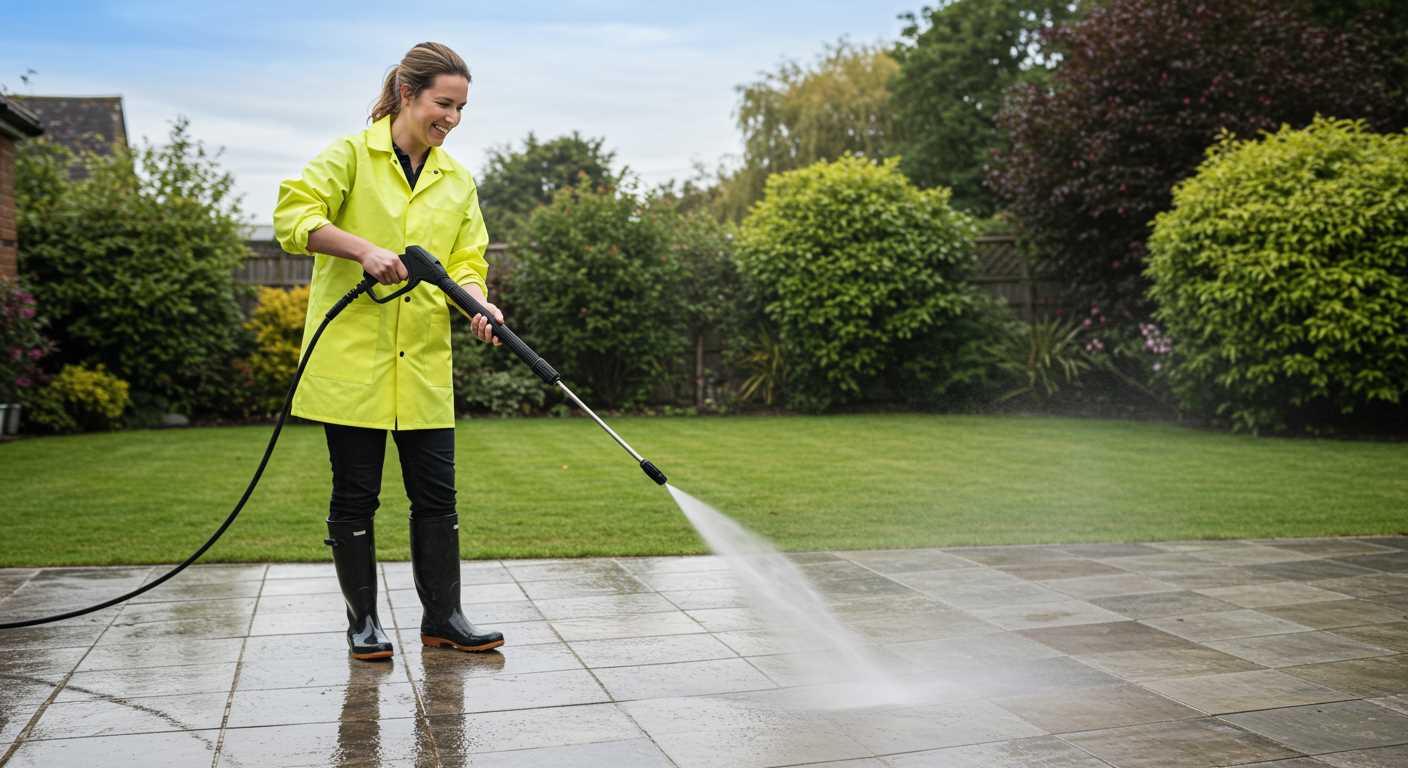
Maintaining a consistent distance is key. Keeping the nozzle about 12 to 18 inches from the surface ensures the force is effective without causing harm. I once got too close while working on a patio and ended up etching the stone. It’s a lesson I won’t forget. Move in a steady, sweeping motion, allowing the water to do the work rather than concentrating too long on one spot.
Finally, don’t overlook the importance of a suitable cleaning solution. Pre-soaking particularly grimy areas with a specially formulated detergent can lift stains significantly. I’ve had great success with eco-friendly options that are tough on dirt yet gentle on the environment. This approach not only enhances the outcome but also provides peace of mind knowing you’re choosing a responsible product.
Choosing the Right Equipment for Surface Restoration
For optimal results, select a model with a minimum of 3000 PSI and a flow rate of at least 3 GPM. This combination ensures sufficient force to remove stubborn stains and grime from different types of surfaces. I recall a project involving a driveway that had years of embedded dirt; using an underpowered unit led to frustration and extended cleaning time. Upgrading to a more robust option was a game changer.

Key Features to Consider
Focus on the following specifications:
| Feature | Description |
|---|---|
| PSI (Pounds per Square Inch) | Higher PSI provides stronger cleaning power, perfect for tough stains. |
| GPM (Gallons per Minute) | A higher flow rate helps rinse away dirt more effectively, especially on larger areas. |
| Type of Motor | Electric motors are quieter and more suited for light tasks, while gas engines offer superior power for heavy-duty jobs. |
| Nozzle Options | Interchangeable nozzles allow flexibility; a 15-degree nozzle works well for concrete, while a wider option can be beneficial for delicate surfaces. |
Additional Tips
Consider portability and ease of use. A lightweight model with wheels can save time and energy during lengthy tasks. I’ve often found myself juggling equipment; a well-designed unit makes all the difference. Lastly, ensure you have the right accessories, such as surface cleaners, to enhance your efficiency. Investing in quality tools pays off in both time saved and results achieved.
Selecting the Appropriate Nozzle for Your Task
For effective results, the choice of nozzle is critical. I recall a project where I tackled a driveway covered in years of grime. I equipped my machine with a 25-degree nozzle, which provided an excellent balance between pressure and coverage. This particular nozzle is ideal for general cleaning and does a fantastic job at removing dirt without damaging the surface.
Different Nozzle Types
There are typically four main types of nozzles: 0-degree, 15-degree, 25-degree, and 40-degree. The 0-degree nozzle delivers a concentrated jet suitable for tough stains but can cause surface damage if not handled correctly. The 15-degree option is powerful and great for removing stubborn marks. The 25-degree nozzle, as I mentioned, is versatile and perfect for most cleaning tasks. The 40-degree nozzle is gentle and best for delicate surfaces or rinsing.
Consider Your Specific Needs
Evaluate the condition of the surface you’re working on. If you’re dealing with heavy stains, a more focused nozzle will be necessary. For routine maintenance, a wider spray will suffice. During one job, I switched between a 15-degree and a 25-degree nozzle, depending on the areas I was addressing. This flexibility allowed me to achieve optimal results without causing damage.
Preparing the Concrete Surface Before Cleaning
Before tackling any grime on your paved surfaces, ensure you remove all loose debris. A broom or blower will do the trick effectively. I recall a time when I overlooked this step and ended up pushing dirt around instead of washing it away. It’s a simple task but makes a significant difference.
If there are any larger items like furniture or planters, move them out of the way. This not only provides better access but also prevents any accidental damage. I once had a neighbour who neglected to clear her patio, and the results were less than desirable, with stains from her garden pots leading to extra scrubbing later.
Check for any stains or spills that may need special treatment. Oil or grease stains can be stubborn. Applying a degreaser and allowing it to sit for a while can facilitate a better outcome. I remember using a product that worked wonders on an old garage floor–what a relief to see it shine again!
Inspect the surface for any cracks or damage. Repairing these before starting will not only enhance the final result but also prolong the lifespan of the area. A small patch job I did on my driveway saved me a lot of hassle down the line. If you come across any repairs needed, consider getting them sorted before the deep clean.
Lastly, ensure you have the right oil for your Honda machine. A well-maintained engine boosts performance, making the task smoother. I always recommend checking this link for the right oil for Honda pressure washer engine. Keeping your equipment in top shape is just as important as the cleaning process itself.
Setting up your pressure washer for optimal results
Begin by ensuring the machine is on a stable surface, ideally flat and level. This prevents any accidental tipping and maintains a consistent flow of water. Check the fuel levels if you’re working with a gas model; a full tank allows for uninterrupted operation, which is crucial for larger areas.
Fill the detergent tank
If your unit has a detergent compartment, fill it with a suitable cleaning solution. Always select a product designed specifically for outdoor surfaces to avoid damage. I once made the mistake of using a general-purpose cleaner, which left a sticky residue that required additional scrubbing. Always follow the manufacturer’s recommendations for dilution rates.
Connect your equipment
Attach the garden hose to the water inlet, ensuring a tight fit to avoid leaks. A good quality hose will maintain pressure and flow effectively. For added convenience, I suggest using a quick-connect system if available, as it makes swapping nozzles and attachments a breeze. Double-check all connections before starting; a loose fitting can lead to unsatisfactory results.
Adjust the pressure settings according to the surface type. For instance, while a higher setting may be needed for stubborn stains, a lower setting works well on more delicate areas. I’ve seen many users start at maximum power, only to realise it’s unnecessary and can cause damage.
Lastly, ensure you have a clear pathway and remove any obstacles from the area to be treated. This not only helps with manoeuvrability but also improves safety during operation. I’ve had to halt my work in the past due to tripping hazards, which is never ideal when you’re on a roll!
Techniques for Cleaning Different Types of Concrete
Each type of surface requires a tailored approach. Here are some specific techniques I’ve found effective over the years:
Smooth Surfaces
- Start with a wide-angle nozzle to cover more area. A 25 or 40-degree nozzle works well.
- Maintain a distance of about 12 inches from the surface to prevent damage.
- Use consistent, overlapping strokes to ensure even results.
Textured Surfaces
- Opt for a narrower nozzle, like a 15-degree, to penetrate the grooves effectively.
- Get closer–about 6 to 8 inches–to tackle embedded dirt and grime.
- Move in circular motions to loosen debris trapped in the texture.
For stained areas, applying a pre-treatment solution can enhance outcomes. Let it sit for a few minutes before rinsing with high-pressure water. This method has saved me hours of scrubbing on stubborn stains.
Driveways and Patios
- Clear the area of debris before starting.
- Use a rotary nozzle for larger spaces; it provides a more powerful clean.
- Work in sections, and don’t rush. A thorough job requires patience.
Stains from oil or grease may need extra attention. I’ve had success with degreasers applied before the washing process. It’s all about preparation and the right products to achieve a spotless surface.
Decorative Concrete
- Test a small, inconspicuous area first to ensure the finish won’t be damaged.
- Use a gentle approach with a wider nozzle, maintaining a greater distance.
- Keep the water pressure lower to preserve the decorative elements.
After tackling each type, always rinse thoroughly. Leaving any residues can lead to further staining or damage over time. I’ve learned this the hard way! Regular maintenance keeps surfaces looking fresh and extends their lifespan.
Dealing with Stubborn Stains and Grime
For those persistent blemishes that refuse to budge, a targeted approach is necessary. I’ve encountered many types of stains over the years, and here’s what I’ve found to be effective.
Identifying the Type of Stain
- Oil and Grease: These require a degreaser. Apply it directly to the stain and let it sit for 10-15 minutes. This pre-treatment will break down the oil, making it easier to remove.
- Mould and Mildew: A mixture of water and vinegar or a commercial mould remover works wonders. Spray it on, give it some time to penetrate, then rinse thoroughly.
- <strong, Rust: Try a rust remover specifically designed for hard surfaces. These products often contain oxalic acid, which can effectively lift the stain.
- Food and Drink Spills: For organic stains, a mix of baking soda and water can create a paste. Apply it to the stain, let it sit, and scrub gently.
Techniques for Stubborn Stains
- After pre-treating, start with a wider nozzle to cover more area, then switch to a narrower one for concentrated cleaning.
- Keep the nozzle at a consistent distance–usually around 12 inches from the surface. Too close can damage the material.
- Utilise a sweeping motion, overlapping each pass to ensure even cleaning.
- For heavily stained areas, repeat the process if necessary. Sometimes, stubborn marks need multiple treatments.
In my experience, patience is key. Sometimes, stains that seem impossible to shift can be removed with the right combination of products and techniques. Always test a small area first to avoid damage. Stains can be frustrating, but with the right approach, they can often be conquered.
Rinsing and finishing touches after cleaning
After the initial wash cycle, it’s time to rinse away any remaining residues. I typically advise using a wide-angle nozzle for this step. It helps to spread the water over a larger area, ensuring a thorough rinse. Start from one corner of the surface and work your way methodically to the opposite end. This technique prevents any streaks or spots from forming.
Once the surface is rinsed, inspect for any missed areas. Sometimes, stubborn spots might require a bit of extra attention. A second pass with a concentrated stream can help dislodge any lingering dirt. Adjusting the distance from the surface can make a significant difference; keeping the nozzle about 12 inches away often yields the best results.
After rinsing, allow the area to air dry. I often recommend waiting at least an hour before walking on it. This drying time can prevent any footprints or marks from forming as the surface settles. If you’re working on a driveway or patio, consider applying a sealant once everything is completely dry to enhance durability and appearance.
Lastly, clean your equipment. Flushing out any remaining water or cleaning solution will extend the life of your tools. A quick rinse of the nozzle and hose can prevent clogs and keep everything in top condition for your next project. Trust me, even a few minutes spent on maintenance pays off in the long run.
Maintaining Your Cleaning Equipment for Future Use
Regular maintenance is key to ensuring longevity and optimal performance. After each session, rinse the equipment to remove any detergent residues and dirt. Drain any leftover water from the system to prevent corrosion and scaling. I’ve seen too many units fail prematurely because users neglected this simple step.
Routine Checks
Every few months, inspect the various components. Look for cracks or wear in hoses and connections. Replace any damaged parts immediately. I recall a time when a worn-out hose burst mid-use, creating a mess and cutting my work short. Keeping spare parts on hand can save you from unexpected delays.
Storage Tips
When storing, ensure the unit is kept in a dry place. Extreme temperatures can affect performance. I always recommend wrapping hoses loosely to avoid kinks, which can lead to blockages. If you’re interested in fencing solutions, you might want to check can dogs get under a chicken wire fence for tips that might also apply to maintaining your outdoor equipment.
Following these steps will ensure your equipment is ready and reliable for the next job, allowing you to tackle any surface with confidence.
FAQ:
What is the best way to prepare concrete before using a pressure washer?
Before using a pressure washer on concrete, it’s important to prepare the area properly. Start by clearing away any debris, such as leaves, dirt, or furniture, from the surface. If there are any oil stains or heavily soiled spots, consider using a concrete cleaner or degreaser. Apply the cleaner and allow it to sit for a few minutes to break down the grime. Rinsing the surface with a hose before pressure washing can also help remove loose dirt. This preparation ensures that the pressure washer can effectively clean the concrete surface.
What pressure setting should I use when cleaning concrete with a pressure washer?
When cleaning concrete, it’s recommended to use a pressure setting between 2,500 and 3,000 PSI (pounds per square inch). This range is powerful enough to remove dirt, stains, and grime without damaging the concrete surface. If your pressure washer has adjustable settings, start at a lower PSI and gradually increase it if necessary. Always test the pressure on a small, inconspicuous area first to ensure that it does not cause any damage.
How far should I hold the pressure washer nozzle from the concrete surface?
When using a pressure washer on concrete, you should hold the nozzle at a distance of about 12 to 18 inches from the surface. This distance helps prevent any potential damage to the concrete while still allowing for effective cleaning. If you notice that dirt is not being removed, you can gradually move closer, but always be cautious not to get too close, as high pressure can erode the concrete over time.
Can I use a pressure washer to clean patterned or stamped concrete?
Yes, you can use a pressure washer on patterned or stamped concrete, but you need to be more cautious. The intricate designs can be sensitive to high pressure. It’s advisable to use a lower PSI setting, typically around 1,500 to 2,000 PSI, and maintain a distance of at least 18 inches from the surface. Additionally, using a wide-angle nozzle can help distribute the pressure and prevent damage to the patterns.
What are some tips for effectively cleaning concrete with a pressure washer?
To effectively clean concrete with a pressure washer, consider the following tips: First, always pre-treat any stains with an appropriate cleaner and allow it to sit before washing. Use a fan nozzle for a broader spray pattern, which helps cover more area without concentrating the pressure on one spot. Move the nozzle in a consistent sweeping motion to avoid streaks. For tough stains, you may need to make multiple passes. After cleaning, rinse the area thoroughly to remove any remaining debris or cleaner residue. Finally, allow the concrete to dry completely before using the area again.
What preparations should I make before using a pressure washer on concrete surfaces?
Before using a pressure washer on concrete, it’s important to prepare the area properly. Start by removing any furniture, plants, or obstacles from the concrete surface. Sweep the area to eliminate loose dirt, leaves, and debris. If there are any stains, such as oil or grease, consider applying a pre-treatment cleaner designed for concrete. Make sure to check the pressure washer’s manual for specific recommendations on nozzle types and pressure settings suitable for concrete cleaning. Also, wear appropriate safety gear, including goggles and gloves, to protect yourself from debris and high-pressure water.
How do I choose the right pressure washer settings for cleaning concrete?
Selecting the correct pressure washer settings is crucial for effective concrete cleaning. Generally, a pressure washer with a rating of at least 3000 PSI (pounds per square inch) is ideal for concrete surfaces. Use a nozzle that provides a narrow spray pattern, typically a 15° or 25° nozzle, as it concentrates the water pressure on the surface, making it easier to remove stubborn stains and dirt. Adjust the pressure based on the level of grime; for light cleaning, you might use a lower setting, while tougher stains may require higher pressure. Always test the pressure on a small, inconspicuous area first to ensure that the surface can withstand the force without damage.
.jpg)


