
.jpg)


.jpg "How to use a pressure washer to clean vinyl siding")
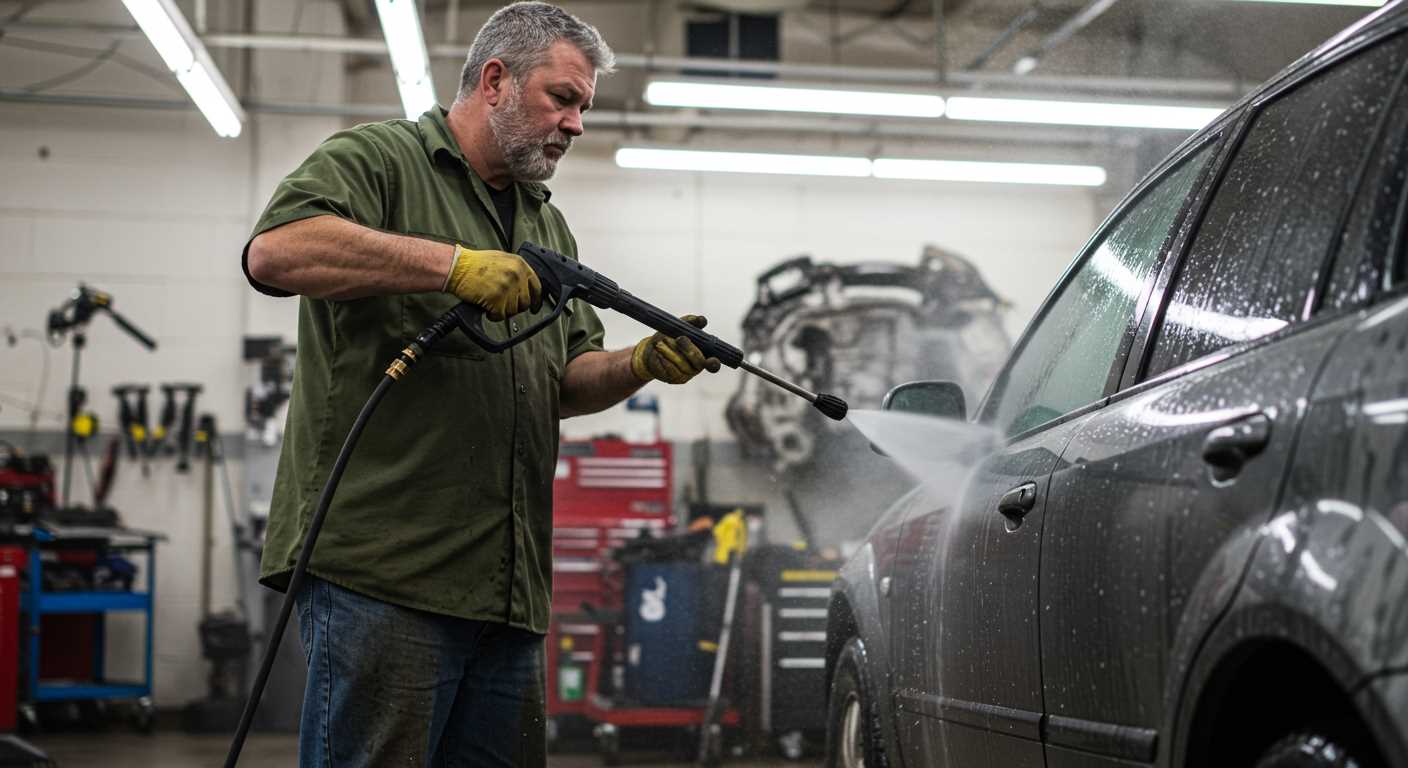
Before getting started, ensure you have the right nozzle attachment. A 25-degree nozzle is ideal for most surfaces, providing a balanced force without causing damage. Attach it securely to the lance, then connect your equipment to a water source. Always check the manufacturer’s guidelines for specific pressure settings suitable for your exterior material.
Begin by rinsing the surface with plain water to remove loose dirt and debris. This preliminary step helps prevent any particles from scratching the surface during the main cleaning process. Stand at least two feet away from the wall to avoid any potential harm while maintaining the proper distance for optimal water coverage.
Once the surface is prepped, mix a suitable detergent with water according to the instructions on the label. Apply this solution starting from the bottom and moving upwards, allowing it to dwell for several minutes to break down grime. After the dwell time, switch back to your standard nozzle and rinse from the top down, ensuring all detergent is thoroughly washed away.
For stubborn stains or areas with heavy mildew, a dedicated cleaning solution specifically designed for your type of exterior might be necessary. It’s also wise to wear protective gear, including goggles and gloves, to shield yourself from any splashes or chemicals.
Finally, step back and admire the results of your hard work! Regular maintenance not only enhances curb appeal but also prolongs the life of your exterior surfaces. Keep a schedule for cleaning to prevent buildup and maintain that fresh, clean appearance year-round.
Selecting the Right Pressure Washer for Vinyl Siding
For optimal results, choose a unit with a PSI rating between 1300 and 2000. This range provides enough force to remove dirt without damaging the surface. I recall testing a model that exceeded 3000 PSI; it stripped paint right off the siding–definitely not what you want.
Ensure the GPM (gallons per minute) is at least 1.4. A higher GPM means better rinsing capabilities, allowing soap and grime to wash away more effectively. In my experience, a lower GPM often leads to streaks and residue left behind.

Consider electric models for residential tasks. They are quieter and lighter, making them easier to handle. I once took a gas-powered unit to a friend’s house; while it was powerful, the noise and weight made the job cumbersome. Electric options are perfect for most home projects.
Look for adjustable nozzles or interchangeable tips. A 25-degree nozzle is typically ideal for this job, providing a good balance of pressure and coverage. I’ve found that using a wider spray pattern helps avoid concentrated spots that could cause damage.
Pay attention to the weight and portability. If you’re working on a multi-storey home, a lightweight model is beneficial, especially when moving it around. I’ve struggled with heavier units on ladders before–it’s not safe or efficient.
Finally, check for safety features like thermal relief valves and safety locks. These can prevent overheating and accidental activation. I once had a unit without these features; it overheated during a long session and left me waiting for it to cool down before I could continue.
Preparing the Area for Pressure Washing
Clear the vicinity of any obstacles. Move furniture, planters, and decorations away from the walls to ensure unobstructed access. This prevents potential damage and allows for a thorough job.
- Remove loose items: Take away any small objects, such as flower pots and garden tools.
- Relocate larger items: If furniture or larger decorations must stay, cover them with tarps or plastic sheets.
- Trim nearby vegetation: Prune shrubs or plants that may interfere with the cleaning process.
Inspect the surfaces closely. Look for any loose or damaged pieces that might need attention before starting. It’s better to address these issues beforehand rather than risk further damage while working.
- Check for cracks or gaps: Fill any holes or fissures to prevent water intrusion.
- Look for mould or mildew: Treat these areas with an appropriate solution before proceeding.
Protect surrounding areas from overspray. Cover windows, doors, and any other components that shouldn’t get wet or affected by cleaning solutions.
- Use plastic sheeting: Secure it around windows and doors to shield them from water.
- Mask sensitive areas: Employ painter’s tape for added protection on edges and trim.
Ensure the ground is safe. Check for uneven surfaces or slippery spots. If necessary, lay down boards or mats to create a stable working area.
- Remove debris: Clear away leaves or dirt that could cause slips.
- Inspect hoses and cables: Keep them clear of walkways to avoid tripping hazards.
Conduct a walkthrough of the area. This helps in identifying any additional tasks needed before starting the process. A thorough preparation sets the stage for effective cleaning and protects your surroundings.
Choosing the Correct Nozzle and Pressure Settings
For optimal results, select a 25-degree or 40-degree nozzle when tackling exterior surfaces. The 25-degree option provides a solid balance of power and coverage, while the 40-degree nozzle is perfect for more delicate areas, reducing the risk of damage. I’ve found that switching nozzles can make a significant difference in how effective the job turns out.
Pressure Level Insights
Maintain a pressure level between 1200 to 1600 PSI for safe and thorough results. Higher settings can cause unwanted marks or even strip paint. I recommend starting at the lower end of the scale and gradually increasing the pressure if necessary. During one of my projects, I began at 1300 PSI and found it sufficient for most grime without any risks.
Testing the Settings
Always test your chosen nozzle and pressure on a small, inconspicuous area before proceeding. This simple step can save you from costly mistakes. I recall a time when I skipped this test and ended up with a damaged surface – a lesson learned the hard way! Adjust the settings based on your test results, ensuring you achieve the desired cleanliness without compromising the integrity of the surface.
Applying Cleaning Solution Safely and Effectively
Always mix the cleaning agent according to the manufacturer’s instructions. I recall a time when I underestimated the concentration, leading to insufficient results. A balance is key; too weak won’t do the job, while too strong can damage surfaces.
Before application, test the solution on a small, inconspicuous area to ensure compatibility. I once discovered that a particular product reacted poorly with the material, causing discolouration. A simple patch test can save you from costly mistakes.
Use a low-pressure setting when applying the solution, as high pressure can cause it to splatter and potentially damage surrounding plants or surfaces. Position the nozzle at least 3 feet away from the surface, gradually moving closer as the solution adheres. This method allows for even distribution without oversaturation.
Timing is crucial. Allow the cleaning solution to sit for about 10-15 minutes, but don’t let it dry completely. I’ve made the mistake of waiting too long, resulting in a harder job later. If the solution dries, it can become nearly impossible to remove.
Once the solution has set, rinse thoroughly with clean water, starting from the top and working downwards. This technique prevents streaking and ensures that all residues are washed away. I remember a day where I didn’t follow this method, and the leftover solution left unsightly streaks on the surface.
| Step | Description |
|---|---|
| 1 | Mix cleaning agent as per instructions. |
| 2 | Conduct a patch test on a hidden area. |
| 3 | Apply at low pressure, 3 feet away. |
| 4 | Allow to sit for 10-15 minutes without drying. |
| 5 | Rinse from top to bottom to avoid streaks. |
Protect surrounding areas, especially gardens. Using a tarp can shield plants from overspray. I once neglected this step, resulting in a garden that needed a lot of care after my work.
For safety, wear gloves and goggles to protect yourself from splashes. Additionally, work in well-ventilated areas to avoid inhaling any fumes. I learned this the hard way after a particularly strong cleaner left me with an uncomfortable throat irritation.
For more information on safety around pets during outdoor activities, you might find this link helpful: can an electric fence kill a small dog.
Techniques for Pressure Washing Vinyl Siding
A consistent distance of 12 to 18 inches from the surface is key when applying the jet. This helps prevent damage while ensuring thorough coverage. I’ve seen too many homeowners get too close, resulting in warping or scratches. Maintain a steady hand and keep the nozzle moving in straight lines to avoid streaks.
Working from the Bottom Up
Start at the bottom and work your way up. This technique prevents dirty water from running down onto previously cleaned areas. It’s a simple yet effective method that I’ve relied on countless times. Over the years, I’ve learned that this approach allows for a more uniform finish and reduces the risk of having to go back and redo sections.
Angle the Nozzle Correctly
Adjust the angle of the spray to around 45 degrees. This helps lift dirt and grime without forcing it deeper into the grooves. I recall a project where I initially used a direct approach and ended up pushing debris into the seams, which made the job longer. By angling the nozzle, I could remove stubborn stains without compromising the integrity of the material.

For those looking for mobility and convenience, consider a portable pressure washer for horses. It can be a practical addition for various cleaning tasks beyond just home maintenance.
Post-Cleaning Care and Maintenance Tips
After completing the washing task, it’s crucial to inspect the exterior. Look for any remaining stains or spots that may need additional attention. A quick touch-up with a soft sponge and a mild detergent can often resolve these minor issues. Avoid abrasive materials that can scratch the surface.
Regular Inspections
Schedule routine checks of the cladding at least twice a year. Look for signs of mildew, dirt accumulation, or any areas where the material may have become damaged. Early detection can save you from costly repairs down the line.
Preventive Measures
Consider applying a protective coating specifically designed for exterior surfaces. This can help prevent grime build-up and protect from UV damage. Additionally, ensure that gutters and downspouts are clear of debris to prevent water from splashing onto the walls, which can lead to staining.

.jpg)


