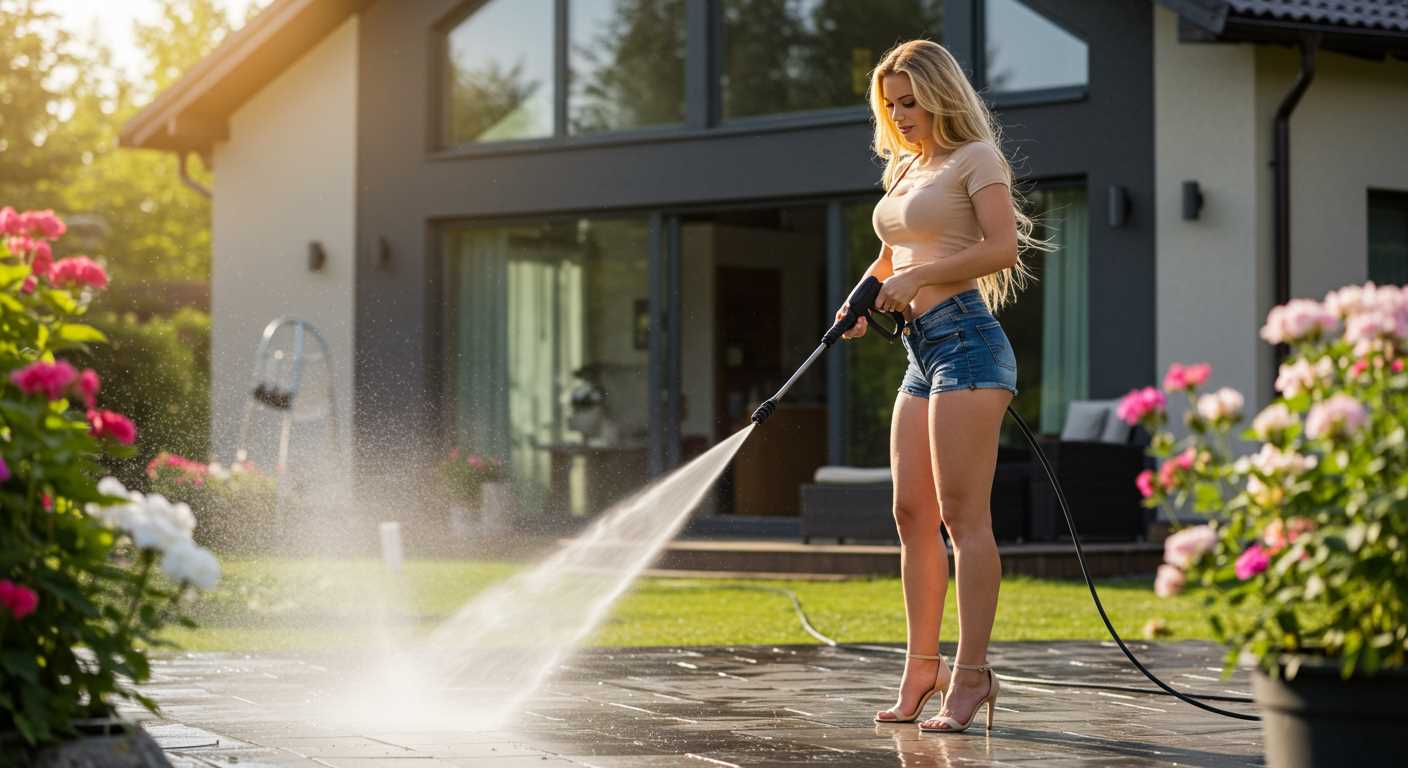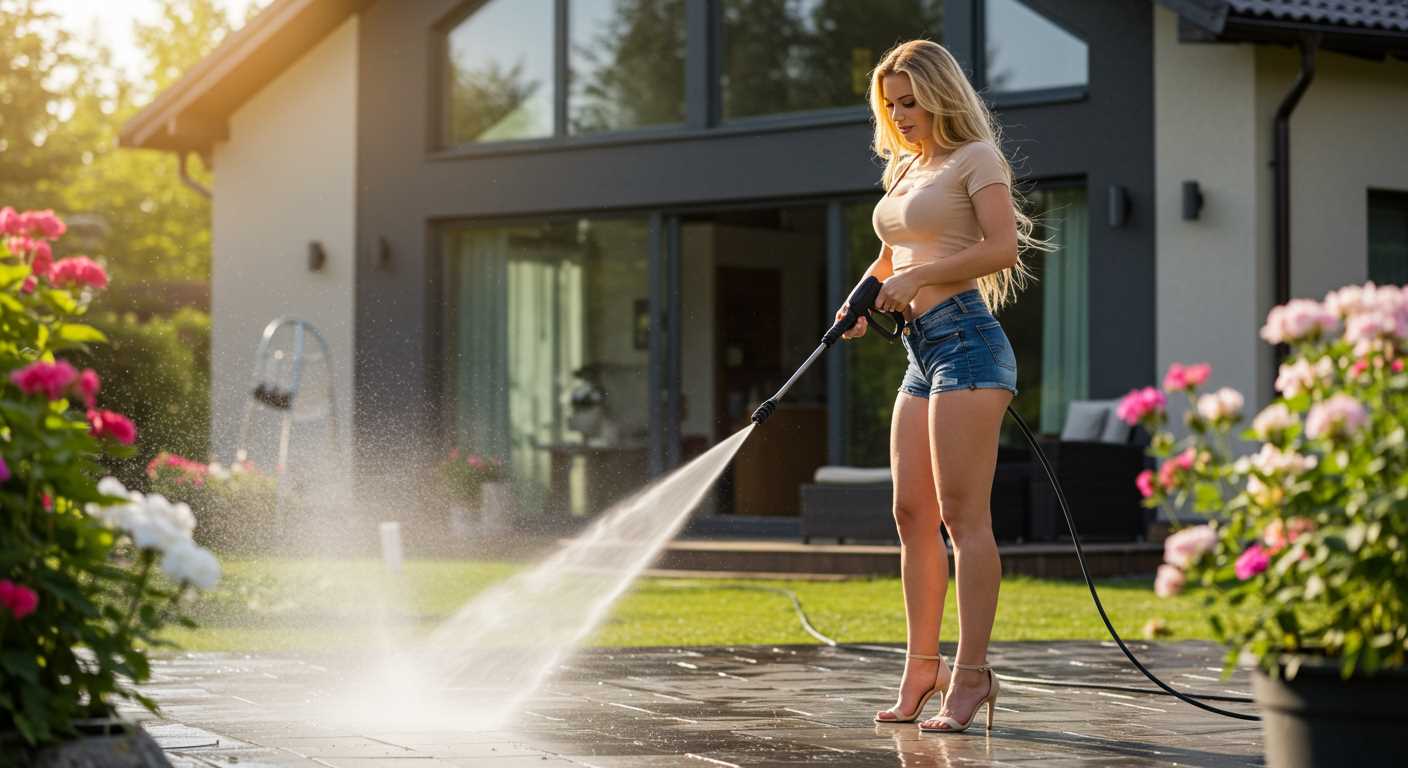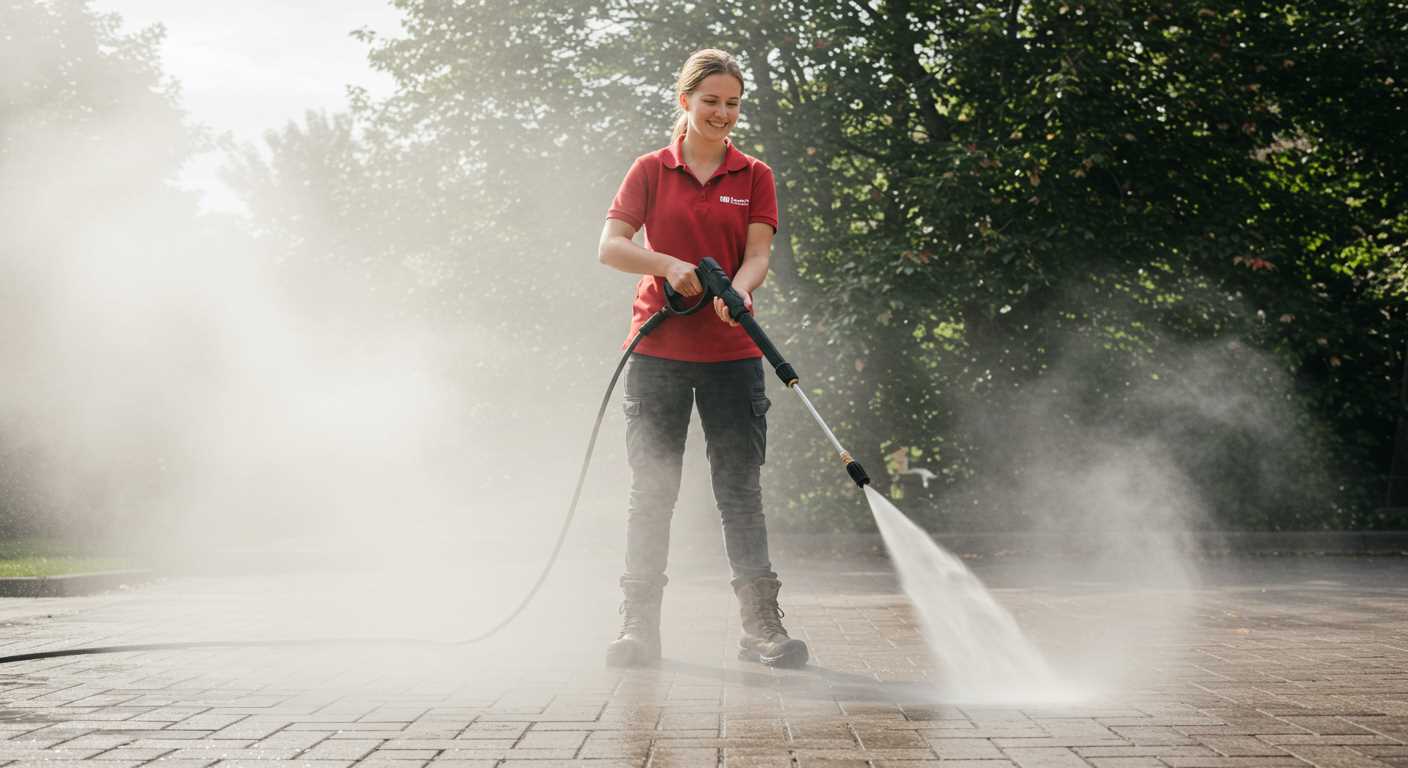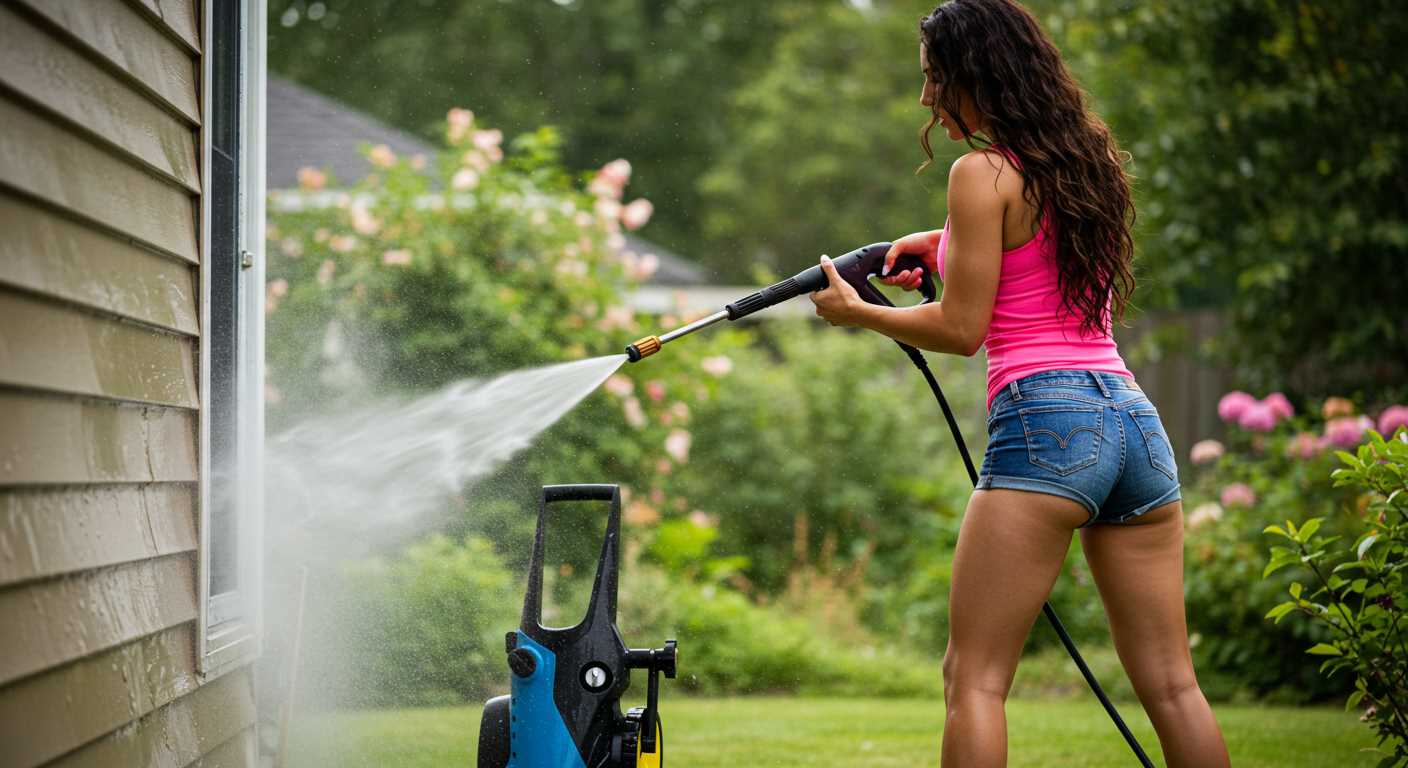


Begin with a thorough rinse to eliminate loose dirt and debris. This step is crucial; it prevents scratches during the later stages of cleaning. Position the sprayer about two feet away from the surface to avoid damage, and use a wide spray pattern to cover larger areas effectively.
Next, select a suitable detergent specifically formulated for automotive surfaces. Apply it using the detergent nozzle, ensuring even coverage across the vehicle’s exterior. Allow the solution to dwell for a few minutes to break down grime and contaminants, but avoid letting it dry on the surface.
After the dwell time, switch back to a standard nozzle and rinse thoroughly, starting from the top and working your way down. This technique helps to prevent streaks and ensures that all soap residues are removed. Pay extra attention to wheel wells and undercarriage, where dirt tends to accumulate.
For stubborn spots, like bird droppings or tree sap, a targeted approach works wonders. Use a spot-cleaning technique with a narrow spray, allowing for a concentrated blast to dislodge tough residues without excessive scrubbing.
Finally, consider finishing with a wax or sealant to protect the paintwork and enhance shine. This not only provides a polished look but also helps to repel grime in future washes, making maintenance much easier.
Selecting the Right Equipment for Vehicle Cleaning
For optimal results, choose a unit with a pressure rating between 1200 to 1900 PSI. This range is powerful enough to eliminate dirt and grime without risking damage to delicate surfaces. When I first started using this equipment, I went for a 2000 PSI model, thinking more power was better. However, it was too aggressive for my vehicle’s paintwork, leading to fine scratches.
Key Features to Consider
Look for the following specifications:
| Feature | Recommendation |
|---|---|
| Flow Rate | 1.5 to 2.5 GPM |
| Nozzle Types | Interchangeable with various spray patterns |
| Weight | Lightweight for easy manoeuvrability |
| Electric vs Petrol | Electric for home use; petrol for larger tasks |
Additional Considerations
Assess the included accessories. A foam cannon is invaluable; it enhances cleaning efficiency and provides a thick layer of suds that cling to surfaces, allowing for better penetration of contaminants. I added one to my toolkit on a whim, and it transformed my routine. Also, ensure the hose length meets your needs; a longer hose reduces the need for repositioning the unit frequently.
Preparing Your Vehicle for High-Pressure Cleaning
Before beginning the cleaning process, ensure all windows and doors are tightly closed. This prevents water from seeping inside and causing damage to the interior. I’ve seen a few friends regret leaving their windows cracked just a tiny bit.
Remove any external accessories, such as antennae or decorative elements, that could be dislodged or damaged. I once lost a favourite antenna during a particularly vigorous session. It’s not worth the risk.
If your vehicle has any loose parts or trims, check them for security. Giving them a gentle tug can save you from unexpected repairs later. I’ve had a spoiler come loose once, and that was a hassle I’d rather avoid.
Clear the area around your vehicle of debris, such as dirt, leaves, or small stones. This reduces the chance of any particles scratching the paint during the cleaning. I’ve learned the hard way that even a small stone can leave a mark if it’s caught in the flow.
For the best results, pre-soak heavily soiled areas with a gentle cleaning solution. Let it sit for a few minutes to break down grime. I’ve found that taking this extra step really makes a difference, especially on stubborn spots.
Protect sensitive areas, such as electrical connections and exhaust pipes, with plastic bags or tape. This precaution can save you from future electrical issues. A colleague of mine neglected this and ended up facing a hefty repair bill.
Finally, ensure the surrounding surface is level and stable. Cleaning on an incline can lead to water pooling and could result in accidental slips or falls. I always prefer working in a flat area to maintain control and safety.
Choosing the Appropriate Nozzle for Car Surfaces
For optimal results, selecting the right nozzle type is key. I typically recommend using a 25-degree nozzle for most car surfaces. This nozzle provides a balanced spray that is strong enough to remove dirt yet gentle enough to avoid damaging the paint. During my years of testing, this angle proved effective for thorough cleaning without causing harm.
Different Nozzle Types and Their Uses
The 0-degree nozzle produces a concentrated jet that can strip away stubborn grime but should be avoided on automotive finishes to prevent scratches. The 15-degree option is similarly intense and best reserved for heavy-duty tasks such as cleaning wheels or undercarriages. In contrast, the 40-degree nozzle offers a wider spray which can be useful for rinsing off soap after cleaning, ensuring a gentle touch on delicate areas.
Tips for Nozzle Selection
Always test the nozzle at a distance before getting too close to the vehicle’s surface. Start from a distance of about two feet and gradually move closer while observing the effect on the paint. If you notice any signs of damage or if the paint begins to dull, back off immediately. I’ve had instances where a little caution saved a costly repaint. Also, if your vehicle has specific finishes, such as matte or wrap, opt for the gentler nozzles to maintain the integrity of those surfaces.
Applying Detergent Safely with a Pressure Washer
Always begin with a detergent designed specifically for automotive surfaces. These products are formulated to be safe on paint while effectively breaking down dirt and grime. I recall one instance where I used an all-purpose cleaner on my vehicle, which led to unintentional damage to the finish. Lesson learned–stick to automotive-grade detergents.
Before mixing the detergent, ensure the application system of your equipment is compatible. Most models come with a dedicated detergent tank or a siphon attachment. If using a tank, fill it according to the manufacturer’s instructions, avoiding overfilling to prevent spillage. I’ve encountered situations where excess detergent caused foaming issues, resulting in a messy clean-up.
When applying the detergent, maintain a safe distance–usually around 2-3 feet from the surface. This helps prevent any concentrated blasts that could potentially harm delicate areas. I always prefer to apply in a sweeping motion, starting from the bottom and working upwards. This technique ensures even coverage while minimising streaking.
Allow the detergent to dwell for a few minutes, but avoid letting it dry on the surface. I’ve found that setting a timer helps in managing this timing effectively. After the dwell time, rinse thoroughly with clean water, ensuring all residues are removed. Any leftover detergent can lead to spotting or streaking, which can be frustrating after all the effort.
Lastly, always wear protective gear, such as gloves and goggles, when handling detergents. It’s a small precaution that can save you from potential irritation. I learned this the hard way during an early cleaning session when a product splashed back unexpectedly. Safety first makes the entire process smoother and more enjoyable.
Techniques for Washing Different Car Areas
Start with the roof. Use a wide spray pattern to cover more surface area while avoiding high-pressure spots that could damage paint. Move from the top down, allowing dirt to flow downwards.
For windows, adjust to a narrower nozzle. This helps to prevent water from splattering and ensures a thorough clean without risking any streaks. Angle the spray to avoid direct hits on the edges, which can force water inside.
When tackling the wheels, switch to a more focused nozzle. This targets grime and brake dust effectively. It’s best to work on each wheel individually, spraying from different angles to dislodge stubborn debris.
- Start at the top of the wheel rim and work your way down.
- Pay special attention to the wheel wells; they often accumulate dirt and mud.
For the body, maintain a moderate distance to prevent any damage. A wider spray pattern allows you to cover larger areas while ensuring a gentle clean. Avoid spraying directly at seams and edges, as this could lead to water infiltration.
- Begin at the front and work your way to the back.
- Use overlapping strokes to ensure that no sections are missed.
For the undercarriage, a dedicated undercarriage attachment is ideal. This area collects a lot of road grime, especially in winter months. Ensure you’re at the right angle to thoroughly remove dirt without risking damage to sensitive components.
Finally, do not forget the headlights and taillights. These areas require special attention due to their susceptibility to scratches. Use a gentle spray and wipe them down with a soft cloth after cleaning to maintain clarity.
Maintaining a Safe Distance While Cleaning
Maintain a distance of at least 45 cm from surfaces to prevent damage. I’ve seen too many instances where individuals got too close, resulting in chipped paint or scratched finishes. This distance allows for effective cleaning while avoiding harm.
Adjust the distance based on pressure intensity. For softer settings, you might extend the distance to around 60 cm, especially on delicate areas like the front bumper or side mirrors. Observing the impact of the spray is key; if you see any signs of paint being affected, back off immediately.
Remember, the angle of the nozzle also plays a role. Directing the stream at a 45-degree angle from a safe distance helps disperse the force, minimising the risk of damage. I recall a time when I inadvertently directed the spray directly at a body panel, resulting in a minor dent. A slight adjustment in angle could have averted that mishap.
Pay attention to the type of surface as well. For plastic trims or rubber mouldings, maintaining a further distance of around 60-75 cm is advisable. These materials are more susceptible to damage from high-intensity jets. I’ve learned the hard way that it’s better to be cautious than to deal with costly repairs later.
Lastly, always keep a steady hand and avoid abrupt movements. A sudden jerk can cause the nozzle to move closer than intended, leading to unintended consequences. Keeping a consistent distance and angle will yield better results and protect your vehicle’s finish.
Rinsing and Drying Your Vehicle After Cleaning
After completing the cleaning process, it’s crucial to rinse off any remaining soap or detergent thoroughly. This step ensures that no residue is left that could potentially harm the surface or create streaks. Aim to rinse from the top down, allowing the water to flow downwards and carry away suds effectively.
Rinsing Techniques
- Utilise a wide spray pattern to cover larger areas quickly.
- Focus on crevices and undercarriage where grime often accumulates.
- Ensure all cleaning agents are completely washed away, particularly around trims and badges.
Once the rinsing is complete, the next step is drying. This prevents water spots and streaks from forming on the surface. Microfibre towels are ideal for this task due to their softness and absorbency.
Drying Tips
- Start by gently blotting the surface rather than rubbing, which can cause scratches.
- Work from the top down to avoid unnecessary drips on areas already dried.
- Consider using an air compressor for drying hard-to-reach spots. The best air compressor for car wash can be a great investment to speed up this process.
Pay special attention to areas like mirrors, door frames, and wheel wells, as these spots tend to retain water. A thorough drying session ensures a flawless finish and protects the vehicle’s exterior from water-related damage.
Caring for your pressure washer after use
After finishing a cleaning session, disconnect the water supply and run the machine for a few seconds to clear the system. This helps prevent any leftover detergent from clogging the internals. I remember one time ignoring this tip; it led to a frustrating repair that could have been avoided.
Storing the equipment properly
Once you’ve cleared the system, it’s vital to store the unit in a dry environment. Moisture can lead to rust and damage over time. If you live in a humid area, consider using a mold and mildew remover for pressure washer to keep the components in good condition. Make sure to coil the hose neatly to avoid kinks, which can affect performance later.
Routine maintenance checks
Regularly inspect the nozzle for blockages. A quick rinse can do wonders. I’ve found that a simple check of the connections and hoses can save time and money down the line. Additionally, consider changing the oil if your model requires it, following the manufacturer’s guidelines. This little effort ensures longevity and reliability for your next cleaning task.


.jpg)


