


Connect your water supply directly to the unit, ensuring a solid fit to prevent leaks. This simple step is crucial for optimal performance. I’ve seen many users struggle with inadequate water flow due to loose connections, which ultimately hampers the cleaning process.
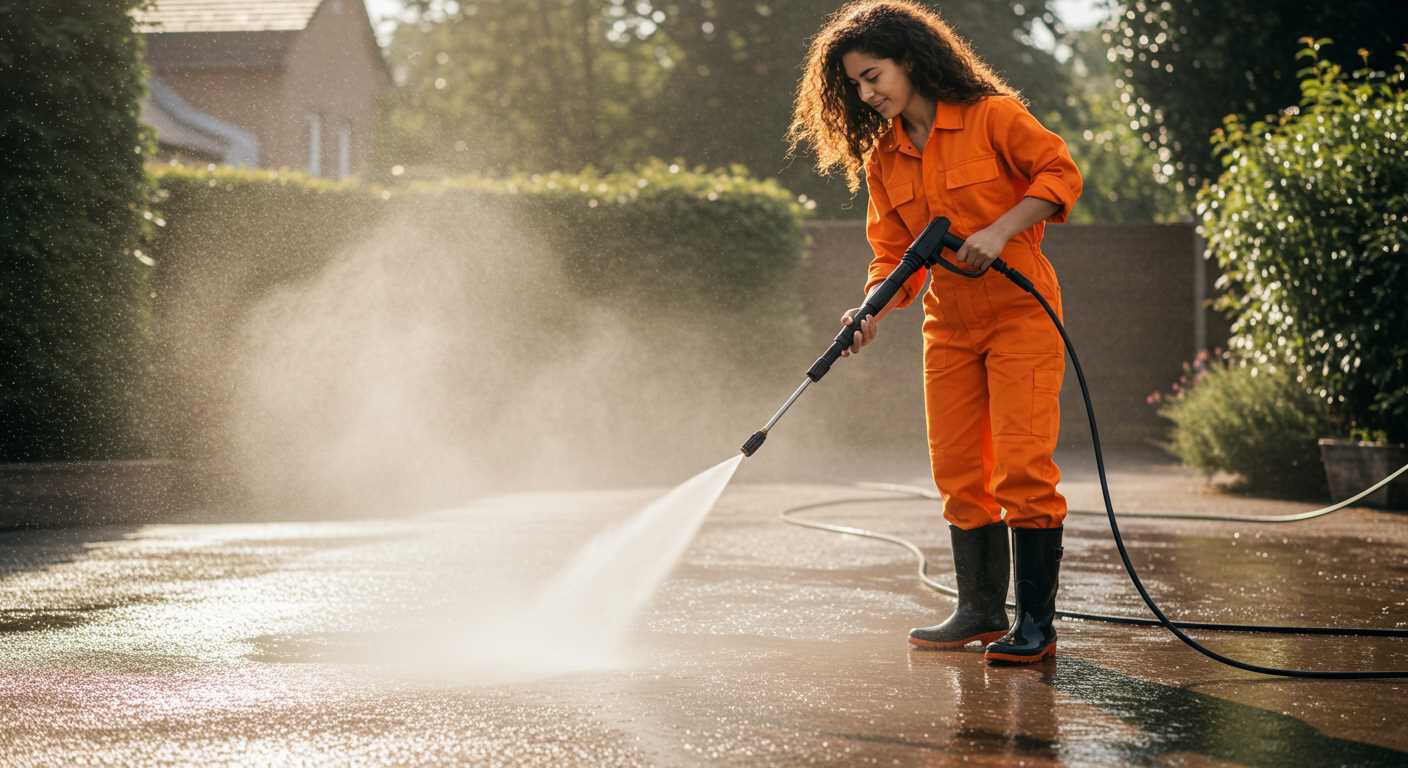
Before starting, check the surrounding area for debris or obstacles. Clearing the space not only ensures safety but also allows for a more thorough job. I often share a story about a time I overlooked this step and ended up spending more time dodging garden furniture than cleaning. A clear path makes all the difference.

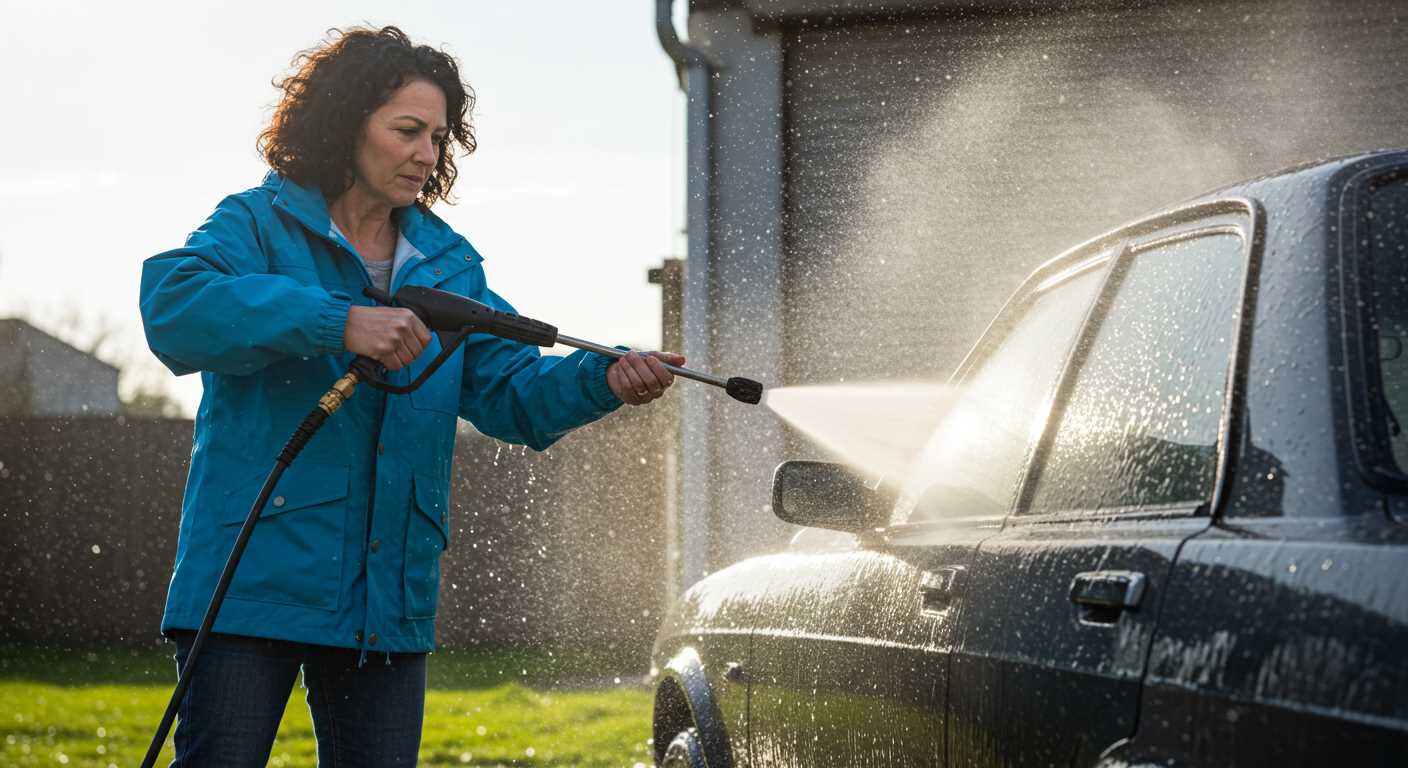
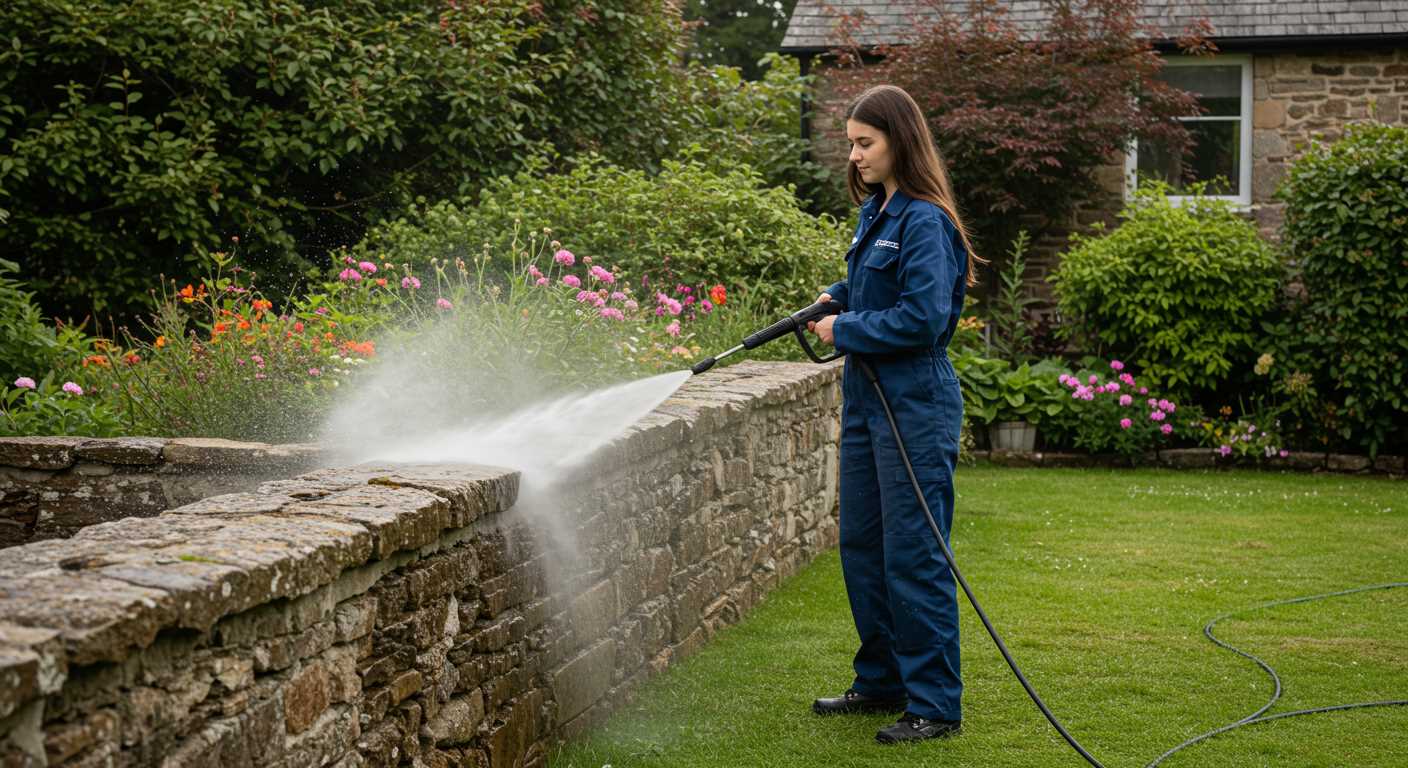
Adjust the nozzle according to the task at hand. Different surfaces require different spray patterns. For example, a wider spray is ideal for delicate surfaces, while a narrow stream works wonders on tough grime. I recall a particularly stubborn stain on my driveway; switching to a more focused spray transformed the effort from tedious to surprisingly satisfying.
Lastly, maintain a consistent distance from the surface being cleaned. Too close, and you risk damage; too far, and you waste time and water. A foot away usually strikes the right balance. Learning this through trial and error has saved me countless hours and frustration.
Choosing the Right Pressure Cleaner for Your Needs
To find the ideal unit, consider what tasks you’ll tackle. For light jobs like cleaning patios or garden furniture, a model with a motor output of around 1200 to 1600 psi is sufficient. If you’re dealing with stubborn grime or larger surfaces, opt for 2000 psi or more. My colleague once underestimated the power needed for his driveway, only to realise mid-clean that he needed a stronger machine to remove years of built-up dirt.
Electric vs Gasoline Models
Electric versions are quieter and typically lighter, which makes them easier to move around. However, gasoline units deliver higher performance and are more suited for heavy-duty tasks. I remember a weekend spent clearing a large deck; the electric cleaner struggled, while a gas alternative made short work of it. It’s worth assessing your cleaning frequency and intensity when choosing between these options.
Accessories and Features
Look for models that come with various nozzles and attachments. A rotating nozzle can be a lifesaver for tough stains. I once had a stubborn oil spill on the garage floor; switching to a rotating attachment turned a frustrating hour into mere minutes. Additional features like onboard storage for accessories can keep everything organised, which I find invaluable after a long day of cleaning.
Connecting the pressure cleaner to your outdoor water supply

The first step is to ensure a secure connection between your cleaning unit and the water source. Start by locating the inlet on the device, usually found at the back or side. You’ll need a standard garden pipe to bridge the gap.
Attach one end of the garden pipe to the water supply tap. Ensure it’s tightly screwed on to avoid leaks. The other end should connect to the inlet of your machine. You might hear a click or feel it lock into place, confirming a proper fit. If your equipment comes with a filter, make sure it’s installed to prevent debris from clogging the system.
Before turning on the water, I recommend checking for any twists or bends in the pipe. This ensures a smooth flow and prevents unnecessary strain on the fittings. Once everything is securely connected, turn on the water supply slowly. Check the connections for leaks while doing this; it’s better to catch any issues early.
After confirming there are no leaks, proceed to power on the machine. Most models will have a safety feature that requires you to pull the trigger on the spray gun before the motor activates, which helps prevent pressure build-up. Always keep the nozzle pointed away from yourself and others until you’re ready to begin.
In my experience, maintaining a steady water flow is crucial. If the water supply is inconsistent or turns off unexpectedly, it can cause the unit to malfunction. If you encounter any issues, double-check those connections and ensure the tap is fully open.
One tip I’ve learned over the years: avoid using long or coiled pipes, as they can affect performance. A short, straight run will maintain pressure and efficiency. Once you’ve got everything set up properly, you’ll be ready to tackle any cleaning task with confidence.
Understanding Water Supply Requirements for Pressure Cleaners
Ensure a minimum flow rate of 5 litres per minute for optimal performance. Insufficient water supply can lead to overheating and damage. I’ve seen many units fail simply due to inadequate water flow. Check your tap’s output before starting any tasks.
Water Pressure Specifications
Most models operate best at a pressure between 20 to 100 psi. If the water pressure at your source is lower than this range, consider using a booster pump. I once had a client whose outdoor tap provided only 15 psi. Introducing a pump transformed their cleaning ability significantly.
Hose Considerations
Utilise a hose diameter of at least ½ inch to prevent flow restrictions. A larger diameter supports higher flow rates, allowing machines to function more efficiently. I recall a project where switching to a thicker hose reduced cleaning time dramatically, highlighting the difference a good hose can make.
Adjusting Pressure Settings for Different Cleaning Tasks
For optimal results, select the correct pressure level for the task at hand. When dealing with delicate surfaces like car paint, dial down the pressure to around 1200-1500 PSI. This prevents damage while still providing enough power to remove dirt and grime. In contrast, for tougher jobs like stripping paint from wood or cleaning concrete, you might need to increase the pressure to 2500-3000 PSI.
In my experience, using adjustable nozzles is key. A 25-degree nozzle is versatile for general cleaning, while a 40-degree nozzle works well for rinsing and light tasks. For stubborn stains, a 0-degree nozzle directs a concentrated jet of water, but be cautious–this can cause harm if used incorrectly.
Additionally, consider the distance from the surface. Keeping the nozzle about 12-18 inches away for most tasks helps maintain effectiveness without causing damage. For surfaces that require more attention, like patios covered in mildew, reduce the distance while ensuring you don’t linger too long in one spot.
Always remember to test a small area before proceeding with the entire surface. This allows you to adjust the pressure and angle as needed. If you’re curious about precise cooking times for dishes, such as how long to roast a chicken in pressure cooker, similar principles apply–start low and adjust based on your specific needs.
Lastly, don’t underestimate the power of cleaning solutions. Sometimes a lower pressure combined with the right detergent can yield better results than cranking up the PSI. Experimentation and practice lead to mastering the art of effective cleaning.
Selecting the Appropriate Nozzle for Various Surfaces
For optimal cleaning, matching the right nozzle to the surface is critical. Each nozzle produces a different spray pattern and pressure, making it suitable for specific tasks. A 0-degree nozzle delivers a concentrated stream ideal for tough stains on concrete. However, it can damage softer surfaces, so caution is necessary.
For delicate areas, such as vehicles or wooden decks, a 25-degree or 40-degree nozzle is preferable. These options create a wider spray, reducing the risk of damage while still providing effective cleaning. During my years testing equipment, I often relied on a 25-degree nozzle for patios; it strikes a balance between power and safety.
For surfaces that require a gentle touch, such as painted walls or siding, the 40-degree nozzle is ideal. It provides a gentle mist that cleans without stripping paint or causing harm. I recall using this on my own home, and it left the siding looking fresh without any adverse effects.
Specialty nozzles are also available for specific applications. For instance, a rotating nozzle combines the power of a narrow stream with a spinning action, efficiently removing dirt while minimizing the risk of damage. This is particularly useful for grime-laden surfaces like driveways.
When detailing a car, consider using a specific pressure washer nozzle for car detailing. These nozzles are designed to reach tight spaces and deliver a gentle spray, ensuring a thorough clean without risking paint damage.
Always test a new nozzle on a small, inconspicuous area before tackling larger sections. This way, you can make adjustments based on the surface’s response, ensuring both effectiveness and safety.
Safety Precautions While Using a High-Pressure Cleaner
Always wear protective gear, including safety goggles, gloves, and sturdy footwear. This shields against debris and prevents slips on wet surfaces.
- Ensure that the area is free from bystanders, particularly children and pets. Maintain a safe distance of at least 10 metres.
- Inspect equipment before starting. Check for any leaks, frayed hoses, or damaged connections. Replace or repair anything that appears worn.
- Never aim the nozzle at yourself or others, regardless of the pressure settings. The force can cause severe injuries.
- Stand firmly and maintain a stable posture while operating. This helps avoid losing balance when handling the machine.
Be cautious of electrical hazards. If you’re using an electric model, keep cords and plugs away from water. Consider using a Ground Fault Circuit Interrupter (GFCI) for extra safety.
- Keep the nozzle at least 30 cm away from surfaces to prevent damage.
- Avoid using the device on ladders or uneven ground to reduce the risk of falls.
- Do not modify the equipment or use it for purposes other than intended.
Familiarise yourself with the manufacturer’s guidelines. Each model has specific operational instructions that should be adhered to for safe and effective cleaning.
Lastly, always disconnect from the water supply and electricity when not in use. This prevents accidental activation and reduces the risk of unwanted incidents.
Maintenance tips for your cleaning machine after use
After finishing a task, ensuring the longevity of your equipment is paramount. Here are some straightforward steps I recommend to keep your device in top shape:
- Disconnect all connections. Always start by detaching the water supply and power source. This prevents any accidental activation or damage.
- Empty the water. Run the machine for a few moments without water to clear out any remaining fluid. This helps avoid any freezing or internal corrosion issues.
- Flush the system. Use a cleaning solution recommended by the manufacturer to cleanse the internal components. This can prevent buildup and keep everything functioning smoothly.
- Inspect hoses and fittings. Look for cracks, leaks, or wear. Any damaged parts should be replaced immediately to prevent further issues.
- Clean the filters. Regularly checking and cleaning filters ensures optimal performance. Clogged filters can lead to reduced efficiency and potential damage.
- Lubricate moving parts. A little lubricant on joints and connections can help maintain smooth operation and reduce wear over time.
- Store properly. Keep the unit in a cool, dry place, away from direct sunlight. If storing for an extended period, consider draining the fuel and water completely.
From my experience, these practices can significantly extend the life of your equipment and ensure it’s ready for the next job. I’ve seen many machines fail due to neglecting simple maintenance tasks, so don’t overlook these steps!
Troubleshooting common issues with pressure cleaners
When dealing with a malfunctioning unit, the first step is to check for water supply issues. Ensure the connection is tight and there are no kinks in the piping. If the flow seems low, inspect the water source for blockages.
If the machine starts but doesn’t build pressure, examine the inlet filter. A clogged filter can restrict water flow. Clean it regularly to avoid this problem. Also, verify that the nozzle is not obstructed; these can easily accumulate debris which hampers performance.

For units that start and stop erratically, the issue may lie within the pump or the trigger gun. Check for leaks in the connections. If the trigger is sticking, lubricate it to ensure smooth operation. A malfunctioning unloader valve could also cause this; consult the manual for adjustments.
Noise can be a good indicator of trouble. If you hear unusual sounds, it might signal a failing motor or a worn-out pump. Inspect the components and replace any that show signs of wear. Regular maintenance can prevent these issues from escalating.
Here’s a quick reference table for common problems and solutions:
| Issue | Possible Cause | Solution |
|---|---|---|
| No water flow | Clogged inlet filter | Clean or replace the filter |
| No pressure | Blocked nozzle | Clear any debris from the nozzle |
| Starts/stops unexpectedly | Faulty trigger gun | Lubricate or replace the trigger gun |
| Unusual noise | Worn components | Inspect and replace as necessary |
In my experience, most issues can be traced back to neglecting routine upkeep. Simple checks and cleanings can save time and money in the long run. Keep a maintenance log to track what you’ve done, and it will help identify patterns that might lead to future breakdowns.
FAQ:
What are the basic steps to connect a pressure washer to an outside hose?
To connect a pressure washer to an outside hose, first locate the water inlet on the pressure washer. Attach one end of the hose to this inlet and ensure it is securely fastened. Next, connect the other end of the hose to your outdoor tap. Turn on the tap to allow water to flow into the pressure washer. It’s also advisable to check for any leaks before starting the machine.
Can I use any type of outside hose with my pressure washer?
While most standard garden hoses can be used with a pressure washer, it is best to use one that is rated for high pressure. A lightweight hose may not withstand the pressure generated by the washer and could burst. Look for hoses made from durable materials, and ensure that the diameter matches the requirements of your pressure washer for optimal performance.
Do I need to adjust the pressure settings when using a pressure washer with an outside hose?
Adjusting the pressure settings may be necessary depending on the task at hand. For delicate surfaces like wood or certain types of paint, lower pressure settings are advisable to avoid damage. Conversely, for tougher surfaces like concrete or stone, higher pressure settings can be used. Always consult the user manual of your pressure washer for specific guidelines on pressure settings for different applications.
What safety precautions should I take while using a pressure washer with an outside hose?
When using a pressure washer, it’s important to wear protective gear such as goggles and gloves to shield against debris. Ensure that the area is clear of people and pets, and avoid directing the spray at electrical outlets or appliances. Additionally, check that the hose and connections are secure to prevent any accidents. Always follow the manufacturer’s safety guidelines for your specific pressure washer model.
How do I properly maintain my pressure washer after using it with an outside hose?
After using your pressure washer, it’s important to perform some maintenance to ensure its longevity. Start by disconnecting the hose and draining any remaining water from the unit. Clean the nozzle and filter to prevent clogs. Store the pressure washer in a dry place and protect it from extreme temperatures. Regularly check hoses and fittings for wear or damage, and replace them as needed to keep the machine in good working order.
.jpg)


