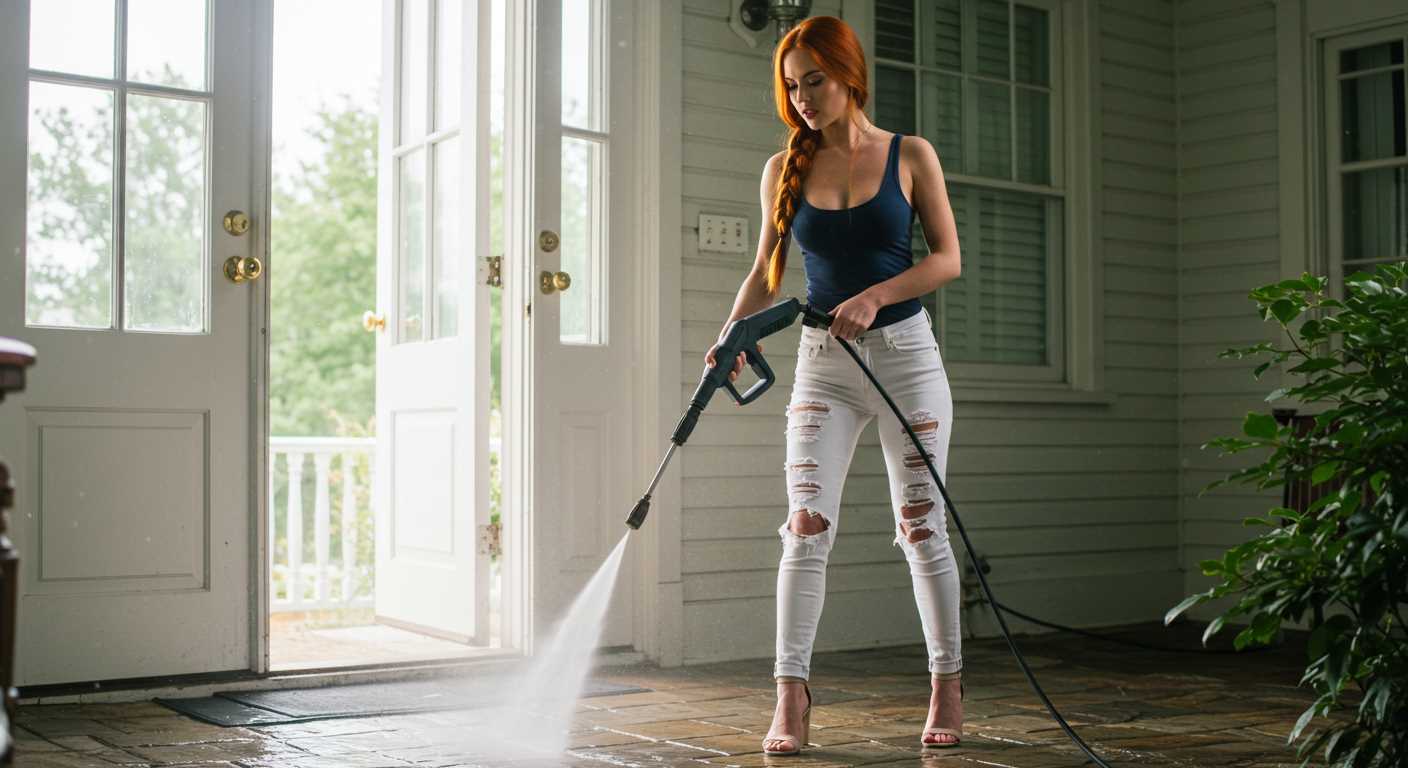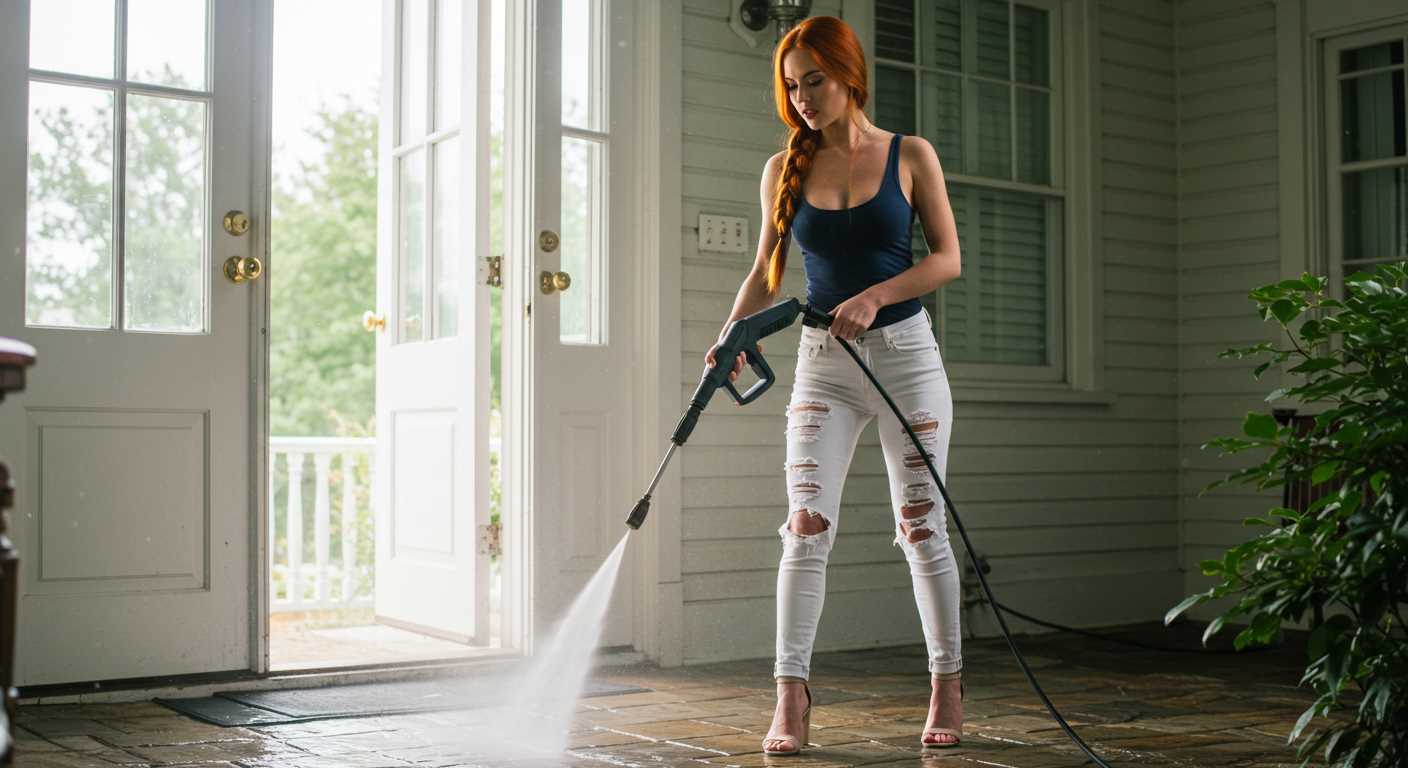


Utilising a bucket filled with water can be an efficient way to power a high-pressure cleaner. I’ve done this countless times, especially in locations where a traditional water supply wasn’t available. Simply fill a large container, ensuring it holds enough liquid to complete your task. Make sure the cleaner’s intake hose is submerged to avoid sucking in air, which can damage the unit.
Another option involves using a water tank or barrel. I once had a scenario where a client had a rainwater collection system. Connecting the unit to this setup not only provided a sustainable source but also reduced water costs. Just ensure that the tank is clean and that the water is free from contaminants that could clog the system.
In some cases, I’ve improvised by creating a gravity-fed system. By placing the water source at a higher elevation than the cleaner, I was able to create adequate flow without any additional effort. This method is particularly useful for outdoor projects where access to mains water is limited.
Always check the specifications of your equipment to confirm compatibility with alternative methods. Each machine has its own requirements, and understanding those can prevent mishaps. It’s also wise to consider the length and diameter of the intake hose, as these factors can influence water flow.
With these strategies, you can efficiently tackle cleaning projects even in the absence of a direct water supply. Each experience I’ve had reinforces the importance of being resourceful and adaptive, ensuring that your cleaning tasks are completed smoothly and effectively.
Selecting the right pressure washer model
Choosing the right model is about understanding your specific needs. If you plan to tackle heavy-duty tasks like stripping paint or cleaning large surfaces, opt for a unit with a higher PSI rating, ideally above 3000. From my experience, models such as the Honda GX390 engine series deliver robust power for demanding jobs.
For lighter applications, a mid-range machine with 2000 to 2500 PSI is adequate. I once tested a model with 2200 PSI that effortlessly cleaned patio furniture and driveways, making it ideal for home users who prefer a balance between performance and portability.
Evaluate the flow rate too–measured in gallons per minute (GPM). A higher GPM translates to quicker cleaning. A unit with 2.5 GPM can significantly reduce cleaning time compared to one with a 1.5 GPM output. I recall using a model with 2.8 GPM for a commercial project, and it cut the job time in half, which was a game changer for productivity.
Consider mobility and storage. If you have limited space or need to transport your equipment frequently, lightweight designs with compact frames are beneficial. I had a compact model that weighed just 30 pounds, making it easy to manoeuvre around the yard and fit in tight spaces.
Lastly, look for features that enhance usability. Adjustable nozzles, integrated detergent tanks, and quick-connect fittings add convenience. I once had a model with a 5-in-1 nozzle that allowed me to switch from a wide spray to a narrow jet in seconds, making it versatile for various tasks.
Understanding Water Supply Alternatives
Consider a water tank as a practical solution. A 50-gallon tank can provide ample water for most tasks. Make sure it’s positioned at a height, allowing gravity to assist in water flow. A simple gravity feed setup can be surprisingly effective, especially for light to medium-duty applications.
Utilising Buckets
Using buckets is another straightforward method. Fill a bucket with water and attach a suitable suction attachment to your equipment. This can be less efficient than a tank but works well for smaller jobs. Ensure the bucket is large enough to prevent frequent refills, and keep your suction line submerged to avoid air getting into the system.
Rainwater Harvesting
If you have a rainwater collection system, it can serve as an eco-friendly alternative. Store rainwater in barrels, and connect it to your apparatus using a long hose. This method not only conserves water but also reduces costs, making it an excellent option for outdoor cleaning tasks.
Setting up a water tank for your cleaning device
For optimal results with your cleaning equipment, establishing a dedicated water tank is key. I’ve experimented with various setups over the years, and I can confidently say that a well-prepared tank can make all the difference.
Choosing the Right Size
First, determine the capacity you need. A tank holding at least 50 to 100 litres is often sufficient for most tasks. If you’re tackling larger areas or more stubborn grime, consider a 200-litre tank. This ensures uninterrupted operation, reducing the need for frequent refills.
Water Source and Filtration
Ensure the tank is filled with clear, debris-free water. I recommend installing a filtration system to prevent dirt from clogging your equipment. A simple mesh filter can capture larger particles, ensuring smooth operation. When I didn’t use a filter, I faced constant interruptions for cleaning the inlet screen. Trust me, it’s not worth the hassle.
| Tank Size (litres) | Use Case | Recommended Filter Type |
|---|---|---|
| 50-100 | Small to medium tasks | Mesh filter |
| 100-200 | Medium to large tasks | Sand filter |
| 200+ | Commercial or extensive use | Cartridge filter |
Position the tank on a level surface, preferably elevated, to facilitate gravity-fed flow. This simple step can save you from the frustration of low water pressure caused by improper positioning. I’ve seen some setups that were near the ground, and they just couldn’t deliver the power needed for effective cleaning.
Lastly, connect the tank to your machine with a sturdy hose that can handle the flow. Ensure all connections are secure to prevent leaks, which can waste water and create a mess. A few extra minutes spent on setup can lead to a smoother experience overall.
Connecting the washer to a water source without a hose
For those times when a traditional hose isn’t an option, connecting your cleaning device directly to a water source can be a straightforward process. One effective method is using a water tank or a container with a built-in tap. Simply place the tank at a height that allows gravity to assist in water flow, ensuring that it’s stable and won’t tip over during operation.
Next, attach a suitable adapter to the tank’s outlet. Depending on your model, this may require a specific fitting that matches the inlet of your machine. I often recommend checking with the manufacturer for compatible parts. In my experience, a standard garden tap connector can work wonders if adapted correctly.
Additionally, consider using a siphon system. This involves submerging a hose in the water source, then creating a vacuum to draw water into the device. Ensure that the hose is securely fitted and that there are no leaks, as this can hinder performance. I’ve had success with this method during outdoor events where access to a tap was limited.
Remember to monitor the water level in your tank or reservoir. If it runs dry, your equipment might draw air, leading to potential damage. Keeping a close eye on the water supply will save you from interruptions and maintain consistent performance.
Lastly, if you’re using a portable or self-contained unit, ensure that the water source is clean and free from debris. Clogged filters can result in poor performance, which is something I’ve encountered firsthand when using water with high sediment levels.
Adjusting Pressure Settings for Different Surfaces
For optimal cleaning results, it’s crucial to tailor the output force to the specific material you’re working with. When I first started, I made the mistake of using the same intensity for everything, which occasionally led to damage. Here’s what I learned over the years:
Soft Surfaces
For delicate materials like wood decks or painted surfaces, select a lower setting. I usually recommend around 1200-1500 PSI. This gentle approach removes dirt without stripping away the finish. When I tackled my old patio furniture, using this lower force preserved the paint while effectively eliminating grime.
Hard Surfaces
On tougher areas such as concrete or brick, increase the intensity to about 2500-3000 PSI. During a recent project on my driveway, I found that this adjustment quickly tackled stubborn stains like oil and moss. Just ensure you’re maintaining a safe distance–around 12 to 18 inches–from the surface to avoid etching.
Always remember to test a small, inconspicuous area first. I’ve seen too many instances where too much force led to irreversible damage. Adjusting the nozzle type can also help; a narrower spray pattern concentrates the force for effective cleaning on hard surfaces, while a wider spray is gentler for softer materials.
With these adjustments, you not only achieve a thorough clean but also protect your surfaces, ensuring they last longer and look their best. Experience has taught me that the right settings can make all the difference in maintaining the integrity of your surfaces.
Maintaining Your Equipment During Operation
Regular upkeep is key to prolonging the life of your cleaning equipment. I’ve learned a lot over the years, and here are some practical tips based on my hands-on experience.
- Check Oil Levels: Before starting, ensure the oil levels are adequate. Low oil can lead to engine damage, which is costly to repair.
- Inspect Filters: Clean or replace air and fuel filters regularly. Clogged filters can restrict airflow, affecting performance. I often keep spare filters handy for quick replacements.
- Examine Hoses and Connections: Look for signs of wear or leaks. Even minor leaks can decrease efficiency and create a mess. I’ve had instances where a simple hose replacement made all the difference in performance.
- Monitor Temperature: Keep an eye on the operating temperature. If it gets too hot, pause and let it cool down. Overheating can cause significant damage.
- Flush the System: After each session, run clean water through the unit to prevent build-up of detergents or debris. This habit has saved me from clogged pipes and nozzles.
When tackling automotive cleaning, consider the automotive pressure washer models, as they often come with features tailored for car maintenance.
For those interested in achieving optimal results, I recommend investing in the best car wash high pressure spray gun available. It can make a noticeable difference in your cleaning routine.
By keeping these maintenance tips in mind, you can ensure your equipment remains in excellent condition and delivers the performance you expect. Regular care not only enhances efficiency but also saves you from unwanted repairs down the line.
Cleaning and Storing Your Equipment After Use
After finishing your task, the first step is to disconnect your machine from its water supply. Ensure that all residual liquid is drained to prevent any damage or corrosion. I always recommend running the machine for a minute without any attachment. This helps clear out any leftover soap or debris.
Next, take a soft brush or cloth to wipe down the exterior. This not only removes dirt but also helps maintain the aesthetics of your device. You’d be surprised how much grime can accumulate, and a quick clean can save you from larger issues down the line.
Cleaning Attachments
For nozzles and other attachments, a thorough rinse under warm water is essential. I usually soak them in a mixture of warm water and mild detergent for about 15 minutes, then rinse again to ensure all residues are gone. This simple routine extends their lifespan significantly.
Proper Storage Techniques
Storing your gear correctly is as important as cleaning it. Always keep it in a dry, cool place. Avoid areas with extreme temperatures, as they can affect the materials. I prefer using a storage rack or case to keep everything organised and protected from dust or damage.
Finally, check the power cord and ensure it’s untangled and neatly coiled. This prevents any wear and tear that can occur if it’s left in a tangled mess. Following these steps will keep your equipment in top shape and ready for your next project.


.jpg)


