


Before you plug in your device, ensure the water supply is connected securely. A loose connection can lead to leaks and hinder performance. I recall a time when I overlooked this detail, only to be met with a frustrating mess instead of a sparkling clean driveway.
Next, choose the right nozzle for your cleaning task. Different nozzles deliver varying spray patterns and pressures. For instance, a wider spray is ideal for rinsing large surfaces, while a narrow stream is perfect for tackling stubborn stains. I often keep a variety of nozzles on hand, as this versatility allows me to adapt to any cleaning challenge.

Pay attention to the detergent selection as well. Opt for a cleaning solution compatible with your machine to avoid damage. I once experimented with a generic soap that clogged my system, resulting in a costly repair. Always follow the manufacturer’s recommendations for cleaning agents to ensure longevity and optimum performance.
Lastly, maintain your unit regularly. Cleaning filters and checking hoses can save you from unexpected breakdowns. I learned this the hard way after neglecting routine checks; my machine failed during a crucial cleaning job. Investing a little time in maintenance goes a long way in extending the life of your equipment.
Understanding the Components of Your Pressure Cleaner
Familiarity with the individual parts of your cleaning machine can significantly enhance your performance and maintenance routines. Here’s a breakdown of the key components.
Motor
The motor is the powerhouse, converting electrical energy into mechanical energy. A reliable motor ensures consistent water flow and pressure. It’s critical to keep it clean and free from debris. If you notice any unusual noises, it might be a sign that it needs servicing.
Pump
The pump is responsible for generating the high pressure. It’s important to use appropriate fluids to ensure longevity. Regularly check the oil levels; using the right oil for pressure washer pump helps maintain optimal performance. If you notice a drop in pressure, inspecting the pump for wear and tear is advisable.
- Check for leaks regularly.
- Listen for any unusual sounds during operation.
- Keep an eye on the oil level.
Hose and Nozzle
A flexible hose allows for manoeuvrability while cleaning. Ensure it’s not kinked or damaged, as this affects water flow. The nozzle is equally important; different nozzles provide various spray patterns suitable for different surfaces. Always match the nozzle to the job at hand for optimal results.
- Use a narrow nozzle for tough stains.
- Opt for a wider spray for delicate surfaces.
Understanding these components will help you troubleshoot issues and enhance your cleaning efficiency. Regular maintenance and care can extend the lifespan of your equipment, ensuring it performs at its best for years to come.
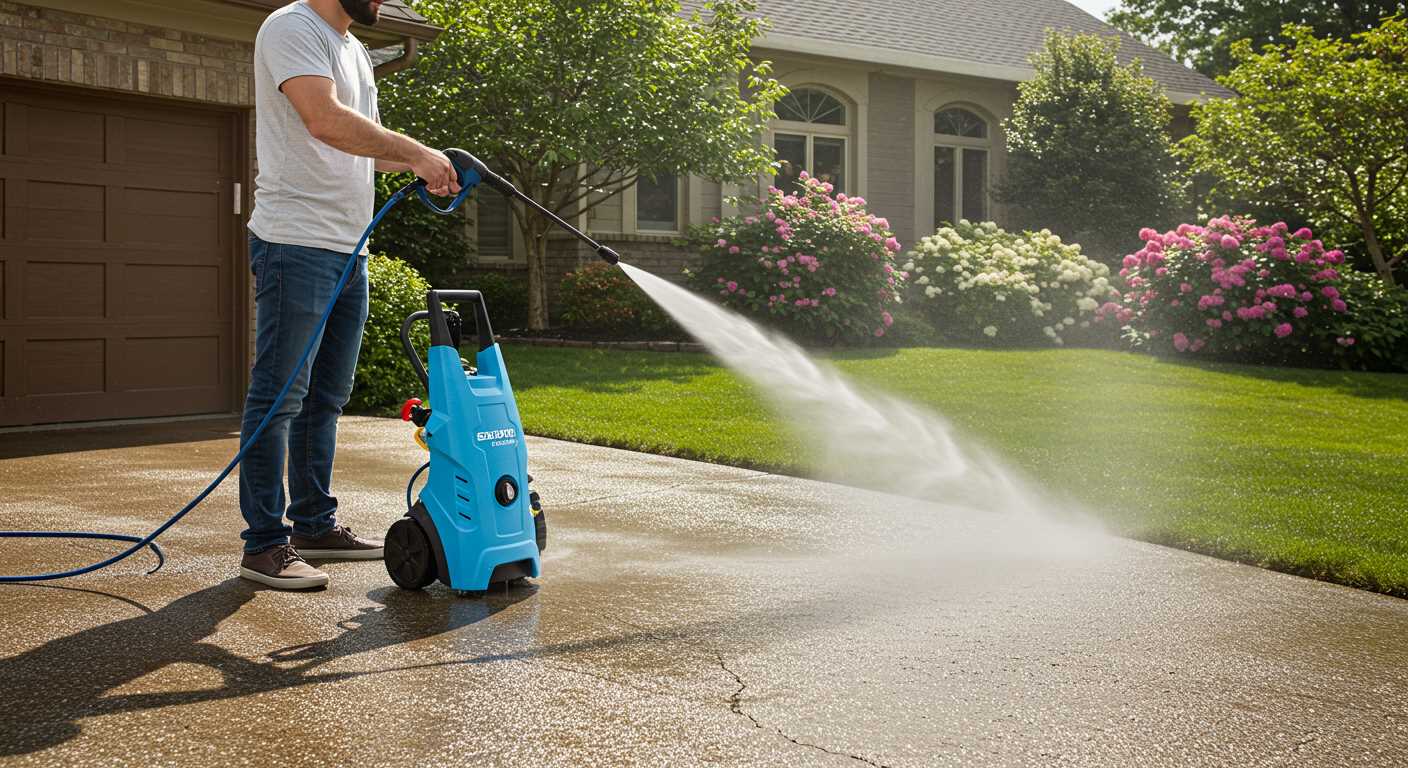
Setting Up Your Pressure Cleaner for First Use
Before you begin, ensure you have a flat, stable surface to work on. Position the unit near an electrical outlet and water source, keeping the hose and cord free from any obstructions. Check the water supply; it should be clean and free of debris to prevent clogging.
Next, connect the garden hose to the inlet port on your machine. Make sure it’s tightly secured to avoid leaks. Turn on the water supply and check for any leaks at the connection point. If you notice water escaping, tighten the fitting until it stops.
Now, attach the spray wand to the trigger gun. Ensure it clicks into place securely. Select the appropriate nozzle for your cleaning task. For larger surfaces, the wide-angle nozzle works well, while the narrow nozzle is ideal for tougher spots. Remember, using the right nozzle can save you time and effort.
Once the wand is attached, plug the unit into a suitable power outlet. Before turning it on, check that the power switch is in the off position. This adds an extra layer of safety.
With everything connected, it’s time to prime the system. To do this, squeeze the trigger on the gun while keeping the unit off. This will allow any air trapped in the system to escape. Hold the trigger for about 30 seconds until a steady stream of water flows out.
Now, switch on the power. You’ll hear the motor start. If the motor runs but there’s no water flow, turn it off and check all connections again. Once you’re satisfied everything is secure, you can begin cleaning.
| Step | Action |
|---|---|
| 1 | Choose a stable work surface |
| 2 | Connect garden hose to inlet port |
| 3 | Attach spray wand to trigger gun |
| 4 | Plug into power outlet |
| 5 | Prime the system by squeezing the trigger |
| 6 | Switch on the power |
After you’ve set everything up, take a moment to familiarise yourself with the controls. Understanding the settings will help you achieve the best results for each cleaning task. Now you’re all set to tackle your cleaning projects efficiently!
Selecting the Right Nozzle for Different Cleaning Tasks
Choosing the correct nozzle is crucial for achieving optimal results in various cleaning scenarios. Each nozzle type is designed for specific tasks, and understanding their functions can save time and enhance efficiency.
Zero Degree and 15 Degree Nozzles
The zero-degree nozzle delivers a concentrated jet of water, making it ideal for tackling tough stains on surfaces like concrete. I remember using it to remove oil spills from my driveway; the results were impressive. However, caution is necessary, as this nozzle can damage softer surfaces. The 15-degree variant offers a broader spray pattern, suitable for stripping paint or cleaning heavily soiled areas without the risk of surface damage. I’ve found it particularly useful when prepping wood for staining.
25 Degree and 40 Degree Nozzles
The 25-degree nozzle is versatile, perfect for general cleaning tasks such as washing cars or cleaning patios. It strikes a balance between power and coverage, making it my go-to for most outdoor jobs. On the other hand, the 40-degree nozzle provides a gentle spray, ideal for delicate surfaces like windows and painted siding. I once used it to clean the exterior of my house without worrying about damaging the paint. Selecting the right nozzle can make a significant difference in achieving the desired outcome without unnecessary effort.
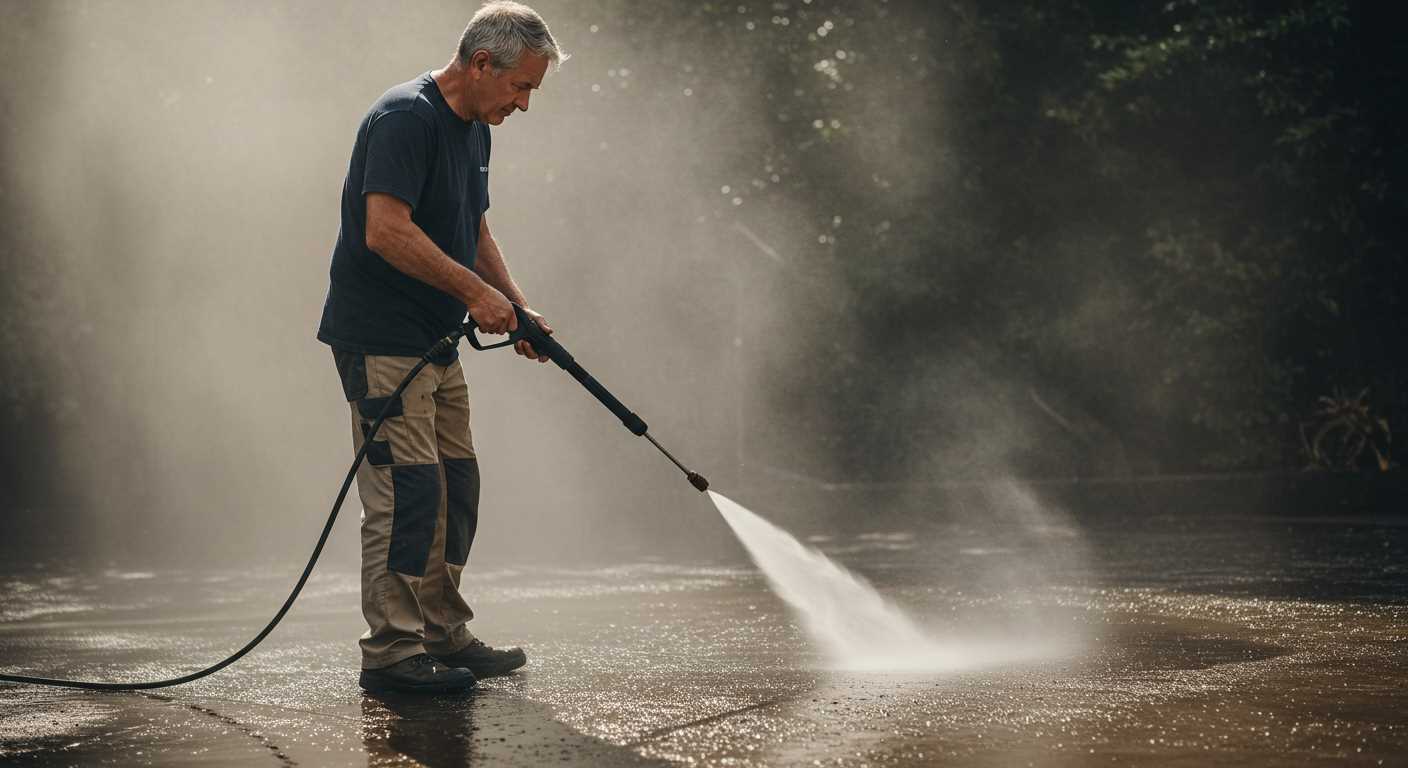
Proper Techniques for Operating the Pressure Washer
Always keep the nozzle at a consistent distance from the surface to avoid damage. A good rule of thumb is to maintain about 18 to 24 inches away for most tasks. This distance helps prevent etching or stripping paint while still providing enough force to remove dirt and grime effectively.
Body Positioning and Stance
Your stance matters. Stand firmly with your feet shoulder-width apart for stability, especially on uneven ground. Use your legs to absorb the force, not just your arms. This technique reduces fatigue and allows for better control of the lance.
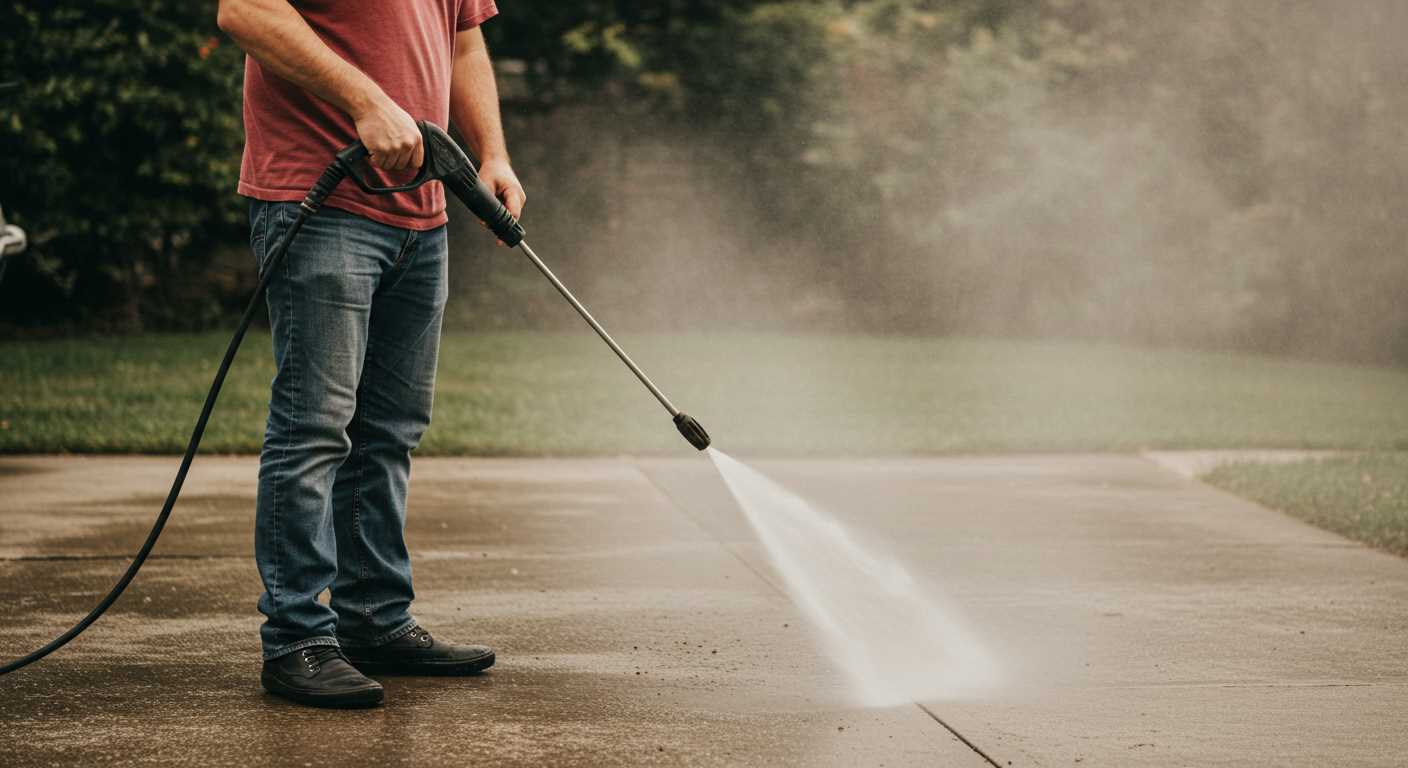
Cleaning Techniques
Begin washing from the top of the surface downwards. This method ensures that dirt and debris flow down to areas already cleaned, preventing re-soiling. For tough stains, employ a sweeping motion rather than a concentrated spray. This technique distributes pressure evenly, enhancing cleaning without damaging surfaces.
When approaching corners or edges, adjust your angle to avoid overspray onto unintended areas. If you encounter stubborn spots, don’t hesitate to pause and let the cleaning solution dwell for a few minutes before rinsing. This extra time allows the detergent to penetrate and loosen grime.
Maintaining Your Pressure Cleaner After Use
After completing your tasks, immediate care for your cleaner ensures its longevity. First, disconnect the water supply and power source to prevent any accidents. This simple step can save you from potential mishaps.
Next, it’s crucial to drain any remaining water. Simply pull the trigger on the spray gun to release any trapped water in the system. This prevents stagnant water from causing damage or fostering mould.
Cleaning the filter is a must. Remove the inlet filter and rinse it under running water to clear any debris. A clean filter optimises performance and prolongs the lifespan of your machine.
Inspect the nozzles. Any clogs can hinder your device’s cleaning ability. If you notice blockages, clear them using a thin object, but avoid damaging the nozzle. Regular checks keep your attachments in peak condition.
Store your equipment in a dry and cool location. Extreme temperatures can affect the integrity of the materials. If you have winter conditions, consider draining any detergent and antifreeze if applicable, to prevent freezing and cracking.
Finally, a quick wipe down of the exterior with a damp cloth removes dirt and grime. This not only keeps your machine looking sharp but also helps in identifying any potential issues early on.
By following these steps, you ensure your cleaner remains a reliable ally for future tasks. Trust me, a little maintenance goes a long way in keeping your equipment running smoothly.
Troubleshooting Common Issues with Your Pressure Cleaning Equipment
Encountering issues with your cleaning device can be frustrating, but many problems have straightforward solutions. If your machine isn’t starting, first check the power supply. Ensure the outlet is functioning and the power cord is securely connected. Sometimes, simply resetting the circuit breaker can solve the problem.

If the motor runs but there’s no water flow, inspect the hose for kinks or blockages. A clogged nozzle is another common culprit; cleaning or replacing it can restore proper function. Additionally, ensure the water supply is adequate and that the inlet filter is clean.
For inconsistent pressure, verify that you’re using the correct nozzle for your task. A nozzle that’s too wide for the job can lead to reduced pressure. Also, check for air in the system; pulling the trigger while the machine is running can help expel trapped air.
If you notice leaks, inspect all connections and hoses for wear. Sometimes, simply tightening fittings or replacing a worn hose can resolve the issue. Persistent leaks may indicate a need for professional repair or part replacement.
When dealing with a loss of power during operation, examine the extension cord for damage and ensure it’s rated for your model’s requirements. Overheating can also cause the motor to shut off; let it cool down before restarting.
Lastly, if you’re facing stubborn stains or grime that won’t budge, consider using a specialized cleaning solution. For instance, the best chemical for pressure washing vinyl siding can enhance cleaning efficiency and tackle tough spots effectively.
FAQ:
What safety precautions should I take before using my Ryobi electric pressure washer?
Before using your Ryobi electric pressure washer, it’s important to follow several safety precautions. First, ensure that you are wearing appropriate personal protective equipment, such as safety goggles and gloves, to protect yourself from debris and high-pressure water. Check the power cord and plug for any signs of damage before connecting it to an outlet. Make sure the area you are working in is clear of obstacles and that pets and children are kept at a safe distance. Additionally, read the manufacturer’s manual to understand specific safety instructions related to your model.
How do I set up my Ryobi electric pressure washer for first use?
Setting up your Ryobi electric pressure washer for the first time involves a few simple steps. First, ensure that the pressure washer is placed on a flat, stable surface. Connect the garden hose to the water inlet on the machine. Make sure the hose is securely attached to prevent leaks. Next, attach the high-pressure hose to the pressure washer and the spray gun. Fill the detergent tank if you plan to use soap for cleaning. Finally, plug the pressure washer into an appropriate electrical outlet and turn on the water supply. Test the machine by pulling the trigger on the spray gun to release any air trapped in the system.
What types of surfaces can I clean with a Ryobi electric pressure washer?
A Ryobi electric pressure washer is versatile and can be used on various surfaces. It is suitable for cleaning patios, driveways, decks, and siding, as well as outdoor furniture and vehicles. However, it’s important to adjust the pressure settings according to the surface you are cleaning. For example, lower pressure should be used on delicate surfaces like wood, while higher pressure can be applied to concrete or brick. Always test a small, inconspicuous area first to ensure that the surface can withstand the pressure.
How do I maintain my Ryobi electric pressure washer?
Maintaining your Ryobi electric pressure washer is essential for its longevity and performance. After each use, it is important to flush the system by running water through the unit without the spray gun attached. This helps remove any detergent residue. Regularly check and clean the filter located in the water inlet to prevent clogs. Inspect the hoses and connections for wear or damage, and replace any worn parts as needed. Store the pressure washer in a dry place and protect it from extreme temperatures to prolong its life.
Can I use detergent with my Ryobi electric pressure washer, and if so, how?
Yes, you can use detergent with your Ryobi electric pressure washer to enhance cleaning performance. Most models come equipped with a detergent tank or attachment. Fill the tank with an appropriate pressure washer detergent, ensuring it is designed for use with electric pressure washers. Once filled, set the spray nozzle to the low-pressure setting, which is typically used for applying soap. Activate the spray gun and apply the detergent to the surface you wish to clean, allowing it to sit for a few minutes before rinsing with high-pressure water. Always follow the manufacturer’s recommendations regarding the type and concentration of detergent to use.
.jpg)


