
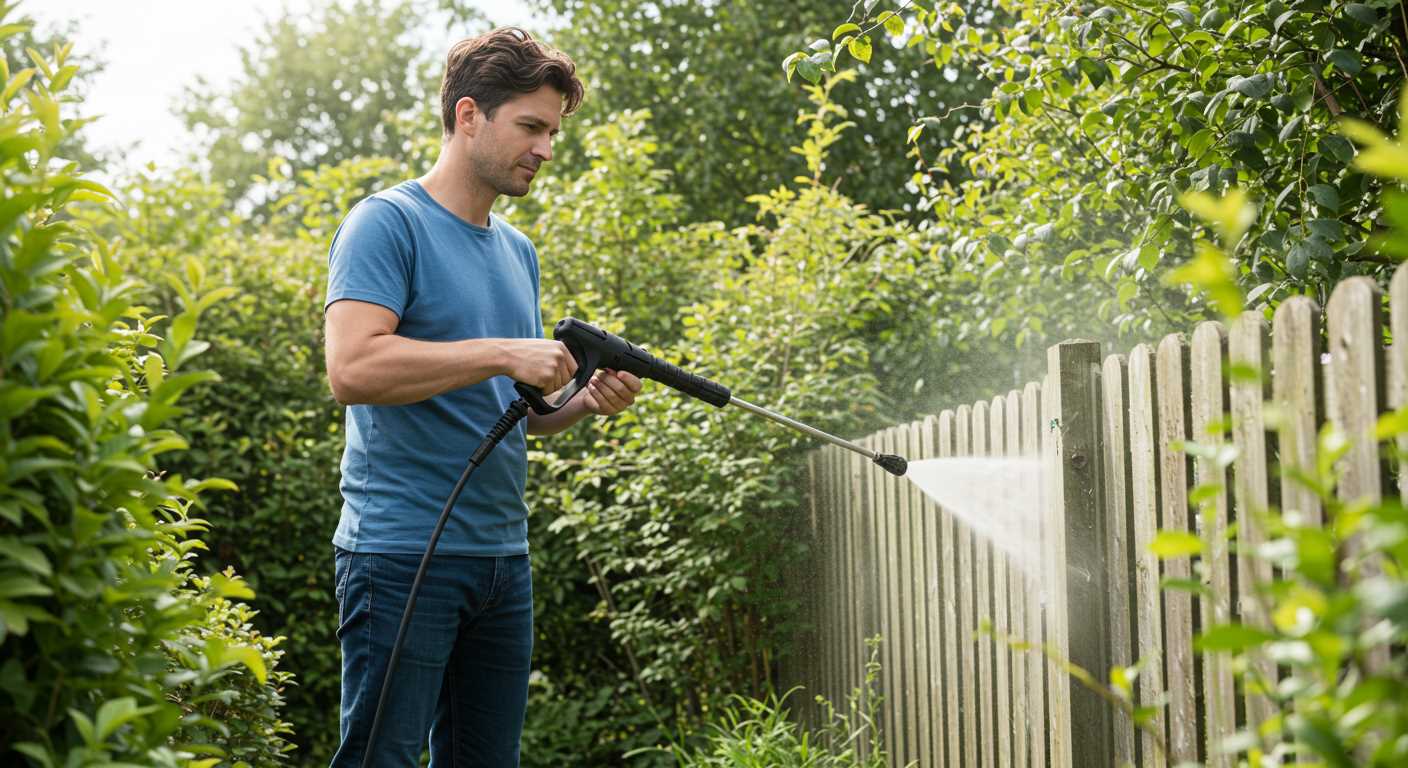


First things first, ensure that the machine is securely connected to its water source. A firm connection prevents leaks and ensures optimal performance. I recall an instance when I neglected this step, resulting in a frustrating mess. Double-checking that every attachment is snug can save a lot of hassle later on.
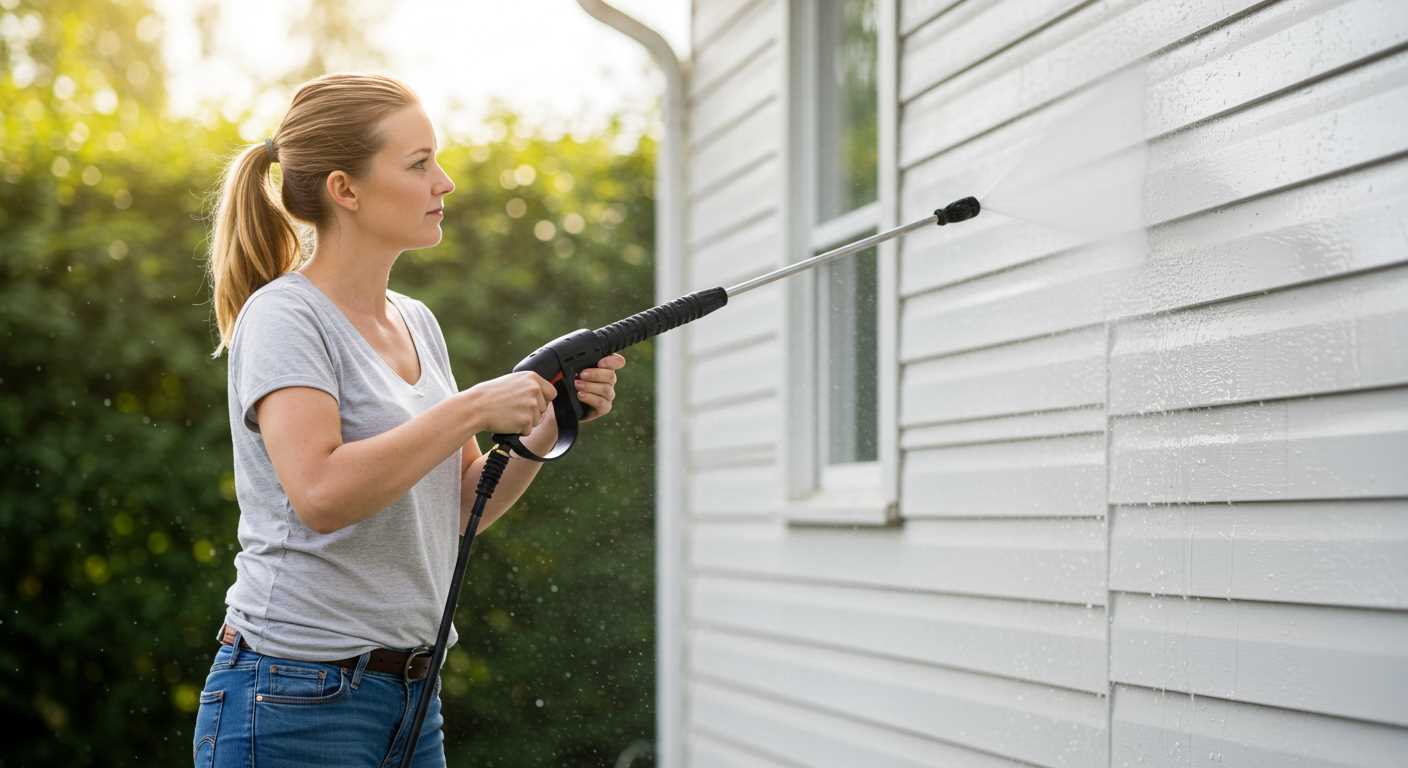
Next up, selecting the right nozzle for the task at hand is crucial. Each nozzle offers a different spray pattern and intensity. I often found myself switching between nozzles during a job to tackle various surfaces. The fan spray is perfect for larger areas, while a more concentrated stream is ideal for stubborn grime. Remember, using the appropriate nozzle can significantly enhance your results.

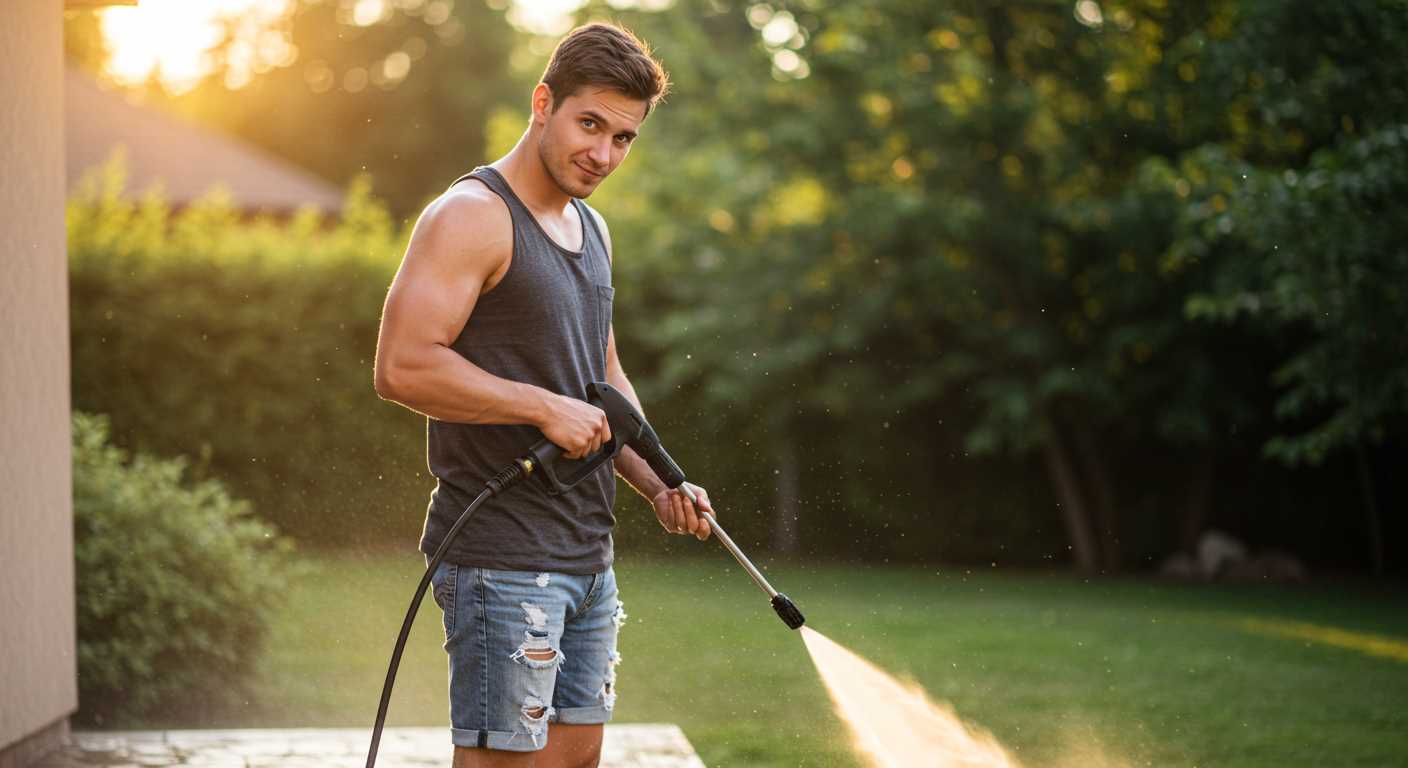
When you’re ready to start, maintain a steady distance from the surface. A common mistake I made early on was getting too close, which sometimes led to damage on delicate materials. Keeping a safe distance allows for thorough cleaning without risk of harm. Adjusting the distance based on the material being cleaned is key; for instance, concrete can handle a more aggressive approach compared to wooden decks.
Finally, after completing your task, be diligent in the maintenance of your equipment. Rinsing out any debris and checking for wear can prolong the life of your tools. I learned this the hard way when neglecting maintenance led to a costly repair. Regular care ensures that your cleaning devices remain in peak condition, ready for the next challenge.
Choosing the Right Nozzle for Your Cleaning Task
.jpg "How to use a snap on pressure washer")
For optimal results, selecting the correct nozzle is paramount. Each nozzle type serves a distinct purpose, and using the right one can significantly enhance your cleaning efficiency.
Types of Nozzles
There are generally four main types of nozzles: 0-degree, 15-degree, 25-degree, and 40-degree. The 0-degree nozzle delivers a concentrated stream, ideal for tough stains on hard surfaces like concrete. The 15-degree variant is perfect for stripping paint or removing stubborn grime, while the 25-degree nozzle is a versatile choice for various outdoor tasks, such as washing vehicles or patios. Lastly, the 40-degree nozzle provides a wide spray, suitable for delicate surfaces like wood or windows.
Choosing Based on Surface and Stains
When tackling different surfaces, consider the material. For example, brick and concrete can withstand the force of a 15 or 25-degree nozzle without damage. In contrast, softer materials require a gentler approach. If you’re cleaning non-removable cushions or other delicate items, a wider spray from the 40-degree nozzle is advisable to avoid causing harm. For guidance on cleaning those cushions, refer to this step-by-step guide.
Always test a small area first, especially on fragile surfaces. This will help you gauge the necessary pressure before committing to a full clean. Remember, it’s better to start with a less aggressive approach and adjust as needed.
Preparing the Equipment for Operation
Ensure the device is placed on a flat surface and is stable before connecting it to the water source. Check that the water supply is turned off while you attach the garden hose. Always use a hose rated for high-pressure applications to avoid leaks or bursts during operation. Inspect the hose for any signs of wear or damage, as this could lead to performance issues.
Water Supply Connection
Connect the hose securely to the inlet on the unit. Make sure the fitting is tight to prevent leaks. After connecting, turn on the water supply and check for any leaks around the connection point. It’s essential to have a consistent water flow for optimal cleaning results.
Electrical Setup
For electric models, plug the power cord into a grounded outlet. Avoid using extension cords if possible; if necessary, choose one that is rated for outdoor use and can handle the required amperage. This reduces the risk of electrical issues and ensures consistent power delivery.
| Task | Details |
|---|---|
| Check Water Supply | Ensure a steady flow and no leaks in the hose. |
| Inspect Hose | Look for signs of wear or damage. |
| Connect to Power | Use a grounded outlet; avoid extension cords. |
| Test for Leaks | Run water briefly and check connections. |
Once everything is connected and checked, it’s time to select the appropriate nozzle based on your cleaning task. This step ensures that the equipment operates at its best, providing the desired cleaning effect without risking damage to surfaces.
Connecting the Water Supply Correctly
Ensure a steady water flow by connecting the supply hose securely. Begin by selecting a suitable garden hose, ideally 5/8 inch in diameter, to avoid pressure loss. Check for any kinks or leaks before attaching it to the water source, as these can significantly impact performance.
Always use a hose that is rated for outdoor use. A standard hose might not endure the pressure and could burst, leading to a messy situation. I once had a client who used a cheap hose, and it split under pressure, causing a considerable delay in their cleaning task.
When connecting to the water inlet on the equipment, ensure a tight fit. A loose connection can cause water to spray out, which not only wastes water but can also lead to damage over time. I recommend using plumber’s tape on the threads of the connection to create a watertight seal.
Here’s a quick checklist for connecting your water supply:
| Step | Action |
|---|---|
| 1 | Select a garden hose of appropriate diameter. |
| 2 | Inspect the hose for kinks or leaks. |
| 3 | Connect the hose to the water source securely. |
| 4 | Attach the hose to the machine’s inlet, ensuring a tight fit. |
| 5 | Consider using plumber’s tape for a watertight seal. |
Always turn on the water supply before starting the machine to avoid running it dry, which can cause severe damage to the pump. I’ve seen too many units fail due to this simple oversight. Test the connection by checking for leaks before proceeding with your cleaning tasks.
Adjusting the Pressure Settings for Different Surfaces
For optimal cleaning results, it is crucial to modify the settings according to the surface you are tackling. Here’s how I approach adjustments based on my experience.
- Concrete and Brick: For tough surfaces like concrete or brick, I usually set the output to the highest level. This ensures that stubborn dirt and stains are effectively removed. I recommend starting from a distance of about 2 feet and gradually moving closer if needed.
- Wood Decks and Fences: When it comes to wooden surfaces, a gentler touch is necessary. I typically lower the output to medium settings. This prevents damage to the wood while still offering sufficient cleaning power. Always maintain a distance of at least 3 feet to protect the surface.
- Vehicles: For washing cars, it’s best to use a low setting. High pressure can damage the paintwork. I keep the output at a minimum and use a wide nozzle, ensuring a safe distance of around 4 feet.
- Patios and Outdoor Furniture: For these areas, I find that a moderate setting works best. It helps remove grime without risking damage. Starting at a distance of 3 feet allows for a thorough clean without overshooting.
- Windows: Use a very low setting or a specific attachment designed for glass. I’ve seen high pressure break windows, so I always advise caution. Maintain a distance of at least 4 feet, gradually moving closer if necessary.
Always remember to test a small, inconspicuous area before applying the adjusted settings broadly. This practice has saved me from costly mistakes over the years. Each surface is unique, and understanding how to treat them will lead to better results and longer-lasting materials.
Utilising detergent for enhanced cleaning
For optimal results, always integrate a suitable cleaning solution into your regimen. Opt for a detergent specifically designed for high-powered cleaning systems. I recall one occasion when I tackled a particularly stubborn oil stain on a garage floor. By applying a dedicated degreaser, the grime lifted effortlessly, allowing me to finish the task in half the time.
Before applying the cleaner, ensure it is compatible with the equipment. Many brands offer a range of products tailored to different surfaces and contaminants. For instance, a mild detergent works wonders on painted surfaces, while a stronger formulation is necessary for concrete or masonry. I once used an all-purpose cleaner on my patio, only to discover it was too harsh, causing discolouration. Lesson learned!
Utilise the detergent injection system, usually found on the device. This feature allows for a seamless blend of water and detergent, ensuring even distribution across the surface. When cleaning, start from the bottom and work your way up to avoid streaks. I’ve found that this method not only enhances the overall appearance but also saves time during rinsing.
After applying the solution, let it sit for a few minutes. This dwell time is crucial; it allows the detergent to penetrate and break down the dirt effectively. On one occasion, I underestimated this step and rushed the process, resulting in less-than-satisfactory outcomes. Patience pays off!
Finally, remember to rinse thoroughly after application. Residual detergent can attract dirt, leading to a quicker return of grime. I learned this the hard way after a weekend project left my driveway looking pristine for only a few days. A thorough rinse ensured the area remained clean for longer, highlighting the importance of this final step.
Techniques for safe and efficient washing
Always maintain a safe distance from the surface being cleaned. A minimum of 2 feet is advisable, especially for delicate materials. This prevents damage while allowing the stream to effectively lift dirt and grime.
Utilise a sweeping motion rather than a direct spray. This technique spreads the force of the water over a larger area, reducing the risk of etching into surfaces like wood or soft stone.
Wear appropriate protective gear, including goggles and sturdy footwear. I recall a time a friend suffered a minor injury from debris flying back during a cleaning session. It’s a simple precaution that can save a trip to the hospital.
Always start at the top and work your way down. This method helps prevent dirty water from running down onto already cleaned areas, ensuring a more uniform result.
Consider the wind direction. I’ve learned the hard way that cleaning with the wind at your back can lead to a soaking for anyone nearby. Adjust your position accordingly to keep the spray where it’s needed.
Be mindful of your surroundings. Watch out for windows, pets, and plants. I once accidentally shattered a window while focusing too intently on a stubborn stain. Taking a moment to survey the area can avoid such mishaps.
Regularly inspect hoses and connections for leaks or wear. I’ve encountered unexpected interruptions during jobs due to faulty equipment, which can easily be avoided with a quick check beforehand.
After cleaning, rinse all surfaces thoroughly. Residue from detergents can attract dirt if left to dry. I’ve found that a second pass with plain water can significantly improve the longevity of the clean.
Finally, always store the equipment properly after use. Disconnect hoses and drain any remaining water to prevent damage during colder months. This practice has saved me from countless repair headaches over the years.
Maintaining a Consistent Distance from the Surface
For optimal results, keep a distance of approximately 30 to 60 cm from the surface being cleaned. This range allows for effective dirt removal without causing damage. In my experience, staying too close often leads to surface etching, particularly on delicate materials like wood or painted surfaces.
Adjusting Your Position
While working, I frequently shift my position to ensure an even clean. It’s easy to overlook areas when you’re focused on a specific spot. By maintaining a consistent distance and adjusting your angle, you can create a more uniform finish. I’ve found that moving in a sweeping motion, rather than concentrating on one area for too long, yields better results.
Identifying the Right Distance for Different Surfaces
Different materials require varying approaches. For example, when cleaning concrete, you can be more aggressive and maintain a shorter distance. However, when tackling surfaces like glass or wood, pull back to avoid causing any damage. Always test a small area first; this gives you a clearer understanding of how the surface reacts to the force applied.
Lastly, if you notice water pooling or not being effectively removed, it may indicate that you’re either too close or not using the right technique. Adjust your distance accordingly, and you’ll achieve a thorough and safe clean every time.
Cleaning Specific Items with a High-Pressure Cleaner
For optimal results, focus on the material and condition of the item before tackling it with a high-powered machine. For instance, metal surfaces like garden furniture or tools benefit greatly from a thorough wash, effectively removing rust and grime. Use an appropriate nozzle and maintain a distance of about 30cm to prevent damage.
Decks and Patios
When cleaning wooden decks, always opt for a wide-angle nozzle to distribute the force evenly. This prevents splintering. A detergent specifically designed for wood can enhance results. For patios, a narrow nozzle does wonders for getting into the crevices between tiles.
Vehicles and Equipment
Vehicle cleaning requires a gentle touch. A fan nozzle works well to avoid paint damage while still removing dirt. Always start from the top and work downwards. For lawnmowers or garden equipment, ensure the engine is cool, and use a degreaser to tackle stubborn grease, rinsing with clean water afterwards. For additional cleaning power, consider using soap for ryobi pressure washer that’s compatible with your model.
Each item has its specific needs, so adjust your approach accordingly. Regular maintenance prevents long-term damage and preserves the lifespan of your belongings.
Post-cleaning care and storage of the pressure cleaning device
After completing your task, ensure the equipment is properly cared for to extend its lifespan. Begin by disconnecting the water source and power supply to prevent any accidental activation.
Cleaning and maintenance steps
- Flush the system: Run clean water through the unit for a few minutes to remove any detergent residues. This helps maintain the internals and prevents blockages.
- Inspect and clean nozzles: Remove the nozzle and check for clogs. Use a small pin to clear any blockages, then rinse thoroughly before reattaching.
- Check hoses: Inspect for cracks or abrasions. Store hoses neatly to prevent kinks that could lead to leaks.
- Wipe down the exterior: Use a damp cloth to clean the casing and remove any dirt or grime that may have accumulated during use.
Storage recommendations
- Choose a dry location: Ensure the storage area is dry and clean to avoid rust and corrosion.
- Store upright: Keeping the unit in an upright position prevents damage to internal components.
- Protect from extreme temperatures: Avoid places with high heat or freezing conditions, as these can affect the unit’s performance.
- Cover the machine: Using a protective cover can safeguard against dust and moisture.
Maintaining these practices not only ensures the longevity of your cleaning machine but also guarantees optimal performance for future tasks. It’s a simple routine that pays off in the long run.
FAQ:
What features should I look for in a snap on pressure washer?
When choosing a snap on pressure washer, consider its power rating, typically measured in PSI (pounds per square inch), as this indicates how effectively it can clean surfaces. Additionally, check for adjustable nozzles, which allow you to customise the spray pattern for different cleaning tasks. A lightweight and portable design is also beneficial for ease of use. Lastly, ensure it has a reliable water source connection, as well as ease of assembly and disassembly for storage.
How do I set up my snap on pressure washer for the first time?
To set up your snap on pressure washer, first, ensure you have a suitable water supply and an electrical outlet if it’s powered by electricity. Attach the hose to the washer and connect it to the water supply. Next, install the appropriate nozzle based on the cleaning task. If applicable, plug in the power cord, and ensure all connections are secure. Once everything is set up, turn on the water supply and start the pressure washer according to the manufacturer’s instructions to begin cleaning.
What surfaces can I clean with a snap on pressure washer?
A snap on pressure washer is versatile and can clean various surfaces, including patios, driveways, decks, and outdoor furniture. It is also effective for washing vehicles, as long as the pressure is adjusted appropriately to avoid damaging paintwork. However, be cautious when using it on delicate surfaces like wood or painted finishes; using a lower PSI setting or a wider spray pattern can help prevent damage.
Are there any safety precautions I should take while using a pressure washer?
Yes, safety is paramount when using a pressure washer. Always wear protective gear such as goggles and gloves to shield yourself from debris and high-pressure water. Avoid pointing the nozzle at people, pets, or yourself. Ensure that all electrical connections are safe and dry, and never use the washer in wet conditions unless it is specifically designed for outdoor use. Finally, read the manufacturer’s manual for specific safety instructions related to your model.
How can I maintain my snap on pressure washer to ensure its longevity?
Regular maintenance is key to extending the life of your snap on pressure washer. After each use, detach and drain the water from the hoses and pump to prevent damage from freezing or standing water. Clean the nozzles to ensure they are free from clogs. Periodically check the power cord for any signs of wear and keep the machine clean from dirt and grime. Additionally, refer to the manufacturer’s guidelines for any specific maintenance tasks, such as oil changes or filter replacements, that may be required.
How do I set up a Snap-on pressure washer for use?
To set up a Snap-on pressure washer, first ensure you have all the necessary components, including the washer unit, hose, and nozzle. Begin by connecting the high-pressure hose to the pressure washer and the spray gun. Next, attach the water supply hose to the water inlet of the unit. Make sure the water source is turned on. Then, plug the pressure washer into a power outlet if it’s electric. If it’s gas-powered, fill the tank with fuel and oil as per the manufacturer’s instructions. Finally, adjust the nozzle to your desired spray setting before starting the machine.
.jpg)


