
.jpg)


.jpg "How to use a wilks usa pressure washer")
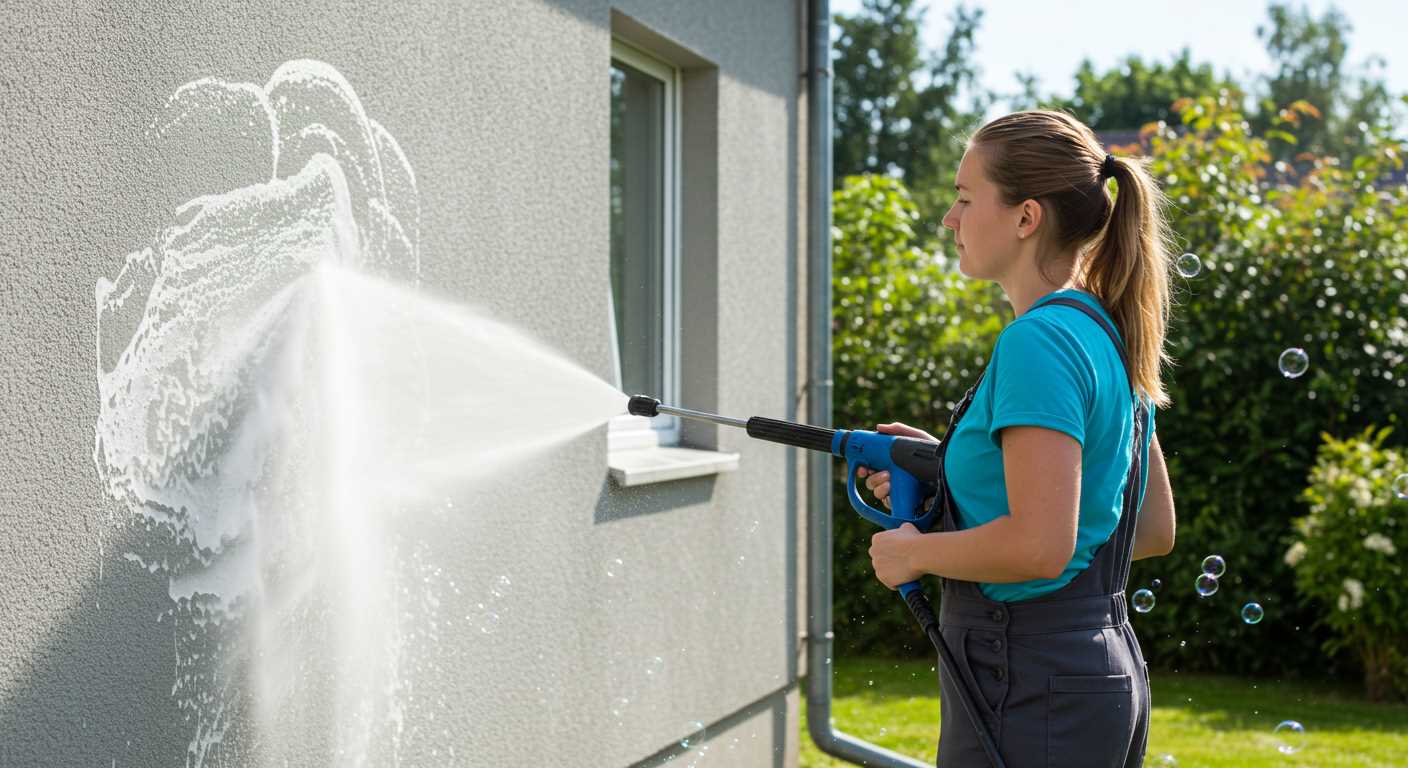
Always start with the right nozzle. A 25-degree tip is your go-to for most surfaces, balancing power and coverage effectively. I remember the first time I attempted to clean my driveway. I grabbed the 0-degree nozzle, thinking it would be the most powerful option. The result? A chipped surface and a hefty repair bill. Stick to the wider nozzles for general cleaning tasks to avoid damage.
Before you begin, check the water supply. Low pressure can lead to poor results, so ensure your source delivers a steady flow. I often run a quick test by letting the water flow freely for a minute. This simple step saves you from frustration later when you’re halfway through a big job.
Always keep safety gear handy. Protective eyewear is non-negotiable; debris can fly unexpectedly. I recall a time when I neglected this advice and ended up with a small rock in my eye. Trust me, the hassle of an eye injury isn’t worth it. Gloves are also advisable to protect your hands from chemicals, especially when dealing with detergents.

When applying detergent, use a low-pressure setting. I learned this the hard way while trying to scrub my patio. The high pressure blew the detergent away before it had time to work. Instead, switch to a low setting, apply the soap, and let it sit for the recommended time before rinsing off. This ensures a thorough clean.
Finally, finish with a thorough rinse at high pressure. I always take a moment to step back and assess my work before wrapping up. It’s easy to miss spots, especially in corners. A final pass ensures a uniform finish. With these tips in hand, tackling any cleaning task becomes straightforward and rewarding.
Steps for Efficient Cleaning with Your High-Pressure Device
Adjust the nozzle to suit the surface you’re tackling. A wide spray is best for delicate areas, while a narrow jet excels at removing stubborn grime. I recall a time when I underestimated the power of a focused stream on a concrete patio; the results were astonishing.
Before you begin, ensure all connections are secure. A loose hose can lead to leaks, which you definitely want to avoid. I learned this the hard way during a job where I had to stop midway to fix a stubborn connection, wasting precious time.
Preparation is Key
Clear the area of any obstacles. Move furniture and other items away to prevent damage and ensure you have full access to the surfaces you plan to clean. I once neglected this step, and a garden gnome met an unfortunate end. Trust me, it’s better to take a few minutes to prepare than to face the consequences later!
Post-Cleaning Care
After finishing, rinse the equipment thoroughly to prevent any residue build-up. I’ve seen machines suffer from neglect in this area. A simple rinse can extend the lifespan of your unit significantly. Store the device in a dry place to avoid moisture damage. This small act of care pays off in the long run.
Setting Up Your Wilks USA Pressure Washer

Ensure your cleaning device is on a stable, flat surface to prevent any tipping during operation. Connect the water inlet hose to a suitable water source. Always check for any debris in the filter to avoid clogs. I recall a time when I neglected this step; the performance dropped significantly until I realised the filter was blocked.
Connection Steps
Follow these steps for a seamless setup:
| Step | Action |
|---|---|
| 1 | Attach the high-pressure hose to the outlet on the machine. |
| 2 | Connect the trigger gun to the other end of the high-pressure hose. |
| 3 | Ensure the nozzle is securely fitted to the trigger gun. |
| 4 | Plug the unit into a grounded electrical outlet. |
Water Supply Check
Before turning it on, verify the water supply is sufficient. A low water supply can lead to overheating. I had an incident where the device shut down because the water was inadequate. Always ensure the hose is fully extended and free from kinks to allow a steady flow. The pressure level will be significantly affected if there are any blockages.
Choosing the Right Nozzle for Different Surfaces
Opt for a 0-degree nozzle for tough surfaces like concrete and brick. This nozzle delivers a concentrated stream, effectively removing stubborn stains and grime. However, exercise caution; maintain a safe distance to prevent damage to softer materials.
Wider Angles for Delicate Surfaces
For painted surfaces or wood decks, a 25-degree nozzle is ideal. It provides a wider spray pattern, ensuring a gentler clean without risking damage. I remember tackling my wooden patio; switching to the 25-degree nozzle saved the day and preserved the wood’s finish.
Specialty Nozzles for Unique Tasks
Consider using a soap nozzle for applying detergent. This nozzle typically has a wider angle and allows for a better spread of cleaning solutions. For those dealing with algae, I recommend checking out the best algae scrubber for reef tank to tackle stubborn growth effectively. Each nozzle serves a purpose, so select according to the task at hand for optimal results.
Connecting the Water Supply and Power Source
First things first, ensure you have a reliable water source ready. Attach a garden hose to the inlet of the machine. Check that the connection is tight to avoid leaks. I’ve seen too many folks underestimate this step, leading to frustrating interruptions during cleaning tasks. It’s always best to inspect the hose for any cracks or damage before connecting it.
Next, find an appropriate power source. Most models require a standard electrical outlet, but always refer to the manufacturer’s manual for specific voltage requirements. I recall a time when I was eager to test a new unit, only to discover I was attempting to plug it into a socket that wasn’t suitable. This can lead to blown fuses or worse, damage to the equipment. Use an extension cord rated for outdoor use if necessary, but keep it as short as possible to maintain power efficiency.
Water Pressure Considerations
Before turning on the machine, check the water supply pressure. Ideally, it should be around 20 psi or higher. I once had a situation where low water pressure significantly impacted performance, leaving stubborn stains behind. If your water source doesn’t meet this requirement, consider using a booster pump.

Safety Precautions
Lastly, ensure that both the electrical and water connections are secure before switching on the unit. Standing water and electricity can be a dangerous combination. I always double-check my setup, ensuring that the area is clear and safe. Following these steps will get you ready for a successful cleaning experience.
Operating the Equipment Safely
Always wear appropriate personal protective equipment (PPE) before beginning any cleaning task. This includes safety goggles, gloves, and sturdy footwear. I once had a friend who underestimated the force of the spray and ended up with a nasty bruise on his leg. Don’t let that happen to you!
- Maintain a Safe Distance: Keep the nozzle at least two feet away from surfaces to avoid damage and injury. I learned this the hard way while trying to clean a delicate surface too closely. The results were not pretty.
- Check Your Surroundings: Before starting, inspect the area for obstacles. Watch out for children, pets, or items that could be damaged by the spray. I always do a quick scan of the area first.
- Secure Hose Connections: Ensure all connections are tight to prevent leaks. A loose hose once sprayed water directly at me, and I wasn’t particularly pleased with that surprise!
- Control the Trigger: Make sure to engage the trigger lock when not in use. I’ve seen too many machines left unattended with the trigger pulled, which can lead to accidents.
Be cautious with electrical connections. Keep the power cord away from water sources, and never operate the equipment with wet hands. I’ve had my share of close calls, and trust me, it’s not worth the risk.
If you’re working on elevated surfaces, consider using a sturdy ladder instead of stretching. I once tried to reach a high spot while standing on a wobbly stool, and it didn’t end well. Safety first!
Finally, always read the manufacturer’s manual thoroughly. It provides specific safety measures tailored to your model. I refer back to mine regularly to refresh my memory on the details.

Cleaning Techniques for Various Outdoor Areas
For patio surfaces, a fan nozzle at a 25-degree angle works wonders. I recall tackling a particularly grimy patio last summer. The combination of the right angle and a consistent distance of around 12 inches from the surface truly transformed it. Start at one end and work systematically to avoid streaks.
Driveways and Garages
Concrete driveways often accumulate oil stains. For these, a turbo nozzle is ideal. I’ve experienced that the rotating jet effectively lifts tough grime. Pre-treat any stubborn spots with a degreaser and let it sit for 10-15 minutes before rinsing. Keep the nozzle about 6-8 inches from the surface, and move slowly to ensure thorough cleaning.
Decks and Fences
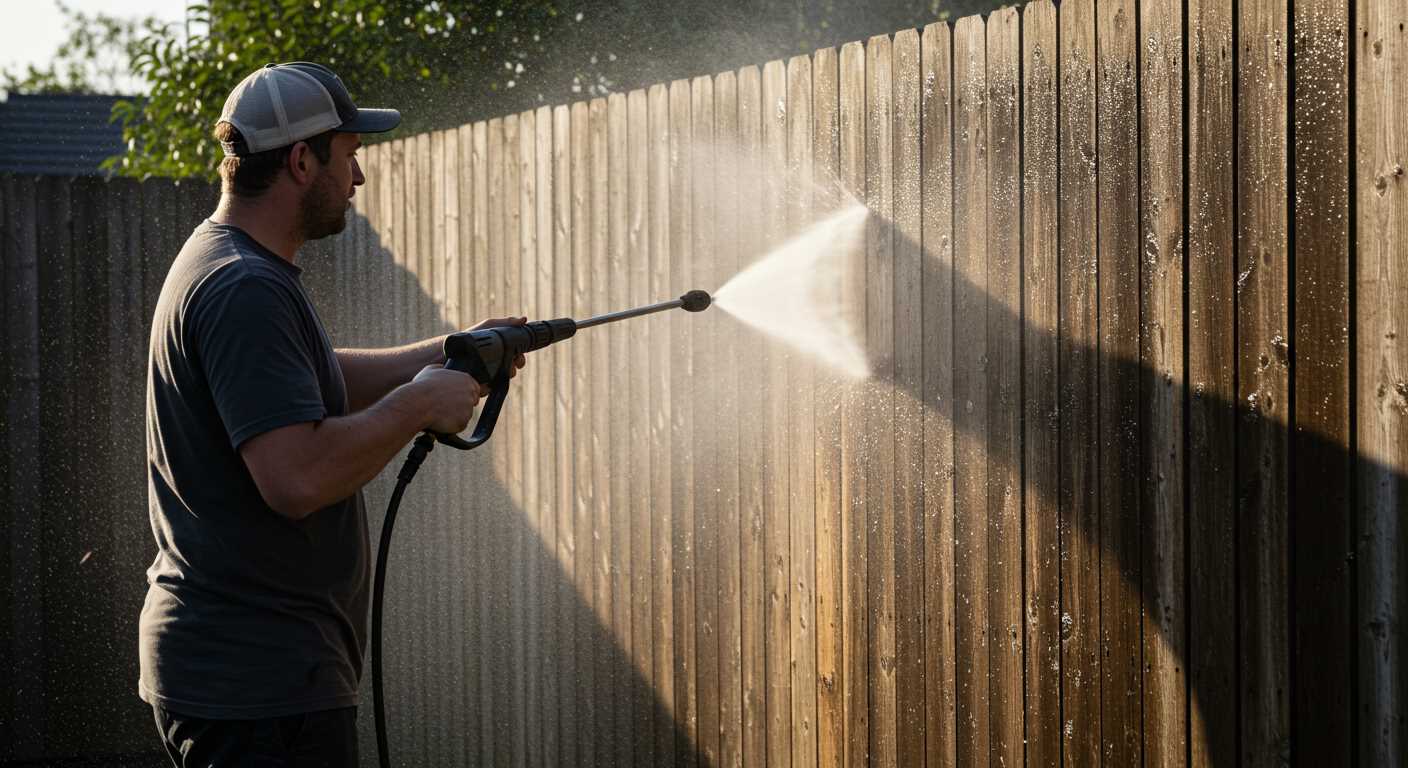
- For wooden decks, a wide fan nozzle is best to avoid damaging the wood. I learned this the hard way while cleaning my deck last year; a narrow jet splintered a few boards.
- Maintain a consistent distance of about 12-18 inches to prevent etching.
- Fences benefit from a similar approach. A lower pressure setting will help preserve the paint while removing dirt.
Always test a small, inconspicuous area first. This practice saved me from a regrettable mishap on my neighbour’s painted fence.
Outdoor Furniture
Plastic and metal furniture can handle higher pressure. A 25-degree nozzle works efficiently. However, for delicate items, like wicker, use a wider spray pattern. I recommend keeping the nozzle at least 18 inches away to avoid damage.
For all areas, remember to adjust your technique based on the surface type and condition. Observing how the dirt responds during the cleaning process can guide your approach.
Maintenance Tips for Longevity and Performance
Regularly inspect and clean the intake filter. A clogged filter can reduce water flow, impacting performance. I once lost a good hour troubleshooting a unit that simply needed its filter cleaned; a small task that yielded significant improvements.
After each session, rinse the equipment with clean water. This helps prevent build-up of dirt and detergent residues. I’ve seen machines corrode prematurely due to neglecting this simple act. Remember to check hoses and connections for any signs of wear or leaks, and replace them if necessary. A small leak can lead to bigger issues down the line.
Storing Your Equipment Properly
When not in use, store your device in a dry, protected area. Extreme temperatures can damage components. I learned this the hard way after leaving a unit outside during a harsh winter. Using a cover can also keep dust and debris at bay. Draining the water from the system before storage helps avoid freezing and potential damage.
Regular Oil Changes and Maintenance Checks
For models with engines, adhere to the manufacturer’s guidelines for oil changes. I recommend changing the oil every 50 hours of operation or at least once a season. This simple step can extend the life of the engine significantly. Additionally, keep an eye on the spark plug and air filter; replacing these regularly can prevent performance issues.
Invest in a quality pressure washer with adjustable pressure ranges for versatility. This allows you to tailor the cleaning power to different surfaces, enhancing efficiency while reducing wear on your equipment. A well-maintained machine coupled with the right tool can last for years, saving you time and money in the long run.
.jpg)


