
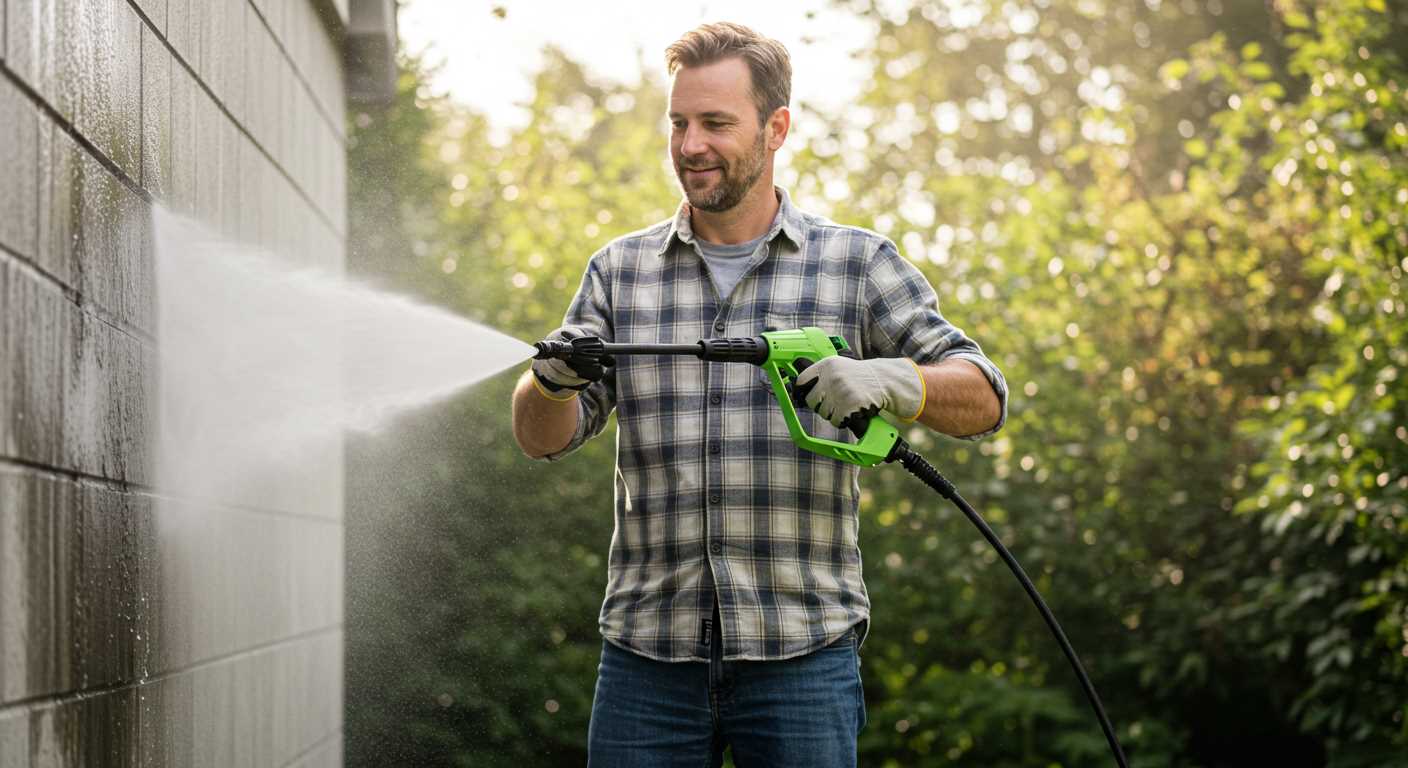


For those looking to elevate their cleaning routine, repurposing your pneumatic device can be a brilliant solution. I recall my first encounter with this approach; I was sceptical at first, but the results were undeniable. By attaching a suitable nozzle and creating the right setup, I managed to achieve impressive outcomes that rivalled traditional cleaning machines.
Start with the right attachments. A narrow nozzle concentrates the airflow, increasing the force of the water stream. I found that a nozzle with a fan spray pattern worked wonders for larger surfaces, ensuring an even wash without damaging delicate materials. During my testing, I often switched between various nozzles to see what worked best for different surfaces–brick, wood, and metal all required different approaches.
Water source connection is another critical factor. A simple garden hose can be connected to your tool, but ensure it’s properly sealed to avoid leaks. I had a few mishaps early on, leading to unexpected messes. After fine-tuning my setup, I discovered that using a quick-connect fitting made the process seamless and efficient.

Pressure management is vital. I learned that adjusting the airflow can dramatically alter the cleaning power. Too much pressure can damage fragile items, while too little might not remove stubborn grime. Finding that sweet spot took some practice, but it was worth it for the versatility it provided.
Lastly, keep safety in mind. Wearing protective gear is crucial; eye protection and gloves are non-negotiable. I had a few close calls that reminded me of this importance. Knowing how to handle the equipment properly not only ensures safety but also maximises the effectiveness of your cleaning tasks.
Using a Compressor for Cleaning Tasks
Connect a suitable nozzle to the tool; I recommend a spray tip that offers a narrow jet. This modification increases the velocity of the water, enhancing the cleaning power significantly. For optimal results, ensure the nozzle matches the flow rate of the unit to avoid damaging any surfaces.
Water Source and Attachment
Secure a reliable water source. A standard garden hose works well, but ensure it has sufficient pressure to supply the necessary volume. Attach it to the inlet of the device, making sure all connections are tight to prevent leaks. I’ve encountered cases where loose fittings caused interruptions in cleaning, so double-checking this step saves time and hassle.
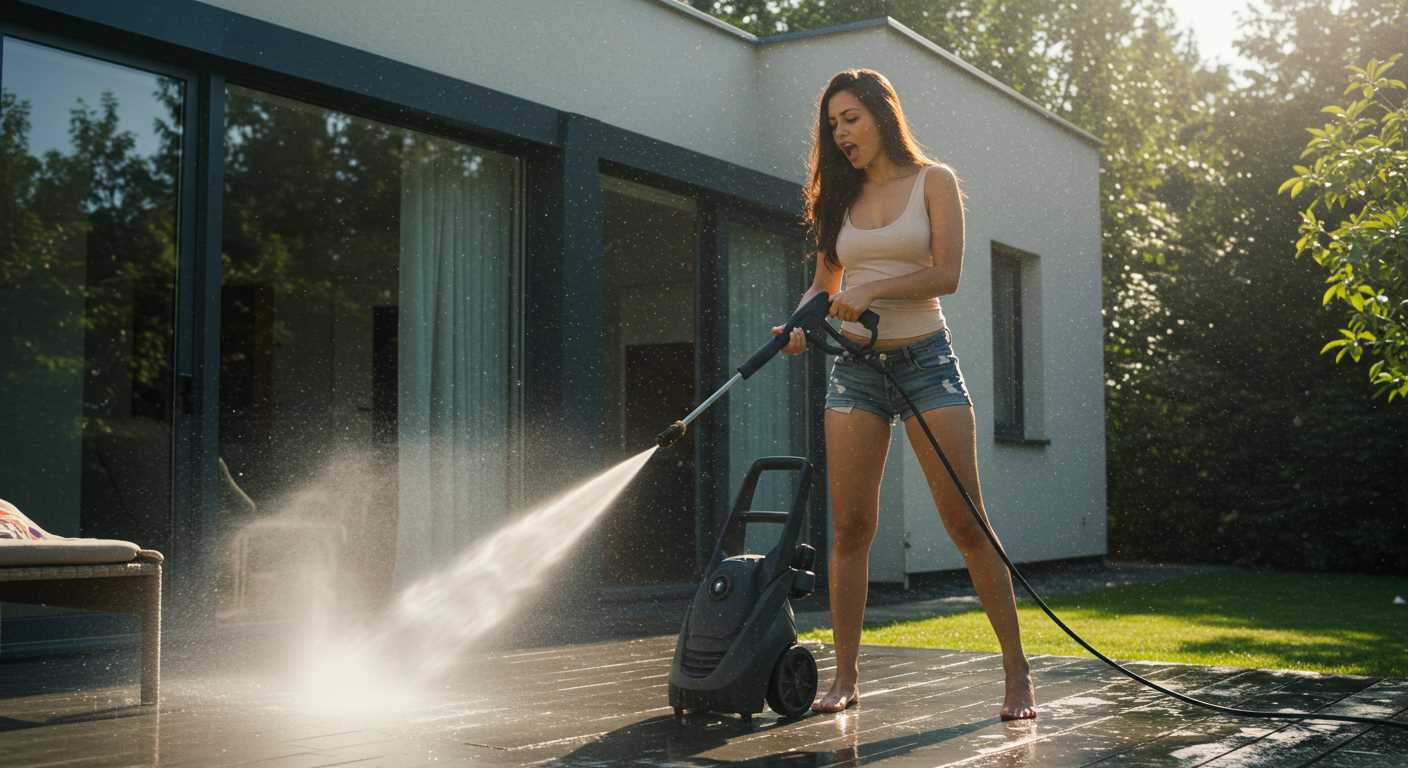
Technique and Safety Precautions
Maintain a consistent distance from the surface being cleaned–typically around 2 to 3 feet. This distance prevents damage while still ensuring effective dirt removal. Always wear safety goggles and gloves; I once learned the hard way that debris can fly unexpectedly, causing injuries. Start with a test patch to find the right angle and distance before tackling larger areas.
Selecting the Right Air Compressor for Pressure Washing
When choosing a suitable unit for cleaning tasks, focus on the CFM (Cubic Feet per Minute) rating. For optimal results, aim for at least 4-5 CFM at 90 PSI. This ensures a steady flow that can adequately power the spray attachment.
Tank Size Matters
A larger tank can provide extended operation without frequent cycling. A 6-gallon tank strikes a nice balance for most applications, offering sufficient runtime for cleaning without being overly cumbersome. Smaller tanks may require more refills, interrupting your workflow.
Portability and Durability
Consider weight and design if you plan to move it around frequently. A compact, wheeled model can make transportation easier. Additionally, check the build quality; units made from durable materials will withstand the rigours of outdoor use better than flimsy alternatives.
Necessary Accessories for Converting Compressors
To transform your standard unit into a cleaning powerhouse, specific tools are vital. Here’s a breakdown of what you’ll need:
1. Nozzle Attachments
- Adjustable Nozzle: Allows you to modify the spray pattern from a fine mist to a concentrated stream, perfect for various tasks.
- Rotary Nozzle: Offers a spinning jet of water, enhancing cleaning power for stubborn dirt and grime.
- Foam Cannon: Ideal for applying soap or cleaning solutions, creating a thick foam that clings to surfaces for improved cleaning.
2. Hose and Fittings
- High-Pressure Hose: A durable hose rated for high pressures is crucial. Look for reinforced options to withstand the demands of cleaning.
- Quick-Connect Fittings: These allow for rapid attachment and detachment of hoses and nozzles, saving time during setup and storage.
3. Water Supply Accessories
- Water Source Adapter: Ensures a secure connection to your water supply, preventing leaks while maintaining consistent flow.
- Filter: A water filter helps protect your setup from debris, ensuring longevity and optimal performance.
4. Safety Gear
- Goggles: Protect your eyes from debris and water spray.
- Gloves: Keep your hands safe and maintain grip while handling tools.
Investing in these accessories not only enhances performance but also safeguards your equipment and ensures a thorough clean. In my experience, the right attachments can dramatically improve efficiency and effectiveness. Each component plays a role in achieving optimal results, so choose wisely.
Preparing the Surface for Cleaning with Compressed Air
Before jumping into the cleaning process, ensure the area is ready. Remove any loose debris like leaves, dirt, or furniture that might obstruct your work. I recall a time when I neglected this step; the mess just scattered around instead of getting cleaned. A clear workspace makes a significant difference.
Next, inspect the surface for any large particles or build-up. For instance, if you’re tackling a driveway, check for stones or gravel that can cause damage when blasted with high-velocity airflow. I learned this the hard way after damaging a neighbour’s car with a stray rock. A good visual inspection can save you from potential mishaps.
Consider wetting the surface lightly before you begin. This helps to keep dust from becoming airborne and reduces the risk of inhaling particles while working. A simple spray with a garden hose can do the trick. I’ve found that a bit of moisture makes the cleaning process smoother and more effective.
Lastly, assess any delicate areas or materials nearby. If there are plants, windows, or other fragile items, take precautions to shield them. I’ve seen plants wilt under a strong gust, and it’s not a pleasant sight. Using a tarp or plastic sheeting can provide adequate protection while you work.
Techniques for Applying Water and Detergents
For optimal results, mix water with a suitable cleaning agent before application. I recommend using a detergent specifically formulated for the surfaces you plan to clean. In my experience, a diluted solution often works best; it allows for better penetration and loosens dirt effectively. Always follow the manufacturer’s instructions regarding dilution ratios. Typically, a 1:10 ratio of detergent to water suffices for most tasks.
When it comes to application, I find that using a nozzle with an adjustable spray pattern is invaluable. A narrow jet is great for tough stains, while a wider fan spray covers larger areas more efficiently. Switching nozzles frequently can help maintain a consistent cleaning rhythm and avoid damaging delicate surfaces.
Spray the detergent solution evenly across the surface and let it sit for a few minutes, but avoid letting it dry completely. This dwell time allows the cleaner to break down grime without becoming too hard to remove. If you notice that the solution is drying quickly, consider misting the surface lightly with plain water to keep it activated.
After the dwell time, I recommend rinsing the surface with clean water. This step is crucial to remove any residue from the cleaning agent. Adjust the nozzle to a wider spray to flush out loosened dirt and detergent thoroughly. Remember to maintain a safe distance from the surface to avoid any damage. A distance of about 2 to 3 feet usually works well, but adjust as necessary based on the surface material.
In situations where stubborn stains persist, repeat the process. Applying the detergent directly to the stain before rinsing can yield excellent results. I’ve often found that a little extra patience and persistence pay off, especially with old or heavily soiled areas.
Lastly, always ensure you’re working in a well-ventilated area, especially when using strong detergents. Your safety is paramount, so consider wearing protective gloves and eyewear to shield against any splashes.
Safety Precautions When Using Compressed Air for Cleaning
Always wear appropriate personal protective equipment (PPE) before starting any cleaning task. This includes safety goggles to protect your eyes from flying debris, gloves to shield your hands, and sturdy footwear to prevent slips. During my years in the cleaning equipment industry, I’ve seen too many accidents that could have been avoided with the right gear.
Pressure Levels and Distance
Maintain a safe distance when directing the stream onto surfaces. The force can be more than sufficient to cause injuries or damage if too close. I remember a colleague who underestimated the impact and ended up with a nasty cut on his hand. It’s wise to test the output on a small area before committing to larger sections.

Environment and Setup
Ensure the surrounding area is clear of obstacles and that the surface is stable. I’ve encountered unpredictable situations when working in cluttered settings, leading to hazardous slips or falls. Also, be mindful of nearby electrical outlets and equipment. Water and electricity don’t mix well, and I’ve had my share of close calls in the past. Lastly, always check for leaks or damage to hoses and fittings before use; a small oversight can lead to significant mishaps.
For those interested in diverse equipment, consider how a digital camera is an example of a computer peripheral–it shows how various tools can serve specific functions effectively, just like the right setup for cleaning tasks.
Maintaining Your Equipment After Use
After completing a cleaning task, proper maintenance of your tools ensures longevity and optimal performance. Begin by disconnecting all attachments and hoses. Rinse them thoroughly to prevent any residue build-up.
Cleaning the Nozzles and Attachments
Make it a routine to examine the nozzles and other accessories for clogs. A small brush can help clear any debris. Soaking them in warm, soapy water is beneficial for stubborn grime. After rinsing, allow them to dry completely before storage.
Storing Your Equipment
Place your cleaning unit in a dry, cool location, away from direct sunlight. If your unit is equipped with a drain valve, ensure it’s opened to remove any remaining moisture. Storing with moisture can lead to corrosion and damage.
| Maintenance Task | Frequency |
|---|---|
| Rinse nozzles and hoses | After each use |
| Inspect for clogs | Weekly |
| Store in a dry place | Always |
| Check connections | Monthly |
Don’t overlook the importance of checking the hose connectors for pressure washer. Damaged connectors can lead to leaks and inefficiency, so replace any that show signs of wear.

.jpg)


