


For optimal results with your AR pressure cleaner, focus on selecting the right nozzle for the task at hand. Each nozzle provides a different spray pattern and pressure, which can significantly impact the effectiveness of your cleaning. For instance, the 0-degree nozzle is ideal for tough stains on concrete, while a wider spray is better suited for delicate surfaces like wood or painted fences.
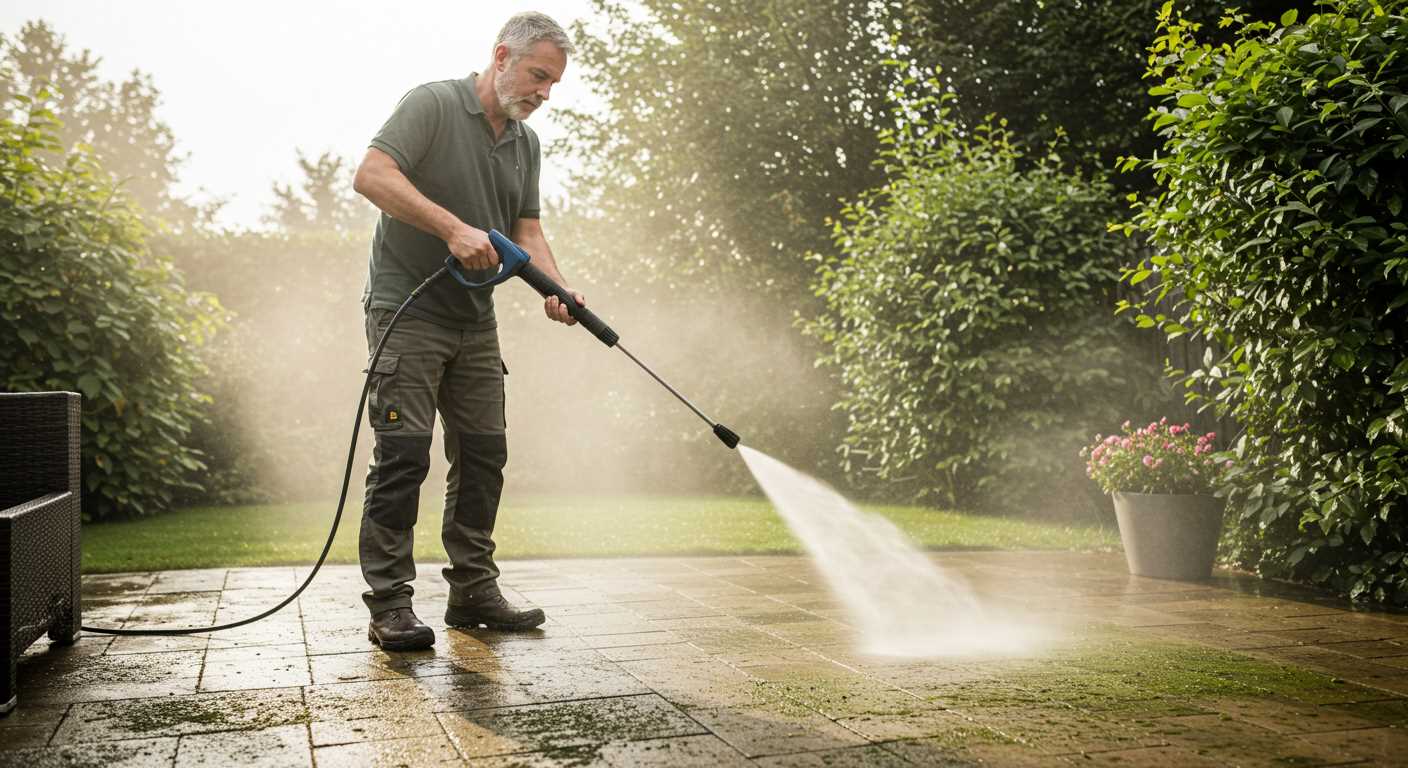
Before you begin, ensure you have all necessary accessories at hand, such as detergent for specific applications. I remember one time I attempted to clean my patio without using the right cleaning solution. The results were disappointing, and it took twice as long to achieve a satisfactory outcome. Always read product labels and follow the manufacturer’s recommendations for the best results.
Setting up the machine correctly is equally important. Connect the water supply firmly, and double-check for leaks. I’ve witnessed many beginners overlook this step, resulting in frustrating interruptions. Once everything is in place, plug in the unit and give it a moment to build pressure before starting your cleaning. This quick preparation can save significant time and effort during the cleaning process.

Adjust your distance from the surface while cleaning. Maintaining a consistent distance of around 12 inches is key to avoiding damage and ensuring an even clean. I once got too close to a wooden deck and ended up stripping the finish, which made for a more extensive repair later on. Learning to gauge that distance can make a world of difference.
Finally, when you’re done, don’t forget to clear the system of water by running the unit for a few seconds. This simple step can prolong the life of your equipment and keep it functioning optimally for future tasks. A little care goes a long way in maintaining your tools and ensuring they’re ready for the next cleaning challenge.
Setting Up Your AR Blue Clean Pressure Washer
Ensure the unit is placed on a stable surface, ideally at least 3 feet away from walls or obstacles. This helps with airflow and keeps the machine cool during operation.
Connect the water supply hose to the inlet on the unit. Use a garden hose with a minimum diameter of ¾ inch to prevent any flow restrictions. Check for any leaks before turning on the water.
Attach the high-pressure hose to the appropriate outlet. Make sure it is securely fastened to avoid any accidental disconnections while in use. A loose connection can lead to dangerous spray or equipment malfunction.
Before plugging in the power cord, confirm that the electrical outlet matches the voltage requirements specified in the manual. Using the wrong voltage can cause damage to the motor.
Fill the detergent tank with the recommended cleaning solution if your model includes one. Use only detergents designed for high-pressure equipment to avoid damaging seals and components.
Adjust the nozzle to the desired spray pattern. A wider angle works well for larger areas, while a narrow stream is ideal for stubborn grime. Always test the spray on a small, inconspicuous area first.
Once everything is connected, power up the machine. Allow it to run for a minute to prime the pump. This helps to remove any air trapped in the system and ensures smooth operation.
Finally, always check for any safety features in place, such as a trigger lock, which prevents accidental activation. Familiarising yourself with these aspects can enhance safety during your cleaning tasks.
Choosing the Right Nozzle for Your Cleaning Task
For optimal results, selecting the right nozzle is key. I remember a day when I had to clean a heavily soiled driveway. I initially grabbed the 15-degree nozzle, thinking it would cut through the grime. To my surprise, it was too aggressive, causing damage to the surface. Switching to a 25-degree nozzle saved the day, effectively cleaning without harming the concrete.
Understanding Nozzle Types
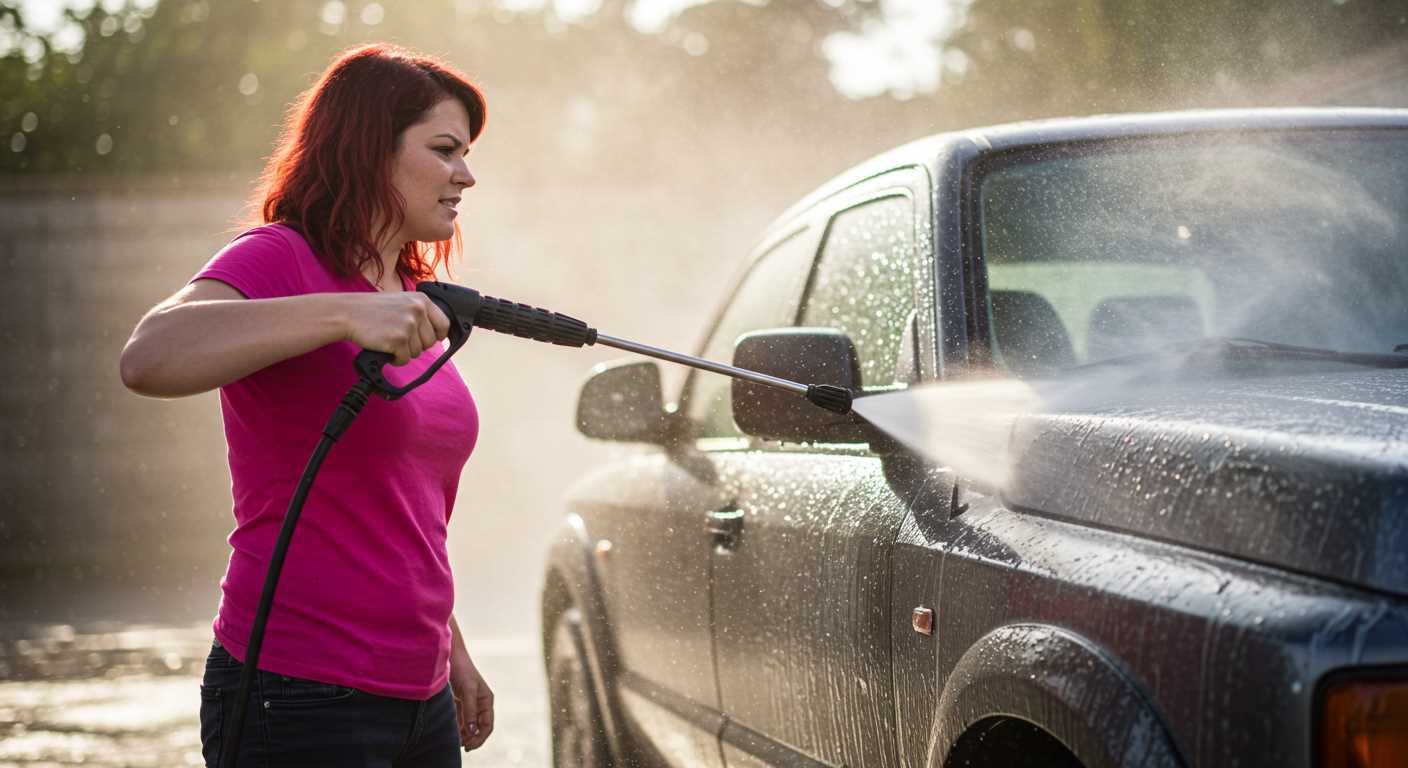
Each nozzle has a specific spray pattern and pressure output. The 0-degree nozzle offers a concentrated jet for tough stains, while the 40-degree nozzle is perfect for delicate surfaces like cars. For general cleaning tasks, the 25-degree is often the sweet spot. Always assess your surface before deciding.
Attach and Test
Once you’ve chosen a nozzle, attach it securely. I often test the spray on a small, inconspicuous area first. This helps gauge the effectiveness without risking damage. If you’re dealing with stubborn dirt, consider investing in a rotary nozzle, which combines the benefits of different angles for a thorough clean.
For those exploring alternatives, check out this gas cold water pressure washer option that may suit your needs. The right equipment paired with the right nozzle will make your task significantly easier and more satisfying.
Adjusting Pressure Settings for Different Surfaces
For optimal results, adjust the force of the stream based on the material you’re tackling. Each surface has its own requirements, and using the correct setting prevents damage while ensuring thorough cleaning.
Here’s a breakdown of recommended settings based on common surfaces:
- Wooden Decks: Start with a low setting around 1200-1500 PSI. This protects the wood grain and prevents splintering.
- Concrete Driveways: Increase the setting to 2500-3000 PSI for effective removal of oil stains and grime.
- Brick Surfaces: A medium pressure of about 2000 PSI is suitable for bricks, ensuring dirt is removed without risking damage to mortar.
- Vehicles: Use a gentle setting of 1300-1600 PSI to avoid stripping paint or damaging delicate parts.
- Glass Windows: Keep it under 1500 PSI to prevent breakage, focusing instead on the nozzle angle to enhance cleaning.
When adjusting settings, consider the distance from the nozzle to the surface. Closer distances increase intensity, while moving further away reduces it. For example, a distance of 12-18 inches is ideal for concrete, while 24-30 inches is better for softer materials.
Always start with a lower pressure and gradually increase until achieving desired results. This approach minimises the risk of damage. My experience has taught me that patience pays off–testing on a small area can save you from costly repairs later.
Don’t forget to monitor the condition of your equipment. Regular maintenance ensures that settings remain accurate and that your machine operates efficiently, regardless of the task at hand.
Proper Techniques for Safe and Thorough Cleaning
Begin with maintaining a safe distance from surfaces, particularly delicate ones. A distance of at least 2-3 feet ensures that the force does not cause damage. Gradually approach the area as needed, keeping an eye on the response of the surface material. I recall a time when I got too close to a wooden fence, leading to unwanted splintering. Lesson learned!
Angle Matters
Direct the jet at a slight angle rather than straight on. This technique helps to lift dirt without forcing it deeper into the material. For example, while cleaning a patio, tilting the nozzle at about 45 degrees yielded far better results than a direct shot. Watch the dirt flow away instead of being pushed around!
Consistent Motion
Move the nozzle in a consistent sweeping motion. This prevents uneven cleaning patches and reduces the risk of damaging the surface. I once spent an afternoon tackling a driveway, and keeping a steady rhythm made the task not only quicker but also more effective. Ensure to overlap each pass slightly for thoroughness. For additional tips on food preservation, check out this guide on canning.
Maintaining Your Pressure Washer for Longevity
Regular maintenance is key to extending the life of your equipment. After years of testing various models, I’ve found some simple practices that make a significant difference.
First, always flush the system with clean water after every use. This helps remove any detergent or debris that could cause clogs or damage. Run the unit for a minute or two to ensure that all residues are cleared out.
Next, inspect the hoses and connections regularly. Look for any signs of wear, cracks, or leaks. Replacing damaged parts promptly prevents further issues down the line. I once ignored a small leak, thinking it was minor, only to find that the pump was affected later on.
Store the equipment in a dry place, preferably indoors. Extreme temperatures can damage components. I learned the hard way when a cold snap caused the water in the pump to freeze, leading to costly repairs.
Cleaning the filter is another crucial task. If dirt accumulates, it can restrict water flow, leading to decreased performance. Check and clean the filter at least once a month, especially if you’re using the unit frequently.
Here’s a quick reference table for maintenance tasks:
| Task | Frequency | Notes |
|---|---|---|
| Flush system with clean water | After each use | Run for 1–2 minutes |
| Inspect hoses and connections | Weekly | Replace if damaged |
| Store indoors | Seasonally | Avoid extreme temperatures |
| Clean filter | Monthly | Check for dirt accumulation |
Lastly, always refer to the manufacturer’s manual for specific maintenance guidelines. Following those recommendations will lead to a longer lifespan for your unit. Trust me, preventative care pays off in the long run!

.jpg)


