


For those tackling stubborn stains and unwanted mould, mixing sodium hypochlorite into your cleaning solution can yield remarkable results. Ensure you dilute it properly–typically, a ratio of one part bleach to ten parts water works well. This concentration strikes a balance between effectiveness and safety, allowing you to tackle tough grime without causing damage to your surfaces.
When preparing your machine, select a low-pressure nozzle, ideally around 25 degrees, to apply the solution evenly without risking surface damage. It’s crucial to pre-wet the area before application; this helps prevent the bleach from causing discolouration or etching into the material beneath. After spraying, let the solution sit for about 10-15 minutes to penetrate the stains, but don’t let it dry completely.

After the dwell time, rinse thoroughly using a high-pressure setting. This step is vital to remove all residues from your surfaces and ensure no harmful chemicals linger. If you’re working around plants or vegetation, consider covering them to prevent any adverse effects from the bleach. With these techniques, you can restore your outdoor spaces efficiently, achieving professional-grade results without the hassle.
Understanding the Right Concentration for Cleaning
For optimal results, a solution containing 10-15% of sodium hypochlorite is typically recommended. This concentration effectively tackles mould, mildew, and algae while remaining safe for most surfaces. Too strong a mix risks damage to materials, while too weak may not yield satisfactory outcomes.
During my years in the cleaning equipment industry, I often encountered customers who underestimated the importance of correct dilution. One memorable instance involved a homeowner who used a 40% solution, thinking it would enhance the cleaning power. The result? A discoloured deck and damaged plants. A simple test for correct concentration is to mix a sample and apply it on a small, inconspicuous area first.
The type of surface also influences the ideal mixture. For concrete or stone, a stronger solution might be necessary, whereas wood or painted surfaces require a gentler approach–around 5-10% concentration. Always rinse thoroughly after application to prevent any residue that might cause harm over time.
Weather conditions play a role too. On cooler, overcast days, a higher concentration might be more effective since the solution won’t dry as quickly. Conversely, during hot, sunny days, a milder mix applied in the shade will help maintain efficacy and prevent rapid evaporation.
Lastly, always remember to wear protective gear. Even a well-diluted solution can irritate skin or eyes, so gloves and goggles are a must. Mixing the right concentration and taking precautions leads to safe, effective cleaning results without damaging your surfaces or surrounding environment.
Choosing the Appropriate Nozzle for Bleach Application
Selecting the right nozzle is paramount for achieving optimal results while applying cleaning agents. I’ve experimented with various nozzle types, each offering distinct spray patterns that can influence effectiveness.
- Low-Pressure Nozzle (Soap Nozzle): Typically a 40-degree or soap nozzle is best for introducing detergents. These nozzles create a wide fan spray that gently applies the solution, allowing it to sit on the surface for effective penetration.
- Adjustable Nozzle: Consider using a variable nozzle, which allows you to change the spray pattern from a narrow jet to a wide fan. This flexibility is useful for different surfaces and varying levels of dirt.
- Rotary Nozzle: While not ideal for bleach application directly, a rotary nozzle can be effective for rinsing after the cleaning solution has done its job. Use caution; the high pressure may damage delicate surfaces.
Remember to test the nozzle on a small area first. I learned this the hard way when I accidentally stripped paint from a wooden deck using a strong stream. It’s crucial to maintain a safe distance from the surface to avoid potential damage.
For applying cleaning solutions, ensure the nozzle is compatible with your machine’s specifications. Mismatching can lead to poor performance or even equipment damage. Always check the manufacturer’s guidelines.
Lastly, after applying the cleaning solution, switch to a higher-pressure nozzle for rinsing. This two-step approach enhances cleaning efficiency while protecting surfaces from harsh sprays.
Preparing Your Equipment for Chlorine Solutions
Before mixing any cleaning agents, ensure your machine is compatible with chlorine-based products. Check the manufacturer’s guidelines; some models specifically warn against using certain chemicals. I once had a client who ignored this and ended up damaging the internal components, leading to costly repairs.
Flush the System

Start by flushing the system with plain water. Run it for a few minutes to remove any residual detergents or debris. This step is crucial; I’ve seen the impact of not doing it firsthand when leftover soap reacted unfavourably with the solution, creating a messy and ineffective clean.
Adjust the Chemical Injector
Set the chemical injector to the appropriate setting for optimal dilution. I recall a time when I underestimated this adjustment. The solution was too concentrated, which not only wasted product but also caused streaking on surfaces. Always double-check the injector’s settings before proceeding. If your model lacks an injector, consider purchasing an attachment designed for this purpose to ensure proper mixing.
Safety measures when using bleach with pressure washer
Always wear protective gear, including gloves, goggles, and a mask, to shield yourself from harmful fumes and potential splashes. I remember a time when I underestimated the importance of safety equipment. A minor splash of diluted solution hit my skin, and it left a burn. Trust me, it’s not worth the risk.
Ensure the area you’re working in is well-ventilated. This is particularly important if you’re tackling a large surface. I once worked in a confined space without proper airflow, and the fumes became overwhelming, causing dizziness. Open windows or doors if possible, or work outdoors to maintain fresh air circulation.
Mix the solution in a dedicated container, away from any living areas. I learned the hard way that mixing directly in the pressure cleaning equipment can lead to spills. Using a separate container minimises the risk of accidents and keeps your machine free from corrosive substances.
Test the mixture on a small, inconspicuous area before full application. I recall a project where the concentration was too strong, damaging the surface finish. Always confirm compatibility with the material you’re cleaning to avoid costly mistakes.
Store any leftover solution securely, out of reach of children and pets. There was an occasion when a friend’s child accidentally accessed a container, leading to a scare. Using proper storage prevents accidents and keeps your environment safe.
Be mindful of your surroundings. Protect plants, grass, and any nearby surfaces from overspray. I once neglected this and ended up with a patchy lawn that took weeks to recover. Cover nearby vegetation or use barriers to safeguard them.
Finally, if you’re unsure about mixing or application, consult the equipment’s manual or seek advice from a professional. I’ve often found that manufacturers provide valuable insights that can prevent mishaps. Trust your resources; they can save you from unnecessary problems.
Step-by-step process for adding bleach to pressure washer
Begin by gathering all necessary materials. You will need a compatible container, the cleaning solution, and your sprayer. Always ensure that your equipment is rated for the chemical you plan to employ.
- Turn off the motor of the machine and disconnect the power supply to avoid any accidents.
- Locate the chemical injection system on your unit. This is typically found near the water inlet or on the pump.
- Prepare the solution according to the recommended dilution ratios. A common concentration is 1:10 for most cleaning tasks, but always check the manufacturer’s guidelines.
- Pour the diluted solution into the designated chemical tank or attach the siphon tube to your container filled with the solution. Ensure a secure connection to prevent leaks.
- Reconnect the power supply and start the machine. Allow it to idle for a few moments to prime the system.
- Select the appropriate nozzle for the application. A wider spray pattern is often best for larger areas, while a narrow stream can target tough stains.
- Begin applying the solution to the surface, keeping a consistent distance to ensure even coverage.
- After application, allow the solution to sit for the recommended time before rinsing it away with clean water.
Cleaning automotive surfaces? Consider adding an engine degreaser for pressure washer to your routine for optimal results. For delicate materials, refer to the how to clean leather ultimate guide for leather cleaning to avoid damage.
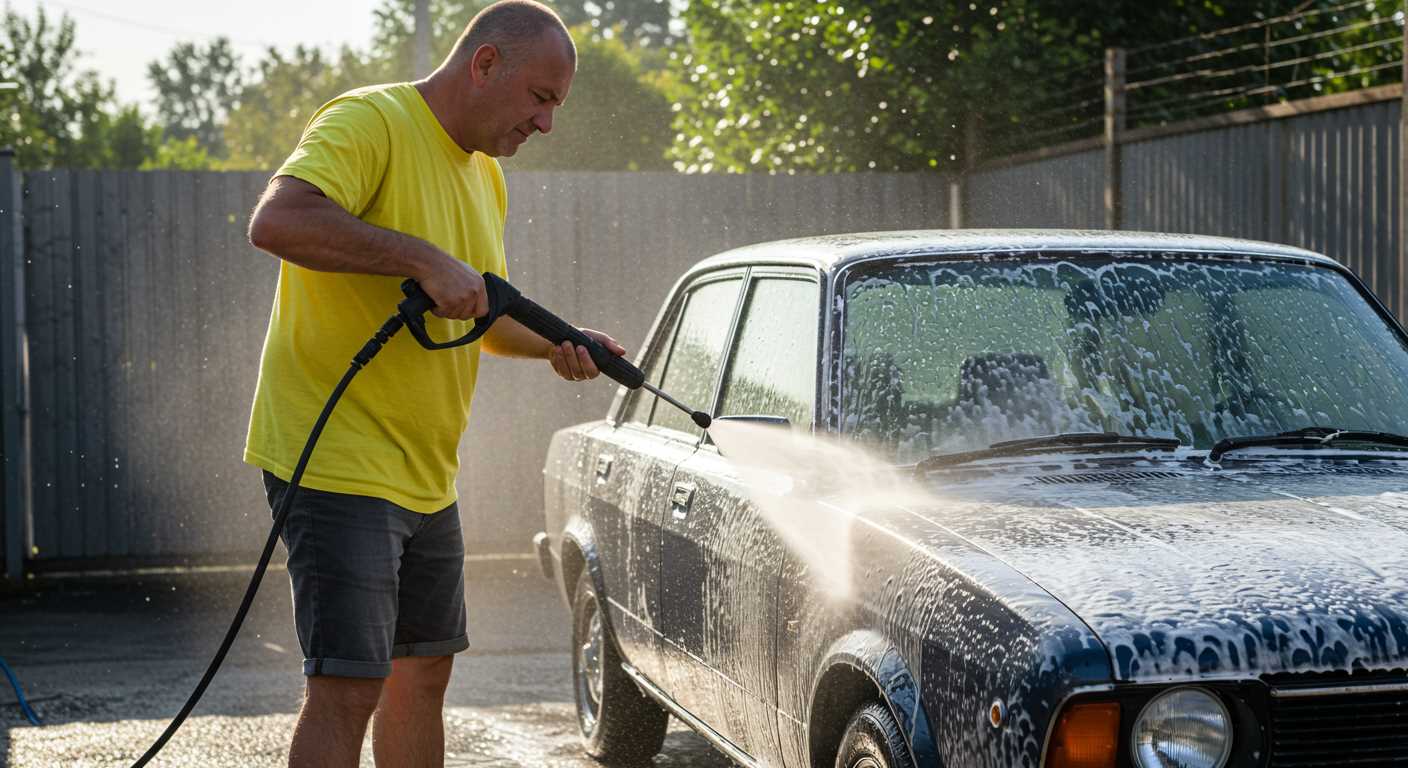
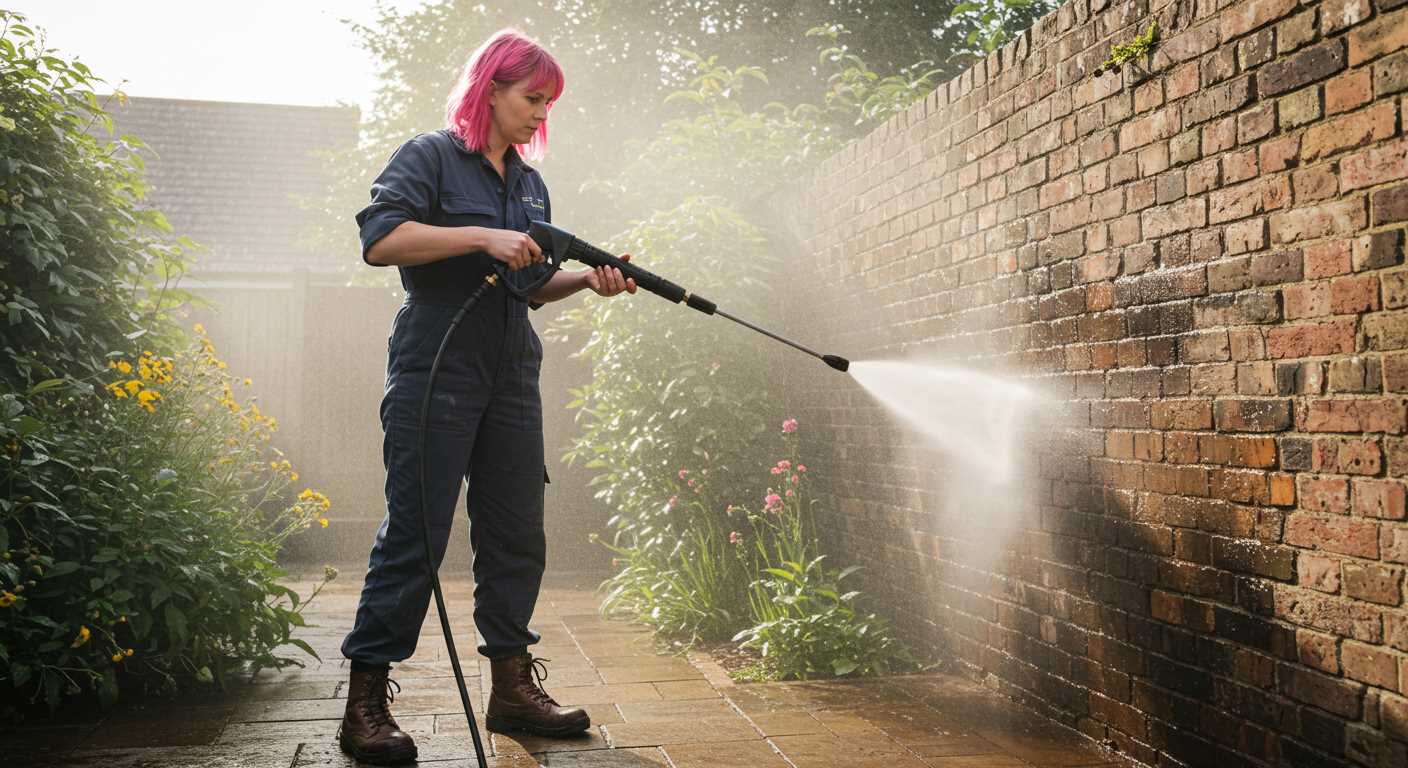
Cleaning Different Surfaces with Bleach and Pressure Washer
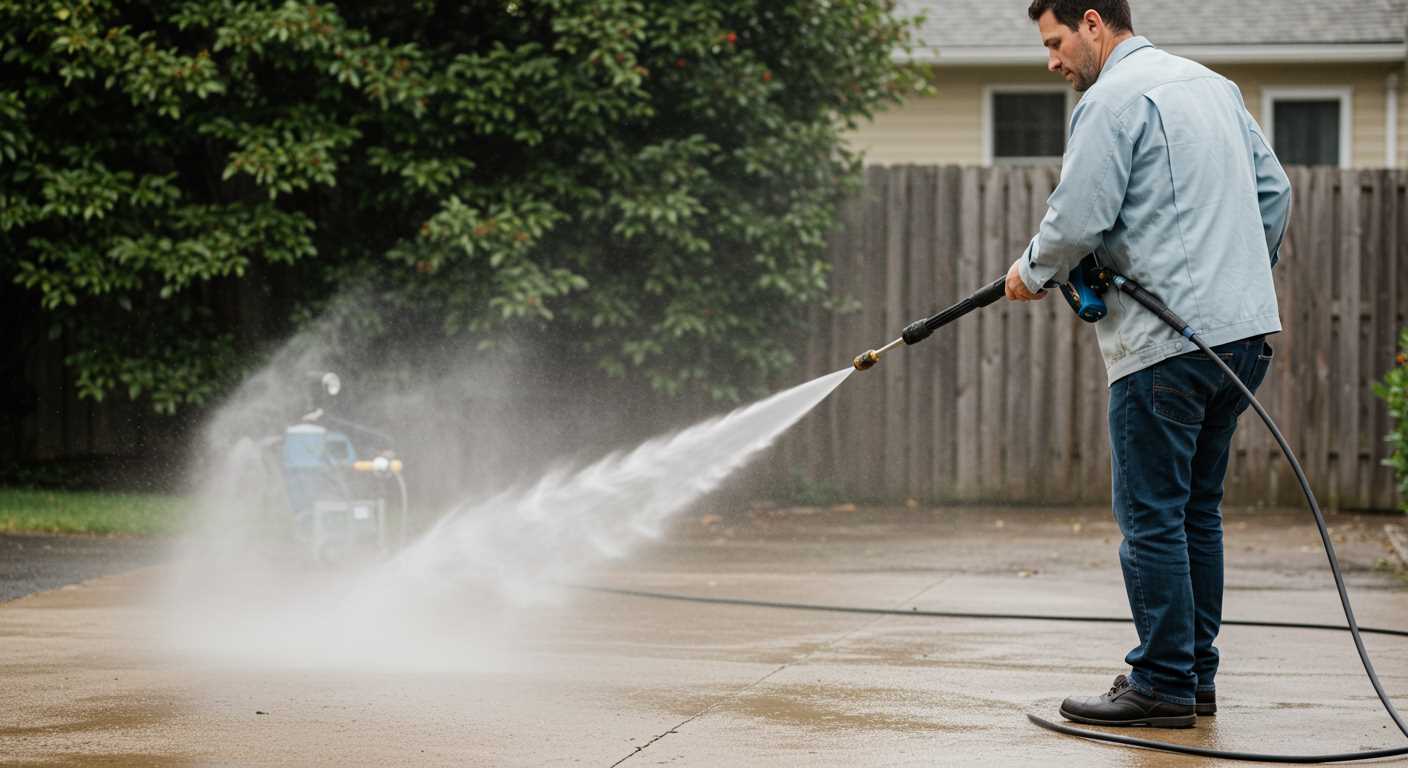
For concrete driveways, a diluted solution can effectively tackle stubborn stains and algae. I recall a particularly grimy driveway that took only one session to restore. Applying the mixture from a distance of 12 to 18 inches, I kept the nozzle at a slight angle to prevent any etching.
Wooden Decks and Fences
With wooden surfaces, caution is key. A concentration of no more than 10% ensures the wood fibres remain intact. During one project, I tested a low-pressure setting, which allowed the solution to penetrate without causing damage. Rinsing thoroughly afterwards is essential to avoid any residue that could discolour the wood.
Vinyl Siding
For vinyl siding, a mixture around 30% is often sufficient. I remember a home that had years of mildew buildup; a gentle sweep from side to side with the right attachment did wonders. The key is to allow the cleaner to dwell for a few minutes before rinsing. Always work from the bottom up to prevent streaking.
For roofs, an even more diluted solution is recommended. I once tackled a roof covered in black streaks; using a low-pressure method and a wide spray ensured I didn’t disturb any shingles while achieving a clean surface.
Each surface has its nuances; understanding these can drastically improve results while avoiding damage. Always test a small area first to gauge the reaction before proceeding with the entire project. Experience has taught me that patience and proper technique yield the best outcomes in cleaning tasks.
Post-cleaning care for your pressure washer after using bleach
After completing the task of cleaning surfaces with a chlorine solution, immediate attention to your machine is crucial. Rinse out any remnants of the cleaning agent from the tank and hoses to prevent long-term damage. I’ve seen too many instances where neglecting this step led to costly repairs. Flush the system with fresh water for at least five minutes, ensuring that the solution is completely expelled. This simple step extends the lifespan of your device.
Inspecting components
After rinsing, take a moment to inspect the hoses and nozzles. Chlorine can degrade rubber and plastic over time. If you notice any cracks or signs of wear, it’s wise to replace those parts sooner rather than later. In my experience, addressing minor issues immediately can save you from major headaches down the line.
Storage tips
When it comes to storing your equipment, ensure that it’s kept in a dry environment, ideally indoors. I learned the hard way that moisture can lead to rust and corrosion, particularly in metal parts. If you’re storing it for an extended period, consider using a protective cover. Additionally, check the oil levels and change it if necessary before hibernation. This practice has always kept my machines in peak condition for the next season’s cleaning tasks.
Lastly, keep a record of any maintenance performed. This not only helps track the health of your equipment but also assists in identifying patterns or recurring issues, allowing for proactive care in the future.
Environmental considerations when using bleach outdoors
Before applying any cleaning agents outdoors, it’s crucial to assess the potential impact on surrounding flora and fauna. Chlorine-based products can be harmful to plants and aquatic life. Always conduct a thorough evaluation of your cleaning area and the nearby ecosystem.
Minimise Chemical Runoff
To reduce chemical runoff during cleaning, avoid using excessive amounts of solution. Instead, focus on targeted application techniques. Ensure that the area is well-drained and that any nearby water sources, such as ponds or streams, are protected.
Alternative Cleaning Solutions
Consider environmentally friendly alternatives. Many biodegradable options are effective at removing stains and mildew without posing risks to the surrounding environment. Research local regulations regarding chemical usage; some areas have restrictions that aim to protect water quality.
| Cleaning Agent | Environmental Impact | Effectiveness |
|---|---|---|
| Chlorine-based | Harmful to plants and aquatic life | Very effective |
| Vinegar | Safe for most plants | Moderately effective |
| Baking soda | Non-toxic | Effective for light stains |
| Commercial eco-friendly cleaners | Designed to be safe | Varied effectiveness |
Following these recommendations ensures a safer cleaning process while protecting the environment. Additionally, consider timing your outdoor cleaning activities; early morning or late evening can help minimise the risk of chemical exposure to wildlife. Always keep the surroundings in mind and opt for sustainable practices whenever possible.
.jpg)


