


For those looking to achieve a spotless finish on their vehicle, a high-pressure device can be a game-changer. Ensure you have the right detergent compatible with your equipment before starting. This will enhance the cleaning process and prevent any damage to your paintwork.
Begin by pouring the appropriate cleaning solution into the detergent tank. Make sure to follow the manufacturer’s guidelines regarding dilution ratios. A well-mixed solution is key to tackling stubborn grime and dirt effectively. I recall a time when I underestimated the importance of this step and ended up with streaks on my car’s surface.
Adjust the nozzle to a fan spray setting, which helps distribute the cleaning agent evenly. From my experience, standing a few feet away while applying the solution allows for better coverage without oversaturating any one area. Let the detergent sit for a few minutes; this will break down the dirt and grime, making rinsing much easier.

Once you’ve allowed the solution to do its work, switch to a rinse setting. The high-pressure stream will lift away the loosened dirt, leaving behind a clean surface. Always rinse from the top down to prevent dirty water from running onto already cleaned areas. This method ensures a streak-free finish that you can be proud of.
Finally, don’t forget to clean your attachments and equipment after each use. A quick rinse will keep everything in good working condition, ready for your next cleaning task. Maintaining your tools not only prolongs their life but also ensures optimal performance every time.
Using a Cleaning Solution with your Kärcher Device
To achieve the best results when cleaning your vehicle, incorporate a suitable detergent into your workflow. Start by selecting a product specifically designed for automotive surfaces, ensuring compatibility with your equipment. Follow the manufacturer’s guidelines for dilution ratios–usually found on the product label. Mixing it correctly enhances its effectiveness and protects your vehicle’s finish.
Fill the detergent tank on your machine, ensuring it’s securely attached. Activate the device and select the appropriate nozzle, typically the wide-angle spray is ideal for applying the cleaning solution evenly. Stand at a distance of around 30 centimetres from the surface to avoid any damage while applying the detergent.
Allow the cleaning solution to dwell for a few minutes. This dwell time is crucial as it breaks down dirt and grime, making rinsing easier. After the solution has had time to work, switch to the high-pressure setting and rinse thoroughly to remove all residues. Always maintain a consistent distance while rinsing to ensure an even finish.
Here’s a quick reference for cleaning products suitable for various surfaces:
| Surface Type | Recommended Cleaner |
|---|---|
| Painted Surfaces | Automotive Shampoo |
| Wheels and Tyres | Wheel Cleaner |
| Glass | Glass Cleaner |
| Brick | Brick Cleaner |
Don’t forget to rinse your machine’s detergent tank after use to prevent any residue buildup. This simple step will prolong the life of your equipment and maintain its performance. Happy cleaning!
Selecting the Right Detergent for Your Equipment
Choosing the right cleaning solution is paramount for optimal results. I recall a time when I mistakenly used a generic detergent that left streaks on the surface, making the entire effort seem futile. Always opt for formulations specifically designed for your equipment. This not only ensures compatibility but also enhances the cleaning process.
Consider Your Vehicle’s Needs
Different vehicles require different care. For instance, if you have a classic car with delicate paintwork, a gentle, pH-balanced formula will be your best bet. Conversely, off-road vehicles caked in mud may benefit from a stronger solution capable of breaking down tougher grime. Always assess the condition of the vehicle before selecting a product.
Environmental Factors
Region and weather play significant roles in your choice. If you live in an area with hard water, look for detergents that contain water softeners to prevent mineral deposits. Additionally, if you’re in a sunny climate, opt for a wash that dries streak-free to avoid unsightly marks. These small considerations can make a noticeable difference in the final outcome.
Preparing Your Pressure Cleaning Device for Vehicle Detailing
Before engaging in the cleaning process, ensure that your equipment is ready for action. Here’s how I meticulously prepare mine:
- Inspect the Equipment: Check for any signs of wear or damage. Look for cracks in hoses and ensure all connections are secure.
- Fill the Water Reservoir: Always start with fresh, clean water. Ensure the tank is filled to the required level, preventing any interruptions during your detailing session.
- Choose the Right Attachment: For vehicle cleaning, switch to the appropriate nozzle. A fan nozzle typically provides a broader spray, ideal for rinsing without causing damage.
- Connect the Detergent Tank: If your model includes a detergent container, attach it securely. Make sure it’s clean and free of residue from previous uses.
- Adjust Pressure Settings: Familiarise yourself with the pressure settings. Lower pressure is usually more suitable for delicate surfaces. Experiment with settings on a test area if unsure.
- Check the Power Source: Ensure that the power supply is sufficient. Remove any tripping hazards around the area to avoid accidents.
- Test Run: Before diving into the task, conduct a brief test on a non-sensitive surface. This helps confirm everything is functioning correctly.
These steps streamline the entire process and help avoid any mishaps. Having everything in order makes the experience smoother, allowing you to focus on achieving that pristine finish.
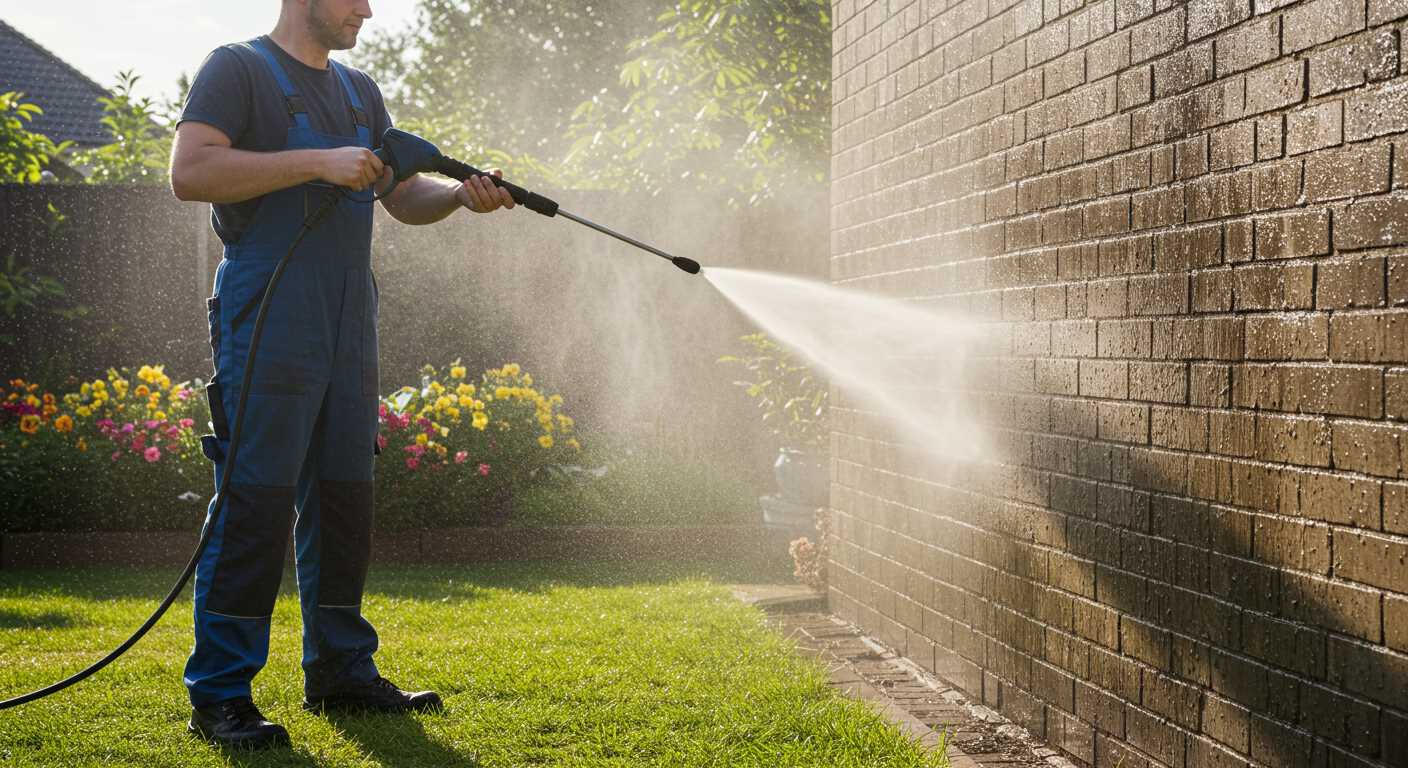
Setting up the correct pressure and nozzle for washing
Begin with selecting the appropriate nozzle for your task. For light dirt, a wider spray angle, such as 25 or 40 degrees, will suffice. For stubborn grime, opt for a narrower nozzle, typically 15 degrees. A turbo nozzle can also be quite effective, providing a rotating jet that can tackle tough spots.
Next, adjust the pressure setting. Most units have a range of settings, usually between 110 and 200 bars. For regular maintenance cleaning, a pressure around 120-140 bars is suitable. For more challenging jobs, consider increasing it to 160 bars, but avoid exceeding 180 bars to prevent damage to vehicle surfaces.
- 25-degree nozzle: Ideal for rinsing and light dirt removal.
- 15-degree nozzle: Effective for heavy-duty grime and dirt.
- Turbo nozzle: Best for stubborn spots with its rotating jet.
Always test on a small, inconspicuous area before proceeding with full cleaning. This ensures that the pressure and nozzle combination won’t damage the finish. Adjust as necessary based on the results observed.
In my experience, finding the right balance between pressure and nozzle type can significantly reduce cleaning time and enhance the final result. A few minutes spent on setup can save hours of scrubbing later.
Applying Detergent Using the Pressure Washer
For optimal cleaning results, choose a detergent that matches your needs. I often recommend a foaming agent specifically designed for automotive surfaces. This type of product adheres better, allowing it to break down dirt and grime effectively.
To apply the detergent, fill the detergent tank of your device according to the manufacturer’s instructions. Ensure you don’t exceed the maximum fill line to prevent overflow. After filling, set the detergent selection to ‘on’ if your model has this feature. This allows the solution to mix with the water stream.
When ready to start, always begin with a low-pressure setting to avoid damaging the vehicle’s finish. I remember a time when I accidentally used high pressure while applying detergent and left swirl marks on a client’s car. Lesson learned! Start from the bottom and work your way up, applying the foam evenly across the surface.
Allow the detergent to sit for a few minutes–this helps it penetrate and loosen stubborn stains. Avoid letting it dry on the surface, as this can lead to residue. After the dwell time, switch to a high-pressure nozzle and rinse thoroughly, ensuring all detergent is removed.
For those looking to maintain indoor air quality while cleaning, consider investing in the best air scrubbers for mold. They can help eliminate any lingering odours or contaminants in your workspace.
Rinsing the Vehicle Properly After Cleaning
After applying detergent, it’s crucial to rinse thoroughly to prevent residue. I recommend starting from the top and working your way down, ensuring that all soap is removed. This method helps gravity assist in the rinsing process, allowing the dirty water to flow downwards.
Utilise a wider nozzle to ensure a gentle yet effective spray. A fan-shaped spray is ideal for covering larger areas without concentrating the pressure too much, which can damage the paintwork. Make sure to maintain a distance of about 45-60 cm from the surface to avoid any unwanted marks.
Pay special attention to areas where soap tends to accumulate, like around the wheel arches and beneath the bumpers. A second pass over these spots is often necessary. If you notice any stubborn spots, consider using a lower pressure setting and a more focused spray to dislodge any remaining detergent.
Once you’ve completed the rinse, it’s beneficial to perform a final inspection. Look for any missed areas that may need another quick rinse. This step ensures a thorough clean and leaves the finish sparkling.
After rinsing, drying is the next step. Use a microfibre cloth or a chamois to wipe the surface. This prevents water spots from forming and helps maintain that pristine look. I always keep a few extra cloths handy for this purpose.
Maintaining Your Equipment Post Detailing
After completing the vehicle cleaning process, ensure to disconnect the detergent tank and rinse it thoroughly. This prevents any residue build-up that could clog the system in future uses. I often fill the tank with clean water and run the unit for a few moments to flush out any remaining soap. It’s a simple step that saves a lot of hassle later.
Check the filter screen inside the water inlet. Debris can accumulate during your cleaning session, which might affect performance. I’ve found that a quick rinse under tap water keeps it clear and functioning optimally.
Storage Tips
Once finished, store the unit in a cool, dry place. Avoid damp areas to prevent mould and mildew. I keep mine in a garage where it’s protected from direct sunlight and extreme temperatures. Keeping the hose untangled and coiled properly prolongs its lifespan. I learned this the hard way when a tangled hose developed kinks that affected water flow.
Regular Maintenance Checks
Schedule regular inspections of the seals and connections. Over time, wear and tear can cause leaks. I make it a habit to check these components every few months. Replacing worn-out parts promptly can save you from bigger problems down the line.
Additionally, I recommend using a water softener if your supply is hard. This reduces the mineral build-up inside the machine. A friend of mine didn’t do this, and his unit faced frequent clogs and performance issues. Investing in a softener has made a noticeable difference in my equipment’s longevity.
By following these steps, you ensure that your cleaning device remains in peak condition, ready for the next detailing session.
Troubleshooting Common Issues During Vehicle Cleaning
If you notice inadequate foam application, check the detergent reservoir. Ensure it’s filled correctly and that the detergent type is suitable for your equipment. I recall a time when I rushed through this step and ended up with a weak foam; it turned out the detergent was too thick for the system.
In case of low water pressure, inspect the hose for kinks or blockages. A simple twist can sometimes resolve the issue. I had a client who thought their unit was malfunctioning, but it was just a matter of repositioning the hose. Always ensure the water source is adequate and free from obstructions.
Unexpected leaks might arise from worn seals or connections. Regularly check the fittings and seals for wear. I once had a persistent drip that I ignored until it caused a larger issue. Replacing a seal is straightforward and can save future headaches.
Should you encounter a sudden stop in operation, verify the power supply. Ensure the outlet is functioning and that the unit hasn’t overheated. I’ve seen machines shut down due to overheating, especially when used continuously for extended periods. Giving it a break can often resolve the problem.
If you experience excessive noise, it could indicate air trapped in the system. Bleeding the system can often fix this. I recall a session where the noise was so loud I thought something was broken, but a quick bleed resolved it. Always listen closely; your machine often tells you what it needs.

.jpg)


