


Begin with a concentrated formulation designed for automotive surfaces. Mix it with water according to the manufacturer’s instructions; typically, a ratio of 1:10 works well. This ensures that the solution penetrates grime without leaving streaks or residue.
Next, select an appropriate nozzle. A wider spray pattern, such as 25 degrees, allows for an even distribution of the cleaning agent, preventing potential damage to delicate components. Always keep the nozzle at least two feet away from the surface to avoid any unintended harm.

As I recall from my years in the field, I once tackled an exceptionally dirty vehicle. The key was to pre-soak the exterior with the mixed solution, letting it dwell for a few minutes before rinsing. This technique breaks down stubborn contaminants, making the final rinse more efficient. Always remember to rinse from the top down, ensuring that dirt flows away from the clean areas.
Finally, after the initial wash, consider a thorough rinse with clean water to eliminate any remaining cleaning agent. This step is crucial; residues can attract dirt if left behind. In my experience, this simple yet effective method leads to a spotless finish, ensuring the vehicle looks its best.
Choosing the Right Cleaning Solution for High-Pressure Equipment
Opt for a formulation specifically designed for high-performance machinery. Look for products that clearly state compatibility with high-velocity sprayers. These solutions often contain surfactants that effectively lift dirt without causing damage to the surface or the equipment itself.
Check the pH level of the cleaning agent. A neutral pH around 7 is ideal, ensuring it won’t harm sensitive surfaces or your device. Acidic or highly alkaline options can lead to corrosion or degradation over time.
Consider the concentration of the product. Highly concentrated cleaners may require less quantity for effective results, saving you money in the long run. Dilution ratios should be straightforward, allowing for easy mixing before application.
Read reviews from fellow users. Insights from others who have tested various products can guide you toward effective and safe choices. Personal experiences often reveal practical details not mentioned in product descriptions.
Evaluate scent and environmental impact. Many individuals prefer biodegradable options that are less harsh on nature. These formulations tend to be gentler on both surfaces and your nostrils while still being powerful against grime.
If you are cleaning vehicles, ensure the selected solution is safe for paint and finishes. Some cleaners contain additives that enhance shine and protection, which can add an extra layer of care to your vehicle’s exterior.
Lastly, test the solution on a small, inconspicuous area first. This precaution helps to confirm that it performs well without any adverse reactions, giving you peace of mind before tackling larger surfaces.
Understanding the dilution ratio for soap in pressure washers
For optimal results, always adhere to the manufacturer’s recommended dilution ratios. These ratios ensure that the cleaning solution performs effectively without damaging the equipment or the surfaces being cleaned.
Typically, the dilution ratio can vary based on the formulation of the cleaning agent. Here’s a guideline based on my experience:
- Standard ratio: 1 part cleaning solution to 10 parts water.
- For heavily soiled surfaces: 1 part cleaning solution to 5 parts water.
- For light cleaning: 1 part cleaning solution to 15 parts water.
When mixing, always add the concentrate to water, not the other way around. This approach prevents foaming and ensures an even distribution of the active ingredients.
Consider the following points for best results:
- Test on a small area first, especially if you are unsure of the surface material.
- Adjust the dilution if necessary; some surfaces may require a stronger or weaker solution.
- Monitor the performance; if the cleaning power seems lacking, modify the ratio gradually.
In my years of testing various products, I found that sticking to these guidelines not only maximises cleaning efficiency but also prolongs the life of the equipment. A well-diluted solution can break down grime without the risk of damage, ensuring your surfaces look their best after each clean.
Preparing Your Pressure Appliance for Soap Application
Before introducing cleaning solutions into your machine, ensure the unit is turned off and disconnected from the power supply. Begin by inspecting the nozzle; switch to a low-pressure tip to prevent excessive force that could damage surfaces or the unit itself. If your model includes a detergent tank, verify it’s clean and free from residues of previous products.
Next, check the hose for any leaks or blockages that could affect performance. A clear line will ensure proper mix and flow. If a separate detergent injector is used, attach it securely to the inlet. Some units require a specific setting to allow for the correct siphoning of the mixture; refer to your user manual for guidance.
Mix the cleaning solution according to the manufacturer’s recommendations, maintaining the appropriate dilution ratio. This not only optimises cleaning results but also protects the components of your machine. Once the mixture is ready, pour it into the detergent tank or injector. If you’re using a bucket for manual application, ensure you have the right attachment to draw from it.
After everything is set, double-check that all connections are tight and secure. Before applying the solution to your vehicle or surface, test a small area to make sure the product works as intended. This step helps avoid any adverse reactions between the solution and the surface material.
For additional insight on capturing the right moments while cleaning, consider investing in a digital camera or digicam. It’s a great way to document your cleaning results or share tips with others.
Adding Detergent to the Detergent Tank
Begin by ensuring the machine is powered off and disconnected from the water supply. Locate the detergent tank, typically situated on the side or rear of the unit. Remove the tank cap gently, taking care not to apply excessive force which could damage the seal.
Measure the appropriate amount of your chosen cleaning agent. It’s crucial to refer to the manufacturer’s recommendations for dosage, as excessive amounts can lead to foam overflow and reduced performance. Generally, a dilution of 1:10 is a good starting point, but check the specific instructions for the product you are using.
Pour the measured liquid into the tank, avoiding any spillage. If you do spill, clean it up immediately to prevent slipping hazards. Reattach the cap securely to avoid any leaks during operation.
After adding the detergent, reconnect the water supply and power on the unit. Adjust the nozzle to the appropriate setting, often a wider spray pattern works best for applying detergent. Start the application by spraying from the bottom up, ensuring even coverage across the surface.
| Step | Action |
|---|---|
| 1 | Ensure unit is off and disconnected from water. |
| 2 | Remove the detergent tank cap carefully. |
| 3 | Measure the correct amount of detergent. |
| 4 | Pour detergent into the tank without spilling. |
| 5 | Secure the tank cap properly. |
| 6 | Reconnect water supply and power on the unit. |
| 7 | Adjust nozzle and apply detergent from bottom to top. |
After application, allow the detergent to sit for a few minutes to break down grime before rinsing. Always follow up with a thorough rinse to remove any residual cleaning agent.
Setting the Correct Nozzle for Applying Soap
For optimal results, always start with the right nozzle. A dedicated soap nozzle or low-pressure nozzle, typically identified by its wider spray pattern, is crucial. This allows for even distribution of the cleaning solution without excessive pressure that could damage surfaces. I’ve often seen users make the mistake of using a high-pressure nozzle, leading to streaks and an uneven application.
Identifying the Right Nozzle
Most machines come with a selection of nozzles, each designed for specific tasks. The soap nozzle typically emits a wider fan spray. This is beneficial for applying a cleaning solution as it covers more area and prevents oversaturation in one spot. Always check your machine’s manual for specific recommendations on nozzle types.
Practical Tips for Nozzle Adjustment
When you switch nozzles, ensure the machine is off. Adjusting while it’s running can lead to accidents. Once you’ve attached the correct nozzle, test the spray pattern on a small, inconspicuous area. This helps confirm that the solution is being applied as intended and allows you to make any necessary adjustments before tackling the entire surface.
In my experience, taking the time to set the proper nozzle can significantly enhance the cleaning process, making it more efficient and effective. A well-chosen nozzle not only improves coverage but also helps save on cleaning solution, as it ensures the product is applied evenly.
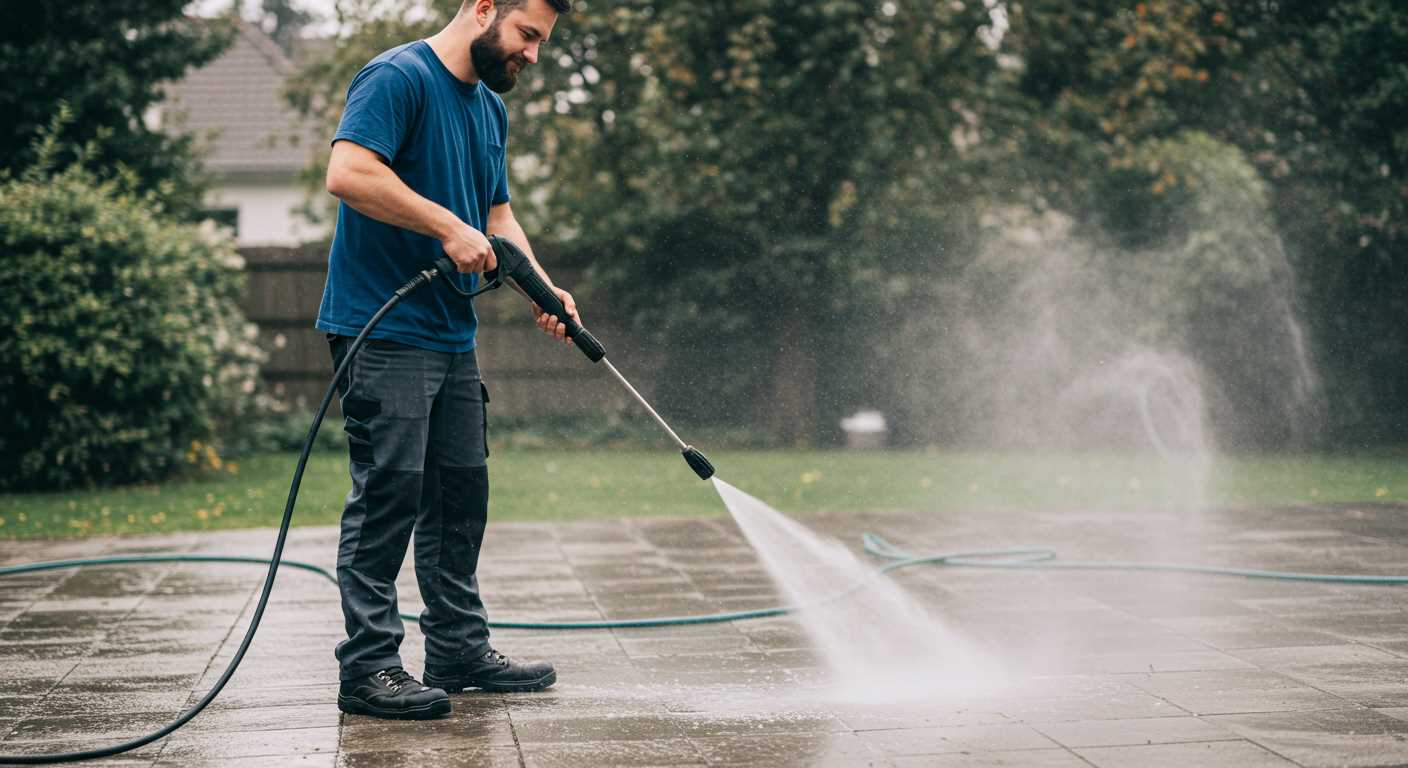
Applying soap to your vehicle’s surface
Begin the application by starting from the top and working your way down. This approach prevents dirt from flowing back onto already cleaned areas. The detergent should be applied liberally, ensuring complete coverage of the surface. Use a wide, sweeping motion to avoid missing spots. A gentle overlap on each stroke will help maintain an even coating.
Pay attention to areas with stubborn grime. For these spots, allow the solution to dwell for a short period, typically 5 to 10 minutes. This waiting time enables the cleaner to break down tough stains effectively. However, avoid letting it dry on the vehicle; if necessary, lightly mist with water to keep the surface moist.
Finishing touches
Once the application is complete, it’s crucial to rinse thoroughly. Use a fan nozzle to rinse off the cleaning solution, ensuring you remove all residues. This final step not only prevents streaks but also helps to protect your vehicle’s finish. For more details on various types of equipment, check the different types of pressure washers discussed to find the best fit for your cleaning needs.
Allowing Soap to Dwell for Optimal Cleaning
After applying the cleaning agent, it’s crucial to allow it to sit on the surface for a specific period. This dwell time enables the formulation to penetrate and break down grime, dirt, and other contaminants effectively. I’ve found that a dwell time of around 5 to 10 minutes usually yields the best results, depending on the level of soiling.
Timing Is Key
During my years of experience, I’ve noticed that rushing this step often leads to suboptimal outcomes. Set a timer to avoid getting distracted. If you leave the solution on for too long, especially in direct sunlight, it can dry out and become difficult to remove. Always check the label for any specific recommendations regarding dwell time for the product you’re using.
Surface Considerations
Different surfaces may require adjustments in dwell time. For example, painted surfaces, like those on vehicles, may benefit from a shorter dwell time compared to textured surfaces like concrete. I once left a cleaning solution on a textured driveway too long, resulting in some discolouration. Always keep an eye on the surface condition to ensure you achieve the best possible clean without damaging the material.
Rinsing Off Residue with a High-Pressure Cleaner
Ensure the right nozzle is installed, typically a 25-degree or 40-degree tip. This provides a wide spray pattern, which helps to remove any leftover cleaning agent effectively without damaging the vehicle’s surface.
Start rinsing from the top down, allowing gravity to assist in pulling dirt and suds away from the paintwork. Maintain a distance of around 2 feet from the surface to prevent any potential damage. Move the wand in a sweeping motion, overlapping each pass slightly to ensure an even rinse.
Check for Residue
After rinsing, inspect the vehicle for any remaining foam or dirt. Pay special attention to areas around the wheels, undercarriage, and any crevices. If necessary, repeat the rinsing process in those spots to ensure a thorough clean.
Final Touches
Once satisfied with the rinse, turn off the equipment and detach the nozzle. If water spots are a concern, drying the vehicle with a microfiber towel can help prevent them from forming. This step is particularly beneficial in warmer climates where water evaporates quickly.
Cleaning and maintaining your pressure washer after use
After finishing with the cleaning task, I always prioritise taking care of my equipment. It prolongs its life and ensures optimal performance for future projects.
- Disconnect all hoses: Start by detaching the water supply and the nozzle from the machine. This prevents any residual pressure from causing leaks or damage.
- Flush the system: Run clean water through the unit for a few minutes. This helps remove any leftover cleaning agents and prevents them from corroding internal components.
- Inspect the filters: Check and clean the water inlet filter. A clogged filter can lead to reduced efficiency and strain on the motor.
- Clean the nozzle: Ensure that the nozzle is free from blockages. I often soak it in warm soapy water and use a soft brush to remove any stubborn debris.
- Check the oil level: For models with an oil reservoir, make sure to check the oil level and top up as needed. This is crucial for maintaining engine health.
- Store properly: Keep the unit in a dry place, away from extreme temperatures. Use a cover if possible to protect it from dust and debris.
In my experience, neglecting these steps can lead to costly repairs or even replacement of the machine. Regular maintenance not only keeps everything running smoothly but also enhances your cleaning capabilities in the long run.
Lastly, always refer to the manufacturer’s manual for specific maintenance recommendations tailored to your model. It’s a small investment of time that pays off significantly.

.jpg)


