
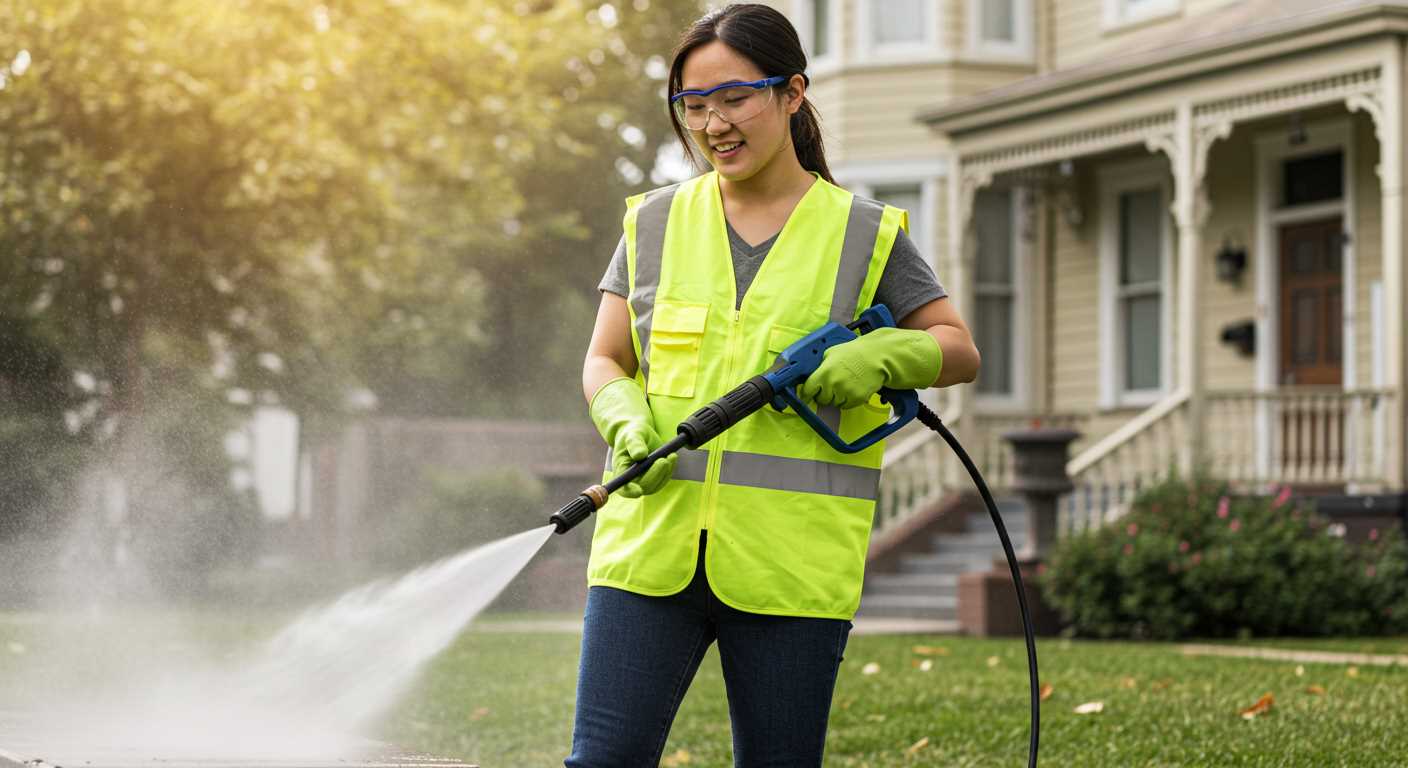


Before you set foot outside, make sure to gather all your materials. A good pair of safety goggles and sturdy footwear will protect you while tackling tough grime. I learned this the hard way during my first attempt at cleaning my driveway. Slipping on wet surfaces, I realised how crucial proper gear is.
Next, connect your machine to a water source. I always recommend using a garden hose with a secure fitting to prevent leaks. A personal mishap involved a loose connection that led to an unexpected shower–definitely not the most pleasant experience! Ensure everything is tight before you turn on the water.
Adjust the nozzle according to the task at hand. For delicate surfaces like vehicles, a wider spray pattern is ideal; I once scratched the paint on my car by using too narrow a stream. Conversely, tougher surfaces like concrete can handle a concentrated jet. Experimenting with different settings has always yielded the best results for me.

Keep a steady pace while cleaning. Overlapping each stroke ensures that no spots are missed, and I often find that a methodical approach saves time in the long run. Rushing can lead to streaks and areas requiring a second pass, which can be frustrating. Trust me, taking your time pays off.
Lastly, don’t forget to maintain your machine after use. I’ve encountered clogged nozzles and dirty filters that could have been avoided with a bit of routine care. A simple rinse and inspection can extend the life of your equipment significantly, ensuring it remains ready for your next cleaning adventure.
Choosing the Right Nozzle for Your Task
For optimal results, selecting the correct nozzle is key. I recall a day when I tackled a particularly grimy patio. Armed with the wrong nozzle, I spent hours scrubbing, only to realise I was using a fan spray instead of the more concentrated option. Switching to a narrow-angle nozzle made all the difference, cutting through dirt with ease.
Generally, nozzles come in various shapes and sizes, each designed for specific tasks. A 0-degree nozzle delivers a concentrated jet, perfect for tough stains like oil or grime on concrete. However, be cautious; it can damage softer surfaces. In contrast, a 25-degree nozzle is versatile, suitable for most cleaning scenarios, from decks to vehicles.
For delicate surfaces, such as painted wood or glass, a 40-degree nozzle provides a gentle touch. I once had a customer who scratched their car’s paint using a more aggressive setting. Switching to a wider angle prevented any further mishaps while maintaining cleanliness.
Don’t overlook adjustable nozzles. They offer flexibility, allowing you to change the spray pattern without switching nozzles. I’ve found them particularly handy when moving between different surfaces during a single job.
Always consider the task at hand and the surface type before making your choice. Each nozzle has its strengths and weaknesses, and understanding these can save time and prevent damage. Remember, the right tool can make your cleaning experience not just effective, but also enjoyable.
Preparing Your Surface for Cleaning
Before getting started, it’s crucial to inspect the area you plan to clean. Remove any loose debris, such as leaves, twigs, or dirt, to ensure a thorough job. I recall a time when I overlooked this step; the results weren’t pretty. The dirt clumped under the spray, creating more hassle than expected.
Next, check for any delicate items nearby. Move garden furniture, potted plants, or decorative features out of the way. I once accidentally damaged a friend’s outdoor decor because I underestimated the power of the stream. Protect your surroundings to avoid unnecessary repairs.
For surfaces like concrete, it’s wise to pre-treat any tough stains, especially oil or grease spots. Applying a suitable cleaner allows the solution to penetrate before washing. After using a cleaner, wait a few minutes, then rinse with water to prepare the surface for the high-powered clean. If you’re tackling concrete, consider choosing the right pressure washer nozzle for concrete to maximise effectiveness.
Ensure all windows and doors are closed to prevent water intrusion. In my experience, I’ve had a few surprises with water seeping into my garage because I forgot to shut the door. Sealing off areas can save you from potential damage.
Lastly, wear appropriate safety gear. Protect your eyes and skin from any flying debris or chemical splashes. I learned this the hard way after a stray pebble hit my glasses during a cleaning session. A simple pair of goggles can make all the difference.
Setting Up the Equipment Safely
Check the area where you’ll be working. Ensure it’s free of obstacles and debris. I recall a time when I didn’t notice a small garden ornament, and the result was a regrettable chip in it after a vigorous clean. Clear the path and secure any loose items to avoid accidents.
Electrical Safety Precautions
Inspect the power cord for any signs of wear or damage before plugging it in. A frayed cord can lead to serious hazards. I once had a colleague who ignored this step, and the equipment short-circuited, causing a minor scare. Always ensure the outlet is grounded and rated for your equipment’s voltage. Avoid using extension cords unless absolutely necessary; if you must, use one rated for outdoor use and the correct gauge.
Water Supply Considerations
Connect your device to a stable water source. Ensure the hose is free of kinks and leaks to maintain an optimal flow. One time, I encountered a significant drop in performance due to a kinked hose. A steady supply is essential for the task at hand. If you’re working on something particularly stubborn, consider using warm water, as it can aid in dislodging dirt and grime.
Finally, always wear appropriate safety gear. Eye protection is a must, as debris can kick up unexpectedly. I recommend sturdy footwear and gloves for additional protection. Safety first can save you a trip to the hospital and keep your cleaning experience enjoyable. For those interested in restoration projects, you might find the best air compressor for car restoration helpful in your toolkit.
Operating the Pressure Washer Correctly
Always maintain a proper distance from the surface while cleaning. I’ve found that a distance of 2 to 3 feet allows for effective cleaning without causing damage. Each task may vary, so adjust as needed based on the surface type.
Begin with the machine at a lower setting. Gradually increase the pressure if necessary. I remember the first time I went too high on a delicate wooden deck. It wasn’t pretty. Start low, then test the effect.
Keep the nozzle moving. A common mistake is to linger too long on one spot. This can lead to etching or damaging the surface. I often visualise it like painting; a smooth, even stroke yields the best results. Keep the nozzle in constant motion.
Utilise a sweeping motion while cleaning horizontal surfaces. For vertical areas, a top-to-bottom approach prevents streaks. I’ve learned this the hard way when I missed spots on a fence by starting from the bottom up.
Maintain a clear line of sight between the nozzle and the surface. This helps in controlling the spray and ensures you’re targeting the dirt effectively. I always keep my feet firmly planted and my stance stable to avoid any mishaps.
After finishing, turn off the machine before disconnecting any hoses. This prevents any residual water from splashing back. I’ve been caught off-guard before, and it’s never a pleasant surprise.
Lastly, don’t forget to clean the nozzle after use. A clogged tip can lead to uneven pressure and poor performance. I make it a habit to check and clean all attachments before storing the equipment.
Common Cleaning Techniques with Pressure Washing

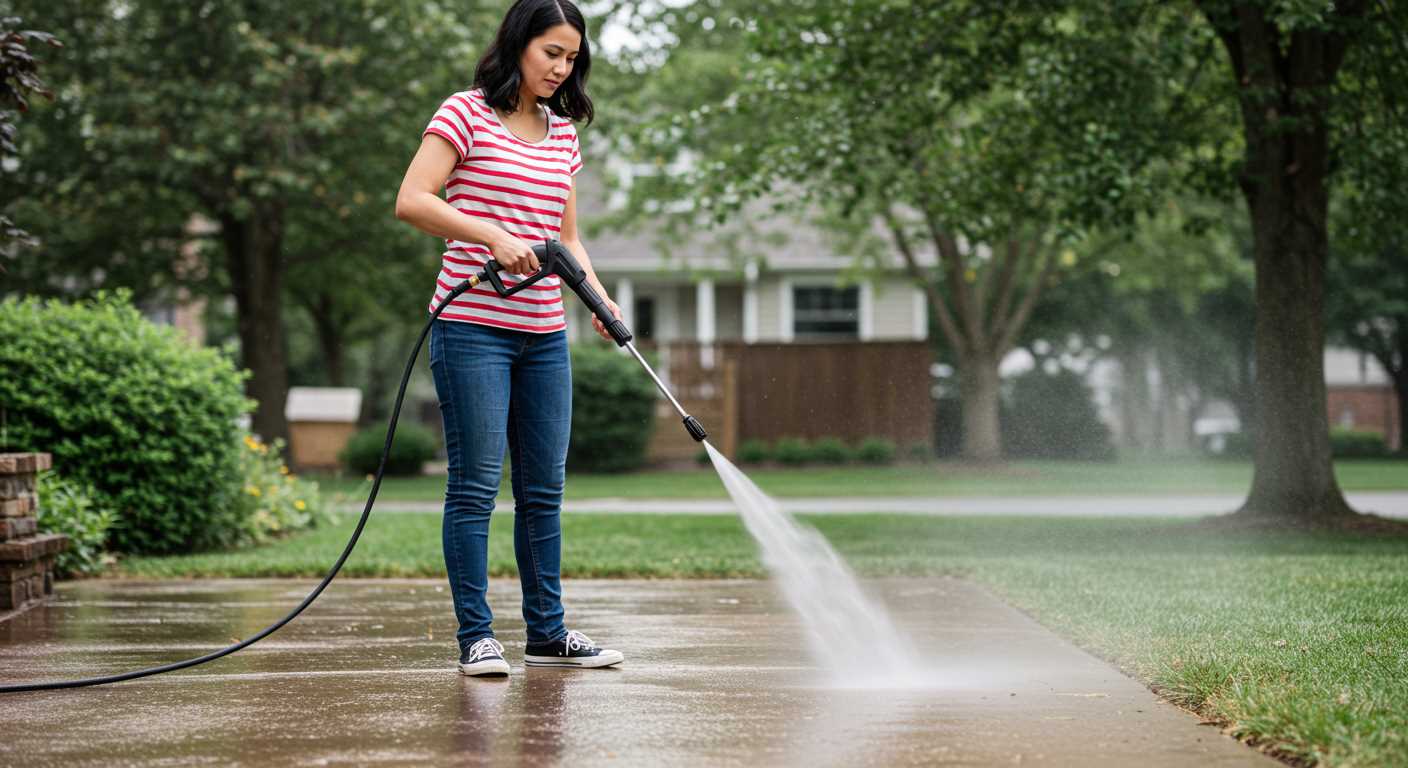
For tackling stubborn grime on various surfaces, start with the wide fan spray nozzle. This technique works wonders on driveways and patios. I recall a time when my neighbour struggled with an oil stain on their concrete; a quick pass with the wide nozzle transformed it in minutes.

When dealing with delicate surfaces like wooden decks, opt for a lower pressure setting along with a 25-degree nozzle. I once made the mistake of using too much force on my own deck, which led to splintering. A more gentle approach prevents damage while effectively removing dirt and mildew.
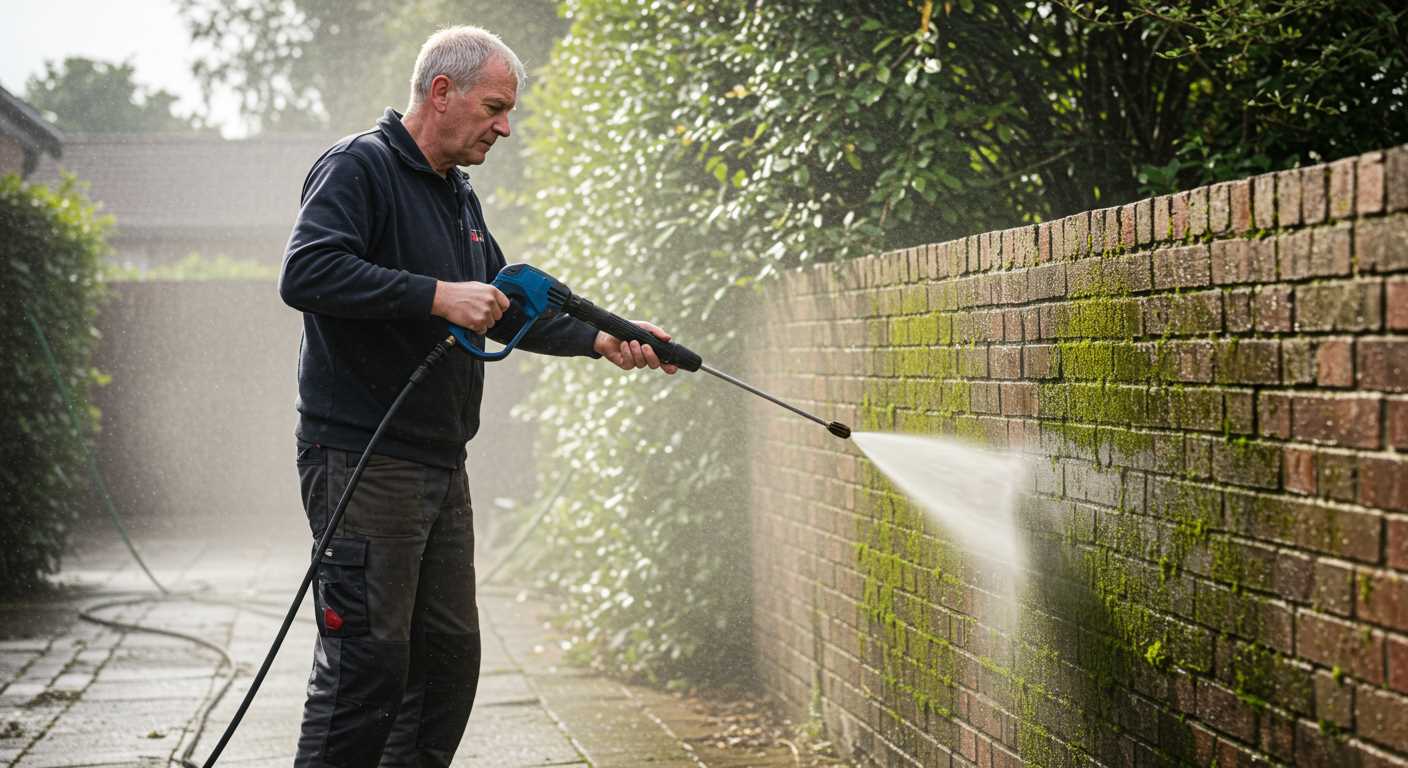
For vertical surfaces, such as siding or fences, work from the bottom up. This technique prevents streaks and ensures that dirt flows downward and off the surface. I learned this the hard way after cleaning my garden shed; starting from the top left some unsightly marks that required a second pass.
In situations with heavy mould or mildew, applying a cleaning solution before rinsing is beneficial. I found that letting the solution sit for a few minutes allows it to penetrate deeper into the stains. Just remember to rinse thoroughly afterwards to avoid residue.
For vehicles, use a foam cannon attachment to apply soap evenly. This method not only cleans effectively but also protects the paint from scratches. I’ve seen great results on my car using this technique, leaving a spotless finish without the risk of damage from traditional scrubbing.
Lastly, always follow up with a thorough rinse, especially on surfaces treated with chemicals or detergents. A quick rinse may seem adequate, but I discovered that a more meticulous approach prevents residue buildup, ensuring the surface stays clean longer.
Maintaining Your Pressure Washer for Longevity
After years of tinkering with various models, I’ve found that consistent maintenance is the key to ensuring your cleaning equipment lasts. Start with regular checks on the oil level. If it’s a gas-powered unit, change the oil at least once a season. This prevents engine wear and keeps everything running smoothly.

Don’t overlook the filters. A clogged air filter can cause poor performance, so clean or replace it regularly. For the water inlet filter, a quick rinse under running water can do wonders. This simple task helps avoid blockages and ensures optimal water flow during operation.
Every few uses, inspect the hoses for cracks or leaks. Even a small imperfection can lead to pressure loss. If you spot any damage, replace the hose immediately. I once ignored a tiny crack, which resulted in a much larger issue down the line–trust me, it’s not worth the risk.
Pay attention to the nozzle. After each session, rinse it thoroughly to prevent debris from building up. Keeping it clean ensures a strong, consistent spray, making your tasks easier. I’ve seen too many people neglect this step, leading to frustrating experiences on the job.
Winter storage is another crucial aspect. If you live in a region where temperatures drop, make sure to winterize your equipment. This involves draining the water from the system and adding antifreeze specifically designed for this purpose. I’ve made the mistake of skipping this step once; it resulted in a cracked pump on a cold morning. A costly lesson learned!
Lastly, always refer to the manufacturer’s guidelines. Each model has specific requirements that can vary significantly. Following their advice will help you avoid common pitfalls and extend the lifespan of your equipment. I’ve had units last for over a decade by adhering to these simple practices–definitely worth the effort!
.jpg)


