


To start, ensure you have the right proportion of solution mixed with water. I recommend a ratio of one part cleaner to four parts water for most scenarios. Too concentrated, and you risk damaging the surface; too diluted, and you won’t achieve the desired results. My experience has shown that testing a small area first is invaluable. Always check for any adverse reactions before proceeding.
Next, maintain a consistent distance from the surface while applying the mixture. A distance of about 12 inches strikes a good balance between efficiency and safety. I’ve seen too many people get too close, causing unnecessary wear on the material. Always keep the nozzle moving to avoid streaks and lines–this technique makes a noticeable difference.

Using the right tip is another key factor. For tough stains, a narrow nozzle provides the necessary pressure, but switch to a wider tip for rinsing. I once tackled an oil stain on my driveway with the wrong attachment and learned the hard way that the right tool can save hours of work. Take the time to adjust as needed; it pays off in the end.
Finally, don’t rush the rinsing process. After applying the solution, allow it to dwell for a few minutes to break down grime effectively. I’ve found that patience here can turn a mediocre clean into a remarkable one. Always follow up with a thorough rinse to remove any residue; your surfaces will thank you!
Choosing the Right Concrete Cleaner for Your Needs
Select a formula based on the specific type of stains or dirt you encounter. For oil and grease, opt for a degreaser. If it’s mildew or algae, a mould remover will serve best. For general dirt, a multi-surface option works well.
Before purchasing, consider the pH level of the solution. Alkaline products are effective against oily substances, while acidic solutions excel at tackling mineral deposits. Always check the label to ensure compatibility with your surfaces.
For eco-conscious individuals, look for biodegradable options. Many brands now offer environmentally friendly formulas that do not compromise on performance. Reading customer reviews can also provide insights into the product’s effectiveness and any potential drawbacks.
| Type of Stain | Recommended Cleaner | pH Level |
|---|---|---|
| Oil and Grease | Degreaser | Alkaline |
| Mould and Mildew | Mould Remover | Acidic |
| General Dirt | Multi-surface Cleaner | Neutral |
| Mineral Deposits | Acidic Cleaner | Acidic |
Always conduct a patch test on a small, inconspicuous area before widespread application. This ensures the solution will not damage or discolour the surface. In my experience, even reputable brands can sometimes cause unexpected reactions.
Lastly, consider the application method. Some products are ready-to-use, while others may require dilution or specific equipment for optimal results. Make sure to follow the manufacturer’s instructions for best outcomes.
Preparing the Area Before Cleaning
Clear the area of any furniture, vehicles, or obstacles. This step prevents damage and ensures a smooth cleaning process. I once forgot to move a garden table, and the spray ended up chipping the paint. Not a pleasant surprise!
Protect Surrounding Surfaces
Cover plants, windows, and other surfaces that could be affected by splashes or runoff. Plastic sheeting works well; I’ve found it keeps everything tidy. Make sure to secure it so the wind doesn’t blow it away. I learned this the hard way–once, a gust lifted my protective barrier and left a section of my patio unprotected.
Check for Debris
Inspect the area for loose debris, such as leaves or dirt. These can clog the nozzle or interfere with the cleaning solution’s effectiveness. I always make it a routine to sweep the surface first. It saves time and ensures the solution penetrates better. I remember a time when I skipped this step, and it took double the effort to clean up afterward.
Setting Up Your Pressure Washer Correctly
Ensure your machine is positioned on a stable surface, ideally at least 10 feet away from the area you intend to treat. This distance helps prevent any damage from the high-velocity jets and allows for optimal reach and control.
Connect the Equipment
- Attach the water supply hose securely to the inlet. Make sure it’s not cross-threaded to avoid leaks.
- Connect the high-pressure hose to the outlet. A firm connection prevents any accidental disconnections during operation.
- Install the appropriate nozzle based on the task at hand. A wider spray angle is ideal for large areas, while a narrow one targets tough stains.
Check the Settings
- Adjust the pressure setting according to the surface type. Lower settings are safer for softer materials.
- Mix your chosen solution in a separate container if your model requires dilution. Follow the manufacturer’s guidelines for the right proportions.
- Perform a quick test spray at a safe distance to ensure the equipment is functioning optimally.
For those looking to incorporate additional cleaning agents, consider exploring the best car wash shampoo for pressure washer. This can enhance the cleaning power and provide a thorough finish.
Diluting and Mixing Concrete Cleaner Properly
For optimal results, precise dilution is key. I recommend following the manufacturer’s guidelines closely. Often, a ratio of 1:4 (one part solution to four parts water) is effective for many formulations. However, adjust based on the stain severity.
Gather the necessary materials before mixing:
- Measuring container
- Stirring tool (like a stick or a whisk)
- Bucket for mixing
- Protective gloves and goggles
To mix:
- Pour the required amount of water into the bucket first. This helps prevent the solution from clumping.
- Add the measured cleaning agent slowly to the water.
- Stir gently but thoroughly to ensure complete integration.
- Let the mixture sit for a few minutes, allowing any bubbles to dissipate.
Some cleaners may require activation or a specific temperature range for maximum effectiveness. Always check the label for any such instructions. When I first started, I learned the hard way that neglecting these details can lead to less than satisfactory outcomes.
Store any leftover mixture in a sealed container away from direct sunlight to preserve its potency. I have found that keeping it cool often extends its shelf life significantly.
Applying Concrete Cleaner with a Pressure Washer
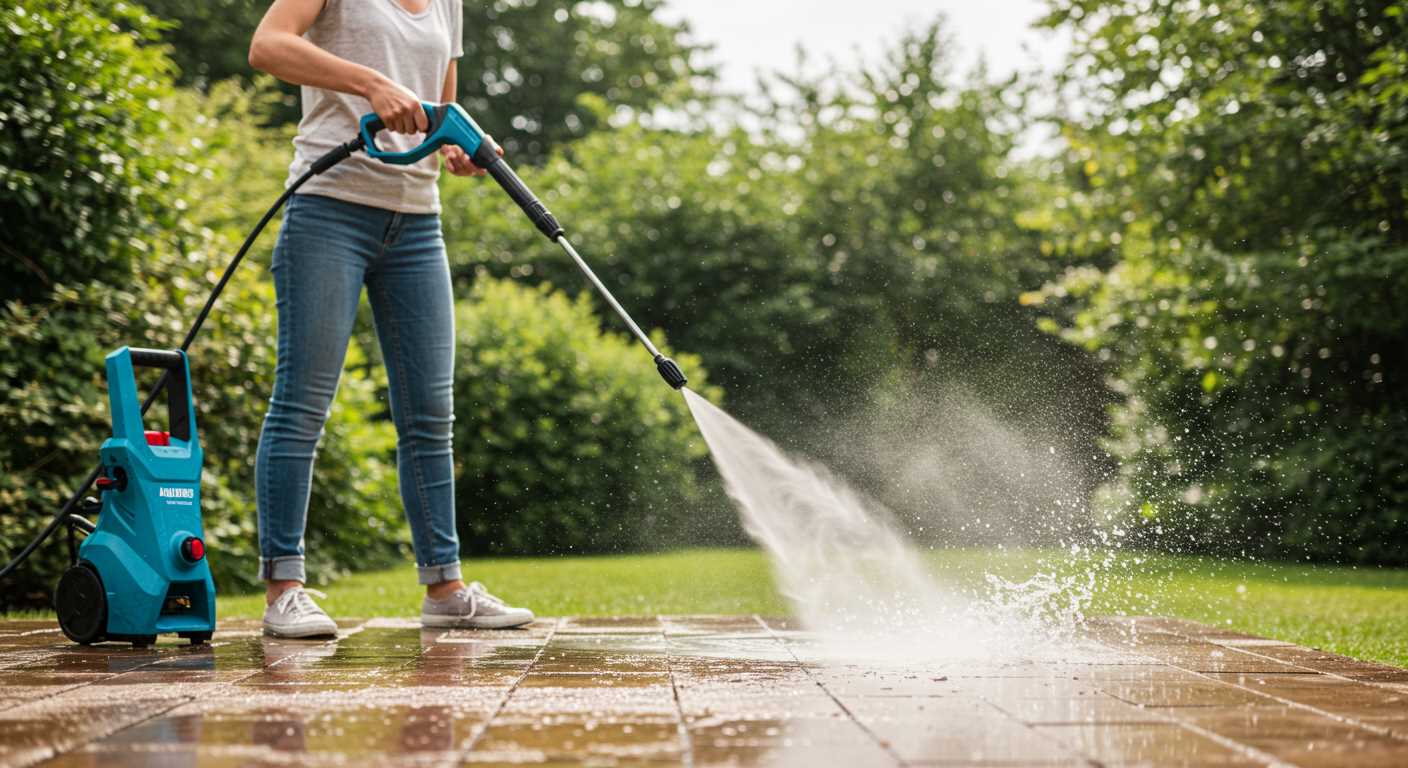
Begin from a distance of about 2-3 feet from the surface. This distance helps avoid damage while allowing the solution to break down stubborn stains effectively. Move the nozzle in a consistent, overlapping pattern to ensure even coverage. I’ve found that a fan spray nozzle works best for this task, providing a wide area to cover without excessive force.
After applying the solution, allow it to dwell for approximately 10 to 15 minutes. This time frame lets the formula penetrate deeply, loosening grime and stains. Avoid letting it dry completely, as this can hinder the cleaning process. During my experience, I’ve noticed that applying the solution just before a sunny day can be counterproductive, as the heat accelerates drying.
Once the dwell time is complete, adjust the nozzle to a narrower angle for rinsing. This adjustment enhances the cleaning power, enabling the removal of the loosened dirt and residues. Keep the wand at a consistent distance from the surface, and continue with the same overlapping motion to ensure thorough rinsing.
For particularly stubborn spots, consider a second application of the cleaning mixture. In my early days, I often overlooked this step, thinking one application sufficed. However, I learned that persistent stains sometimes require a little extra attention to achieve optimal results.
Finally, inspect the area to ensure no residues remain. If necessary, repeat the process on any areas that still appear dirty. I’ve found that a meticulous approach pays off, leading to a cleaner and more appealing surface.
Adjusting Pressure and Nozzle Settings for Optimal Cleaning
.jpg "How to use concrete cleaner with a pressure washer")
Begin by selecting the appropriate nozzle for your task. For most surfaces, a 25-degree or 40-degree nozzle will work well, but stubborn stains may require a more focused 15-degree nozzle. If the objective is to avoid damaging the surface, choose the wider angle first.
Next, adjust the pressure setting on the unit. A lower pressure, around 1300 to 1600 PSI, is suitable for softer materials like wood, while tougher surfaces like stone or brick can handle 2000 PSI or more. Remember, starting with a lower setting allows you to gauge the effectiveness before increasing the intensity.
Testing Settings
Always test the spray on a small, inconspicuous area first. This practice helps to ensure that the chosen pressure and nozzle won’t cause harm. If the results appear satisfactory, proceed with the main cleaning area. If not, make adjustments as necessary until you find the balance that effectively tackles dirt and grime without causing damage.
Maintaining Consistency
During the cleaning process, maintain a consistent distance from the surface, ideally around 12 to 18 inches. This distance ensures even coverage and prevents streaks or missed spots. If you notice areas requiring more attention, avoid getting too close; instead, adjust the angle or change the nozzle to concentrate the spray more effectively.
Rinsing and Finishing the Cleaning Process
After applying the solution, the next crucial step is rinsing the surface thoroughly. Begin by switching your equipment to a high-pressure setting, ensuring that the nozzle is adjusted for a wide spray. This helps to effectively remove any leftover residue while preventing damage to the surface beneath. Start rinsing from the top and work your way down, allowing the water to carry away the loosened dirt and grime.
Final Touches
Once rinsing is complete, take a moment to inspect the area for any stubborn spots that may require additional attention. If you notice any remaining stains, consider reapplying the solution on those specific areas and repeating the rinsing process. For optimal results, allow the surface to dry completely before walking or parking on it. If you’re working in a shaded area, drying may take longer, so plan accordingly.

In my experience, investing in a quality motor for pressure washer can significantly enhance performance during these final stages, ensuring that you achieve the best possible finish. After everything is done, you’ll be pleased with the results and the refreshed appearance of your surfaces.
Maintaining Your Pressure Washer After Use
After finishing a task, immediate care for your equipment can significantly extend its lifespan. First, disconnect the water supply and power source. This simple step prevents any accidental activation while you’re cleaning or storing the unit.
Next, flush the system thoroughly. Run clean water through the machine for a few minutes to remove any residual cleaning agents. It’s important to do this to prevent corrosion or clogs in the internal components. When I first started working with these devices, I often skipped this step, thinking it wasn’t necessary. After experiencing a few costly repairs, I learned my lesson!
Cleaning the Filters and Nozzles
Inspect the filters and nozzles regularly. These parts can accumulate debris, affecting performance. Remove them and rinse under clean water. If they’re heavily soiled, a gentle brush can help dislodge stubborn particles. I remember one time I ignored a clogged nozzle, thinking it would clear up on its own. The pressure dropped dramatically, and it led to a frustrating delay in my work.
Storage Tips
Finally, store your equipment in a dry, sheltered location. Ideally, cover it with a protective tarp or in a dedicated storage space to shield it from dust and moisture. I always keep mine in a garage, away from direct sunlight and harsh weather. A little care in storage can prevent rust and keep the engine in good condition for the next project.

.jpg)


