


For the best results, always dilute the cleaning solution according to the manufacturer’s instructions prior to application. This ensures that the mixture is both effective and safe for various surfaces. I recall a time when I underestimated the concentration level, leading to streaks and residue that required additional scrubbing. A simple adjustment in the ratio transformed the outcome entirely.
Incorporate the solution into the system using the dedicated tank or attachment, depending on the model. I’ve found that pre-soaking the surface with the cleaner before using the high-velocity stream can significantly enhance dirt removal. On one occasion, I was faced with a particularly stubborn patio stain; allowing the agent to penetrate for a few minutes made all the difference.
Always select the appropriate nozzle for the task at hand. A wider spray pattern is ideal for applying the mixture evenly across larger areas, while a more focused jet works wonders for tough spots. I remember tackling a grimy driveway where switching nozzles mid-task allowed me to efficiently tackle both broad surfaces and intricate corners without losing momentum.

After application, let the solution sit for the recommended time before rinsing. This waiting period can seem tedious, but it’s crucial for achieving optimal results. I learned this the hard way when I rushed through a job, only to find that the grime persisted, necessitating a second round of cleaning.
Lastly, always rinse thoroughly with clean water to remove any residue from the surface. Skipping this step can lead to slippery surfaces or unwanted streaks. Trust me, I’ve encountered my fair share of mishaps when I overlooked this final touch. Following these guidelines will ensure your cleaning tasks are both effective and efficient.
Applying Cleaning Solutions in a High-Pressure Cleaner
Begin by selecting a suitable cleaning solution that matches the task. Always check the manufacturer’s recommendations to ensure compatibility with the equipment. Pour the appropriate amount of the solution into the designated tank, usually located on the machine’s body. Make sure not to overfill, as this can lead to issues during operation.
Adjusting Settings
Next, adjust the settings on the machine. Most models will have a specific nozzle for applying cleaning solutions. Switch to this nozzle to ensure an even application. The angle of the nozzle can also affect performance; a wider spray is typically more effective for larger areas, while a narrower spray can target tough stains.
Application Technique
Stand at a safe distance from the surface and begin applying the solution in a sweeping motion. Overlap each pass slightly to avoid missing spots. Allow the solution to sit for a few minutes for maximum effectiveness, but avoid letting it dry on the surface. This step is crucial, as it ensures that the cleaning agent can penetrate and break down dirt and grime effectively.
| Step | Action |
|---|---|
| 1 | Select compatible cleaning solution |
| 2 | Pour solution into tank |
| 3 | Adjust to appropriate nozzle |
| 4 | Apply solution in sweeping motion |
| 5 | Allow to sit briefly |
After application, rinse the surface thoroughly using clean water to remove any residue. This step is critical to prevent any potential damage to the surface being cleaned. If stubborn stains remain, you may want to repeat the process or use a stronger formulation, always following safety guidelines and recommendations.
Understanding the Compatibility of Cleaning Solutions with Karcher Models
Choosing the right cleaning solution can make all the difference in performance. Always refer to the user manual for specific compatibility details. For instance, certain models are designed to work seamlessly with Karcher’s proprietary cleaning agents, while others may require specially formulated products to avoid damage.
Types of Cleaning Agents
Biodegradable options are often recommended, as they are safer for the environment and less likely to cause harm to your equipment. Avoid using harsh chemicals that could corrode the internal components of your device. I’ve seen firsthand how improper solutions can lead to costly repairs.
Testing Compatibility
To ensure a safe match, conduct a small test on an inconspicuous area before applying any solution broadly. I’ve often found that testing a new product can prevent unexpected reactions and maintain the integrity of the machine. Always rinse thoroughly after application to remove any residue that could affect future operations.
Choosing the right type of detergent for your cleaning task
To achieve optimal results, select a formulation tailored to the specific surface and grime type. Here’s a breakdown based on common cleaning scenarios:
- House Exteriors: For siding, opt for a solution designed to remove algae and mildew. Look for one with biocides to effectively tackle organic growth.
- Vehicles: Choose a pH-neutral cleaner. This ensures that wax and sealants on paintwork remain intact while effectively lifting dirt and grime.
- Concrete Surfaces: Heavy-duty options with degreasing properties will work wonders. They break down grease and oil, making it easier to lift tough stains.
- Decking and Patios: A specially formulated cleaner for wood or composite materials helps prevent damage while removing dirt and discolouration.
- Outdoor Furniture: Look for a gentle cleaner that can handle various materials without causing fading or deterioration.
Consider the environmental impact as well. Biodegradable options are great for ensuring that runoff doesn’t harm surrounding vegetation or water sources. Always double-check compatibility with the equipment model to avoid any damage.
In my experience, I once used a standard cleaner on a delicate wooden deck, thinking it would suffice. The result? A discoloured surface that required extensive refinishing. Lesson learned: always match the cleaner with the task to protect your investments.
Finally, consult the manufacturer’s guidelines. They often provide specific recommendations for cleaning agents that work best with their machines. This ensures both safety and effectiveness in your cleaning endeavours.
Proper Dilution Techniques for Optimal Application
To achieve the best cleaning results, the concentration of your cleaning solution is key. Here’s how I’ve always approached dilution for maximum effectiveness:
Recommended Ratios
- For light cleaning tasks, a 1:10 ratio of cleaner to water works well.
- For moderate dirt and grime, aim for a 1:5 mixture.
- For heavy-duty cleaning, use a 1:1 ratio.
Steps for Mixing
- Start with clean, lukewarm water in a separate container.
- Add the cleaning solution gradually while stirring to ensure even distribution.
- Test a small amount on an inconspicuous area first to confirm compatibility.
Always read the manufacturer’s guidelines for specific ratios and recommendations, as formulations can vary widely. For instance, I once diluted a cleaner too harshly, thinking it would save product, only to find that it didn’t cut through the grime effectively. A little extra solution can go a long way in saving time and effort during cleaning tasks.
Never mix different brands or types of cleaners, as this can lead to unpredictable reactions. Stick to one brand for consistency. If you’re unsure, conducting a patch test on a small area will help you gauge the effectiveness without risking damage to surfaces.
Finally, after mixing, ensure that the solution is used promptly. Some detergents can lose potency over time or when exposed to air. I learned this the hard way after storing a mixed solution for weeks, only to find it did little to clean my driveway. Freshly mixed solutions yield the best results.
Setting up your Karcher pressure washer for detergent application
Begin with ensuring that the correct attachment is fitted to the machine. Most models come equipped with a special nozzle for applying cleaning solutions. This is crucial as it provides the optimal spray pattern for even distribution.
Next, fill the detergent tank with the appropriate solution, taking care not to exceed the maximum fill line. It’s advisable to check compatibility with the model’s specifications to avoid any mishaps. I once made the mistake of using a highly concentrated formula, and it clogged the system. Since then, I always verify the concentration before filling.
Once the tank is filled, adjust the nozzle to the low-pressure setting. This is where the magic happens; low pressure ensures that the solution is drawn into the system effectively. I remember the first time I overlooked this step. The result was a half-hearted application of cleaner that left me with more scrubbing than necessary.
Then, before starting the operation, prime the system. To do this, pull the trigger until you see the cleaning solution being drawn through the nozzle. This is a simple yet often overlooked step that guarantees a smooth start.
After everything is set, aim the nozzle at the area requiring attention, maintaining a distance of around 30 cm. This distance allows for the solution to adhere properly without being washed away immediately. A former colleague once advised me to practice on less visible areas first, just to get a feel for the coverage.
Lastly, always rinse the system thoroughly with fresh water once you’ve finished. This prevents any residue buildup, which can lead to operational issues later. I’ve learned the hard way that a few minutes spent cleaning the equipment saves hours of headaches down the line.
For a deeper understanding of related topics, you might find it interesting to explore how a digital cameras image quality is determined by the cameras.
Connecting the Detergent Tank and Ensuring Proper Sealing
To connect the cleaning solution reservoir, align it with the designated slot on the machine, ensuring it fits snugly. A common oversight is not pressing firmly enough; the tank should click into place. Check for any visible gaps between the tank and the body of the unit. If you see any, it likely means a poor seal, which can lead to leaks during operation.
Checking Compatibility and Sealing
After securing the tank, inspect the O-ring or seal at the connection point. This component is vital for preventing leaks. If it appears worn or damaged, replace it before proceeding. During my time in the field, I’ve encountered several situations where a minor seal issue led to significant messes. A properly sealed tank not only prevents spills but ensures maximum suction and application of the solution.
Testing the Connection
Before starting your clean task, conduct a brief test run. Activate the unit without the nozzle attached and check for any signs of leakage from the tank. If everything is secure, you’ll notice a steady flow of solution when the system is engaged. If not, disconnect and recheck the connection to ensure a tight fit. Trust me, taking a moment for this test can save you from frustration later in the process.

Adjusting Nozzle Settings for Detergent Spraying
Begin by selecting the correct nozzle for the task at hand. For optimal application of cleaning solutions, the low-pressure nozzle is crucial. This setting allows for a gentle spray that effectively applies the solution without excessive force, preventing any potential damage to surfaces.
Understanding Nozzle Types
Most models come with a range of interchangeable nozzles, each designed for specific functions. The typical colour-coded system helps identify the appropriate nozzle. For instance, a yellow or green nozzle is usually ideal for applying cleaning solutions, while red nozzles are reserved for intense cleaning tasks without detergent.
Adjusting the Nozzle Angle
After selecting the right nozzle, adjust the angle of the spray. A wider angle disperses the cleaning solution more evenly across larger areas, while a narrower angle provides a concentrated stream, ideal for stubborn stains. It’s wise to test the spray pattern on a small, inconspicuous area first to ensure it meets your needs without causing damage.
Additionally, consider the distance from which you spray. Keeping the nozzle about 2 feet from the surface ensures effective application while minimising the risk of damage. For further insights into different equipment comparisons, check out this link: dewalt vs ryobi pressure washer a comparison of power and performance.
Techniques for Applying Detergent Effectively on Surfaces
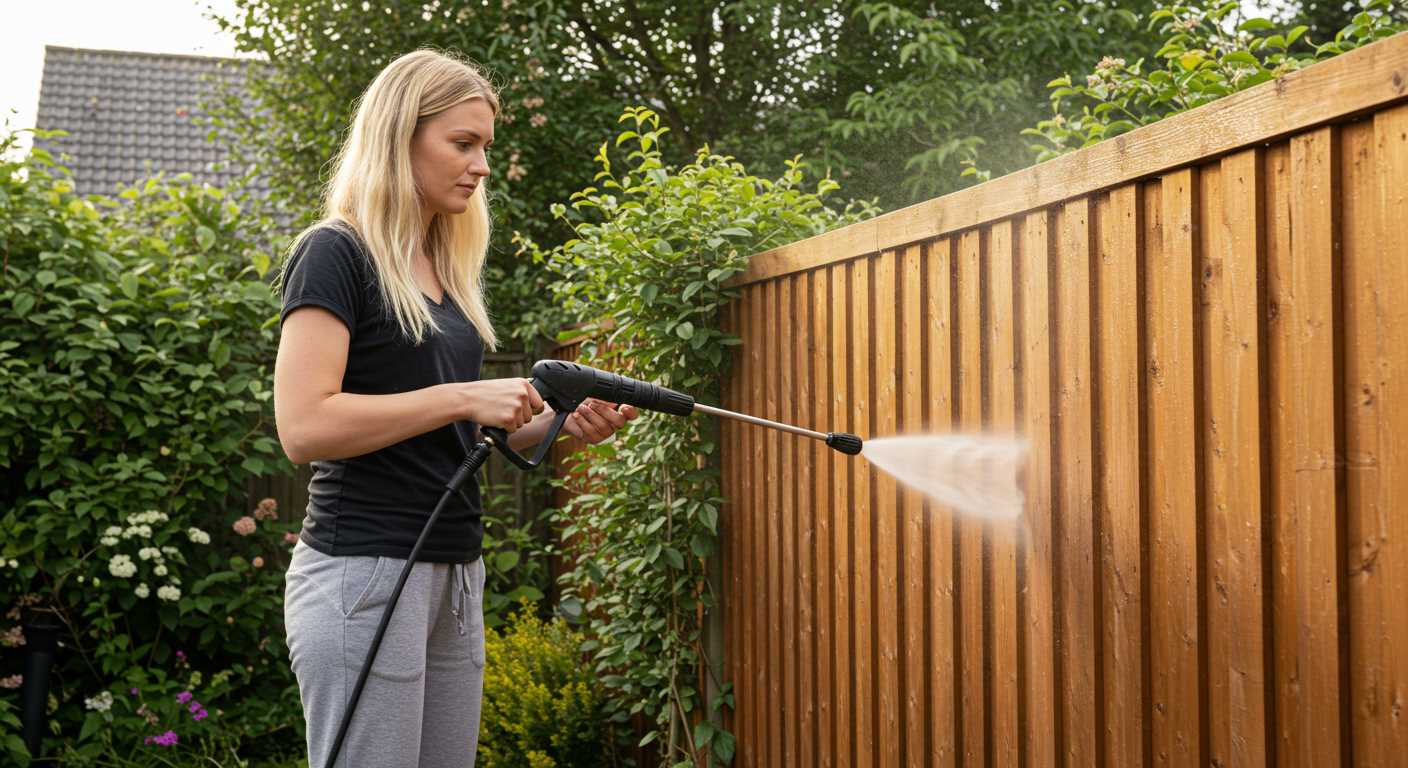
For optimal results, always start from the bottom and work your way up. This technique prevents streaks and ensures that the cleaning solution clings to the surface longer. I recall a particularly challenging job at a local café. The walls were covered in grime, and by applying the solution from the bottom, I managed to lift away years of dirt without any residue.
Another key point is to use the correct nozzle. For larger surfaces, a wide-angle nozzle distributes the cleaning solution more evenly, while a narrow nozzle is ideal for targeted applications. I remember using a narrow nozzle on a patio with stubborn stains. The precision of the stream allowed me to focus on the problem areas without oversaturating the surrounding areas.
Timing is everything. Allow the solution to dwell for a few minutes but avoid letting it dry out. On that café job, I applied the cleaner, then moved on to the next section. Returning after a few minutes made rinsing much easier, as the grime had loosened significantly.
Consider the surface material. For delicate materials like wood, a gentler application is necessary. In one instance, I was cleaning a wooden deck. I diluted the cleaning solution more than usual and applied it with a low-pressure setting to avoid damage.
Lastly, don’t forget to rinse thoroughly. A light rinse following the application helps remove any remaining residue. I learned this the hard way when I left some solution on a brick surface, which ended up creating a slippery film. A good rinse not only ensures cleanliness but also maintains the surface’s integrity.
| Technique | Tips |
|---|---|
| Bottom to Top Application | Prevents streaking, allows solution to cling longer |
| Nozzle Selection | Wide-angle for large areas, narrow for targeted spots |
| Dwell Time | Let solution sit but don’t let it dry |
| Surface Material Consideration | Dilute more for delicate surfaces |
| Thorough Rinsing | Prevents residue and maintains surface integrity |
Recommended Cleaning Procedures After Detergent Application
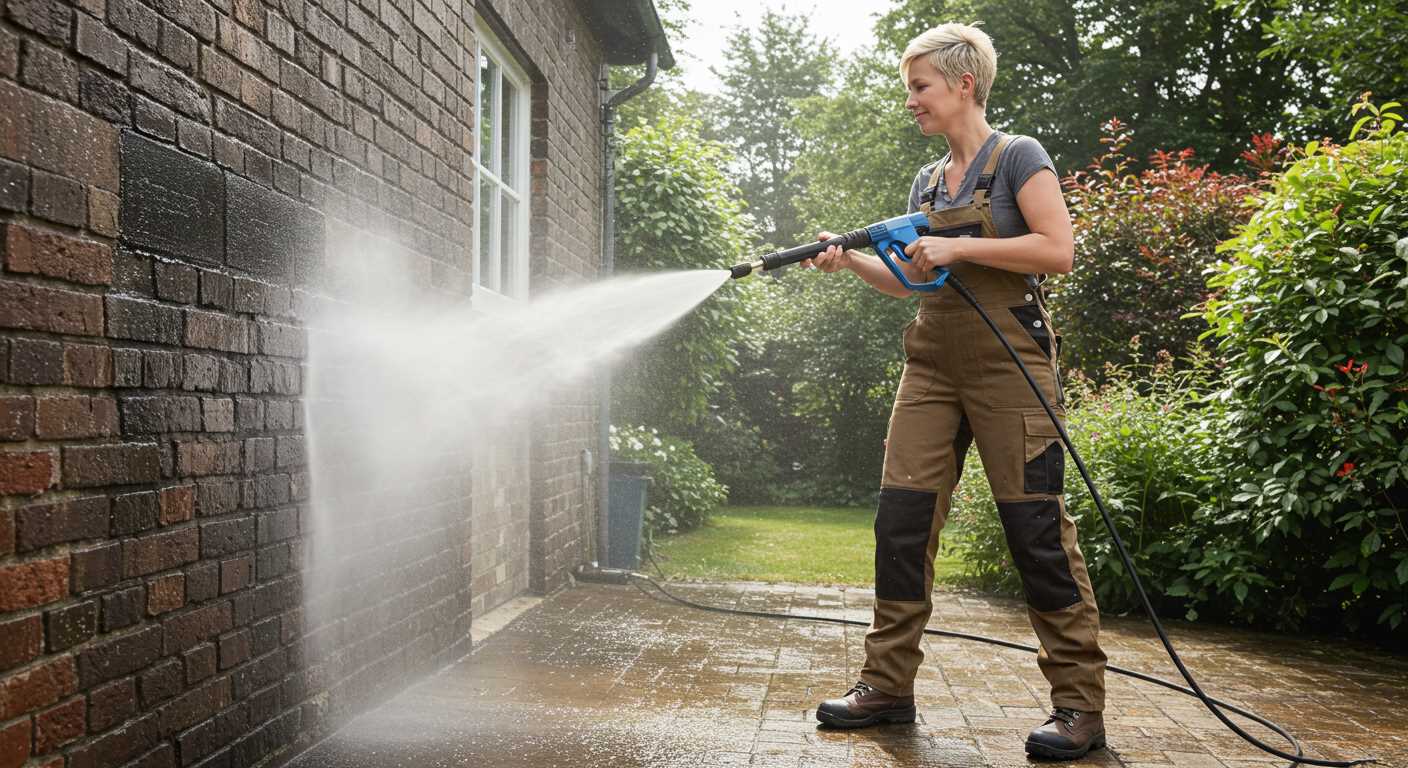
Rinsing surfaces thoroughly after applying cleaning agents is crucial. Use fresh water at a high pressure to remove residues, ensuring no product remains on the surface. This step prevents streaking and potential damage to materials.
Timing Matters
Allow the cleaning agent to dwell on the surface for a few minutes, but not too long. I’ve seen the best results when letting it sit for about 5-10 minutes. Avoid letting it dry out, as this can lead to a harder clean-up later.
Surface-Specific Techniques
For delicate surfaces like vehicles, maintain a distance of at least 1 metre while rinsing. This reduces the risk of damage. For tougher surfaces like driveways, a closer approach can be applied, but keep an eye on the material to avoid etching. Always adjust the nozzle to a wider spray pattern after the initial application to ensure even rinsing.
After cleaning, inspect the area for missed spots. If you notice any stubborn stains, apply a small amount of solution directly and agitate gently with a brush before rinsing again.
Lastly, don’t forget to clean out the detergent tank and rinse the lines to maintain the longevity of the equipment. A little maintenance goes a long way in ensuring your machine runs smoothly for the next cleaning task.
Cleaning and Maintaining the Detergent System
After working with these machines for years, I learned that a clean detergent system is key to maintaining performance. Regular inspections and clean-ups can prevent clogs and ensure optimal functionality.
Regular Inspection

- Check the detergent tank for any residue or buildup after each use.
- Inspect hoses and connections for leaks or cracks that may allow contaminants to enter.
- Look at the filter screen to ensure it is free from blockages.
Cleaning Procedures
- Flush the system with clean water after each session. This removes any leftover cleaning agents that could cause corrosion.
- Soak any removable parts, like the suction hose, in warm soapy water to dislodge stubborn residues.
- Rinse thoroughly with clean water and allow components to dry completely before reassembling.
In my experience, keeping the detergent mechanism clean not only prolongs the lifespan of your equipment but also ensures that every cleaning task is executed flawlessly. Neglecting this area can lead to reduced pressure and efficiency, which is frustrating during crucial jobs.
Additionally, I recommend checking the manufacturer’s guidelines. Each model might have specific maintenance instructions that can enhance longevity and performance. Keeping track of these can save time and effort in the long run.

.jpg)


