


For optimal results, always dilute the cleaning solution according to the manufacturer’s instructions. I’ve found that using too concentrated a mix can lead to residue being left behind, which defeats the purpose of a thorough clean. Measuring out the right amount is key; a simple measuring cup makes this task straightforward.
Attach the foam sprayer to the machine before applying the mixture. This accessory allows for even distribution and helps the solution cling to surfaces longer. I recall a time when I neglected this step, resulting in streaky windows instead of a spotless finish. The foam sprayer truly makes a difference.
Apply the mixture from the bottom up to ensure complete coverage. This technique not only prevents drips but also allows the solution to work its magic on grime before rinsing. After application, let it sit for a few minutes to break down stubborn dirt. I typically set a timer for five minutes, so I don’t lose track of time.
When rinsing, use a wide-angle nozzle to prevent damage to delicate surfaces. I once made the mistake of using a narrow jet on painted wood, which stripped away the finish. A gentle touch is essential, especially on softer materials.
After cleaning, always flush the system with clean water to prevent any leftover residue from clogging the machine. Neglecting this step can lead to maintenance issues down the line. I’ve seen machines suffer from this oversight, and a few extra minutes can save a lot of hassle later.
Using Cleaning Solutions with Karcher Compact Models
First, ensure you select a suitable cleaner designed specifically for the equipment. I recall my first experience with these machines; I tried a generic product that ended up clogging the system. Stick to what’s recommended by the manufacturer, as it ensures optimal performance.

Next, identify the correct attachment for the application. Most models come with a special nozzle or foam lance designed for applying cleaning solutions. I’ve found that a foam lance creates a thicker layer of foam, allowing the cleaner to cling to surfaces longer, enhancing its effectiveness.
Fill the detergent container according to the instructions, making sure not to exceed the maximum fill line. An important lesson I learned was to dilute concentrated solutions as specified; undiluted products can damage surfaces and the machine itself.
Always start with a low-pressure setting. I remember rushing in at full throttle once, which caused the cleaner to splatter everywhere, making a mess instead of a deep clean. Gradually increase the pressure as needed after applying the solution.
After application, allow the cleaner to sit for a few minutes. This waiting period allows the product to penetrate and break down grime. I often set a timer to keep track; getting distracted can lead to forgetting the cleaner on the surface, which can dry out and become difficult to rinse off.
Finally, rinse thoroughly with clean water. I’ve made the mistake of not rinsing adequately, leading to streaks or residue left behind. A clear rinse ensures that all cleaning agents are washed away, leaving surfaces spotless.
Choosing the Right Cleaning Solution for Your Pressure Cleaner
For optimal results, select a cleaning solution specifically formulated for pressure cleaning devices. These products are designed to work effectively under high pressure, ensuring thorough cleaning without damaging surfaces.
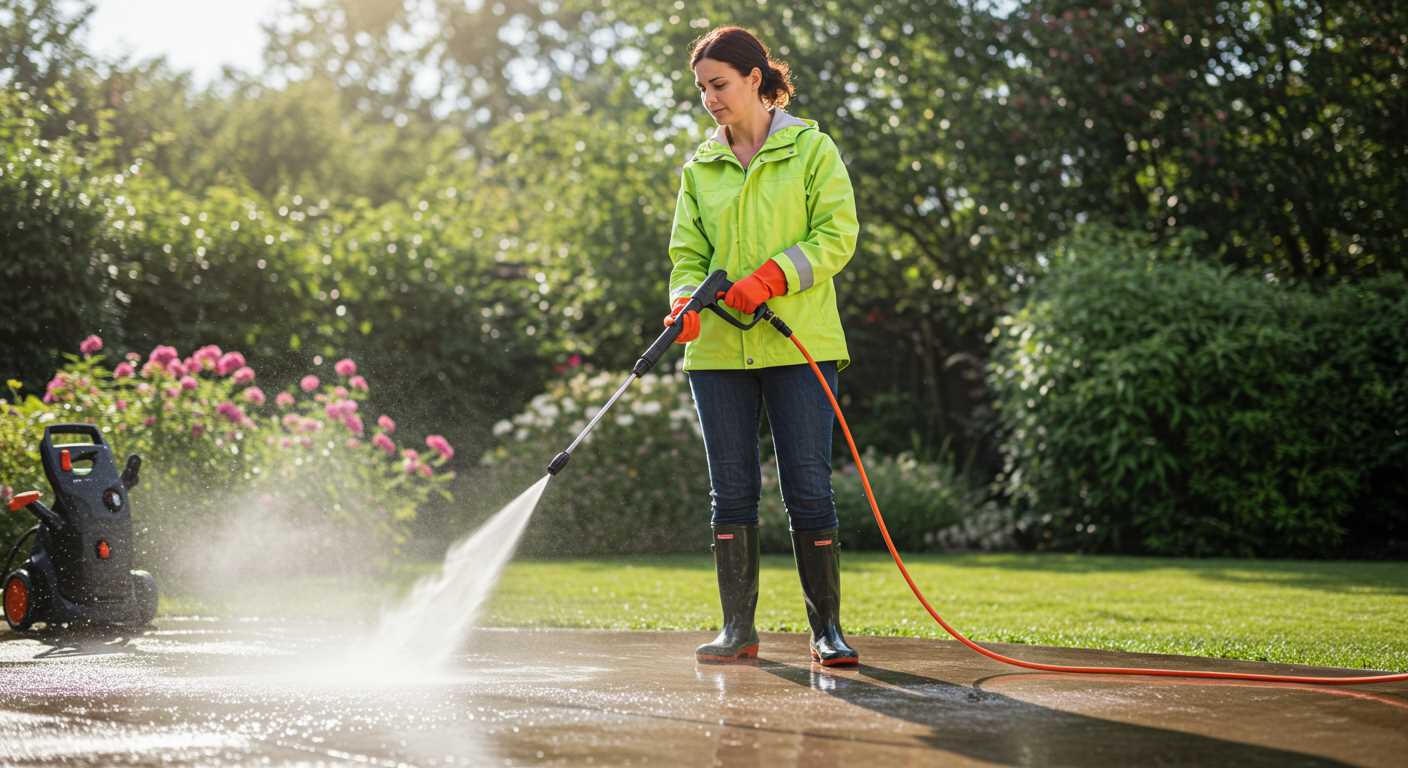
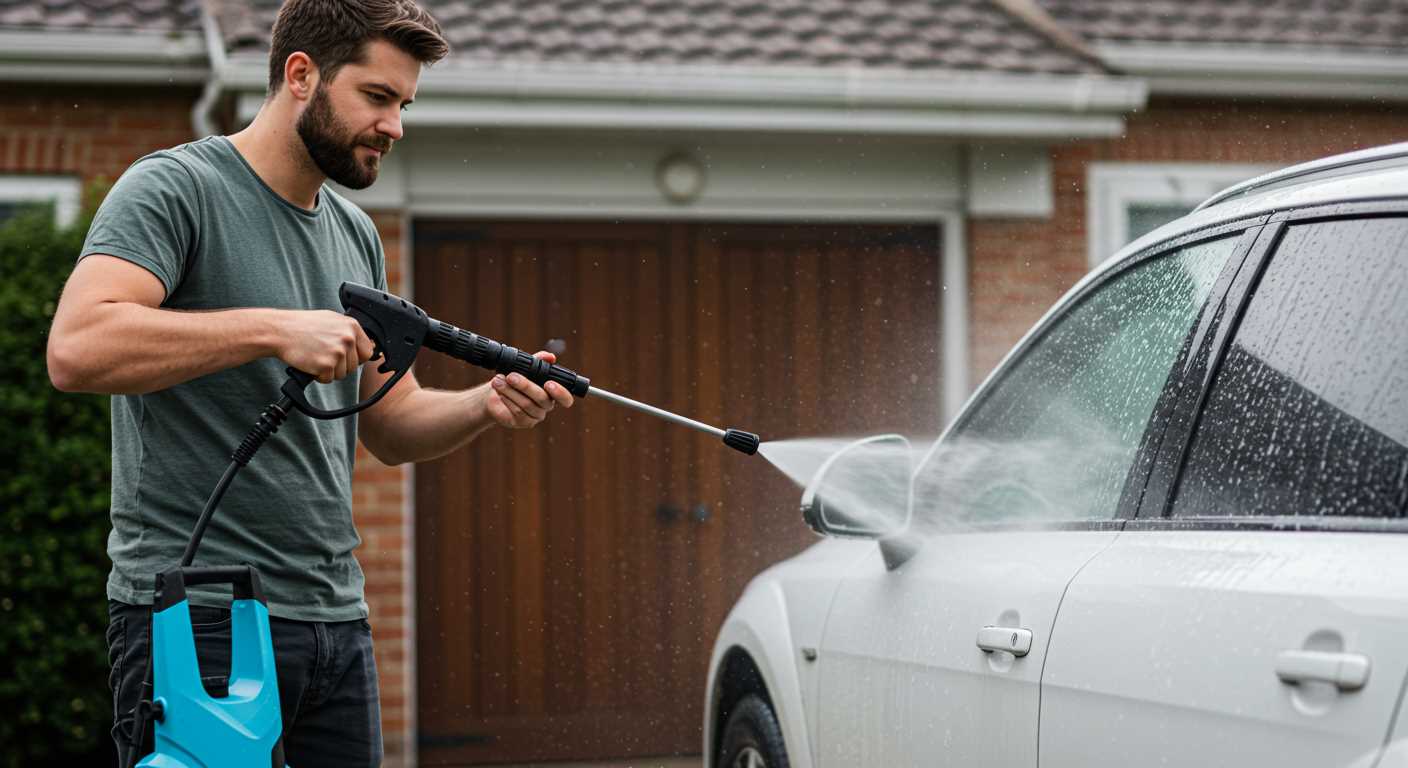
Consider the type of task at hand. For vehicles, a gentle automotive cleaner is ideal. It lifts dirt without harming paintwork. For patios or driveways, a stronger formula targeting oil and grime will yield better results. Always check the labels for compatibility with your model.
In my experience, pH-neutral options work wonders on delicate surfaces like wood or painted areas. They provide a safe clean without risk of corrosion or fading. On the other hand, alkaline solutions excel at tackling tough grease and stains on concrete and stone.
Pay attention to concentration levels. Highly concentrated solutions may require dilution, while ready-to-use products offer convenience. I remember once using a concentrated cleaner that was too strong for a brick patio, resulting in unexpected discolouration. Always follow dilution instructions closely.
Environmental impact matters as well. Opt for biodegradable options when possible, reducing harm to surrounding flora and fauna. I’ve found that eco-friendly products can be just as powerful, providing peace of mind during cleaning tasks.
Lastly, consider scent. Some products have strong fragrances, which can be overwhelming during use. I prefer milder scents that don’t linger long after cleaning. It makes the experience more pleasant, especially for larger projects.
Understanding the Detergent Tank Capacity of Karcher Models
Familiarity with the tank capacity of various Karcher models is key to optimising cleaning performance. Each unit has its own specifications, influencing how much solution you can load for extended tasks.
- K2 Series: Typically features a smaller tank, around 0.5 litres. Ideal for quick jobs where you won’t need extensive use of cleaning solutions.
- K3 Series: Offers a slightly larger capacity, about 1 litre. This provides a bit more flexibility for light to moderate tasks without frequent refills.
- K4 and K5 Series: These models come equipped with a 1.5-litre tank, allowing for longer cleaning sessions. Perfect for bigger areas or tougher grime.
- K7 Series: The largest tank, often reaching up to 2 litres. Best suited for heavy-duty cleaning, where you’ll appreciate the reduced downtime from refilling.
When tackling extensive cleaning, remember that a larger tank means less interruption. However, it’s equally important to consider the type of tasks. For instance, if you’re just sprucing up outdoor furniture, a smaller tank suffices.
Over the years, I’ve learned to balance the tank capacity with the cleaning needs at hand. During a recent project, I tackled a large driveway with a K4 model. The 1.5-litre capacity allowed me to work uninterrupted, which was a significant advantage given the extensive surface area. On the other hand, I once tried a K2 for a quick clean-up. While it was efficient for small areas, constant refilling became a hassle.
In summary, understanding tank capacity helps in planning your cleaning tasks efficiently. Knowing your model’s tank size can enhance the experience and ensure you achieve the best results without unnecessary breaks for refills.
Proper Dilution for Optimal Results
To achieve the best cleaning outcomes, proper dilution of cleaning solution is key. Here’s a straightforward guideline based on my years of experience:
- Read the Label: Always check the manufacturer’s instructions on the cleaning product packaging. They often specify the right mixing ratios.
- Use a Measuring Cup: Precision matters. Use a measuring cup to ensure accurate dilution. A common ratio is typically 1 part cleaner to 10 parts water, but this can vary based on the task.
- Mix in a Separate Container: Before adding the mixture to the machine, combine the cleaner and water in a separate container. This avoids any potential issues with foaming or uneven mixing.
- Test the Mixture: If you’re unsure about the strength, start with a weaker solution. You can always increase the concentration if necessary. A test patch on a small area will help assess effectiveness.
- Adjust for Surface Type: Softer surfaces like cars or wood may require a milder mix, while concrete or heavily soiled areas can handle a stronger solution.
In my experience, taking the time to carefully dilute the solution not only enhances cleaning efficiency but also keeps surfaces safe from damage. Always rinse any residue off surfaces after cleaning to prevent streaking or build-up.
Steps to Fill the Detergent Tank on Your Pressure Washer
First, ensure the unit is turned off and unplugged to avoid any accidents. Locate the tank, usually found at the rear or side of the machine. Most models feature a removable cap or a built-in funnel for easy access. If you’re dealing with a removable tank, gently twist or pull it off, depending on the design.
Preparation of the Cleaning Solution
Before adding the cleaning solution, read the product label for specific dilution instructions. Some formulas require mixing with water at a certain ratio. Prepare the solution in a separate container, using clean water to achieve the desired concentration. Stir well to ensure an even mixture.
Filling the Tank
Carefully pour the prepared mixture into the tank, avoiding spills. If the model has a maximum fill line, do not exceed this limit, as it may cause overflow during operation. Once filled, securely replace the cap and ensure it’s tightened to prevent leaks during use. After filling, you’re ready for effective cleaning!
Connecting the Detergent Nozzle for Effective Application
For optimal application, securely attach the specific nozzle designed for cleaning solutions. This nozzle typically has a wider opening to allow the mixture to flow freely. Ensure the connection is tight to prevent any leaks that could hinder performance.
Steps to Connect the Nozzle
Begin by turning off the machine and disconnecting the water supply. Locate the detergent nozzle, which is usually colour-coded for easy identification. Align it with the attachment point on the lance, pushing firmly until you hear a click. This sound indicates a secure fit. After connecting, reattach the lance to the gun, ensuring everything is locked in place.
Adjusting for Optimal Mixture Application
Once connected, adjust the pressure setting to low for an even application of the mixture. This prevents oversaturation, allowing the cleaning solution to work effectively without wasting it. Test the spray on a small area to gauge the coverage before proceeding to larger sections. For those tackling tough stains, consider using a pressure washer cement cleaner for enhanced results.
Setting the Correct Pressure for Detergent Use
Adjust the output force to a lower setting, typically between 100-150 bar, for optimal application of cleaning solutions. This pressure range allows the mixture to adhere to surfaces without causing damage or excessive runoff. I remember a time when I was testing out a new product on a particularly stubborn stain. I initially set the intensity too high, resulting in a mess and minimal cleaning effect. Lowering the pressure made all the difference.
Fine-Tuning the Nozzle Selection
Choose a wider fan nozzle, such as a 25 or 40-degree tip, to facilitate an even distribution of the cleaning agent. The broader spray pattern ensures that the solution covers a larger area while remaining gentle on delicate surfaces. During one of my demonstrations, I switched to a narrow nozzle too early, leading to concentrated pressure that stripped paint off a wooden fence. Lesson learned: the wider nozzle is your ally when applying a cleaning mixture.
Monitoring Application Distance
Maintain an optimal distance of approximately 30-50 cm from the surface. This spacing allows for a thorough coating while preventing oversaturation. I recall an instance where I got too close while applying a new cleaner. The solution pooled in places, leading to streaks and an uneven finish. Keeping the appropriate distance not only enhances effectiveness but also conserves product.
Regularly check the manufacturer’s guidelines for specific recommendations related to each model. Tailoring settings to the task at hand ensures that you achieve the best results without compromising equipment integrity.
Techniques for Applying Cleaning Solutions on Different Surfaces

For optimal results, it’s crucial to adapt your approach based on the surface being treated. Each material has its own requirements, and understanding these can make a significant difference in the effectiveness of the cleaning process.
Soft Surfaces
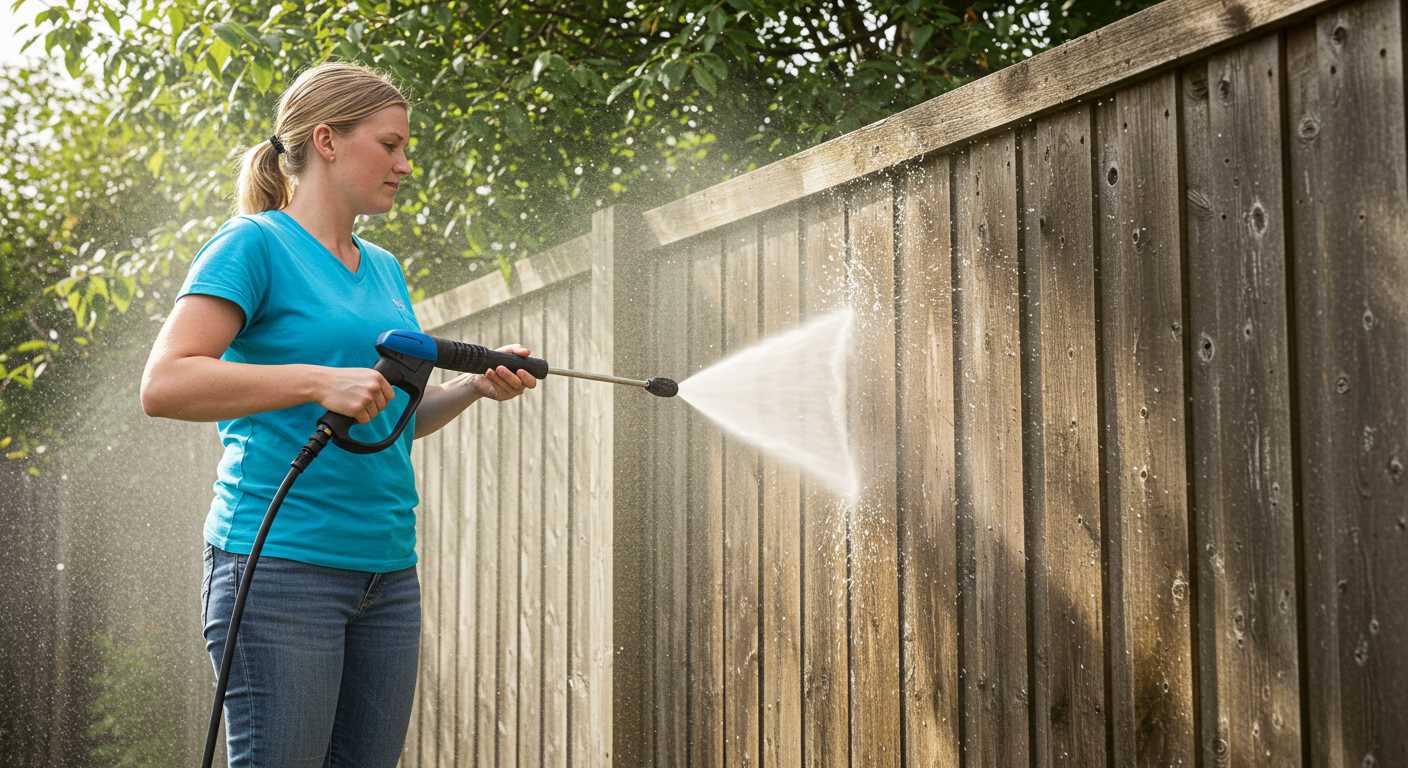
For delicate materials like wood or painted surfaces, a low-pressure setting is advisable. This prevents damage while allowing the solution to penetrate and lift dirt. Apply the cleaning solution evenly, starting from the top and working your way down to avoid streaks. A wide spray pattern is beneficial here, as it distributes the product gently.
Hard Surfaces
On harder materials such as concrete or brick, a more aggressive method can be employed. Increase the pressure and use a narrow spray to focus the solution on tough stains. It’s effective to let the cleaning solution dwell for a few minutes before rinsing. This dwell time enhances the solution’s ability to break down grime.
| Surface Type | Pressure Setting | Application Technique | Dwell Time |
|---|---|---|---|
| Wood/painted | Low | Wide spray, top to bottom | 1-2 minutes |
| Concrete/brick | High | Narrow spray, focus on stains | 3-5 minutes |
| Glass | Medium | Even coverage, avoid overspray | 1 minute |
| Vinyl siding | Medium | Top to bottom, side to side | 2-3 minutes |
Always test a small area first to ensure there are no adverse reactions, especially on painted or sensitive surfaces. Using the right method not only enhances cleaning performance but also protects the integrity of the surfaces involved.
Rinsing Off Cleaning Solution After Application
Begin by switching your equipment to the high-pressure setting. This adjustment ensures a thorough rinse that effectively removes any remaining cleaning agent from surfaces. I often find that starting from the top and working downwards helps prevent streaks and ensures all residues are washed away.
Utilise a wide spray nozzle for broad coverage, allowing water to flow over larger areas without excessive pressure that could damage delicate surfaces. If tackling intricate spots, a narrower nozzle might be necessary for precision.
Maintain a consistent distance of approximately 30 centimetres from the surface being rinsed. This distance helps avoid causing any potential harm while ensuring the water effectively dislodges any lingering substances.
For stubborn residues, I’ve had success using a back-and-forth motion, which helps dislodge any stuck particles. Don’t rush the process; take your time to ensure every area is rinsed thoroughly.
After completing the rinse, inspect the surface for any missed spots. A second pass may be required, especially on textured surfaces where cleaning agents can hide. This attention to detail often makes a significant difference in the final appearance.
Lastly, consider rinsing your equipment after use to prevent any build-up of cleaning agents in the system. A quick flush with clean water helps maintain the longevity of your machine.
Maintaining Your Washer After Using Cleaning Solutions
After applying cleaning solutions, flushing the system is crucial. This prevents residue build-up and ensures the longevity of your equipment. Start by filling the tank with clean water, then engage the trigger gun to run the unit for a few minutes. This clears any remnants of the cleaning agent from the internal components.
Next, check for any blockages in the nozzle. Alternating between different nozzles can help avoid clogs. If you notice any restrictions, give them a thorough cleaning with a small brush or a pin to ensure optimal flow during future operations.
Cleaning the filters is equally important. Remove and rinse them under running water to eliminate any captured dirt or solution particles. This will maintain the efficiency of your machine and prolong its life.
Finally, store your unit properly. Keep it in a dry, sheltered place to protect it from the elements. If you’re interested in enhancing your cleaning experience, consider exploring best pressure washer surface cleaners to complement your routine.
.jpg)


