


To achieve optimal results, always pre-dilute your cleaning agent according to the manufacturer’s instructions before introducing it to the equipment. I recall a time when I underestimated this step, leading to a less than satisfactory performance. The right concentration can make all the difference, breaking down grime and stains efficiently.
Connect your chosen liquid to the machine using the appropriate attachment. It’s crucial to ensure a secure fit to prevent leaks during operation. I learned this the hard way after a messy mishap that resulted in a slippery patio. A simple twist and click can save you from an unexpected clean-up.
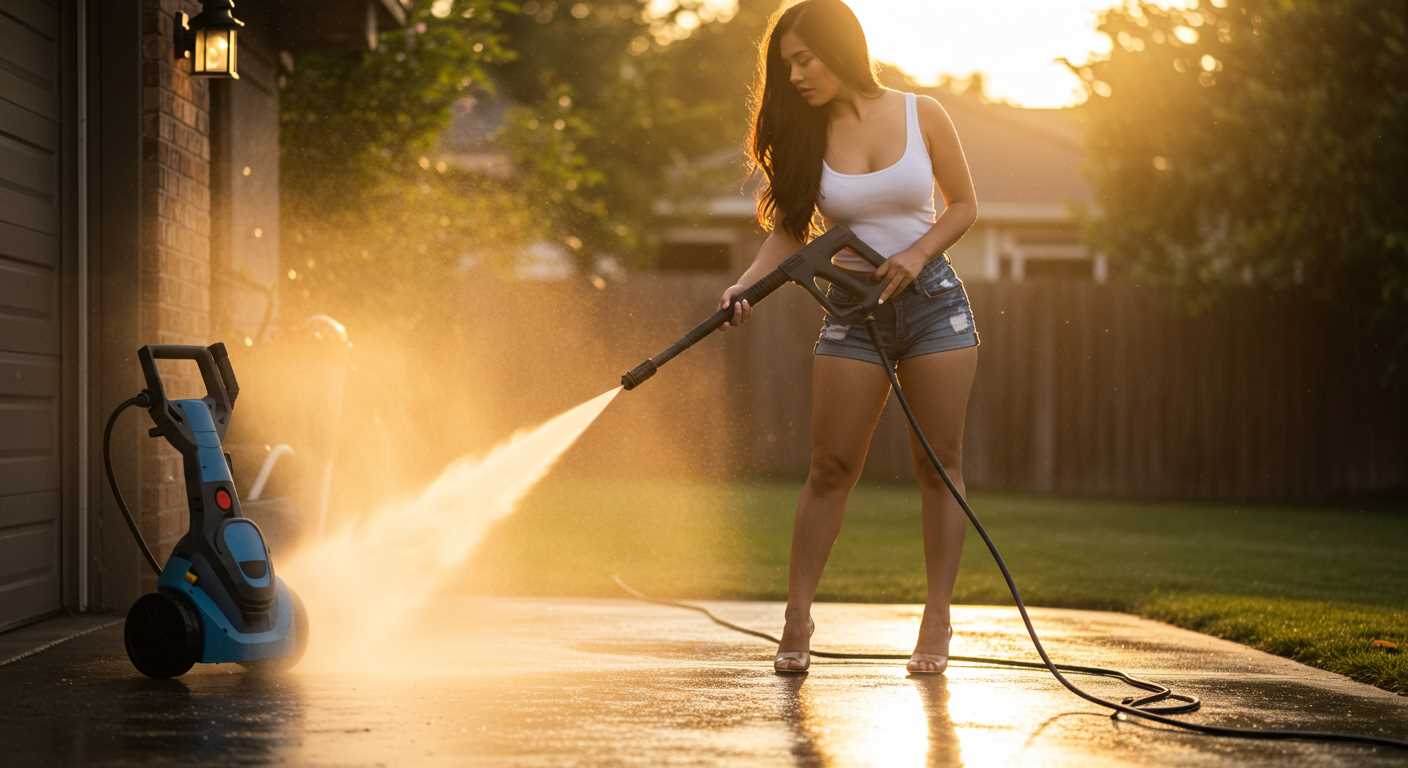
Adjust the nozzle to the desired setting based on the surface you’re addressing. For delicate areas like car paint, a wider spray pattern works wonders, while tougher surfaces like concrete benefit from a narrow jet. I remember tackling a particularly stained driveway; switching to a narrow setting transformed the outcome dramatically, revealing the original colour underneath.

Always start from the top and work your way down. This method prevents dirt from dripping onto already cleaned sections. I’ve seen too many people make the mistake of starting from the bottom, which leads to unnecessary rework. Trust me, a systematic approach saves both time and effort.
After completing the task, remember to flush the system with clean water to clear any residual liquid. This step extends the life of your equipment and maintains optimal performance. I’ve experienced decreased efficiency when neglecting this part, so make it a habit.
Utilising Cleaning Agents with Your High-Pressure System
For optimal cleaning, ensure you select the right cleaning solution tailored for your specific task. A concentrated formula often yields better results than diluted options. I recall a time when I underestimated the power of a good cleaner on oil stains; the difference was astonishing once I switched to a stronger solution designed for such challenges.
Preparing Your Equipment
Before adding any cleaning solution, check the manufacturer’s guidelines regarding compatibility. Some systems come with built-in tanks while others require a separate attachment. I’ve found that using a dedicated tank can simplify the process and prevent cross-contamination between different cleaners. Always rinse the tank thoroughly before switching to a new product to avoid unwanted chemical reactions.
Application Techniques
Apply the solution from a distance of around 30–45 cm to avoid damaging surfaces. Allow the cleaner to sit for a few minutes to break down grime effectively, but don’t let it dry completely. During my first attempts, I often rushed this step and ended up reapplying the cleaner multiple times. A steady, methodical approach saves both time and effort.
Selecting the Right Cleaning Solution for Your Equipment
Choosing the right cleaning solution can significantly enhance your cleaning tasks. I remember a time when I tackled a particularly stubborn oil stain on a driveway. I opted for a formula specifically designed for grease removal, and within moments, the results were remarkable. Always check the label for compatibility with your device, as some mixtures can damage seals or components.
Next, consider the surface you’ll be treating. For delicate materials like wood or painted surfaces, a gentle solution is best. I once damaged a wooden deck by using an overly aggressive cleaner, which stripped away its finish. In contrast, when cleaning brick or concrete, a more potent mix can be effective, helping to lift grime effortlessly.
Pay attention to the concentration levels of the solution. A highly concentrated cleaner can often be diluted to suit your needs. During a project at my friend’s restaurant, we diluted a strong cleaner, allowing us to manage the strength based on the surface. This approach not only saved the finish on their tiles but also stretched our budget.
Environmental impact is another consideration. Opting for biodegradable options helps lessen the ecological footprint. I’ve seen how these choices can make a difference, especially in residential areas with strict regulations on chemical runoff.
Lastly, always test on a small, inconspicuous area before proceeding with the full application. I learned this lesson the hard way when an unforeseen reaction caused discolouration on a surface I had just cleaned. A little precaution goes a long way in ensuring that your projects are successful without any unwanted surprises.
Preparing the Machine for Cleaning Solution Application
Begin by ensuring the equipment is turned off and disconnected from the power source. Safety first! Next, gather your cleaning solution and check that it is compatible with your device.
Follow these steps for a seamless experience:
- Attach the Soap Injector: Locate the soap injector on the cleaning device. This component is crucial for mixing the solution with water. Secure it tightly to prevent leaks.
- Fill the Solution Tank: Carefully pour the cleaning liquid into the designated tank. Avoid overfilling, as this can lead to spillage and hinder performance.
- Select the Right Nozzle: Choose a low-pressure nozzle for applying the cleaning mixture effectively. This allows for a gentle yet thorough distribution of the solution.
- Adjust the Pressure Setting: Set the machine to a lower pressure for the application phase. High pressure can cause the cleaning solution to spray incorrectly or even damage surfaces.
- Test the Mixture: Before getting to work, test the solution flow on a small, inconspicuous area to ensure proper mixing and application.
After these preparations, you’re ready to begin the cleaning process. Always follow the manufacturer’s guidelines for specific instructions related to your model. Happy cleaning!
Mixing Cleaning Solution with Water: Steps and Ratios
For optimal results, proper blending of the cleaning solution with water is key. My experience has shown that using the right ratios not only enhances effectiveness but also prevents damage to surfaces. A common starting point is a 1:10 ratio, meaning one part cleaning agent to ten parts water. This dilution is generally effective for most tasks.
Steps for Mixing
1. Gather Supplies: You’ll need a clean container, measuring tools, and the cleaning solution. A bucket works well for mixing.
2. Measure the Cleaning Agent: If you’re following the 1:10 ratio, measure one cup of the solution. Remember, accurate measurement ensures the right consistency.
3. Add Water: Pour ten cups of water into the container. It’s best to add water first to avoid excessive foaming.
4. Mix Thoroughly: Stir the mixture gently to combine. Avoid vigorous stirring, as it can create too many bubbles.
Adjusting Ratios
For tougher stains or more challenging surfaces, you might need a stronger mix, such as 1:5. However, always test on a small, inconspicuous area first. For lighter cleaning tasks, a mix of 1:15 can suffice. Each scenario may require tweaking the ratio.
After mixing, ensure that the solution is compatible with your equipment. Some formulations may cause wear over time, so check the manufacturer’s guidelines. A little preparation goes a long way in achieving that sparkling clean finish!
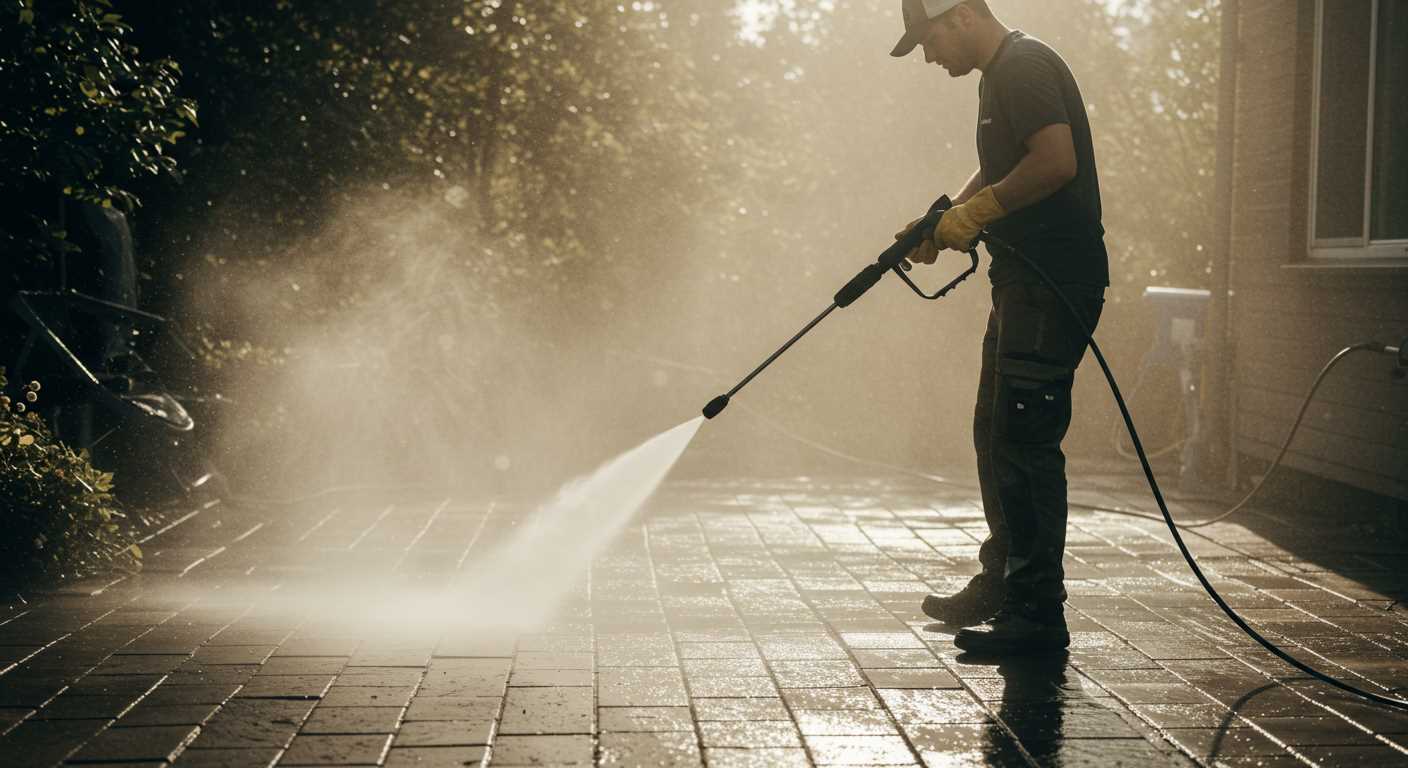
Applying Cleaning Solution with Your High-Pressure Cleaner
Attach the soap nozzle to the spray gun for optimal application of the cleaning solution. This nozzle typically has a wider angle, allowing for even coverage. It’s crucial to maintain a distance of around 2-3 feet from the surface to prevent damage while ensuring the solution is effectively applied.
Start with a test area to gauge the reaction of the surface to the cleaner. I recall a time when I used a new formula on a wooden deck without checking first. The result was less than ideal, leading to splintered wood. Always play it safe.
When applying the cleaning agent, work in sections. This approach helps to manage drying times and allows you to scrub heavily soiled areas more effectively. I often overlap each section slightly to ensure a consistent clean. After applying, allow the solution to dwell for about 5-10 minutes, but do not let it dry out completely; this can lead to streaks and residues.
Once the solution has set, switch back to a standard nozzle for rinsing. The fan spray will help to remove the cleaning agent thoroughly. I’ve found that a thorough rinse not only enhances the cleaning effect but also prevents any residue that could attract dirt later.
| Step | Description |
|---|---|
| 1 | Attach the soap nozzle securely. |
| 2 | Test on a small area to check compatibility. |
| 3 | Work in sections, keeping the nozzle 2-3 feet away. |
| 4 | Allow the solution to dwell for 5-10 minutes. |
| 5 | Switch to a standard nozzle for rinsing. |
Always follow the manufacturer’s guidelines for specific cleaning formulas and ensure good ventilation if you’re working indoors or in enclosed spaces. I’ve learned the hard way that proper ventilation is key to avoiding overwhelming chemical smells. Happy cleaning!
Rinsing Techniques After Detergent Application
After applying the cleaning solution, rinsing is critical for achieving a spotless finish and avoiding residue. Here are steps to ensure thorough rinsing:

- Switch to a high-pressure nozzle. A narrow spray pattern helps dislodge any remaining solution effectively.
- Begin rinsing from the bottom up. This technique prevents streaks and ensures that dirt doesn’t settle back onto cleaned surfaces.
- Maintain a consistent distance of about 12-18 inches from the surface during rinsing to avoid damage.
- Use a sweeping motion, overlapping each pass slightly. This method ensures even coverage and prevents missed spots.
For larger areas, work in sections. Rinse one section thoroughly before moving to the next to maintain effectiveness. Adjust the water flow according to the task; for delicate surfaces, a gentler setting might be necessary.
Once rinsing is complete, inspect the surface for any missed areas. Pay special attention to corners and edges, where residue might accumulate. If you find any stubborn spots, you might need to reapply the solution and rinse again.
For those with an entry level pressure washer, these techniques will help you get the most out of your equipment while ensuring surfaces are left clean and residue-free.
Maintaining Your Equipment After Using Cleaning Solutions


After employing a cleaning agent, it’s crucial to ensure your equipment remains in optimal condition. Rinse the system thoroughly with clean water to prevent any residue build-up that could lead to clogs or damage. I’ve seen too many machines suffer because users neglected this step, thinking the task was complete once they finished cleaning. The aftermath of using cleaning solutions can be just as important as the application itself.
Flushing the System
To flush the system, attach a standard garden hose and run the unit for about 5 minutes. This process helps clear any remnants of the cleaning solution from the internal components. Pay attention to any unusual sounds during this phase; they could indicate issues that need addressing. I recall a time when I overlooked this step and ended up with a malfunctioning pump that required costly repairs.
Cleaning the Nozzle and Filters
After flushing, check the nozzle and any filters for blockages. A small brush can be handy for cleaning out debris. Replace any damaged parts immediately to ensure consistent performance. Neglecting these components can lead to uneven spray patterns, reducing the effectiveness of future cleanings. Always have a spare set of filters; they can save you a lot of hassle in the long run.
Finally, store your equipment in a dry place to prevent moisture-related issues. Consider adding a protective cover for extra safety. I’ve learned from experience that keeping everything stored properly can extend the life of your tools significantly. For those interested in capturing your maintenance journey, consider investing in a digital camera come with picture fix to document your efforts and share tips with others.

.jpg)


