


For optimal results, always begin by ensuring the surface you are cleaning is free from loose debris and dirt. A quick sweep or brush can significantly enhance the effectiveness of your cleaning efforts. This simple step not only prepares the area but also prevents any potential scratches or damage to the surface.
Next, select the appropriate nozzle for the task at hand. The variety of nozzles available can drastically impact the cleaning outcome. A wider spray is ideal for delicate surfaces, while a narrower stream can tackle tougher grime. This choice is crucial for achieving the desired level of cleanliness without risking damage.
Prior to starting, check all connections and hoses for leaks or damage. An intact system ensures that the pressure remains consistent and that you’re making the most of your machine’s capabilities. I recall a time when I overlooked this step and ended up wasting water and time due to a small leak. A quick inspection can save frustration later on.

Always maintain a safe distance from the surface being cleaned. Too close, and you risk causing harm; too far, and the cleaning may not be effective. Finding that sweet spot takes a bit of practice, but it’s essential for achieving a thorough clean.
After use, don’t forget to properly store your equipment. Disconnect all hoses, drain any remaining water, and keep everything in a dry place. Proper maintenance prolongs the life of your tools and ensures they’re ready for your next project. I’ve learned the hard way that neglecting this step can lead to costly repairs or replacements.
By following these straightforward tips, you can maximise the performance of your cleaning apparatus and enjoy impressive results with less hassle. Happy cleaning!
Understanding the Components of Your Pressure Cleaning Equipment
Familiarity with the parts of your cleaning apparatus will enhance your experience and ensure optimal performance. The key components include the motor, pump, nozzle, and hose. Each plays a vital role in delivering the best results.
Motor
The motor powers the entire system. It can be electric or gas-operated. An electric motor tends to be quieter and requires less maintenance, making it ideal for residential tasks. In contrast, gas motors provide more power, suitable for larger jobs. I’ve found that selecting the right motor type can make a significant difference in efficiency during prolonged use.
Pump
The pump is the heart of the unit, converting the motor’s energy into high-pressure water flow. There are two main types: axial and triplex. Axial pumps are common in smaller models and are user-friendly for light tasks. Triplex pumps, found in robust machines, can handle heavy-duty work. I remember using a triplex unit for an extensive cleaning job, and the performance was remarkable. Keeping an eye on pump maintenance, such as oil levels, guarantees longevity.
The nozzle adjusts the spray pattern and pressure. Different situations require varied spray angles; for instance, a wide fan spray works well for surfaces like patios, while a narrow jet is perfect for stubborn stains. Always test a small area first to avoid damage. The hose, usually made of durable materials, carries the water from the pump to the nozzle. A longer hose offers flexibility but may reduce pressure slightly. I’ve often had to balance between hose length and maintaining pressure for effective cleaning.
Understanding these components allows for more informed decisions during operation and maintenance, ensuring your equipment performs reliably for years to come.
Preparing the Pressure Cleaner for Operation

Check the assembly of all components before operation. Ensure that the water inlet is securely attached and that there are no leaks. A loose connection can hinder performance and lead to water wastage.
- Inspect the hose for any signs of wear or damage. A compromised hose can burst under pressure, causing safety hazards.
- Verify that the nozzle is clean and free from debris. Blockages can affect the spray pattern and reduce cleaning efficiency.
- Fill the detergent tank if you’re utilising cleaning agents. Always use the recommended type to avoid damaging the machine.
Connect the device to a suitable water supply. Ensure the source provides a steady flow and is appropriately pressurised. Avoid using hot water, as most models are designed for cold water only.
- Turn on the water supply and check for leaks at all connections.
- Switch on the machine briefly to purge air from the system. This step prevents sputtering during operation.
- Adjust the nozzle to the desired setting based on the task at hand.
Before commencing, put on protective gear. Safety goggles and gloves are advisable as high-pressure sprays can cause injury. Consider the surroundings, ensuring no one is within the spray zone.
Once everything is in place, you’re ready to tackle your cleaning tasks with confidence. Preparation is key to achieving optimal results.
Selecting the Right Nozzle for Your Cleaning Task
For optimal results, choose the correct nozzle based on the surface and the level of grime. The most common types include 0-degree, 15-degree, 25-degree, and 40-degree nozzles. Each one serves a distinct purpose.
The 0-degree nozzle delivers a concentrated, powerful stream, ideal for tough stains on concrete or brick. I recall tackling an oil stain on my driveway; this nozzle made quick work of it. However, caution is necessary, as it can cause damage if misused.
The 15-degree option provides a wider spray, suitable for removing stubborn dirt from hard surfaces. I often use it for patio cleaning, where the additional angle helps reach corners effectively without excessive force.
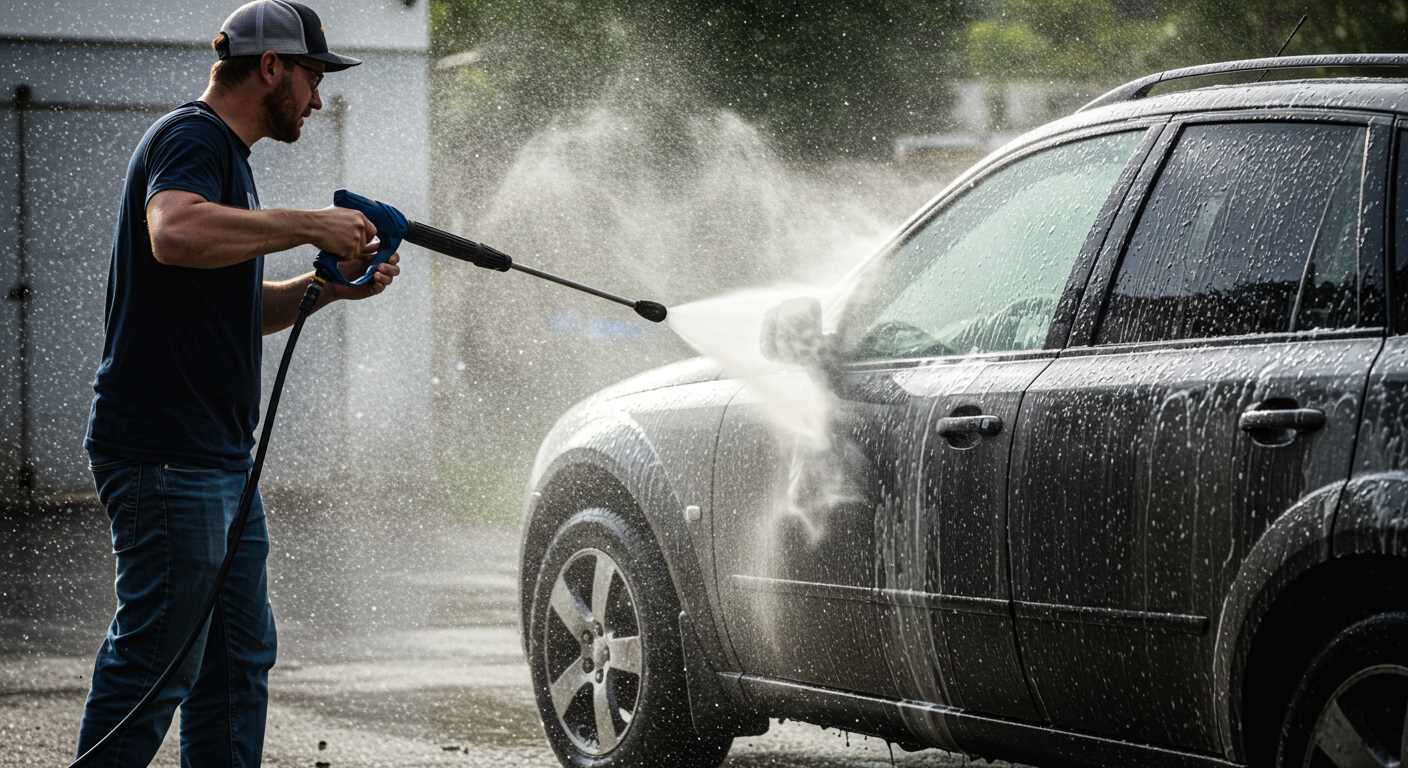
For most general tasks like washing vehicles or wooden decks, the 25-degree nozzle strikes a fine balance. It offers enough pressure to clean effectively while being gentle on surfaces. I’ve found it perfect for maintaining my car’s exterior without risking scratches.
The 40-degree nozzle is the most gentle choice, ideal for delicate surfaces such as windows or painted surfaces. I use this nozzle when cleaning outdoor furniture, ensuring I don’t damage the finish.
Additionally, consider using extension wands for hard-to-reach areas. For recommendations, check out the best pressure washer extension wands. They can make a significant difference in accessing high or awkward spots without straining.
Always test the nozzle on a small, inconspicuous area first. This helps gauge the impact before committing to the entire surface. Selecting the right attachment can save time and enhance the overall efficiency of your cleaning tasks.
Connecting the Water Supply and Power Source
Attach the garden hose to the water inlet on the machine. Ensure it is securely fastened to prevent leaks during operation. It’s crucial to use a hose that can handle high water pressure. I’ve encountered situations where a weak hose burst, causing not only a mess but also a delay in my cleaning tasks.
Next, connect the other end of the hose to your water source. Turn on the tap to allow the water to flow through the hose. Always check for any kinks or blockages. I’ve learned that even a simple kink can reduce water flow significantly, impacting the cleaning power.
For the electrical supply, make sure your outlet is suitable for the machine’s voltage requirements. Plug in the power cord, ensuring it is clear of any water sources. Safety is paramount; I’ve seen too many accidents due to improper connections. Consider using a circuit breaker for added protection.
If you’re working outdoors, a long extension cord can be handy. Ensure it is rated for outdoor use and can handle the appliance’s power needs. I once had a frustrating experience when my non-rated cord overheated, causing the machine to shut down.
After making these connections, do a quick check. Look for water leaks and ensure the power connection is secure. You want to be ready for action without any interruptions. Don’t forget to select the right nozzle for your task; for example, a pressure washer nozzle for car washing can make a significant difference in results.
Operating Safely and Correctly
Always wear appropriate safety gear, including goggles and gloves, to protect yourself from debris and high-pressure water. Make it a habit to inspect equipment for any signs of wear or damage before starting. A small crack in a hose can lead to serious injury if it bursts during operation.

Positioning and Environment
Ensure your work area is clear of obstacles and bystanders. Maintain a safe distance from children and pets while working. Avoid using the device in wet conditions; slippery surfaces can lead to accidents. If you’re working on driveways or patios, be cautious of any loose stones or debris that might be dislodged by the force of the water.
Proper Handling Techniques
Grip the handle firmly and maintain a stable stance. Avoid pointing the nozzle at yourself or others, even when the machine is off. When changing nozzles, disconnect the water supply first to prevent accidental discharge. Always start with the lowest pressure setting and gradually increase as needed, ensuring you’re familiar with how the equipment responds. After completing your task, remember to turn off the water supply before disconnecting hoses to prevent backflow and potential water spray.
Cleaning and maintaining your cleaning equipment after use
Always flush the system with clean water after finishing your tasks. This action prevents detergent residue from clogging components. I recall once neglecting this step, and it led to a frustrating blockage that took hours to resolve. Simply running clean water through the inlet and outlet helps keep everything flowing smoothly.
Next, detach the nozzle and lance. Ensure any debris is removed, and rinse them thoroughly. I’ve found that a small brush can effectively clear stubborn dirt. Storing nozzles and attachments in a designated area helps avoid misplacement and ensures they remain in good condition.

Check the hoses for any signs of wear or damage. A small crack can lead to leaks that affect performance. I had a colleague who ignored a minor hose issue, and it escalated into a major problem, costing time and money. If you spot any damage, replace the hose immediately.
Wipe down the exterior of the machine with a damp cloth to remove dirt and grime. I usually make this a habit, as it contributes to the longevity of the equipment. Avoid using abrasive materials that could scratch the surface.
Finally, store the unit in a cool, dry place. Exposure to extreme temperatures can damage internal components. I learned this the hard way after leaving my equipment outside during a harsh winter; it was a costly lesson. If you must store it outdoors, use a protective cover to shield it from the elements.
.jpg)
.jpg)


