


Start by connecting the unit to a suitable power source and a water supply. Ensure the hose is tightly secured to prevent leaks. This initial setup eliminates any interruptions during the cleaning process.
Once everything is in place, select the right nozzle for the task. For delicate surfaces like cars, a wider spray pattern will prevent damage, while a narrower jet is perfect for stubborn grime on patios or driveways. I remember the first time I used a narrow nozzle on my driveway; it was astonishing to see years of dirt wash away with ease.
Adjust the pressure settings according to the surface being cleaned. Lower settings are ideal for softer materials, while higher pressure is required for tougher stains. I once made the mistake of using full power on a wooden deck, which resulted in splintering. A lesson learned the hard way!

As you begin the cleaning process, maintain a consistent distance from the surface. Too close, and you risk damage; too far, and you lose cleaning effectiveness. I always keep a distance of about 30 cm for optimal results. Don’t forget to move the nozzle in sweeping motions to avoid streaks.
After completing the task, remember to disconnect the unit carefully, allowing any remaining water to drain out. This prevents internal damage. Regular maintenance ensures longevity and keeps the machine in top condition for your next cleaning adventure.
Operating Your Halfords Cleaning Equipment
Begin with connecting the garden hose to the inlet of your cleaning device. Ensure a tight fit to prevent leaks. I recall once when I overlooked this step; the result was a damp mess rather than a clean patio.
Next, attach the desired nozzle for your task. A wider spray is suitable for gentle cleaning, while a narrow jet is ideal for stubborn grime. During my early days, I often switched nozzles mid-task, which disrupted my flow. It’s best to prepare everything in advance.
After that, plug the unit into a power source, ensuring the cable is safely positioned away from water. I’ve seen too many people trip over cables, leading to unnecessary accidents. Always check the electrical connections for safety.
Before turning on the equipment, activate the trigger lock to prevent accidental spraying. I once had an unexpected burst of water while adjusting the settings–it was a rather rude awakening!
Now you can power it on. Hold the trigger to expel any air from the system before you start cleaning. This is a critical step I learned from experience; a burst of air can cause splashes and disrupt your cleaning rhythm.
Once the air is out, you can begin cleaning. Maintain a consistent distance from the surface, generally around 30cm is optimal. I’ve noticed that getting too close can damage surfaces, particularly delicate ones. Keep moving the nozzle in a sweeping motion for even coverage.
For stubborn spots, allow the spray to sit for a moment before rinsing. Patience pays off here; I often rushed this step and ended up having to repeat areas. If you encounter persistent stains, consider using a cleaning solution compatible with your model.
As you finish, remember to turn off the device and release any remaining pressure by squeezing the trigger. This can save you from a surprise spray when you disconnect hoses. Once the pressure is released, disconnect everything and store your equipment properly.
If you’re considering a more robust option for larger tasks, you might explore a commercial pressure washer pump. I’ve had the chance to test various models, and the performance difference can be significant for heavy-duty jobs.
Choosing the Right Nozzle for Your Cleaning Task
Selecting the correct nozzle can significantly affect your cleaning results. Based on my experiences, here’s a straightforward guide to different types of nozzles that cater to specific applications.
| Nozzle Type | Angle | Best For |
|---|---|---|
| 0° | Red | Removing tough stains from concrete or heavy-duty surfaces. |
| 15° | Yellow | Stripping paint or cleaning heavily soiled surfaces like driveways. |
| 25° | Green | General cleaning tasks, such as washing vehicles or patios. |
| 40° | White | Delicate surfaces, including wooden decks or windows. |
| Soap | Black | Applying detergent to surfaces before rinsing. |
During a recent project at my friend’s house, I opted for the 25° nozzle. It was perfect for cleaning his patio, allowing me to remove dirt without damaging the surface. For tougher jobs, like stripping old paint from a fence, the 15° was indispensable. I found that using the right angle made the task not only faster but also more satisfying.
Always remember to keep a safe distance from the surface while cleaning. The closer you get, the higher the risk of damage. My advice? Test on a small area first, especially with more aggressive nozzles. Over the years, I’ve learned that knowing your tools is just as important as knowing the task at hand.
Setting Up Your Pressure Washer for First Use
Before you power up your new cleaning machine, ensure all necessary components are correctly assembled. Begin by attaching the hose securely to the machine and the water source. I recall my first experience overlooking this step; the hose popped off mid-cleaning, creating a rather amusing yet messy situation. Tight connections prevent surprises.
Next, connect the spray gun to the trigger gun connector. Make sure it clicks into place, as I’ve seen several users struggle with leaks due to improper fittings. Once that’s done, check the water inlet filter for debris; a clean filter guarantees smooth operation. I learned this the hard way after a frustrating session that yielded little results.
Fill the detergent tank if your device requires soap for specific tasks. Choose a suitable cleaning solution designed for such equipment. I once used a generic cleaner, which caused more harm than good, clogging the system. Stick to recommended products for optimal performance.
Now, it’s time to prime the system. Turn on the water supply and pull the trigger on the gun until a steady flow of water emerges, free of air bubbles. This process prevents pressure spikes that can damage the unit. I remember my impatience leading to a loud bang, which startled me and my neighbours!
Finally, plug in the machine and switch it on. Adjust the pressure setting according to your cleaning task. Starting at a lower pressure can help you gauge the appropriate force needed without risking damage to surfaces. I’ve found that gradually increasing pressure often leads to better control and results.
Following these steps should set you up for success. Enjoy your cleaning experience, and don’t forget to keep an eye on your surroundings to avoid any unintended mishaps!
Connecting the Water Supply and Hose Properly
Always ensure the water supply is turned on before connecting the hose. A steady flow prevents air from getting trapped, which can lead to issues later.
- First, locate the water inlet on the machine. It’s typically found at the back or side and is clearly marked.
- Attach the garden hose to the inlet. Ensure the connection is snug to prevent leaks. If you notice any drips, tighten the connection.
- Next, run the hose for a few seconds to flush out any debris or sediment that may have built up. This step is crucial for preventing clogs.
- Once the water runs clear, connect the other end of the hose to your water source. Make sure it’s securely fastened as well.
During my years in the cleaning equipment industry, I encountered many users who overlooked this step. One time, a customer struggled with inconsistent performance because the water inlet was partially blocked due to dirt. Taking a few moments to ensure a clean water supply can save a lot of frustration down the line.
After securing the connections, check for any kinks or bends in the hose. These can restrict water flow and affect performance. If you find any, straighten them out to ensure a smooth operation.
- Keep the hose away from sharp objects to prevent cuts.
- Avoid leaving the hose in direct sunlight for extended periods, as this can lead to wear and tear.
Lastly, if you’re working with a particularly long hose, consider using a hose reel to keep it organised and prevent tangling. This little tip can make setup and storage much easier!
Adjusting Pressure Settings for Different Surfaces
For optimal results, adapting the intensity of your cleaning device to various surfaces is crucial. Here’s how to approach it.
- Concrete and Stone: Use a high setting, typically between 120-150 bar. This is effective for removing stubborn stains and grime.
- Wood Decking: Lower the pressure to around 80-100 bar. Excessive force can damage the wood fibres, leading to splintering.
- Vehicles: Keep the pressure at a moderate level of 100-120 bar. This prevents damage to paintwork while effectively cleaning dirt and debris.
- Glass and Windows: Opt for a gentle setting of about 70-90 bar. This minimizes the risk of shattering or scratching.
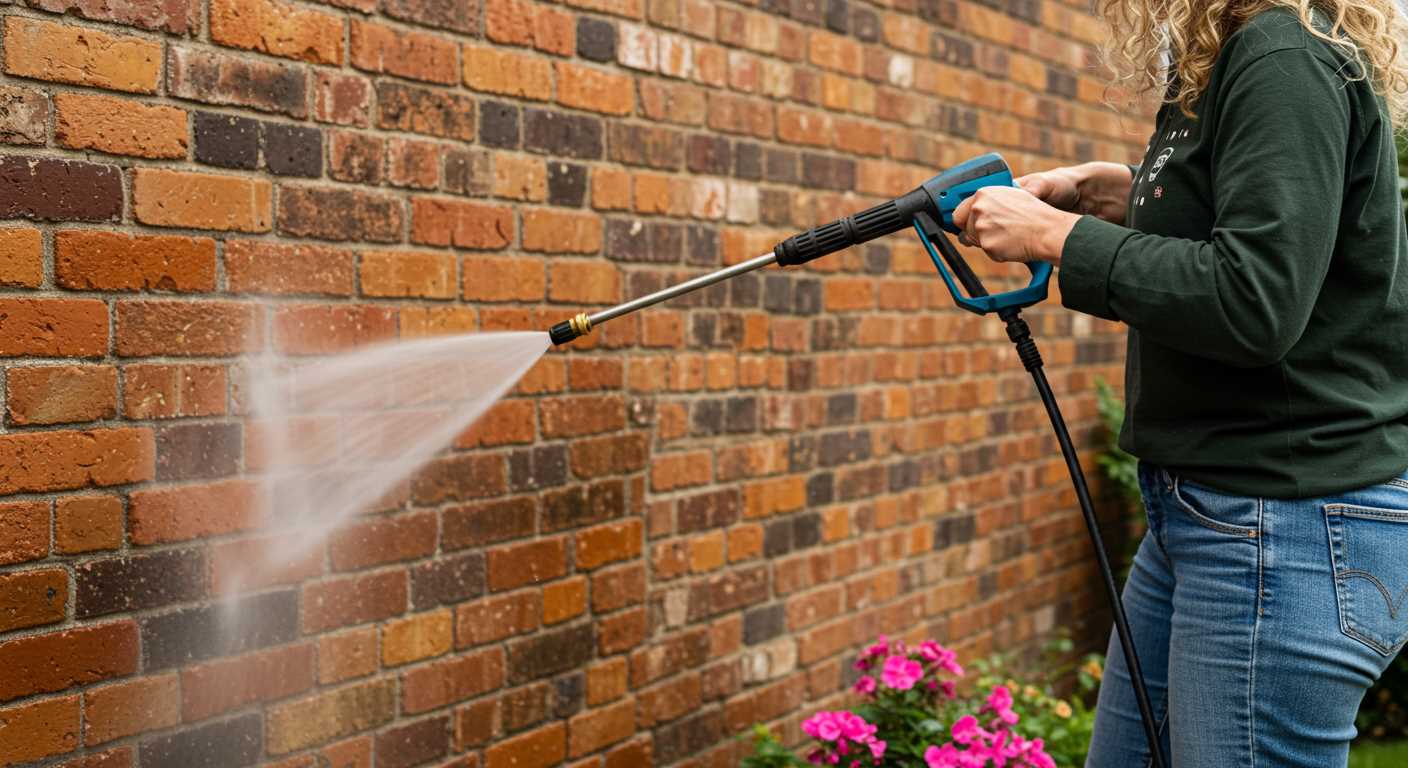
- Brickwork: A medium pressure of 100-130 bar generally suffices. It clears dirt without compromising the integrity of the bricks.
I recall a time I was cleaning my patio, a mix of paving stones and concrete. Initially, I went full power, thinking it would save time. Instead, I ended up with chipped edges and a few cracks. After that, I realised that adjusting the pressure not only protects surfaces but also enhances the overall finish.
- Begin with the lowest setting and gradually increase until you achieve desired results.
- Always test on a small, inconspicuous area first to ensure no damage occurs.
- Switch nozzles as needed to complement the adjusted pressure for different tasks.
Remember, it’s not just about cleaning; it’s about maintaining the surfaces to prolong their lifespan. Taking the time to adjust settings can save you from costly repairs later on.
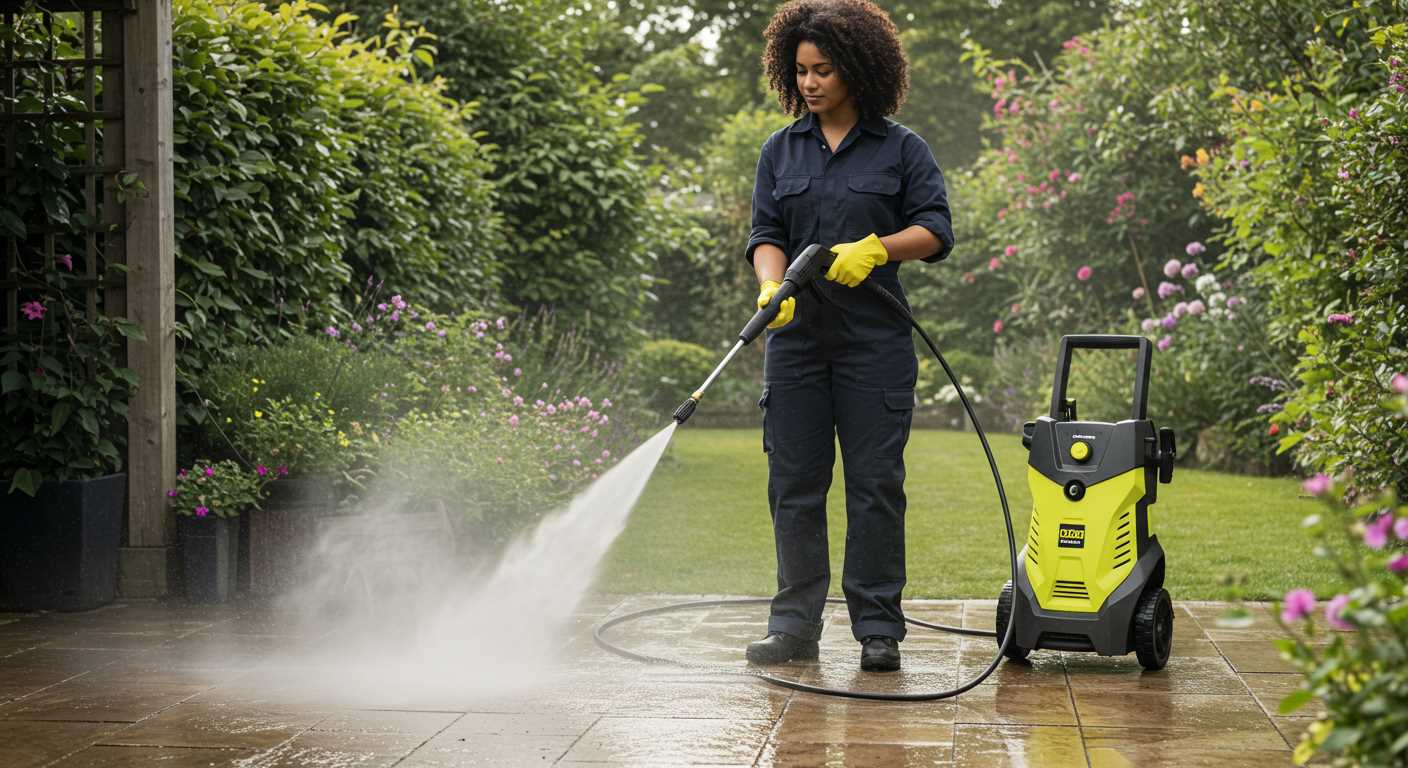
Techniques for Cleaning Patios and Driveways
Begin with a thorough sweep of the area to remove loose debris, leaves, and dirt. This step prevents scratching the surface when you start the cleaning process. Next, apply a suitable detergent to any stained areas, allowing it to sit for about 10 to 15 minutes. This pre-treatment helps break down grime and stubborn stains.

For patios, I often recommend using a wide-angle nozzle, which covers more ground and speeds up the process. Maintain a consistent distance of approximately 12 inches from the surface to avoid damage. For driveways, switch to a more concentrated nozzle for tougher stains, ensuring to keep the nozzle moving to prevent etching the concrete.
If you encounter particularly stubborn grime or oil stains, consider using a scrub brush attachment. It provides extra agitation, enhancing cleaning power. After applying detergent and scrubbing, rinse off the area thoroughly, ensuring no soap residue is left behind.
Lastly, if you have pets, be mindful of their safety. After cleaning, ensure they are kept away from the area until it’s completely dry. If you’re curious about how animals react to electric fences, check out this can dogs sense an electric fence article for insights.
Maintaining Your Pressure Washer After Use
After finishing a cleaning task, disconnect the unit from the water source and allow it to cool down for a few minutes. This prevents any potential damage from overheating. It’s wise to detach the hose and nozzle and store them separately to avoid kinks and blockages.
Next, flush the system with clean water. Run the machine briefly without any detergent to clear out any residues. This step is crucial for maintaining performance and prolonging the life of the equipment.
Inspect all components for wear and tear. Check hoses for cracks and connections for leaks. Replace any damaged parts immediately to prevent further issues. I remember a time when I overlooked a small crack in a hose, which eventually led to a much larger repair job. Regular checks can save you time and money.
Cleaning the filter is another important task. Remove it carefully and rinse it under clean water. A clogged filter can restrict flow and reduce efficiency. Always have a spare filter on hand; it’s a simple part that can make a big difference.
Store the machine in a dry and protected area. If you’re in a location with cold winters, consider draining any remaining water to prevent freezing and damage. I’ve seen machines ruined by water left inside during a harsh winter.
Finally, a light application of lubricating oil on moving parts can help keep everything functioning smoothly. This tip from my experience has proven invaluable for maintaining peak performance over time.
Troubleshooting Common Issues with Pressure Cleaners
If you’re facing difficulties with your cleaning device, checking the power supply is a good first step. Ensure the unit is plugged in properly and that the outlet is functioning. A tripped circuit breaker or blown fuse can also cause issues. I once had a client who thought their unit was faulty, only to find a simple reset was all it needed.
Common Problems and Solutions
| Issue | Possible Cause | Solution |
|---|---|---|
| No water flow | Clogged filter or hose kink | Inspect and clean the filter; straighten the hose |
| Low pressure | Incorrect nozzle or air in the system | Switch to the correct nozzle and purge air by pulling the trigger |
| Unit won’t start | Faulty switch or motor | Check the switch and consult the manual for motor issues |
| Excessive vibration | Unbalanced components | Inspect and tighten loose parts |
Additional Tips
In my experience, regular maintenance can prevent many problems. Always ensure that the nozzle and lance are free from debris after each job. I recall a colleague who struggled with persistent clogging; after a thorough clean, their machine worked like new. If you encounter persistent issues, consulting the user manual often reveals troubleshooting steps specific to your equipment.
Safety Precautions While Operating a High-Pressure Cleaner
Always wear protective gear. Safety goggles and sturdy gloves can prevent injuries from flying debris and high-pressure water jets. I once had a near miss when a small stone flew towards me while cleaning a patio. Since then, I never skip my goggles.
Electrical Safety
- Ensure all electrical connections are secure and dry prior to starting the machine. Wet conditions can lead to electric shocks.
- Use a residual current device (RCD) to protect against electrical faults. I learned this lesson the hard way after a rainy day caused an unexpected trip.
- Keep the power cable away from the water source to prevent any risk of electrocution.
Handling the Equipment
- Maintain a firm grip on the lance at all times. The force of the water can cause loss of control, which can be hazardous.
- Avoid pointing the nozzle at yourself or others. I recall a moment of panic when I accidentally aimed it at my foot. It was a lesson in awareness.
- Be mindful of your surroundings. Look out for pets, children, and fragile items nearby. I always make a perimeter check before starting my tasks.
After completing your cleaning task, never leave the machine running unattended. This can lead to overheating or other safety hazards. I once left mine for a moment, only to return and find it had shifted and was dangerously close to a wall.
Always follow the manufacturer’s guidelines for maintenance and operation. Familiarity with your device can prevent many common accidents. Adhering to these practices will ensure a safer and more enjoyable experience with your cleaning equipment.

.jpg)


