


For anyone looking to elevate their cleaning game, the right accessories can transform a standard cleaning session into a powerful, efficient operation. My years of experience in the cleaning equipment industry have shown me that utilising the appropriate tools can save time and deliver impressive results. The key is to match the attachment with the specific task at hand–this not only enhances performance but also ensures safety and longevity of the equipment.
For instance, consider the turbo nozzle. In my experience, this particular accessory is a game changer for tackling stubborn dirt and grime. It produces a spinning jet that increases pressure and coverage, making it perfect for surfaces like concrete or stone. I vividly remember the first time I used one on a heavily soiled patio; the results were astonishing and immediate. The difference was not just in appearance but also in the ease of cleaning–what once took hours was completed in mere minutes.

Another valuable addition is the foam lance. This tool is fantastic for pre-soaking vehicles or outdoor furniture. The thick foam clings to surfaces, allowing cleaning agents to penetrate the dirt effectively. On a Saturday morning, I often find myself treating my car to a thorough wash, using the foam lance to cover every inch. The satisfaction of seeing the foam work its magic before rinsing is unparalleled; it’s like giving your belongings a refreshing spa treatment.
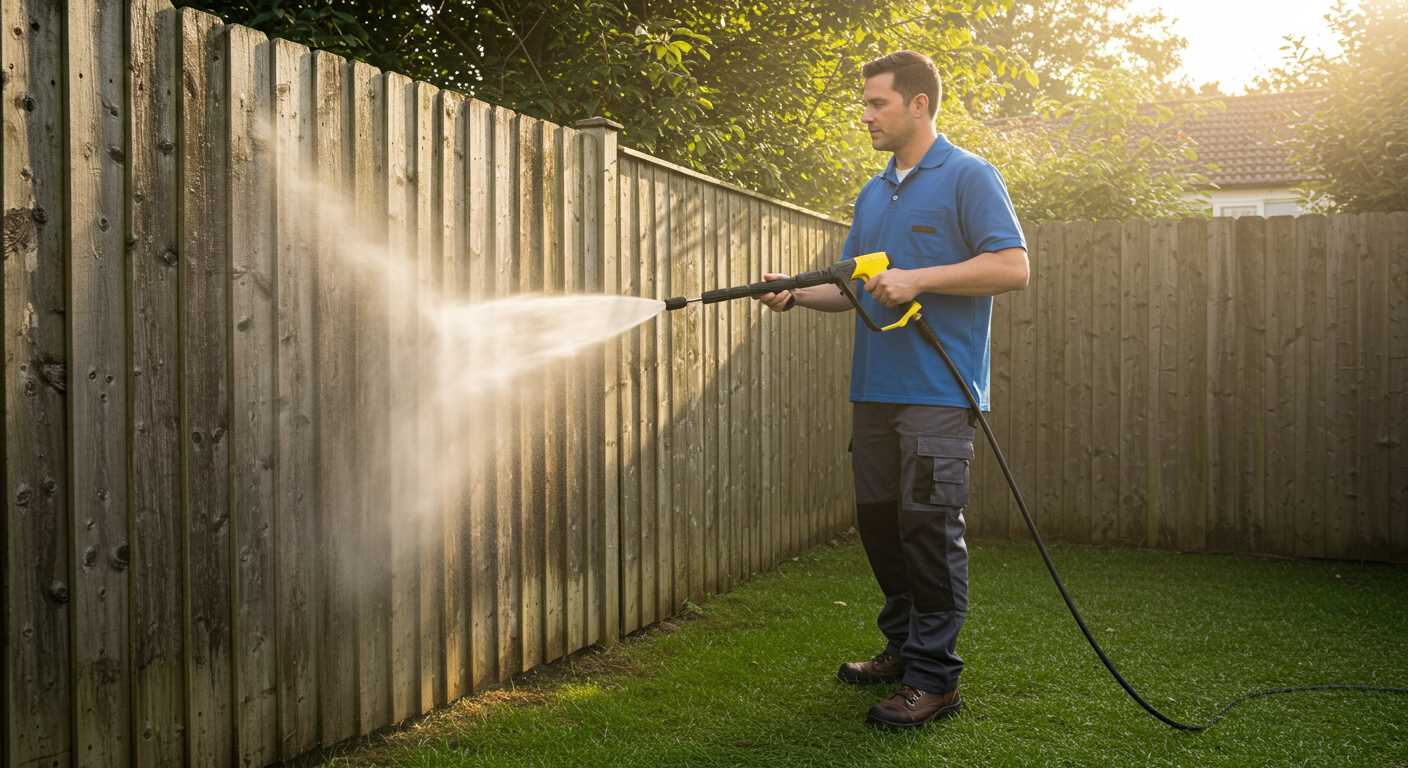
Lastly, don’t underestimate the power of surface cleaners. These attachments are particularly useful for large flat areas, such as decks or driveways. I recall a time I was faced with cleaning a large wooden deck that had seen better days. The surface cleaner made quick work of the task, evenly distributing the pressure and preventing any damage to the wood. It’s these experiences that have taught me the value of having the right tools at your disposal.
Choosing the Right Attachment for Your Task
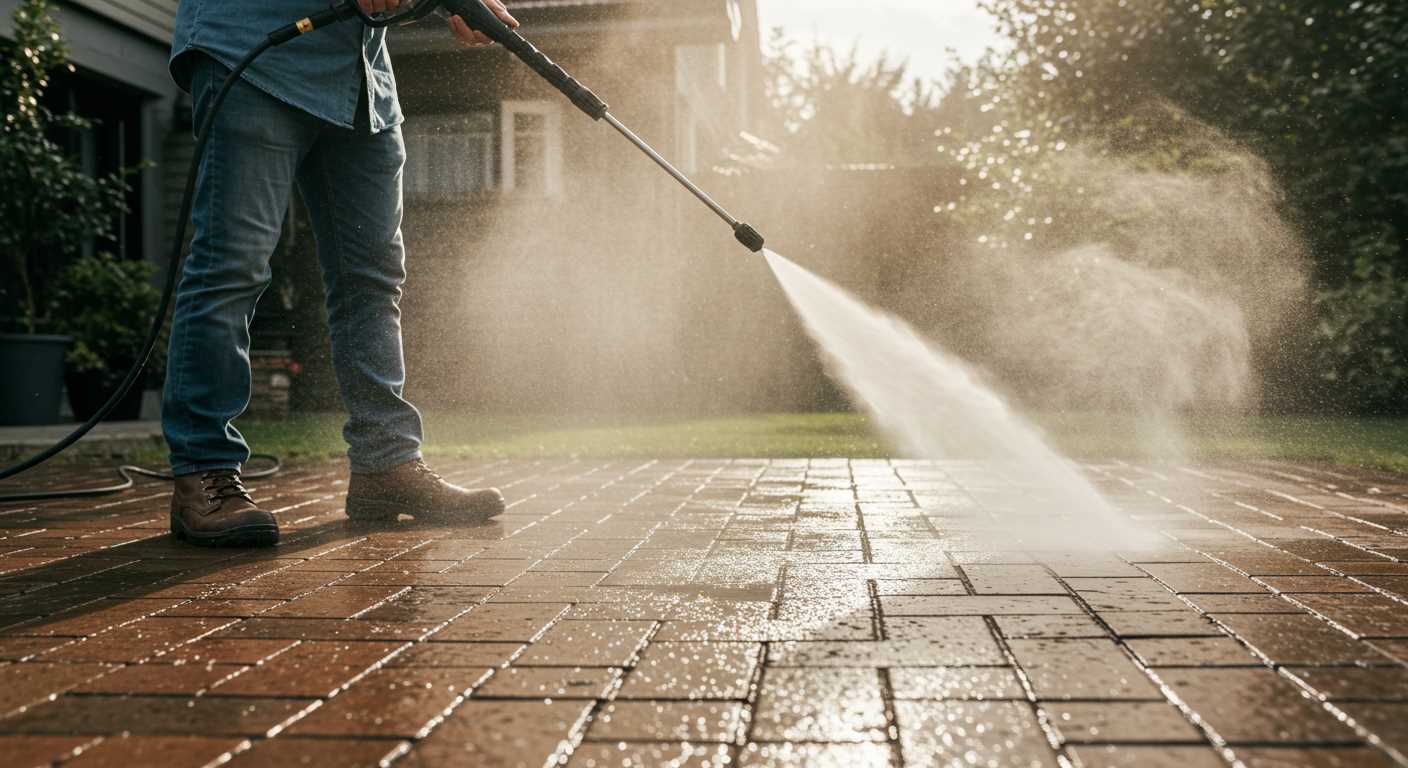
For optimal results, select the right tool for each cleaning challenge. A surface cleaner is ideal for large, flat areas like driveways or patios, while a narrow nozzle works wonders on tough grime in hard-to-reach spots. Understanding the task at hand is key.
Types of Attachments and Their Uses
Over the years, I’ve realised that different tasks demand specific implements. Here’s a brief overview of common options:
| Attachment Type | Best For |
|---|---|
| Rotary Nozzle | Heavy-duty cleaning on concrete and brick surfaces. |
| Foam Lance | Applying soap for vehicles and delicate surfaces. |
| Surface Cleaner | Efficiently cleaning large, flat surfaces. |
| Turbo Nozzle | Cleaning stubborn stains with high pressure. |
| Brush Attachment | Scrubbing grime from textured surfaces. |
Personal Experience with Attachments
When I first started, I underestimated the impact of the right accessory. I remember tackling my driveway with just a standard nozzle, and it took ages. Switching to a surface cleaner cut my time in half. Each tool has its strengths; knowing which to use makes all the difference.
For instance, cleaning my car was a hassle until I discovered the foam lance. It applied soap uniformly, making rinsing a breeze and leaving no streaks. Understanding the specific functions of each implement has saved me time and effort in countless cleaning projects.
Attaching and Detaching Accessories Safely

Ensure the machine is powered off and disconnected from any water supply before beginning the process. This simple step can prevent accidental activation, which is crucial for safety.
For attachment, align the connector of the accessory with the outlet on the device. Push firmly until you hear a click, indicating a secure fit. If you’re having difficulty, check for any dirt or debris that may be obstructing the connection. A clean surface makes all the difference.
When it’s time to detach, hold the base of the accessory firmly while pressing the release button or mechanism. Pull straight back to avoid damaging the connector. If it seems stuck, avoid using excessive force. Instead, gently twist the accessory back and forth to loosen it.
Always inspect both the accessory and the main unit for any signs of wear or damage after each use. This practice will prolong the life of your equipment and ensure safe operation. If you encounter any issues, consult the manufacturer’s guidelines for troubleshooting.
Finally, store all components in a dry location, away from direct sunlight. Proper storage not only keeps everything organised but also protects the integrity of the attachments.
Using the Surface Cleaner for Large Areas
For cleaning extensive surfaces, the surface cleaner is a game-changer. I recall tackling a large driveway that had seen better days. Instead of the usual wand attachment, I opted for the surface cleaner. It cut my cleaning time in half and delivered uniform results without the risk of streaks. The dual rotating nozzles beneath the cleaner work wonders, providing consistent coverage.
Preparation and Setup
Before getting started, ensure the area is free from debris, such as leaves or stones. This helps prevent any damage while cleaning. Attach the surface cleaner securely to your device, making sure the connection is tight to avoid leaks. I always check the water supply and pressure settings; adjusting them according to the manufacturer’s recommendations can make a noticeable difference in performance.
Technique for Optimal Results
Position the surface cleaner so it covers a small section of the area at a time. With a steady, even pace, move it back and forth, allowing the nozzles to do the work. I’ve found that overlapping each pass slightly ensures no spots are missed. For stubborn stains, lingering a bit longer in that spot can help break down tough grime. After completing the area, a quick rinse with a low-pressure setting clears any residual dirt.
Applying the Foam Lance for Pre-Cleaning
For a thorough clean, the foam lance is invaluable. Load it with a quality pre-cleaning detergent mixed with water according to the manufacturer’s instructions. I recommend a ratio of about 1:10 for optimal foam coverage. This combination ensures the foam clings to the surface, breaking down grime effectively.
Attach the foam lance to the gun, ensuring a snug fit to avoid leaks. Once secured, adjust the nozzle to achieve the desired foam thickness; wider settings produce a thicker foam, which is ideal for heavily soiled areas. I’ve found that starting at a low-pressure setting is beneficial to avoid splattering detergent everywhere.
Now, spray the foam evenly over the surface, maintaining a distance of about 1 to 2 metres. Cover the entire area, allowing the foam to sit for 5 to 10 minutes. During this time, it seeps into dirt and stains, loosening them for easier removal later. I once tackled a particularly grimy patio and was amazed at how effectively the foam worked; it saved me considerable scrubbing time.
After the foam has done its job, rinse it off with a high-pressure jet. This step is crucial as it removes both the detergent and loosened dirt, revealing a clean surface. For tips on maximizing your investment in cleaning gear, check out which pressure washer accessories deliver the most bang for the buck.
Utilising the Turbo Nozzle for Stubborn Stains
If you’re dealing with particularly stubborn grime, the turbo nozzle is your best friend. This attachment combines a powerful jet with a rotating motion, targeting tough stains like oil, grease, and mildew effectively. Attach it securely to your machine and adjust the pressure setting to suit your surface. Start by aiming the nozzle at the stain from a distance of approximately 30 cm. Gradually move closer as you assess the effectiveness of the spray.
Techniques for Maximum Results
For optimal results, work in sections. Apply the turbo nozzle in a sweeping motion, allowing the concentrated spray to break down the dirt. If the stain persists, pause and let the nozzle sit on the area for a few seconds before continuing. This method gives the water time to penetrate and loosen the grime. Be mindful of delicate surfaces; always test a small area first to ensure you don’t cause any damage.
Post-Cleaning Care
After tackling those tough stains, rinse the area thoroughly with a standard nozzle to remove any loosened debris. This step ensures that no residue is left behind, which could attract dirt again. Regular maintenance of your turbo nozzle is key; clean the nozzle tip after each use to prevent clogging, ensuring it remains effective for your next cleaning task.
Maintaining Your Attachments for Longevity
Regular cleaning and proper storage extend the life of your tools. After each session, rinse off any dirt or grime. Leaving residue can lead to clogs or damage over time.
Cleaning Recommendations
- Detach the tools after use to ensure thorough cleaning.
- Use lukewarm water and a soft brush to remove stubborn debris.
- Avoid harsh chemicals that may corrode or degrade materials.
Storage Tips
- Store in a dry, cool place to prevent mould and mildew.
- Keep out of direct sunlight to avoid material degradation.
- Organise attachments neatly to avoid damage or tangling.
For those interested in maintaining other equipment, consider this guide on cleaning microfiber couches. It highlights similar maintenance principles for various cleaning tools.
FAQ:
What types of attachments can I use with my Karcher pressure washer?
Karcher offers a wide range of attachments to enhance the functionality of your pressure washer. Common attachments include surface cleaners, foam nozzles, and patio cleaners. Surface cleaners are ideal for large flat areas, while foam nozzles allow for the application of detergent in a thick foam, making it easier to clean surfaces. Patio cleaners are specifically designed for outdoor surfaces like patios and driveways, ensuring a thorough clean without streaking.
How do I attach a new accessory to my Karcher pressure washer?
Attaching a new accessory to your Karcher pressure washer is generally a straightforward process. First, ensure your pressure washer is turned off and disconnected from the power supply. Locate the quick-connect fitting on the end of your pressure washer’s lance or gun. Align the attachment with the fitting and push it in until you hear a click, indicating it is securely attached. Always refer to the user manual for specific instructions related to your model.
Can I use non-Karcher attachments with my Karcher pressure washer?
While it is possible to use non-Karcher attachments with your Karcher pressure washer, compatibility can vary. It is advisable to check the specifications of both the pressure washer and the attachment to ensure a proper fit. Using non-compatible attachments may affect performance or void the warranty. If you are uncertain, sticking to Karcher-approved accessories is recommended for optimal results.
What safety precautions should I take when using attachments with my pressure washer?
Safety is paramount when using any pressure washer attachments. Always wear appropriate protective gear, such as gloves and safety goggles, to shield yourself from debris and high-pressure water. Ensure that the area you are cleaning is free from obstacles and bystanders. Before using an attachment, double-check that it is securely attached, and never point the nozzle at people or animals. Additionally, follow the manufacturer’s instructions for each attachment to avoid misuse.
How do I maintain my Karcher pressure washer attachments?
Maintenance of your Karcher pressure washer attachments is crucial for longevity and performance. After each use, rinse the attachments with clean water to remove any dirt or debris. For foam nozzles, ensure that the detergent is fully rinsed out to prevent clogging. Store attachments in a dry place away from direct sunlight to prevent damage. Periodically check for wear and tear, and replace any damaged parts to maintain optimal functionality.
What types of attachments can be used with a Karcher pressure washer?
Karcher pressure washers are compatible with a variety of attachments designed to enhance cleaning capabilities. Common attachments include surface cleaners, which are ideal for flat surfaces like patios and driveways, and different nozzles that allow for various spray patterns, from high-pressure jets for tough stains to wide sprays for delicate surfaces. There are also brushes and foam nozzles for applying detergents more effectively. Each attachment is designed to target specific cleaning tasks, making it easier to achieve the desired results.
How do I attach and detach accessories from my Karcher pressure washer?
Attaching and detaching accessories from a Karcher pressure washer is a straightforward process. First, ensure the machine is turned off and unplugged. To attach an accessory, align it with the connector on the spray lance or the pressure washer itself, then push it in until you hear a click, indicating it is secure. To detach, press the release button or pull the locking mechanism while gently pulling the attachment away. Always refer to your specific model’s manual for detailed instructions, as the mechanism may vary slightly between different models.
.jpg)


