


For those looking to achieve a spotless finish on their vehicle, the key lies in the proper application of cleaning solution with your high-powered unit. Begin by ensuring that you have the correct ratio of water to the cleaning formula, typically around 1:10, but always check the specific instructions on your chosen product. This dilution maximises cleaning effectiveness while preventing residue build-up.
Next, select the appropriate nozzle. A wider spray pattern, such as a 25-degree or 40-degree nozzle, is ideal for rinsing pre-soaked surfaces without risking damage to the paintwork. Start from the top of the vehicle and work your way down, allowing gravity to assist in the removal of dirt and grime. This technique not only ensures an even application but also minimizes streaking.

After evenly distributing the solution, allow it to sit for a few minutes to break down tough contaminants. This waiting period is crucial; it enhances the cleaning action of the formula. Avoid letting it dry completely on the surface, as this can lead to residue. Following the recommended dwell time, rinse thoroughly with clean water, maintaining a safe distance to prevent any potential damage.
In my experience, incorporating a two-bucket method–one for rinsing your sponge or mitt and another for the soapy water–improves results significantly. This practice reduces the chances of reintroducing dirt onto the surface, leading to a cleaner finish overall.
Application of Karcher Cleaning Solution
Mix the cleaning solution with water in the designated container, following the manufacturer’s instructions for the correct ratio. Typically, a 1:10 dilution works well for most applications. Ensure the container is securely attached to the device to prevent leaks.
Preparation Steps
Before you start, rinse off any loose dirt from the vehicle’s surface. This helps prevent scratches during the cleaning process. Choose a shaded area to avoid quick drying, which can leave streaks.
Cleaning Technique
Begin by applying the detergent mixture from the nozzle. Maintain a distance of around 30 cm from the surface to prevent damage. Use sweeping motions, starting from the top and working your way down. Allow the solution to sit for a few minutes to break down grime, but do not let it dry. Rinse thoroughly with clean water, ensuring no residue remains. For stubborn areas, you might need to repeat the application.
After rinsing, dry the vehicle with a microfibre cloth to avoid water spots. This method ensures a clean, shiny finish without the risk of scratches. Enjoy the satisfaction of a well-maintained vehicle!
Choosing the Right Karcher Car Shampoo
Opt for a pH-neutral formula to protect your vehicle’s paint while ensuring effective cleaning. During my years in the industry, I discovered that harsh chemicals can strip protective coatings. A gentle yet powerful cleaner will lift dirt without causing harm.
Consider selecting a product specifically designed for your cleaning device. Compatibility is key; using the wrong type can lead to poor performance or damage. I always recommend checking the manufacturer’s guidelines to ensure you’re getting the right match.
Look for concentrated solutions that allow for dilution. I’ve found that these tend to be more economical and provide versatility in application. You can adjust the strength based on how dirty the vehicle is, allowing for tailored cleaning sessions.
For added convenience, choose a solution that foams well. This ensures better coverage and dwell time on surfaces, enhancing cleaning efficiency. In my experience, foam penetrates grime effectively, making rinsing easier.
Lastly, consider eco-friendly options. Many brands now offer biodegradable products that clean effectively without harming the environment. It’s a choice I’ve made in my own cleaning routine, contributing to sustainability while achieving excellent results.
If you’re also looking into cleaning driveways or paths, explore pressure washers for block paving to maintain those areas effectively.
Preparing Your Vehicle for Washing
Before starting the cleaning process, ensure your vehicle is parked in a shaded area to prevent soap from drying too quickly. This helps to avoid streaks and water spots.
Check for any loose items inside and outside the vehicle. Remove personal belongings, mats, and any accessories that may obstruct the cleaning process. This includes antennas, decorative items, and any covers on the mirrors.
Inspect the paintwork for any scratches, chips, or damage. If you notice any imperfections, consider addressing them prior to washing to prevent dirt from becoming embedded.
Rinse the Vehicle
A quick rinse with water will remove loose dirt and debris. Focus on the wheels and undercarriage where grime tends to accumulate. This step will make the subsequent cleaning more effective.
Preparation of Equipment
Gather all necessary tools: a bucket, microfiber cloths, and the chosen cleaning solution. Ensure that your equipment is in good condition; check hoses and connectors for leaks. Having everything at hand will streamline the process and reduce interruptions.
Following these steps will lay the groundwork for a thorough and effective cleaning session. With the vehicle prepped and your tools ready, you’ll be set for a successful wash. Enjoy the process and take pride in the results!
Setting Up Your Karcher Pressure Washer
Before commencing the cleaning task, ensure your equipment is correctly assembled to avoid any hiccups. Follow these steps for optimal setup:
Assembly Steps
- Unpack all components from the box. This usually includes the main unit, hose, lance, and any additional accessories.
- Attach the high-pressure hose to the designated outlet on the machine. Ensure it clicks into place securely.
- Connect the spray lance to the end of the hose, making sure it fits tightly.
- If available, attach the detergent tank. Fill it with the appropriate cleaning solution, ensuring not to exceed the maximum fill line.
Water Supply Connection
- Locate a suitable water source. It’s critical that the water is clean and free of debris.
- Connect a garden hose to the water inlet on the device. Ensure it is tightly secured to prevent leaks.
- Turn on the water supply, making sure there are no kinks in the hose that could impede flow.
Before starting the machine, it’s wise to check the manufacturer’s guidelines for any specific requirements. Once everything is connected, plug the unit into a power source. If you’re unsure about electrical compatibility, a surge protector can provide an extra layer of safety.
After everything is set, it’s advisable to test the spray on a less visible surface to ensure the pressure is appropriate. This helps avoid unintended damage to your vehicle’s finish. If you need more information on different types of cleaning equipment, visit this link: are digital cameras and scanners input or output devices.
Mixing Vehicle Cleaning Solution with Water
For optimal results, blend the cleaning solution with water according to the manufacturer’s guidelines. Typically, a ratio of 1:10 is recommended; that’s one part solution to ten parts water. This ensures effective dirt removal without damaging the paintwork.
Always mix in a clean container to avoid contamination. If you’re using a bucket, make sure it’s free of any residual substances from previous washes. Pour the required amount of solution into the bucket first, then add water slowly to prevent excessive foaming.
| Mixing Ratio | Water Amount | Solution Amount |
|---|---|---|
| 1:10 | 10 litres | 1 litre |
| 1:20 | 20 litres | 1 litre |
| 1:30 | 30 litres | 1 litre |
Always check the instructions on the label for any specific recommendations. In my experience, using too much cleaning solution can leave a residue, while too little may not effectively clean the surface. Aim for that sweet spot where the combination provides a thorough wash without excess foam.
If you have hard water, consider using distilled water for the mix. This can help avoid mineral deposits on your vehicle’s finish. After mixing, give it a gentle stir to ensure even distribution before applying it to the vehicle.
For those with foam cannons, simply pour the mixture into the cannon’s reservoir. Adjust the nozzle to achieve the desired foam thickness. A thicker foam clings longer to the surface, enhancing the cleaning process.
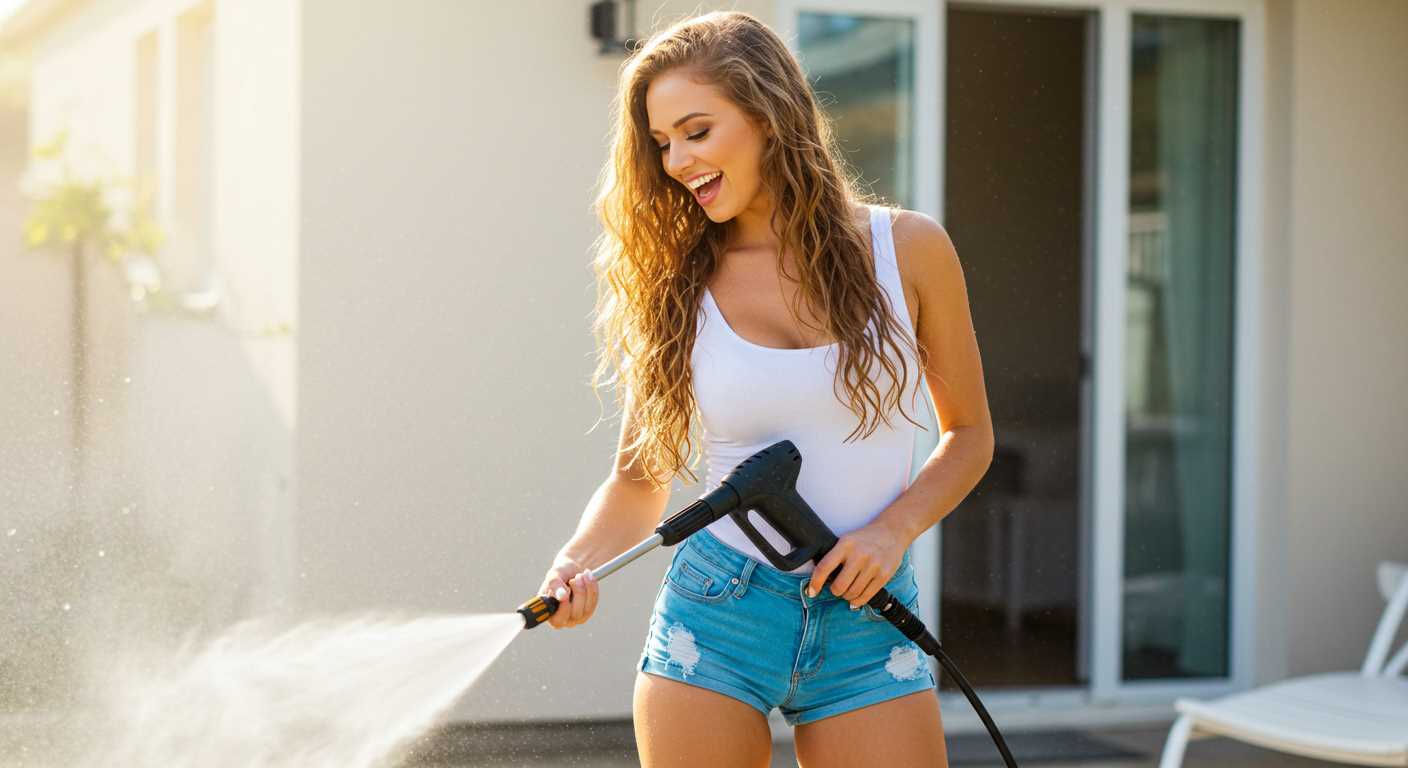
Applying Shampoo with the Pressure Washer
To achieve an impeccable finish on your vehicle, the application of the cleaning solution is critical. Begin by attaching the appropriate nozzle to your machine. A wider fan spray is ideal for even distribution of the liquid. This reduces the risk of streaks and ensures thorough coverage.

Steps for Application
- Fill the detergent tank with the pre-mixed solution, ensuring it’s correctly diluted according to the manufacturer’s guidelines.
- Adjust the nozzle to a low-pressure setting. This helps in applying the detergent gently, allowing it to cling to the surface without being blasted away.
- Start from the top of the vehicle and work your way down. This allows the solution to flow downwards, lifting dirt and grime as you go.
- Maintain a distance of about 30-40 cm from the surface to prevent damage and ensure an even spread.
- Allow the cleaning agent to sit for a few minutes. This dwell time aids in breaking down stubborn dirt.
Tips for Best Results
- For heavily soiled areas, consider applying the detergent directly with a foam cannon or a sponge for extra cleaning power.
- Always rinse thoroughly after the dwell time. Use a higher pressure setting to remove any residues of the cleaning solution.
- Check the weather conditions; avoid applying during direct sunlight to prevent the product from drying too quickly, which can lead to streaks.
From my experience, using a two-bucket method for washing and rinsing helps in achieving a spotless finish, especially in between the shampoo application and rinsing phases. It’s a simple yet effective way to keep the cleaning solution free of contaminants. Enjoy the process; the results are definitely worth it!
Rinsing Off and Final Steps
After applying the cleaning solution, the next step is crucial: rinsing off the vehicle thoroughly. Begin at the top and work your way down, ensuring that all the suds are washed away. This prevents any residue from drying on the surface, which can lead to spots and streaks. I always recommend using a wide-angle nozzle for rinsing; it allows for better coverage and reduces the risk of water spots forming.
Checking for Residue
Once you’ve rinsed the vehicle, take a moment to inspect the surface. Look for any areas where the cleaning agent might remain, especially around trim and wheel wells. If you spot any, give those areas a quick rinse again to ensure everything is clean. From my experience, a thorough rinse can make a noticeable difference in the final appearance.
Drying and Finishing Touches
After rinsing, drying is the next step. I prefer using a microfiber drying towel as it absorbs water without scratching the paint. Pat the surface dry rather than dragging the towel across the paint. This method reduces the likelihood of swirl marks. After drying, consider applying a wax or sealant for added protection and shine. This not only enhances the look but also makes future cleaning easier. Trust me, taking these final steps elevates the whole washing experience and keeps your vehicle looking pristine for longer.
Maintaining Your Karcher Pressure Washer After Use

After completing the task, it’s crucial to clean your equipment properly. Begin by disconnecting the water supply and removing the detergent tank. Rinse the tank with clean water to prevent any residue build-up.
Next, flush the system. Turn on the unit without any attachments and let it run for a few minutes. This helps clear out any leftover soap or contaminants in the pump and hoses. Always remember to use cold water for this step; hot water can damage the internal components.
Inspect the nozzle and attachment for blockages. A simple needle can help clear any debris lodged inside. Check the hose for kinks or wear. If you notice any damage, replace it immediately to avoid future leaks.
Once everything is rinsed and inspected, wipe down the exterior of the machine with a damp cloth. This removes dust and grime, ensuring it remains in good condition for your next cleaning session.
Finally, store your equipment in a dry place, away from direct sunlight. Keeping it sheltered will prolong its life and maintain its performance. If you plan to not use it for an extended period, consider running a maintenance wash using a specific cleaning solution to keep the system in shape.

.jpg)


